|
|
Gunsumer Reports TM Providing Detailed Objective Reviews for Firearms and Firearm Accessories |
New Ruger 22 Charger Review
Part 4 - Disassembly and Internal Features
February 28, 2015
In this part of my Ruger 22 Charger Takedown Review, I show the disassembly and internal features of the new Ruger 22 Charger Pistol.
Disassembly
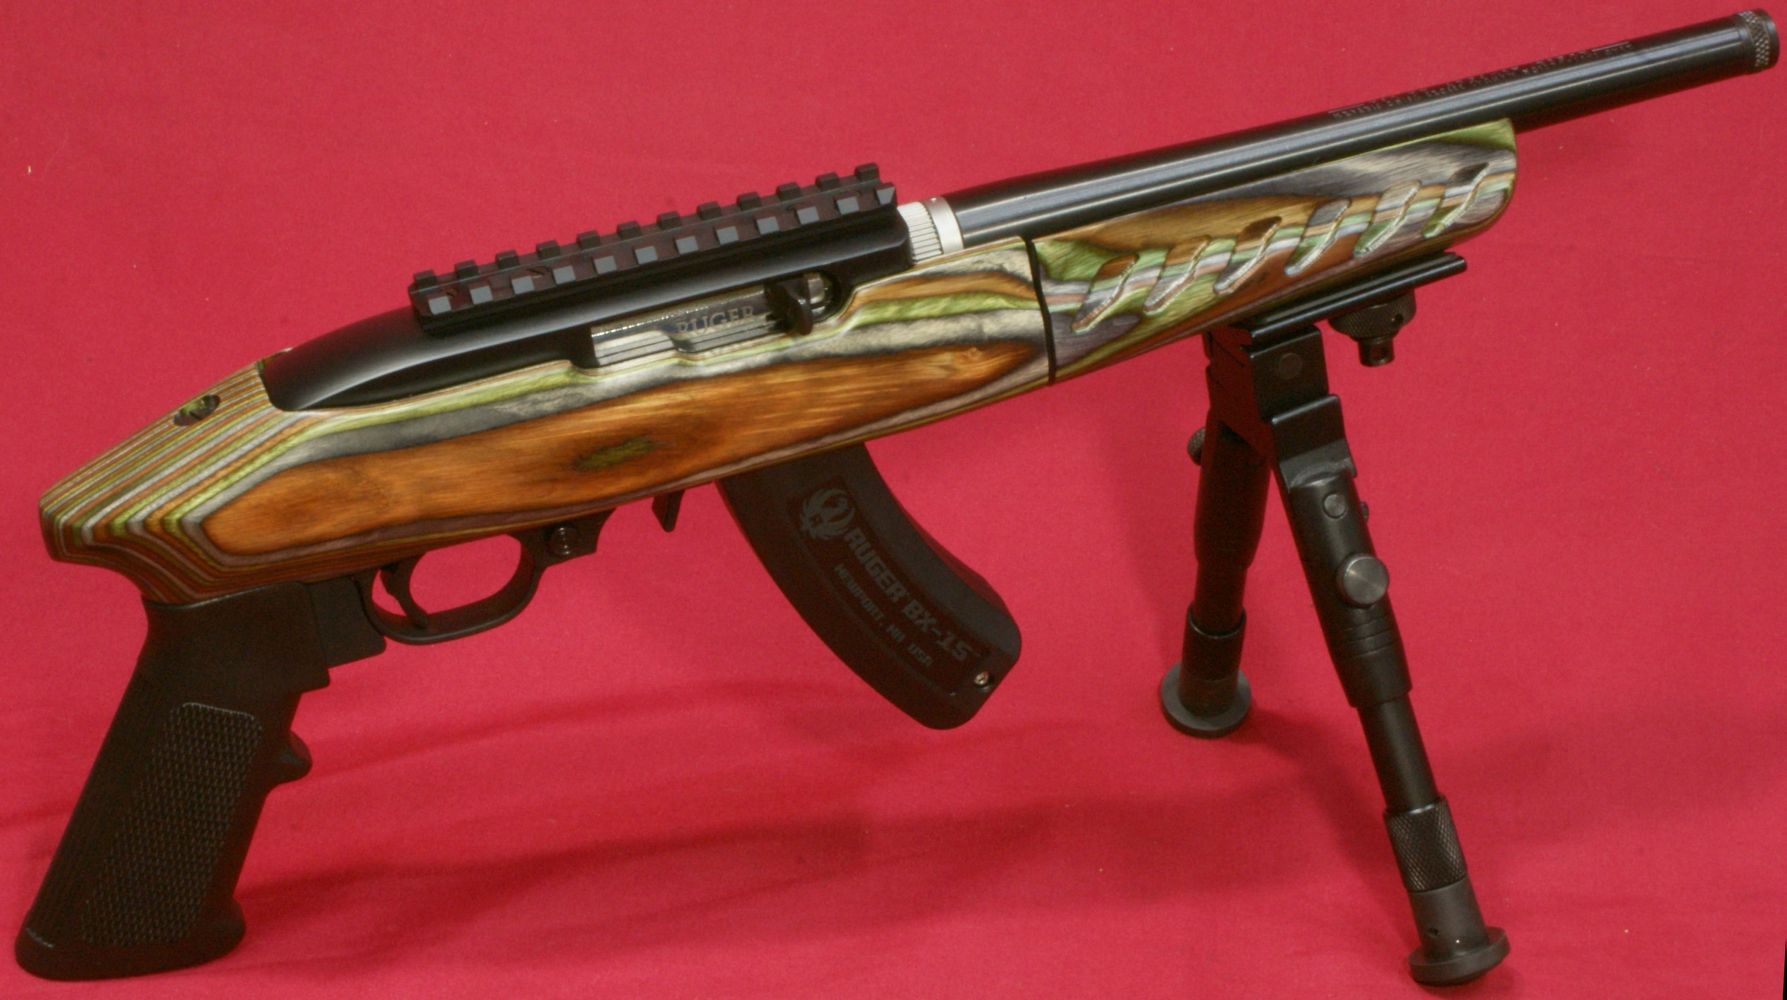
Although I outline the steps and show many detailed photos of disassembly, you should always consider the manufacturer's Instruction Manual as the official source when dealing with your firearms. Ruger's instruction manual includes safety warnings and notes that may not be covered on this page. The fully assembled Ruger 22 Charger pistol is shown below.
Figure 1
Step 1 - Safety
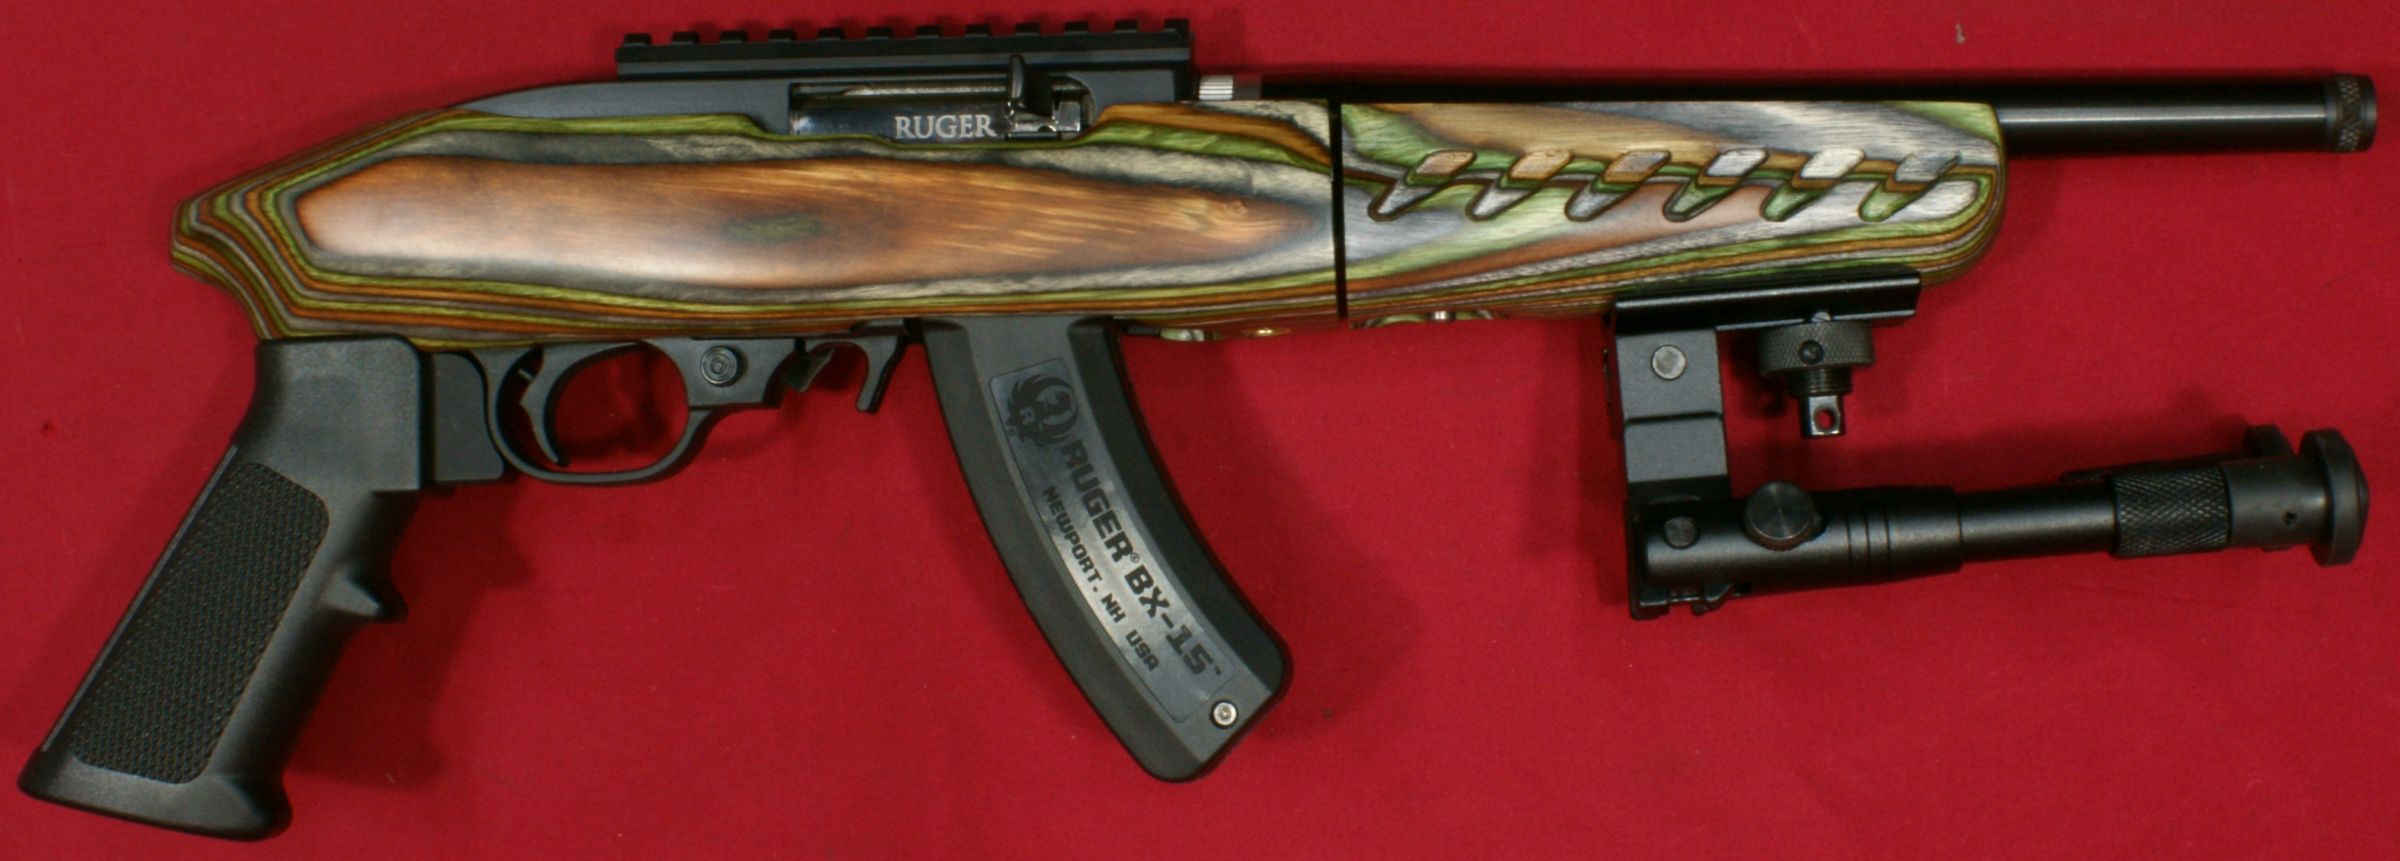
While pointing the muzzle in a safe direction, remove the magazine, open the bolt and ensure the chamber is unloaded. You can also remove the bipod and adapter plate.
Figure 2

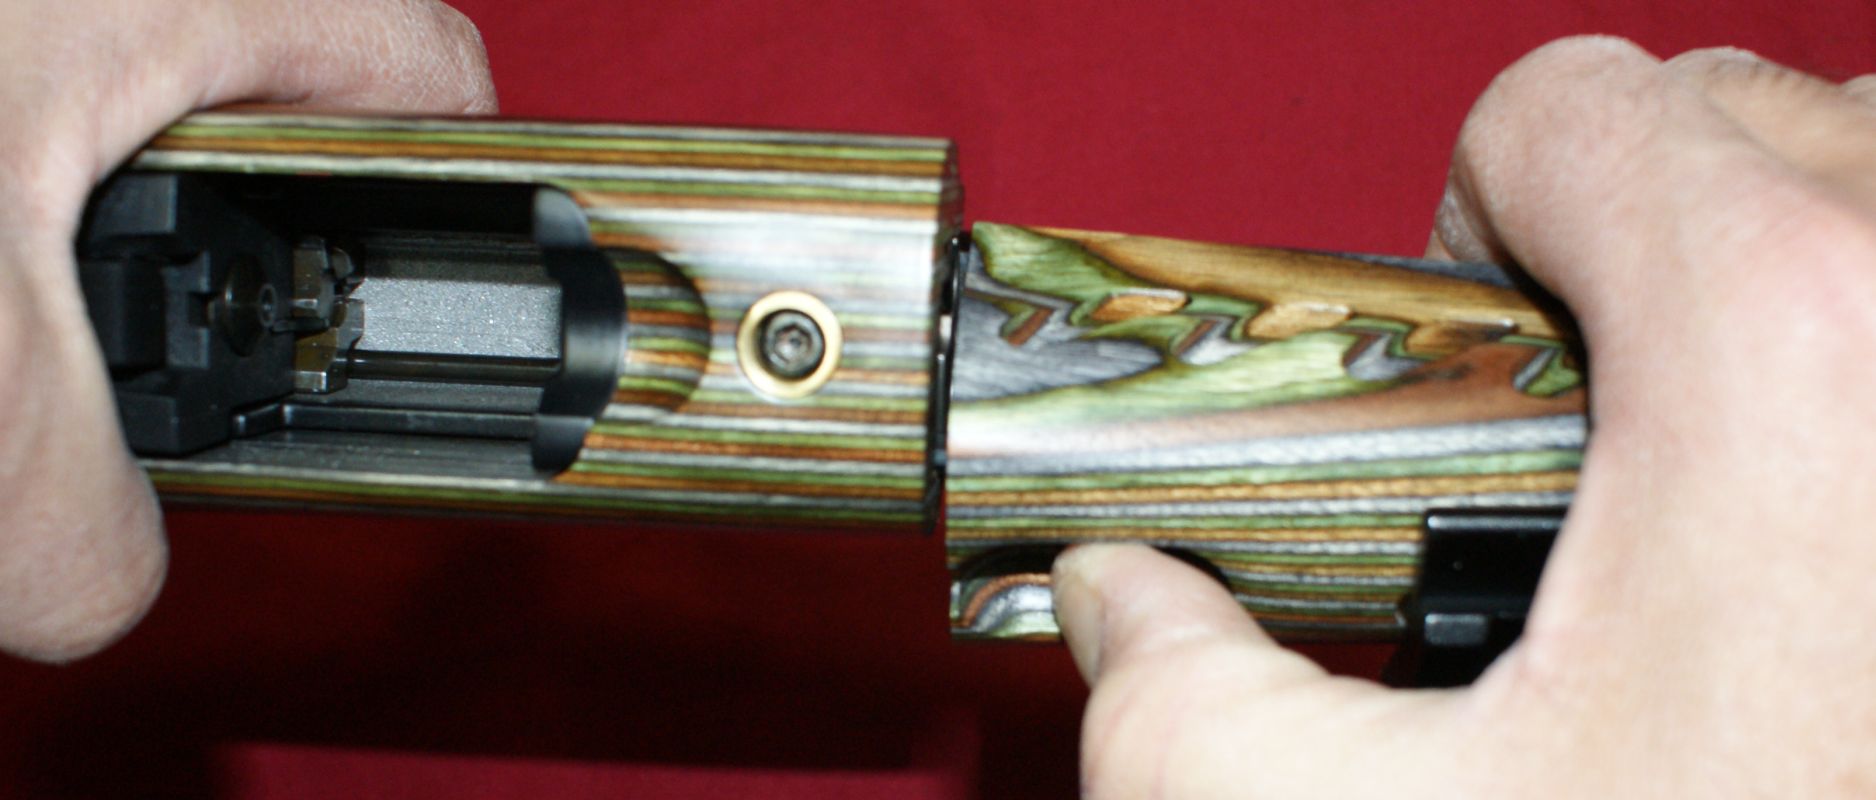
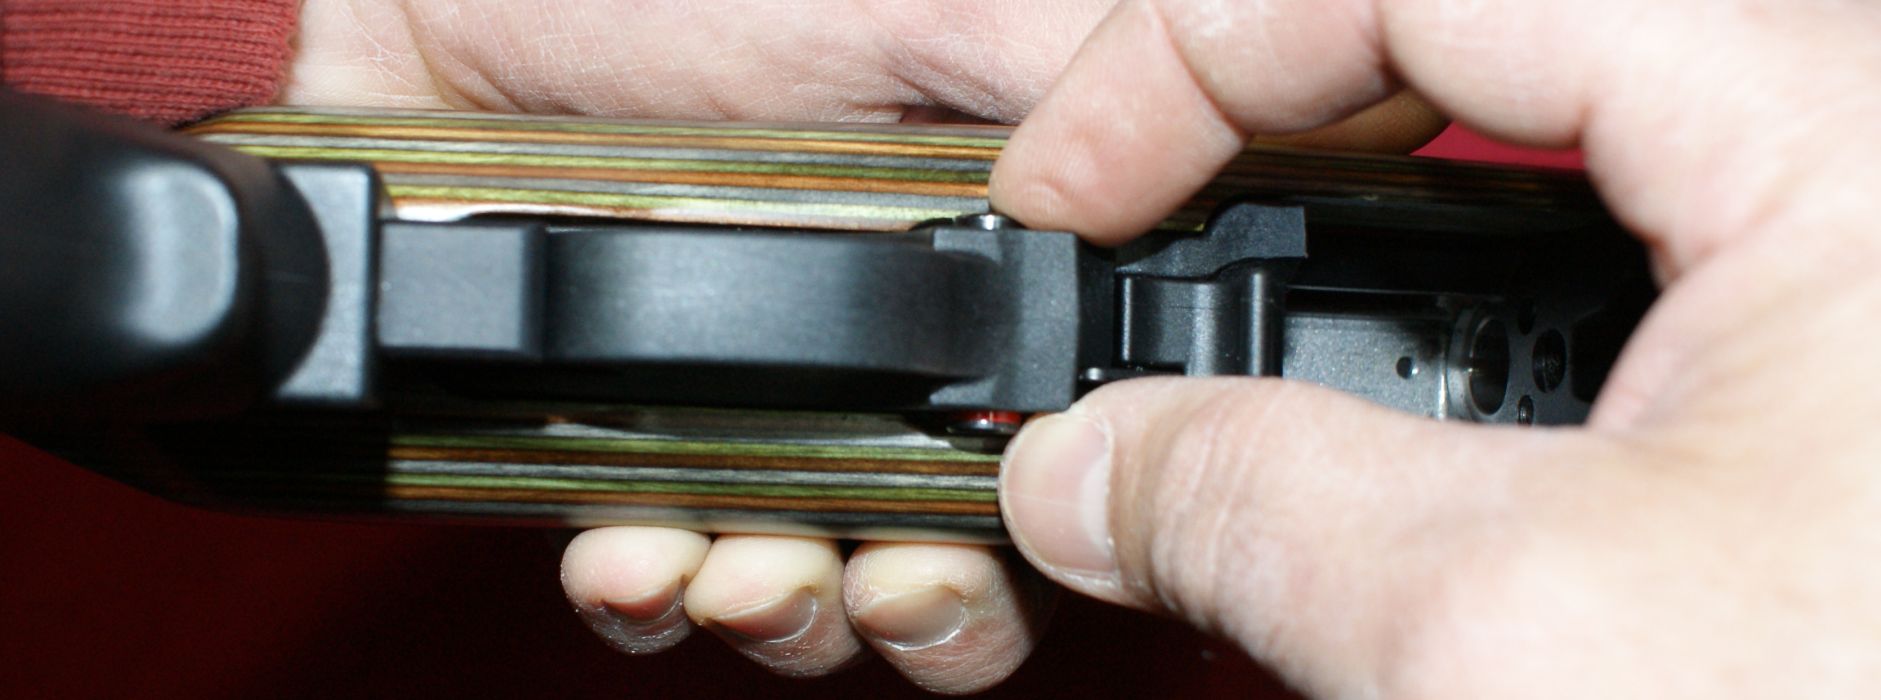
Step 2 - Remove Barrel Assembly
Remove the barrel assembly by pulling the bolt slightly (~0.25") to the rear and pushing the takedown lever forward. Then rotate the forend counterclockwise about 45 degrees until it stops. Pulling the bolt to the rear pulls the extractor from the notch in the barrel which will allow the barrel to rotate. If you don't pull the bolt back, then the barrel will only rotate about 5 degrees.
Figure 3
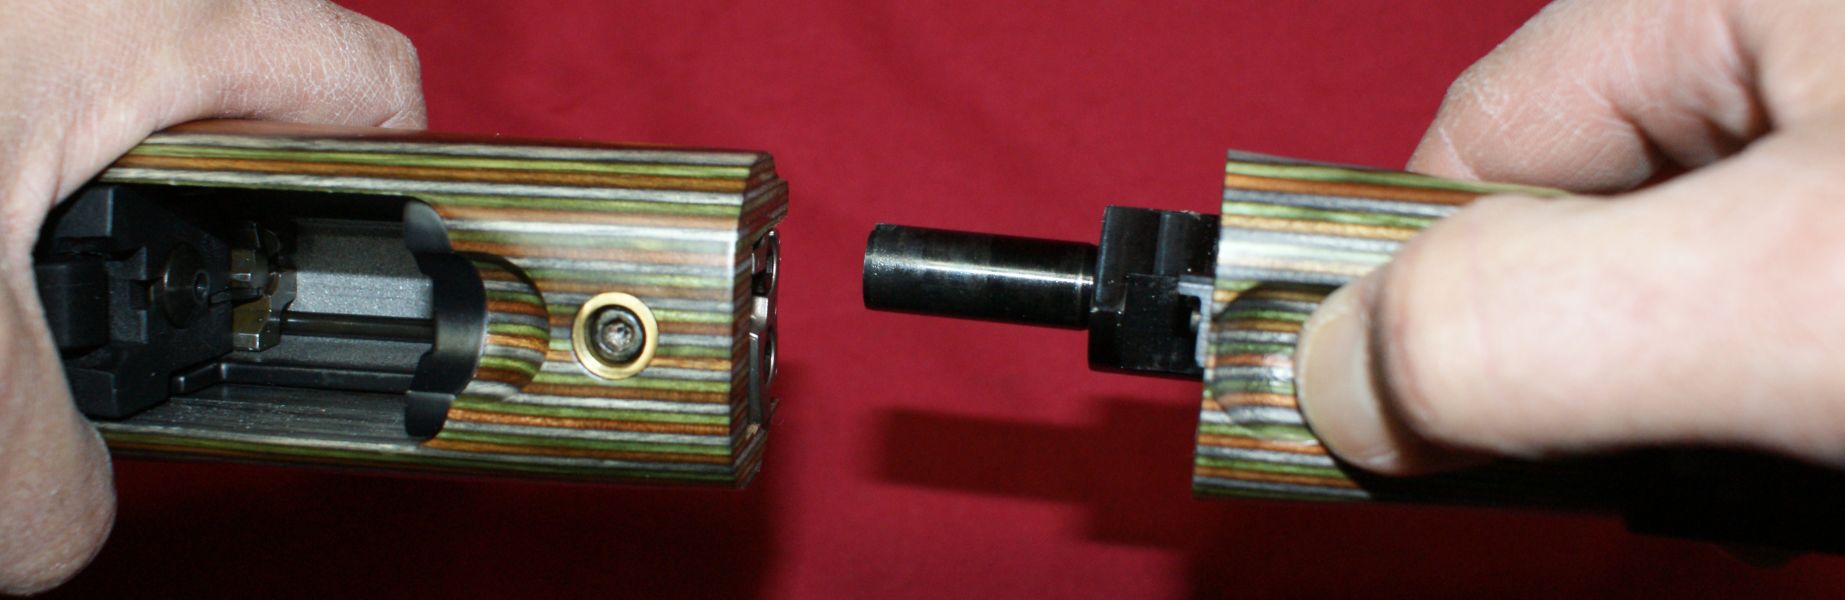
Next, pull the barrel from the receiver.
Figure 4
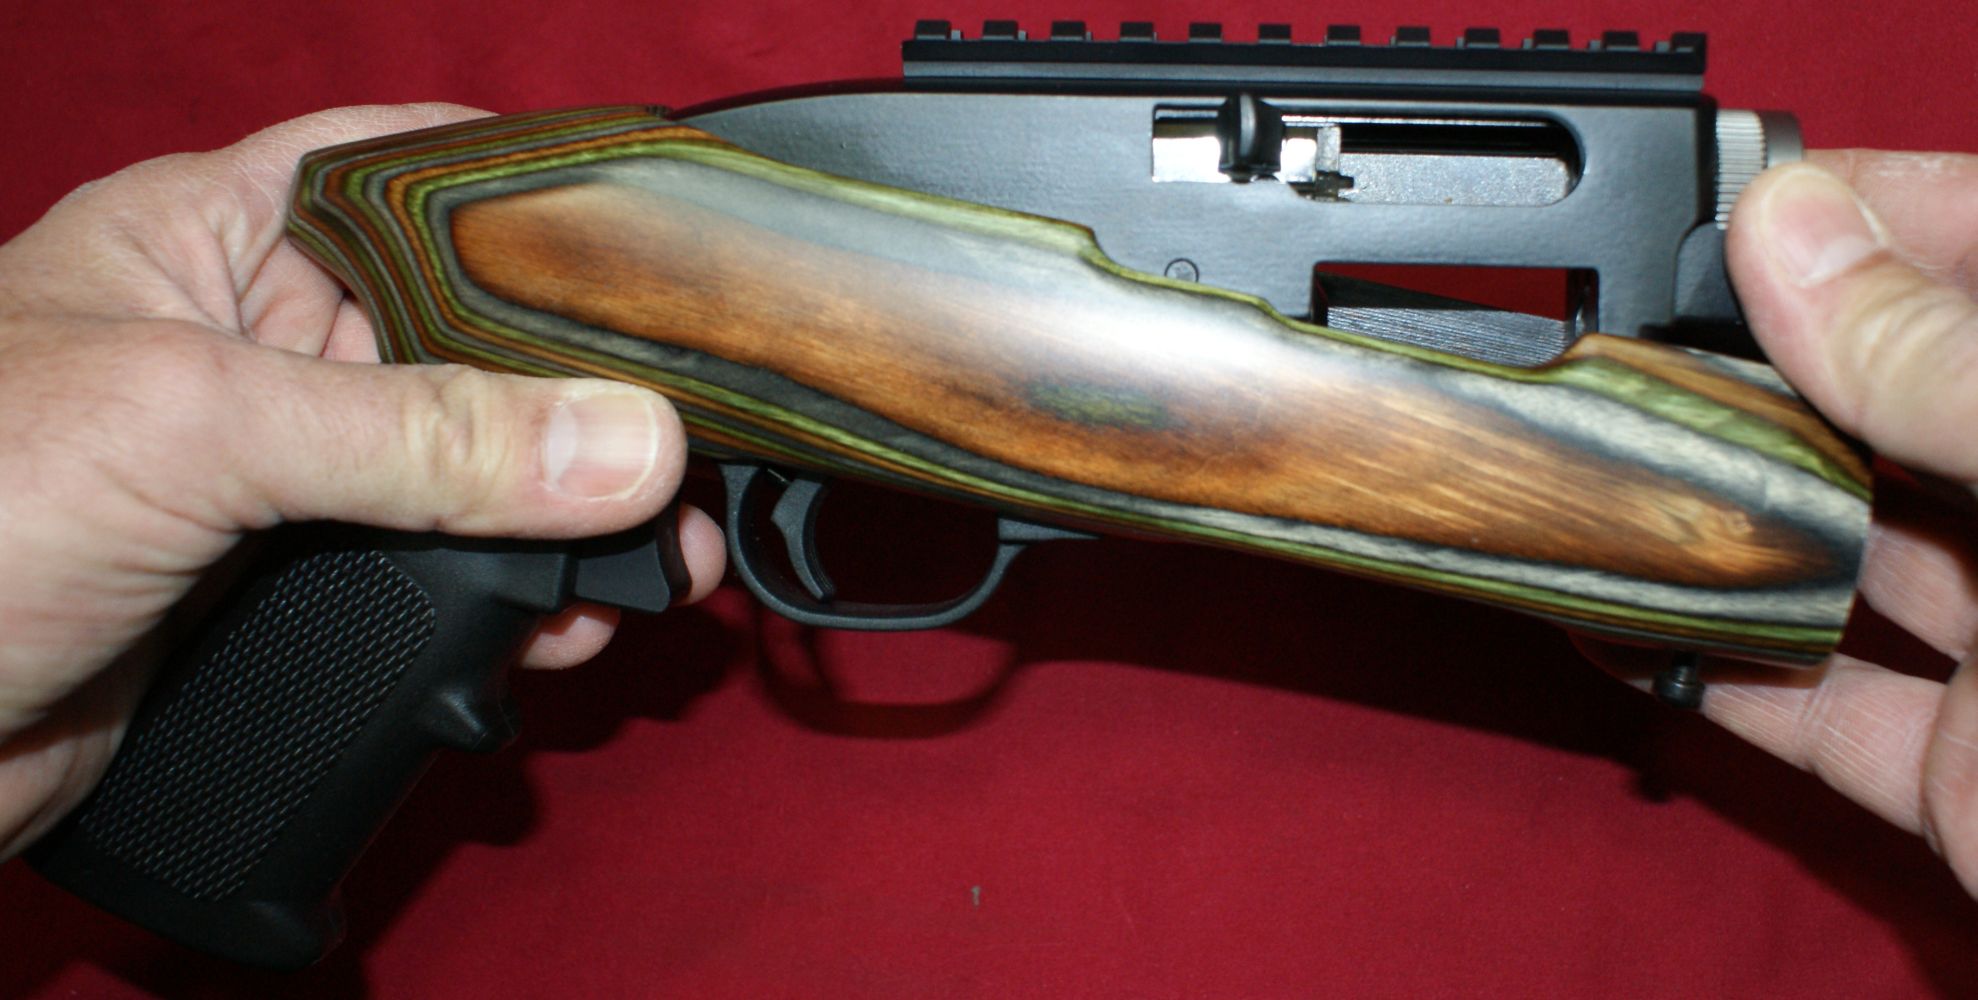
Step 3 - Remove Receiver Assembly
To remove the receiver assembly, loosen the stock bolt located forward of the magazine well.
Figure 5

Position the safety so that there is an equal amount of button exposed on both sides of the trigger housing.
Figure 6
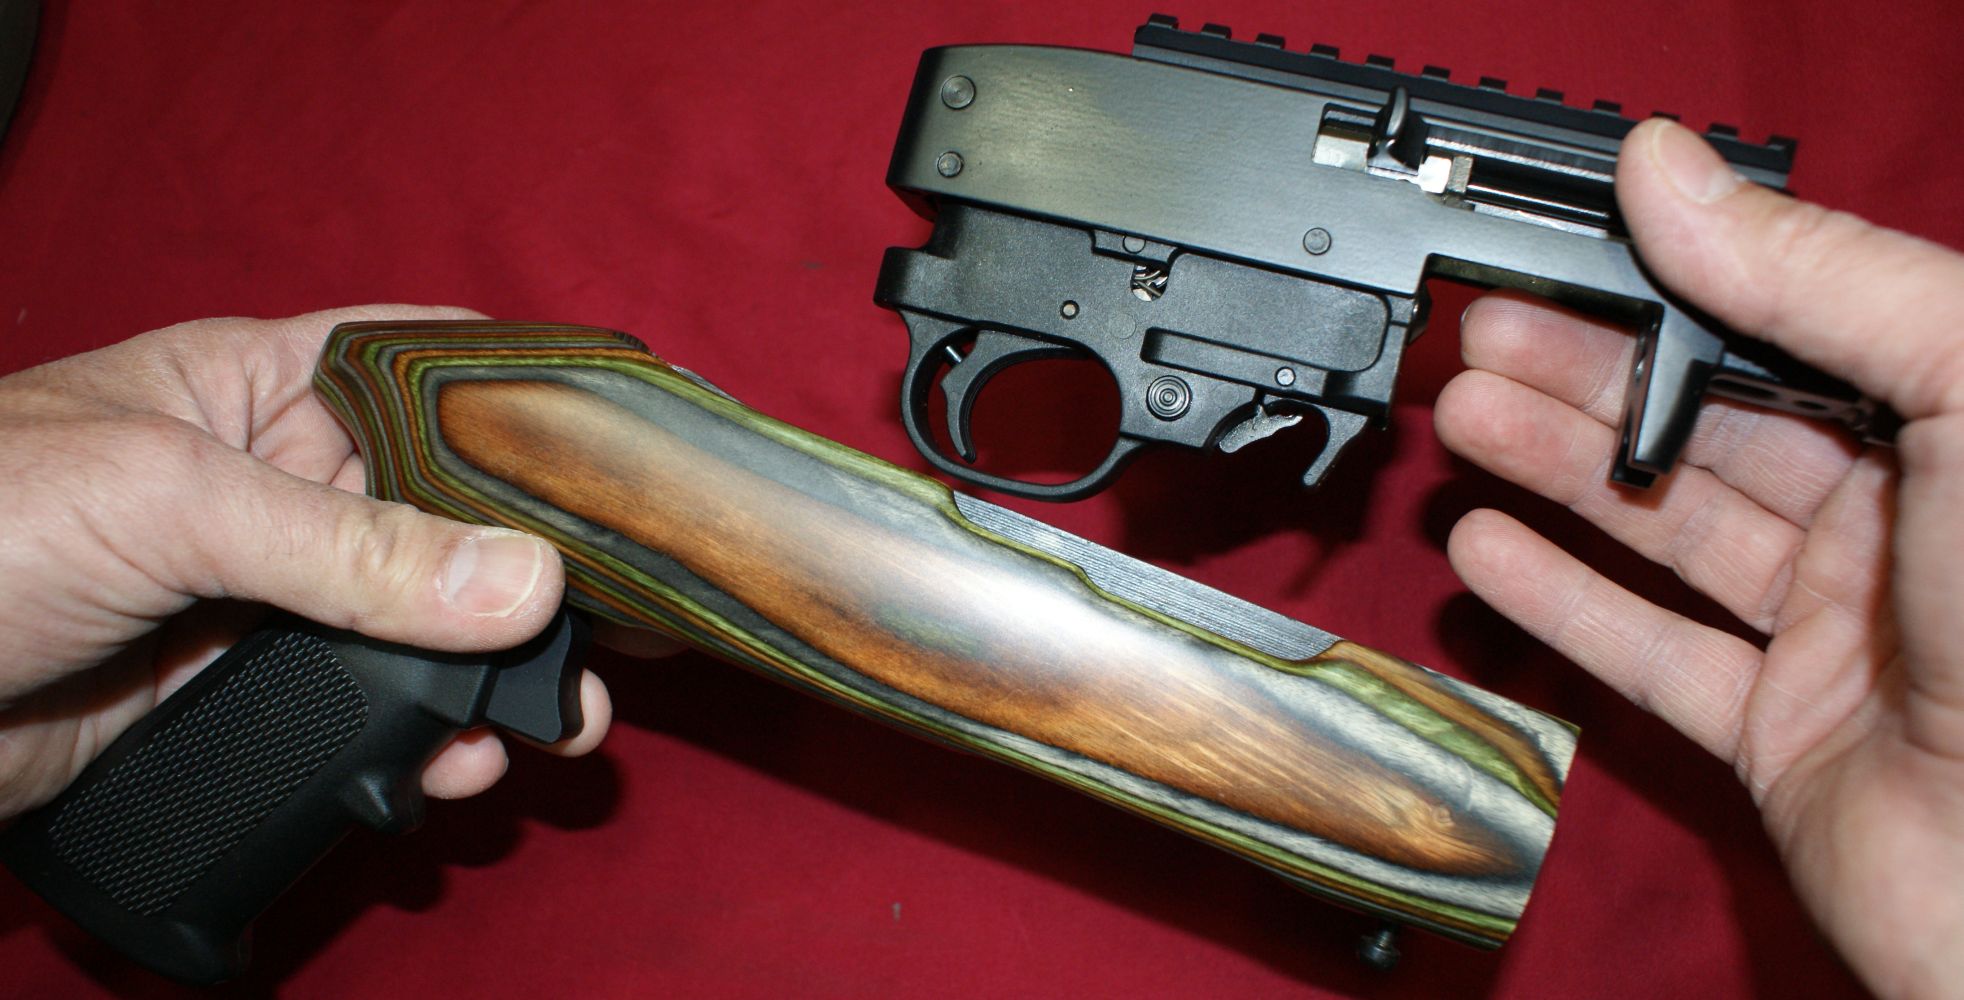
Rotate the front of the receiver assembly up.
Figure 7
Then lift the receiver assembly from the stock. Be careful because the bolt stop pin, two receiver cross pins and magazine latch pin have a tendency to fall out and could potentially get lost if you are not careful.
Figure 8
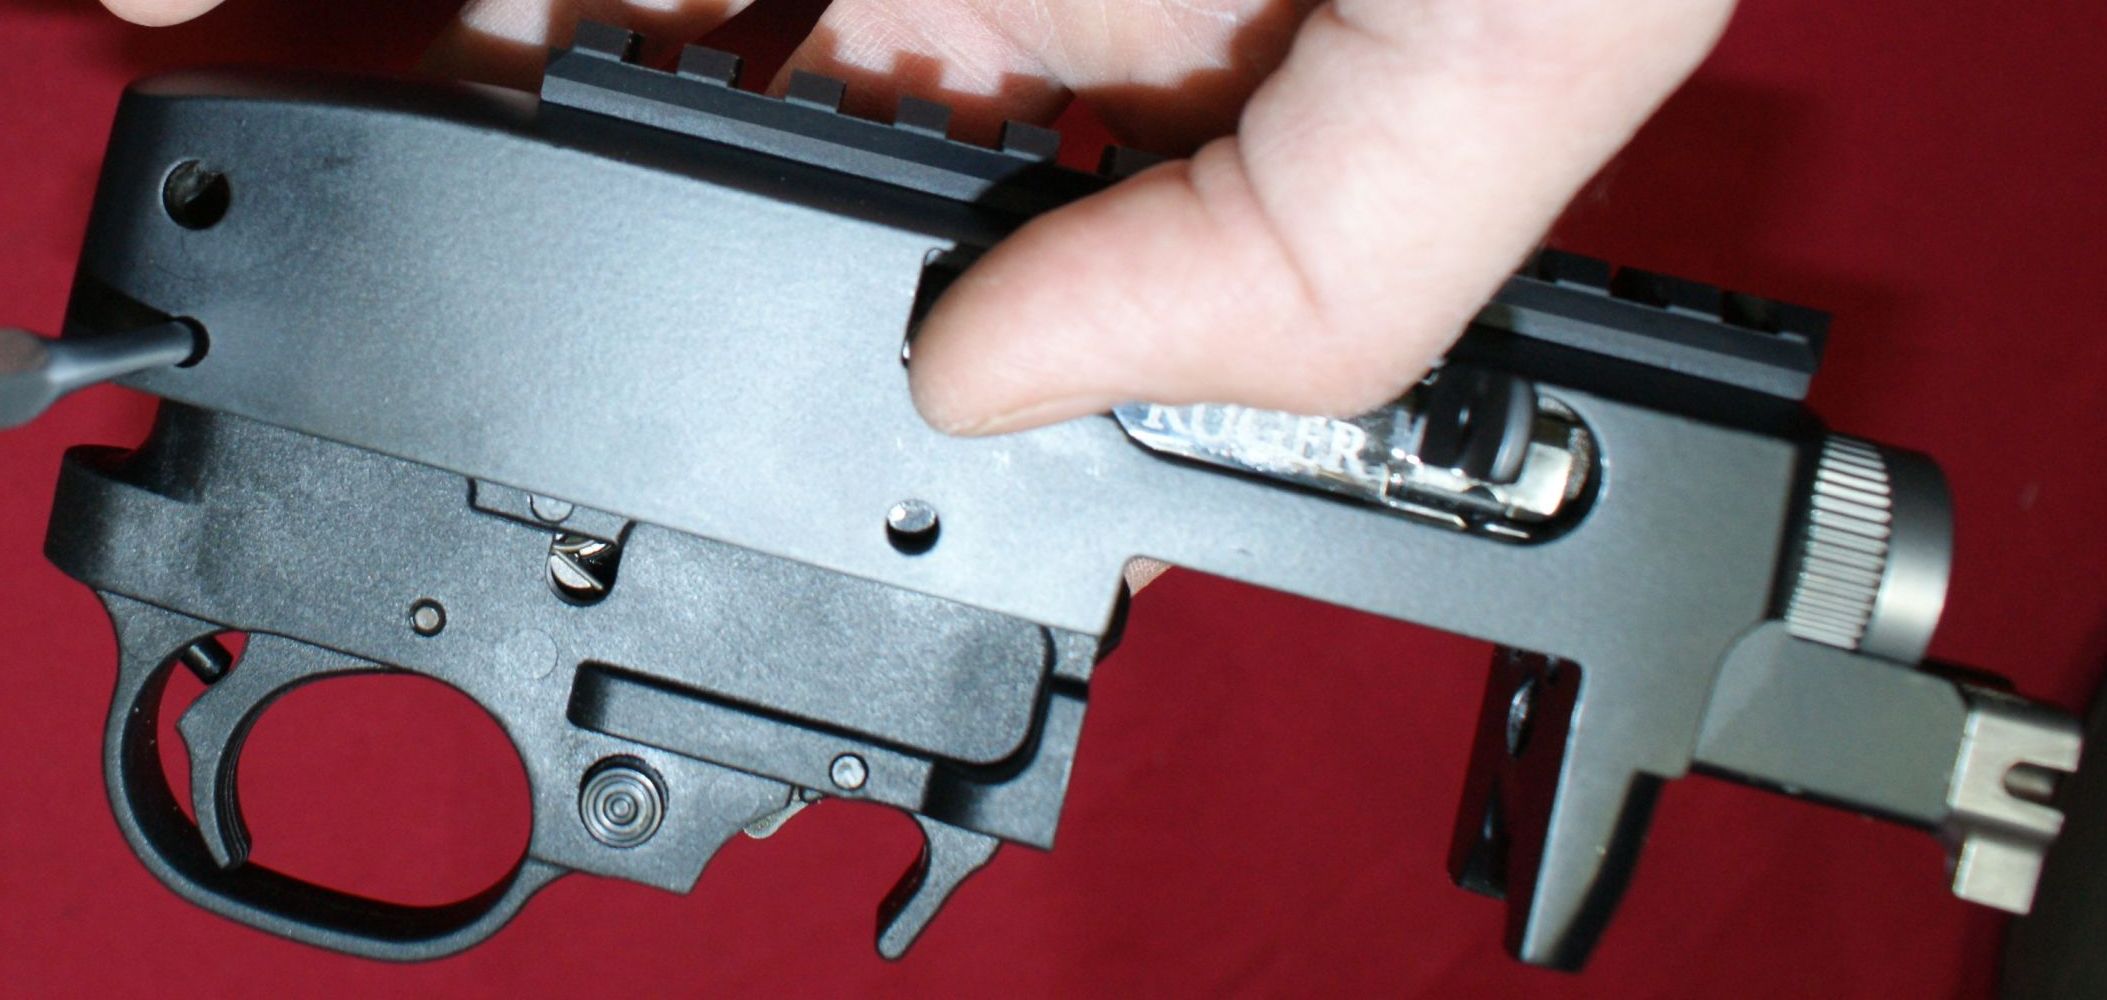
Step 4 - Remove Trigger Guard Assembly
Before you remove the trigger guard assembly, first make sure the bolt is fully forward and the hammer is still cocked. Next, using a punch, press out the bolt stop pin (most likely it will fall out). I like to go ahead and do this now before it falls out later.
Figure 9
Next, press out the two receiver cross pins.
Figure 10
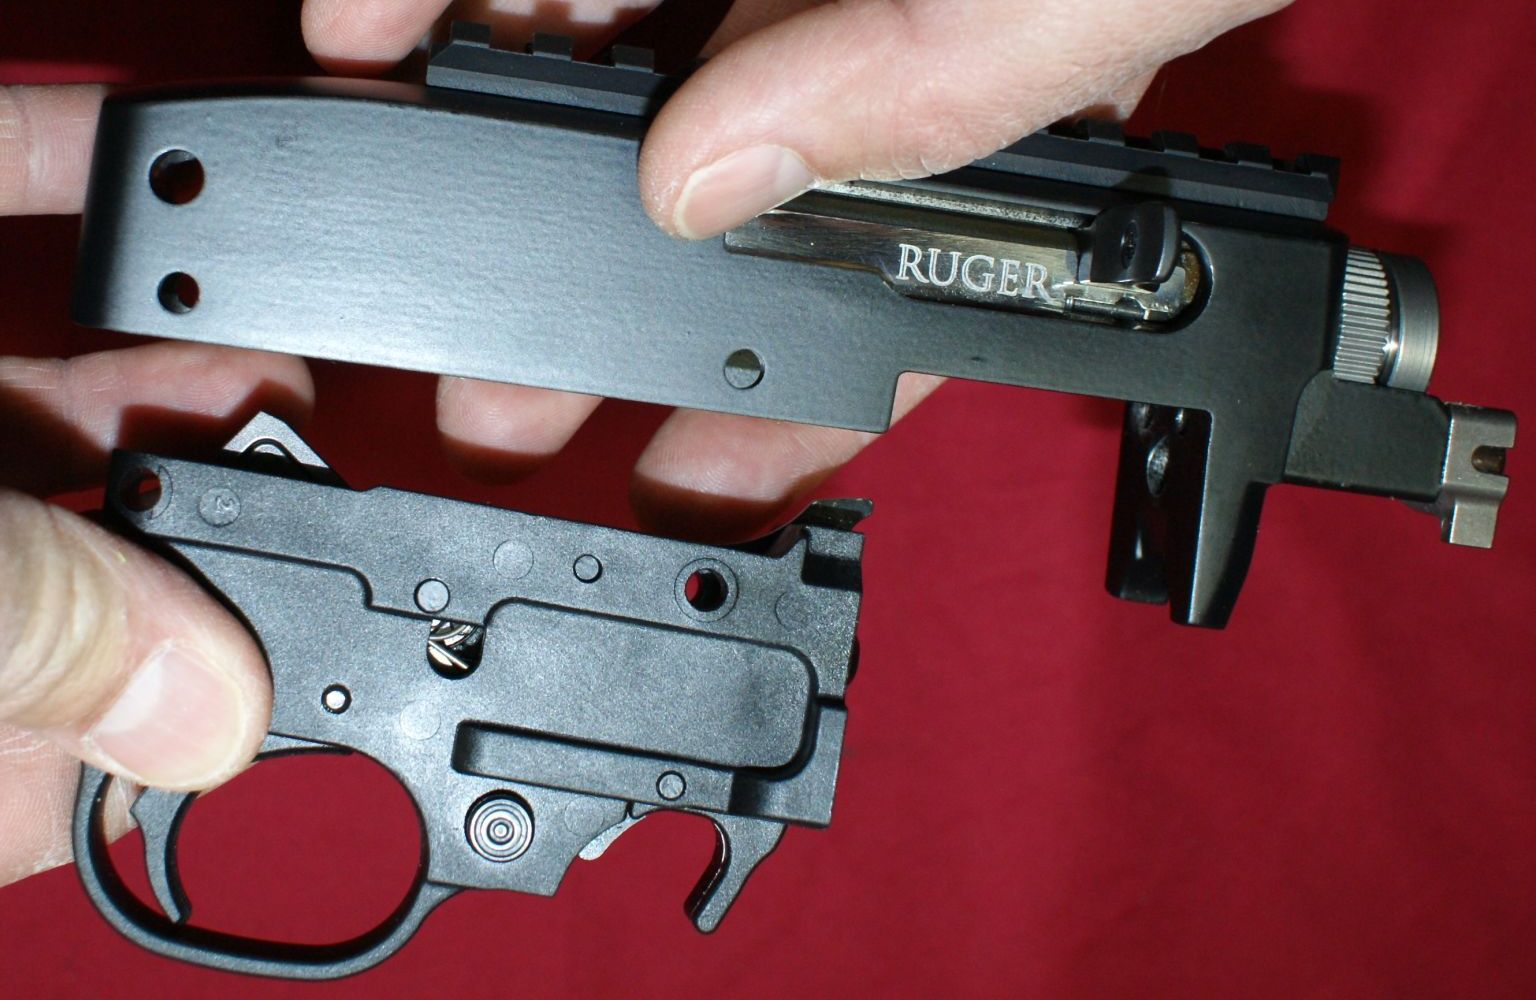
The trigger assembly can be pulled out of the receiver. Again, be careful because the magazine latch pin has a tendency to fall out.
Figure 11
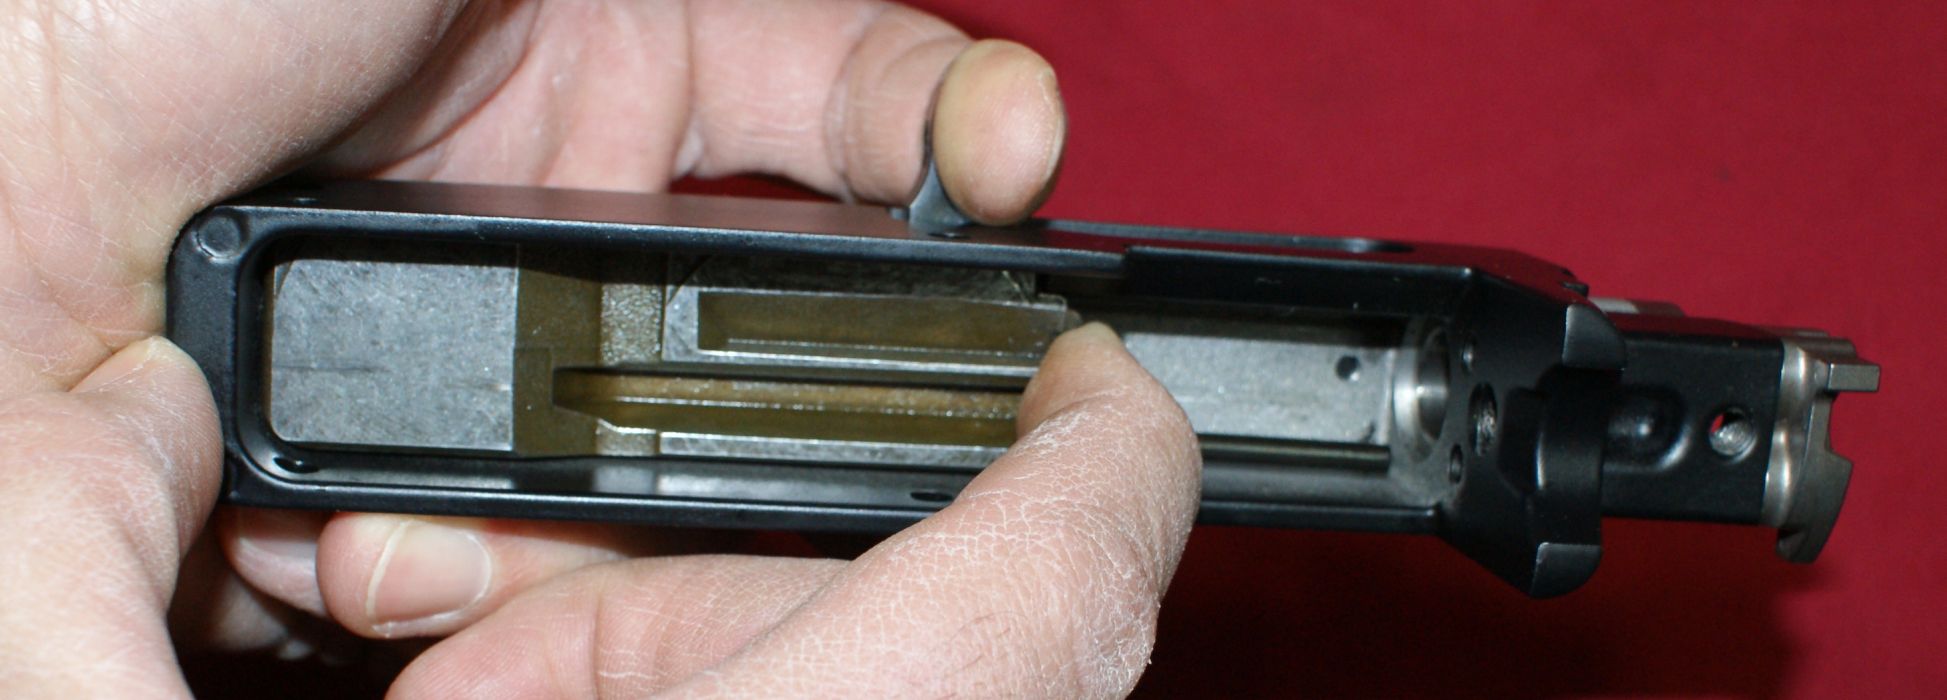
Step 5 - Remove Bolt
The bolt can be removed by pulling it all the way to the rear. Make sure the bolt stop pin has been removed first. While holding the bolt handle fully to the rear with one hand, lift up on the front of the bolt until it disengages from the bolt handle.
Figure 12
This is a little tricky and may take a moment to get it just right.
Figure 13

You can then remove the bolt handle through the ejection port. Ruger's instructions are a little different. They recommend removing the handle as soon as it disengages from the bolt and then removing the bolt.
Figure 14
Step 6 - Remove Forend
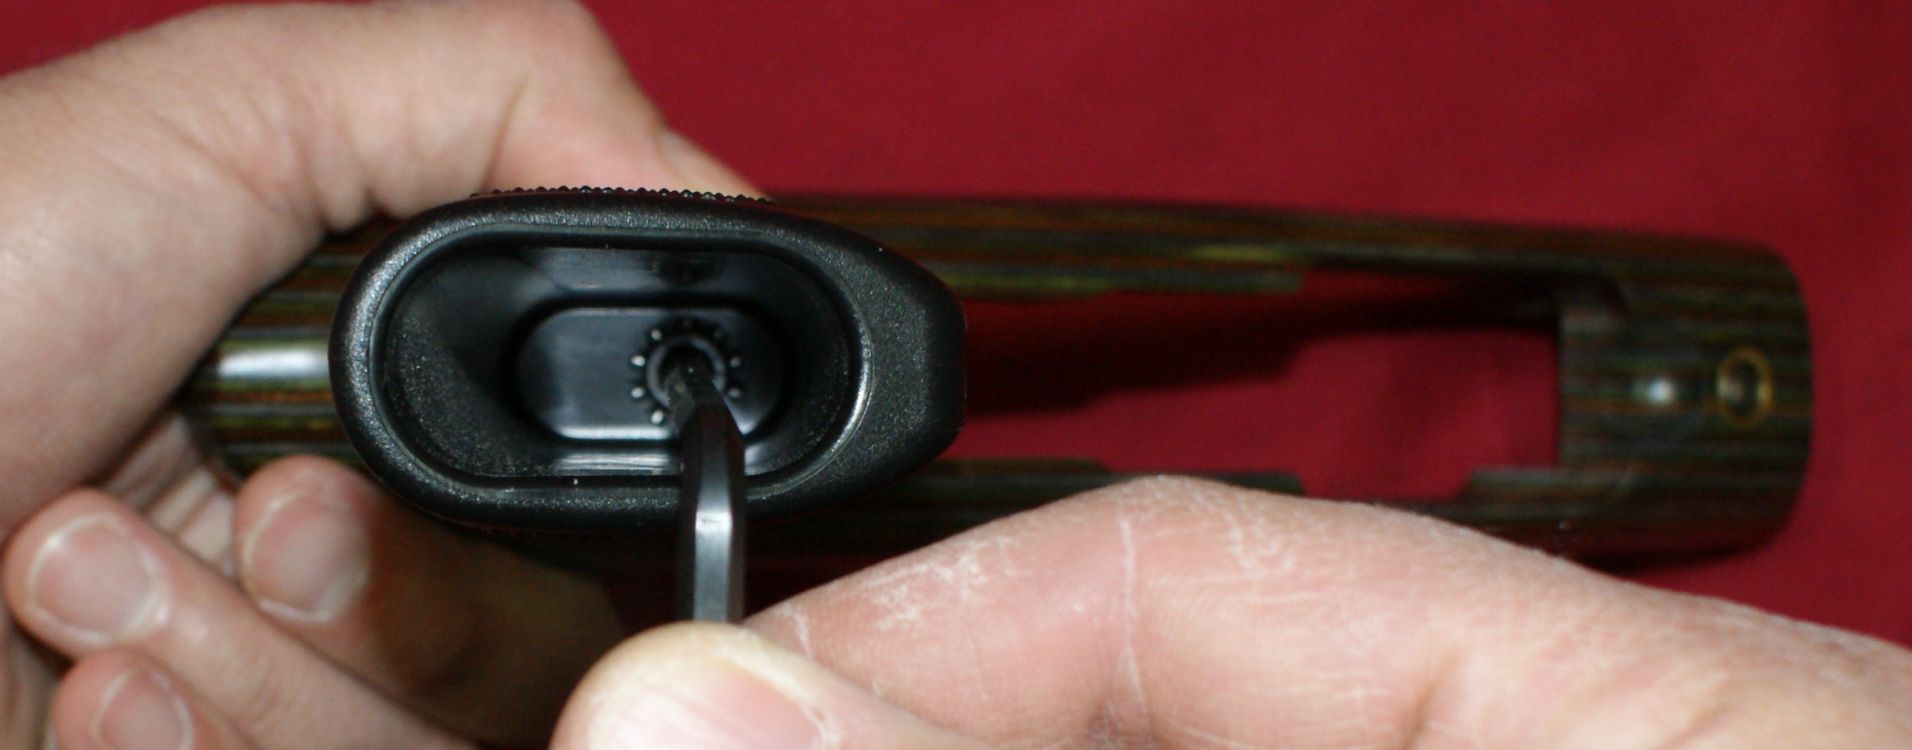
This is not part of Ruger's normal disassembly sequence, but I feel it is worth doing because it allows you to fully clean all the barrel exterior surfaces and because it is very easy to do. Loosen the forend screw.
Figure 15
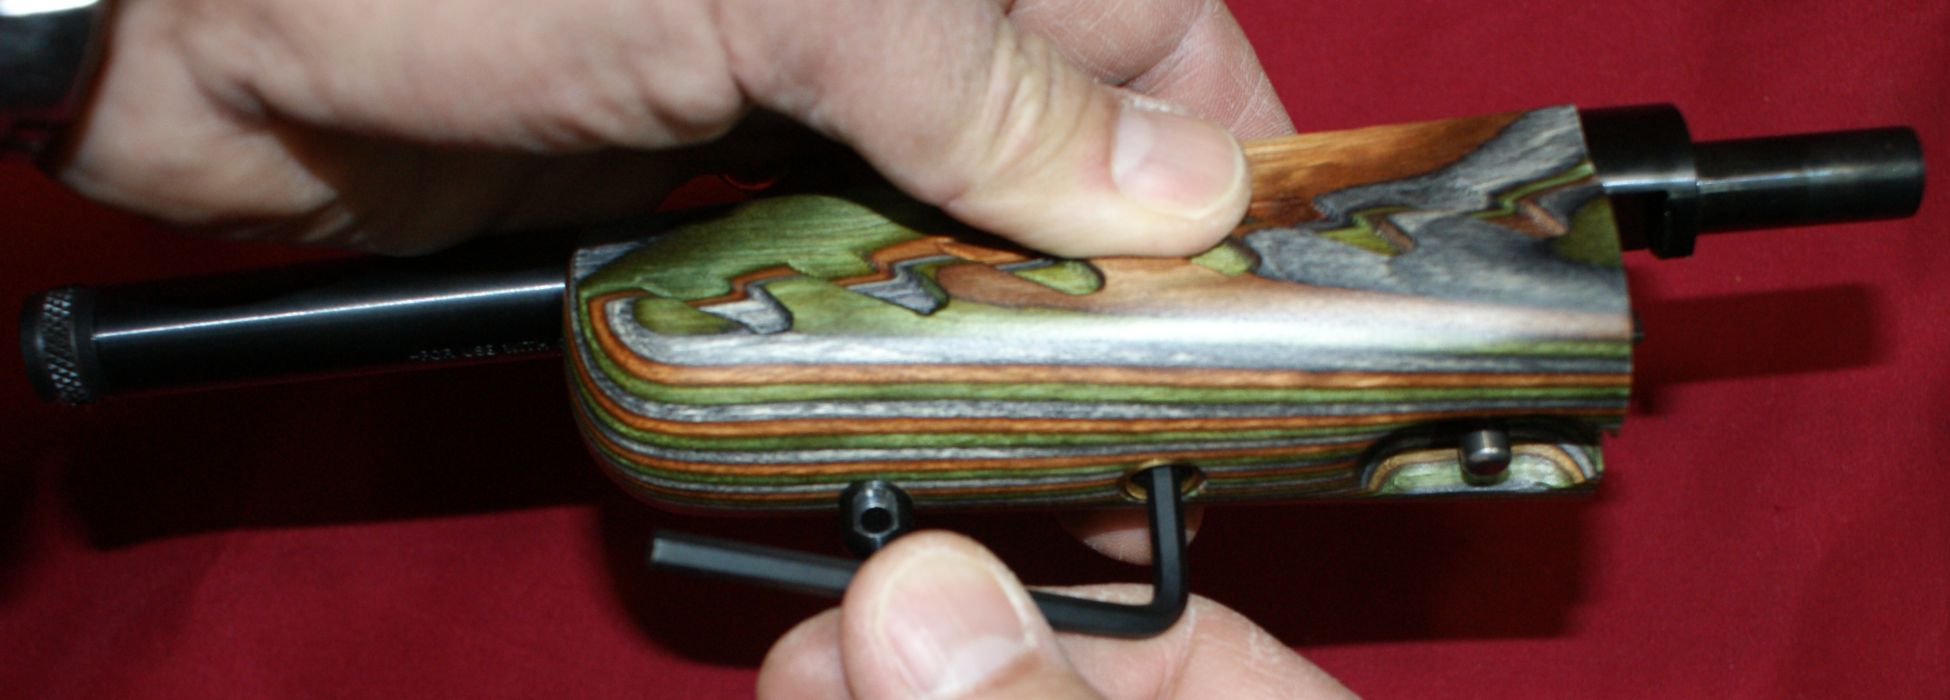
With the screw loosened, the forend can be pulled down from the barrel.
Figure 16
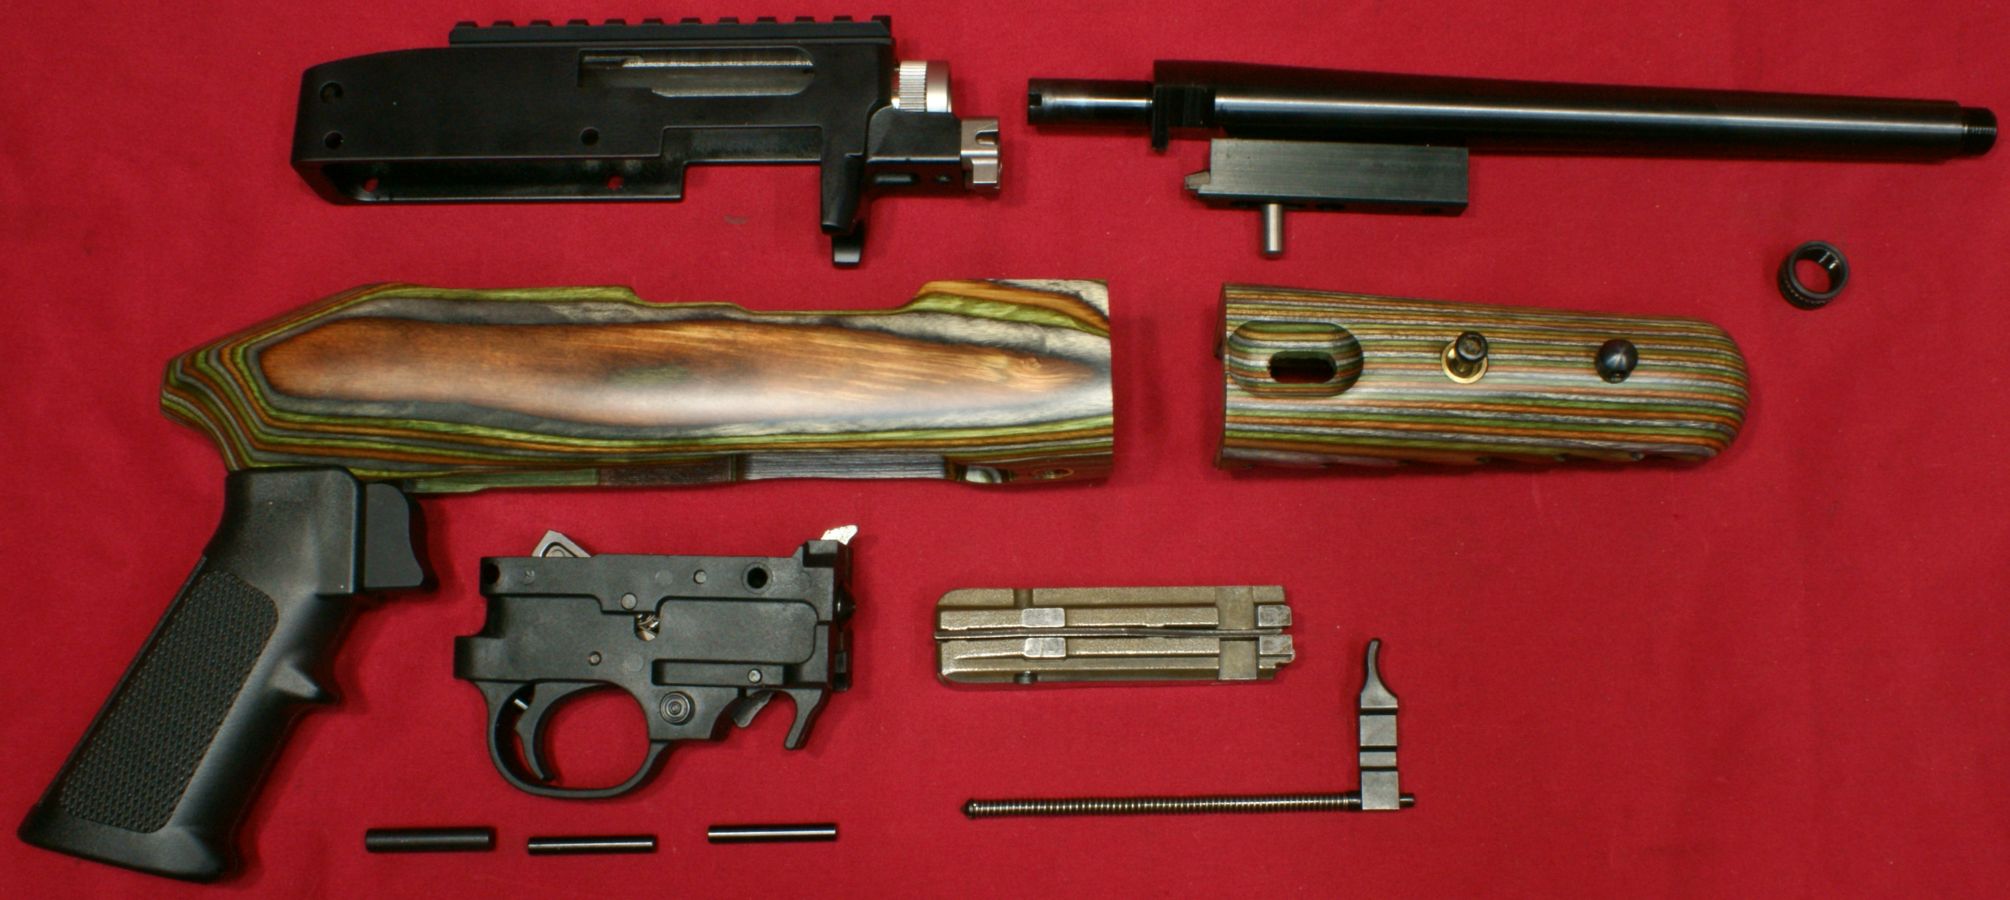
Fully Disassembled for Cleaning
This next photo shows the disassembled 22 Charger Takedown Pistol for a thorough cleaning. Disassembly to this level is very easy. The trick to reassembly is getting the bolt back in place with the bolt handle properly engaged. The key to doing this is getting the recoil spring fully compressed and held in place as you insert the bolt. To fully compress the recoil spring, you might need to press on the bolt handle close to the spring using your finger or screwdriver.
Figure 17
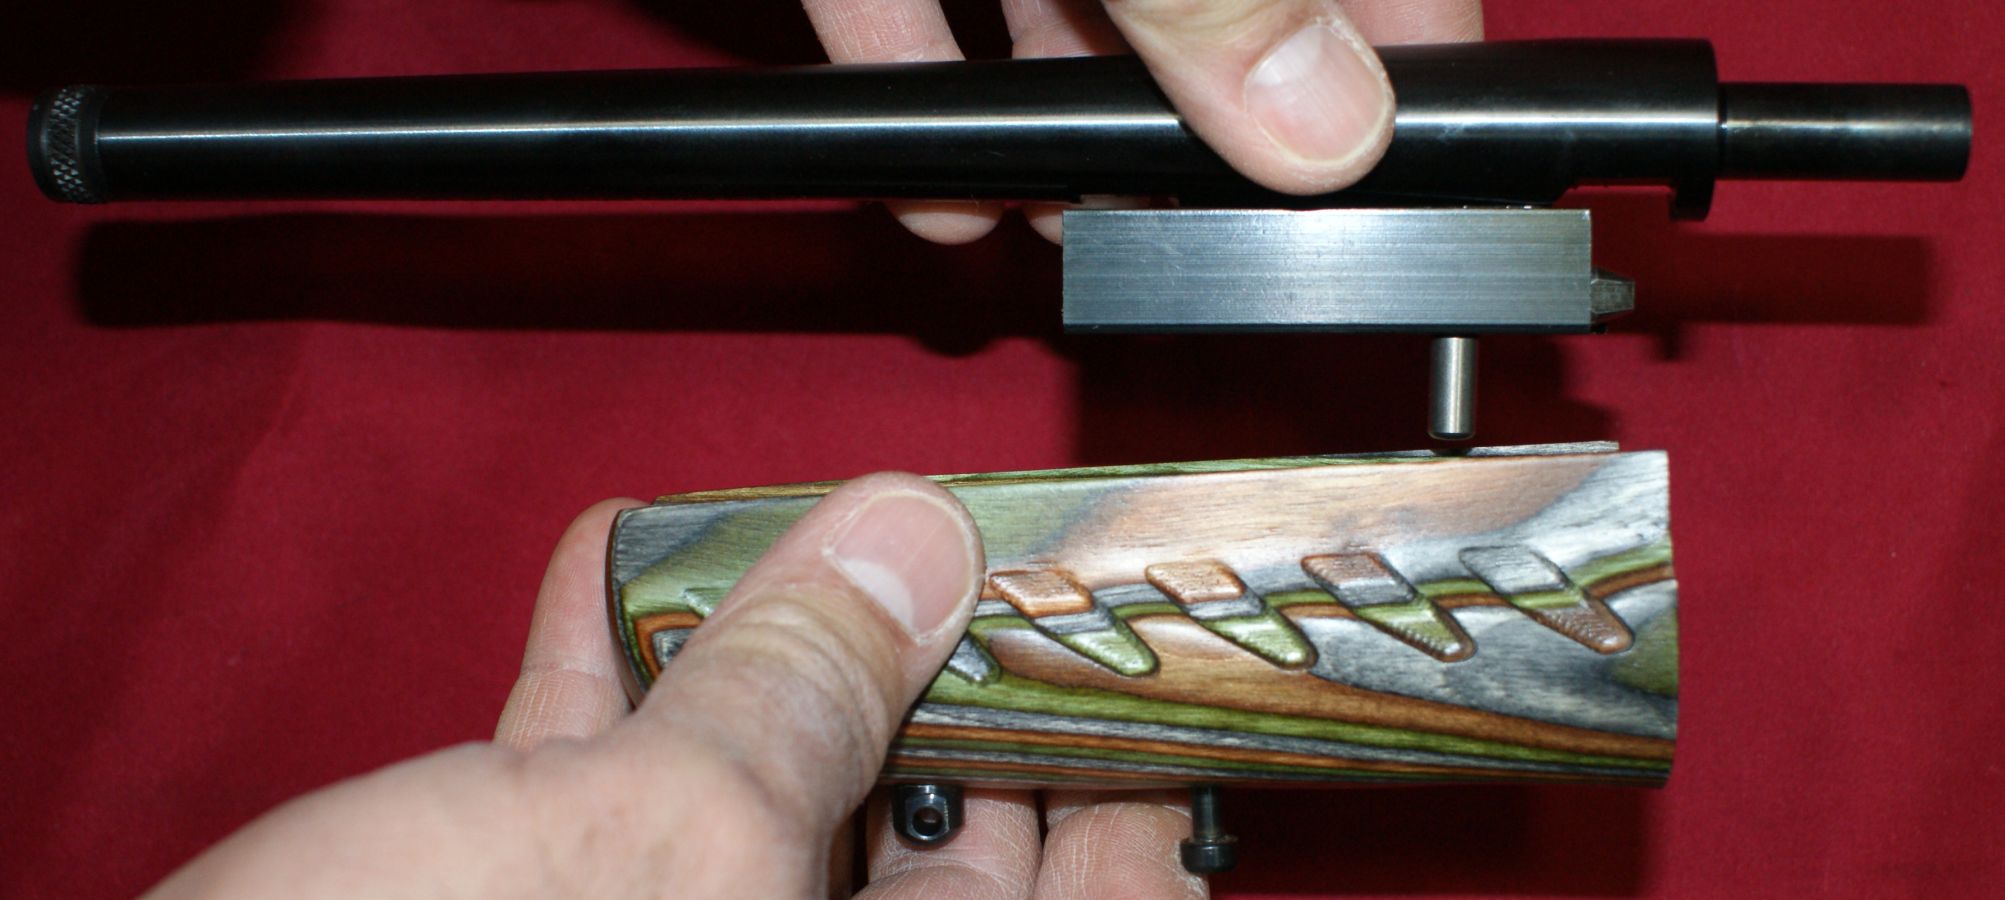
Internal Features and Additional Disassembly
After removing the laminated forend, I noticed that the block on the barrel that holds the takedown plunger didn't seem perfectly aligned with the barrel. I had already noticed this some at the front of the forend and barrel interface, but didn't give it too much consideration. After studying the exploded view in the Instruction Manual, I thought this could be corrected by realigning the block.
Figure 18

Figure 19

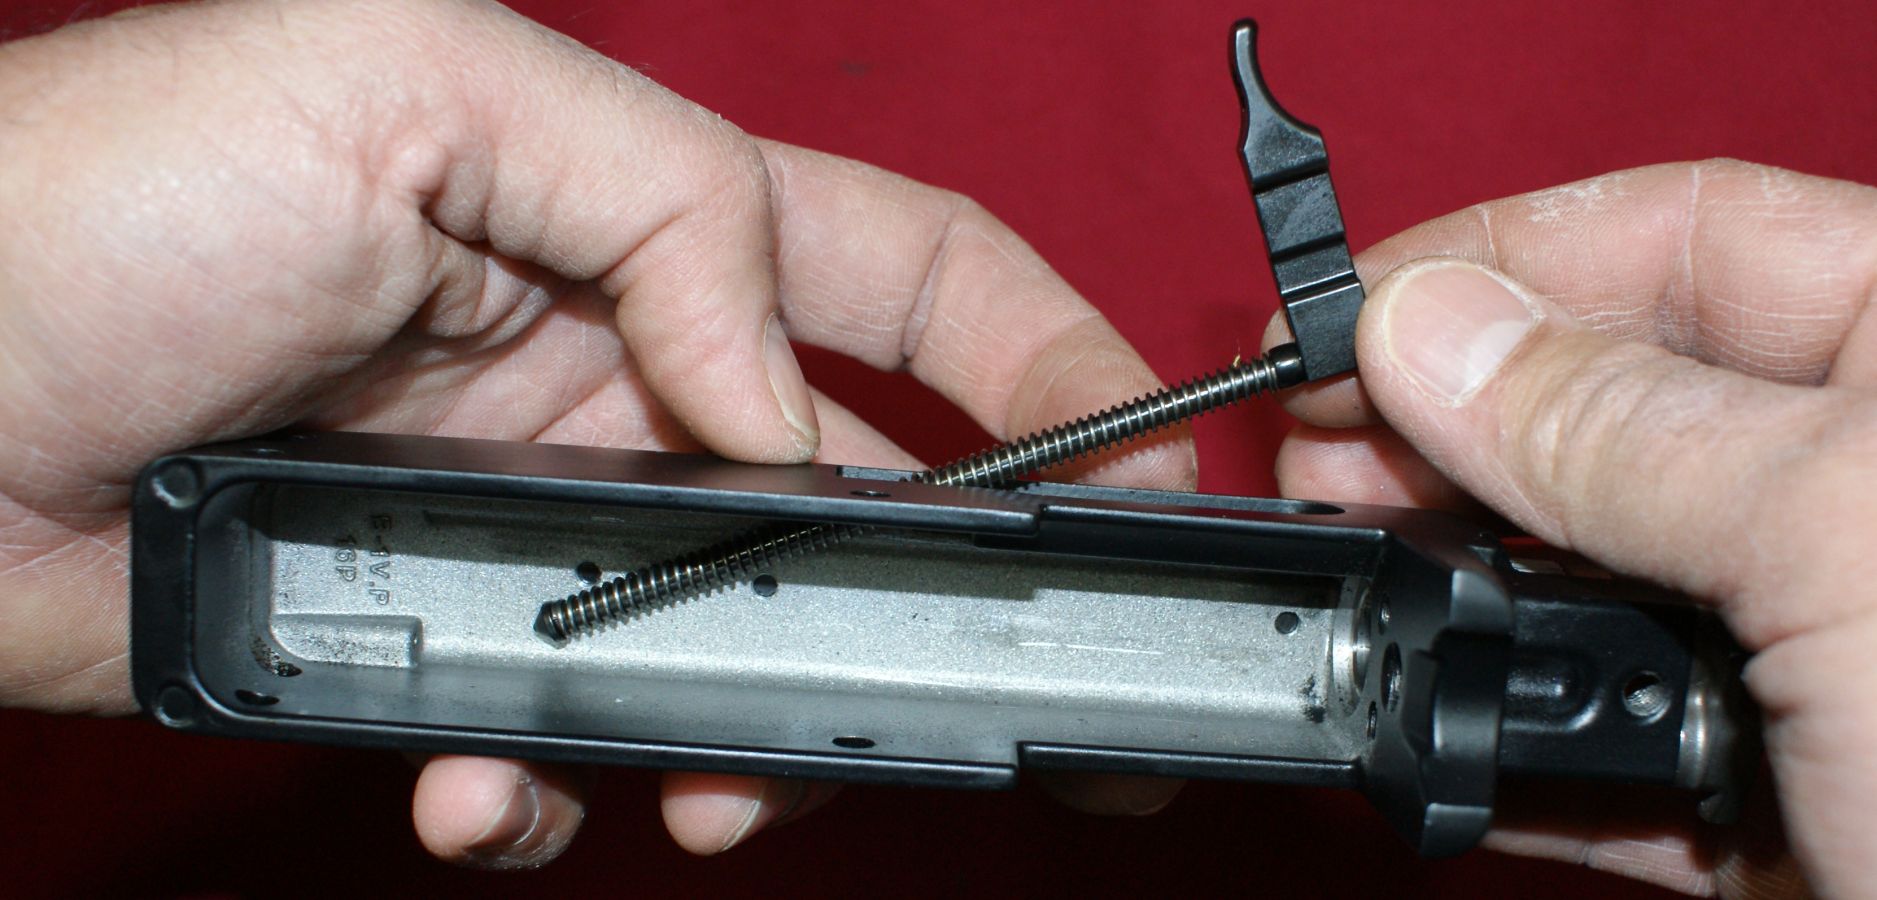
To gain access to the two screws that hold the block in place, you must first remove the stainless steel takedown lever, locking plunger, plunger detent and spring.
Figure 20
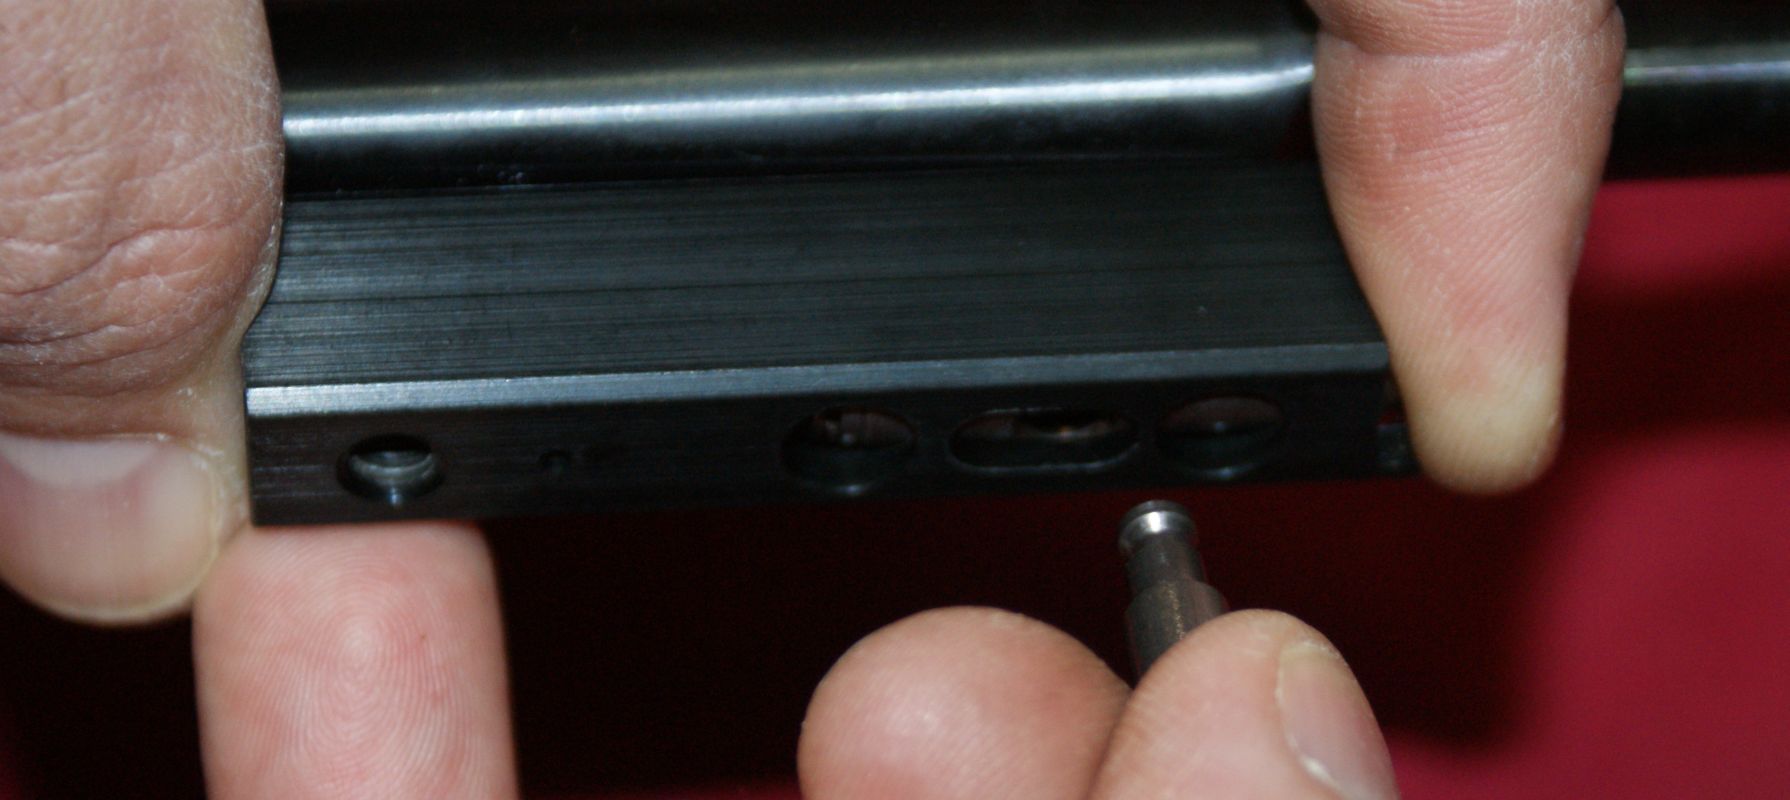
To remove the takedown lever, push the plunger into the block slightly and pull firmly on the lever. The lever will disengage the detent and can be removed from the assembly.
Figure 21
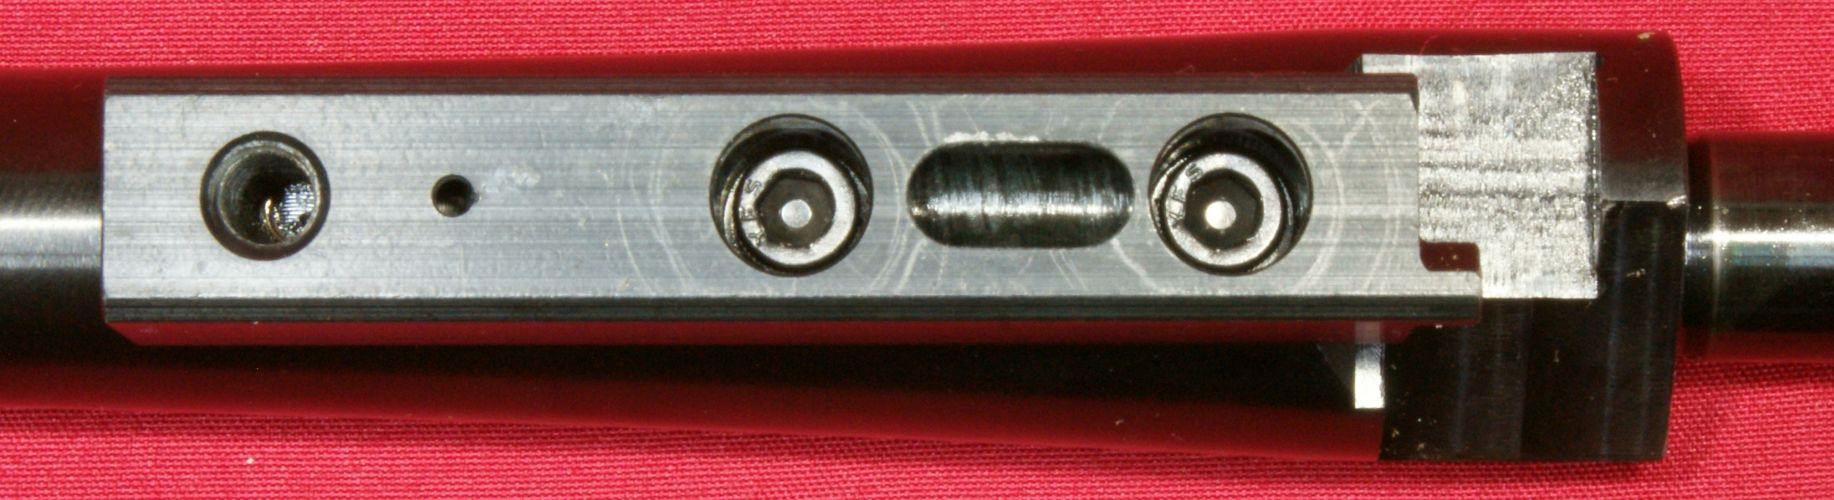
The takedown plunger and detent can be pulled from the block.
Figure 22

Rotating the block will allow the spring to fall out of the block.
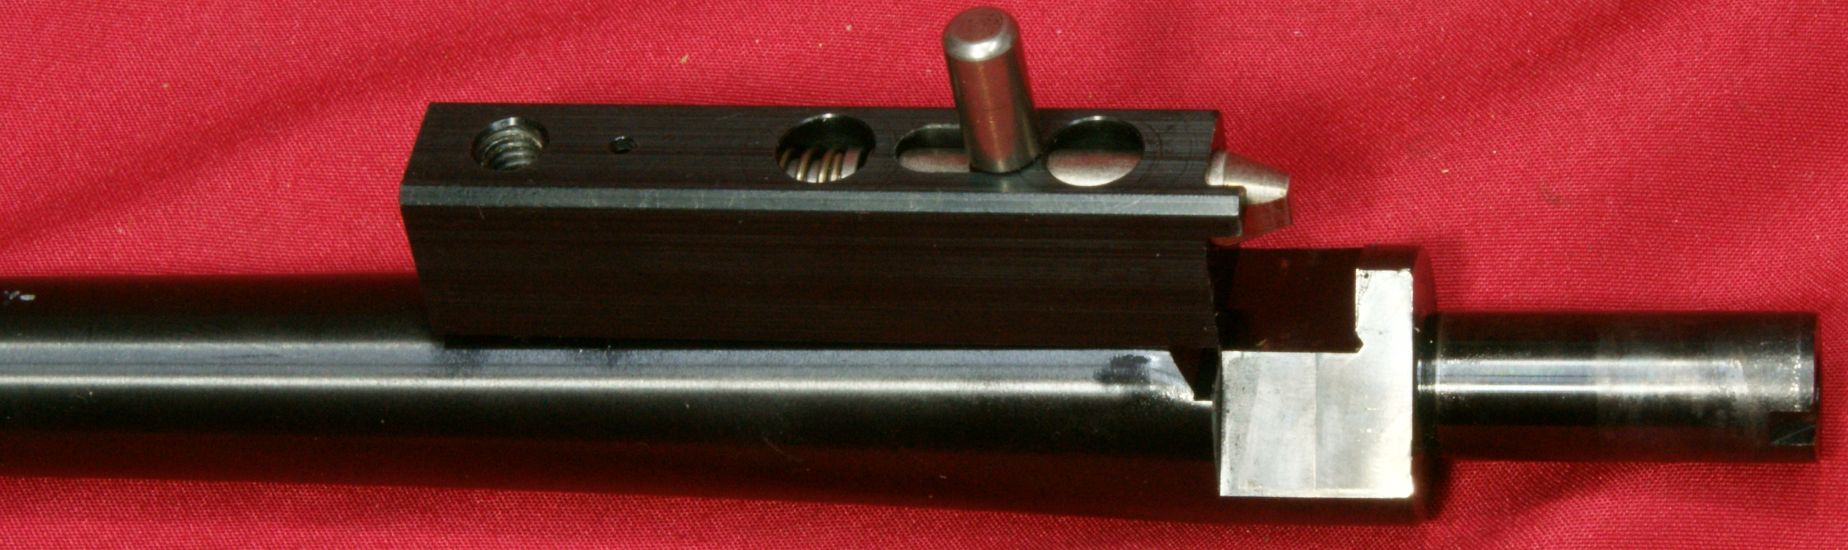
Figure 23

With these components removed, you can remove the two screws holding the block to the barrel. I was able to loosen the screws easily with an Allen wrench and was a little surprised that there was no thread locker holding them torqued.
Figure 24
With the block removed, I noticed that the stock bolt was making contact with the lower surface of the barrel in the recessed area to the left shown below. I didn't think this was correct, so I shortened the forend stock bolt by 1 thread similar to what I had done for the other stock bolt. When I reinstalled the block on the barrel, I was able to make sure the block and barrel were aligned much better than the initial installation. After making this change, the barrel was free floated from the block forward with the forend not touching the barrel. I torqued these bolts to about 50 in-lbs.
Figure 25
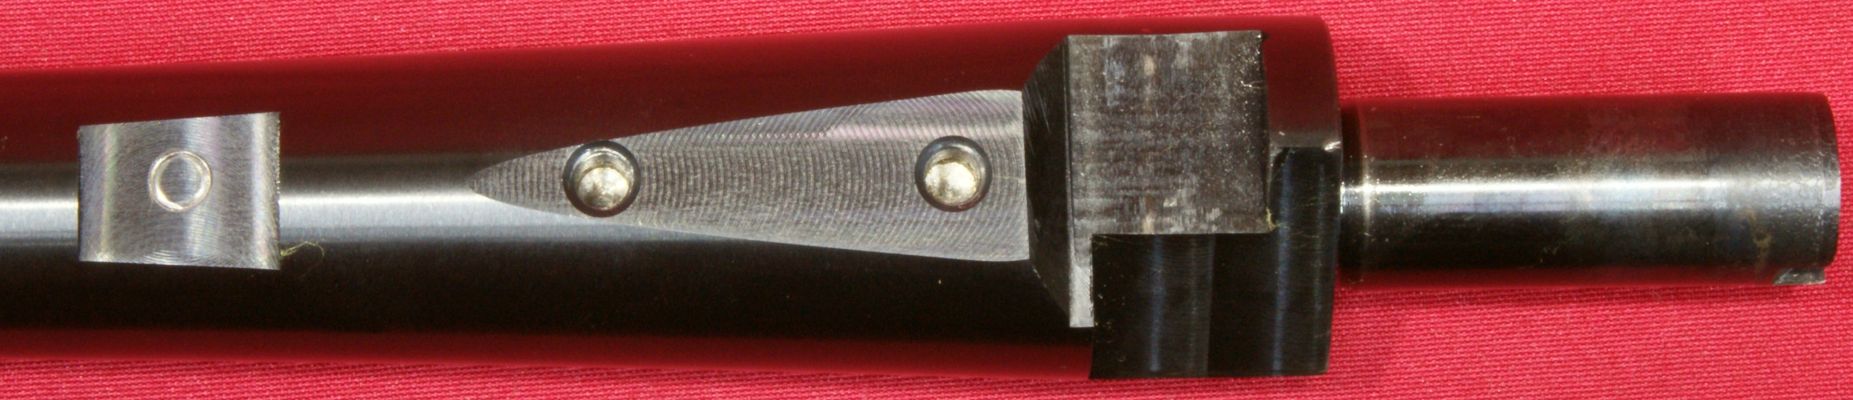
Figure 26

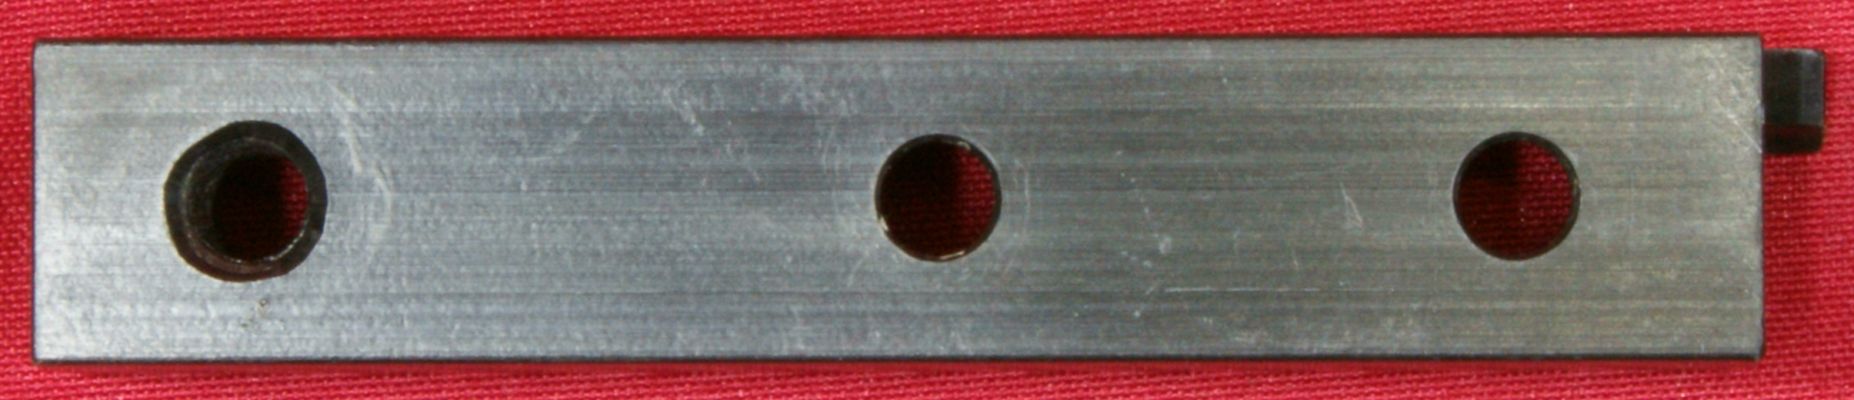
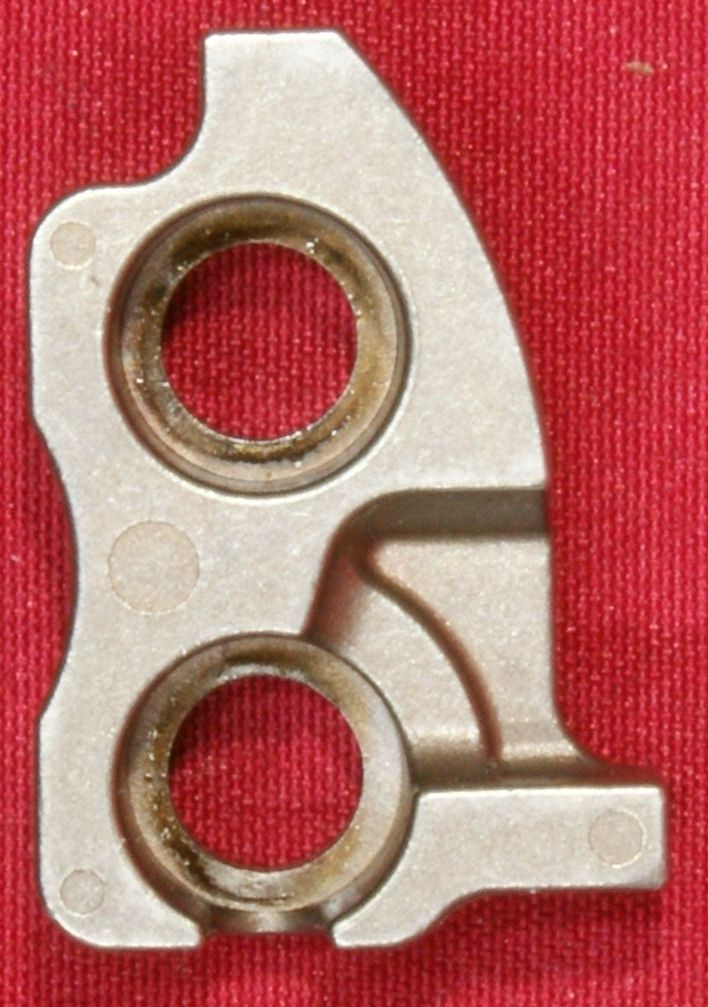
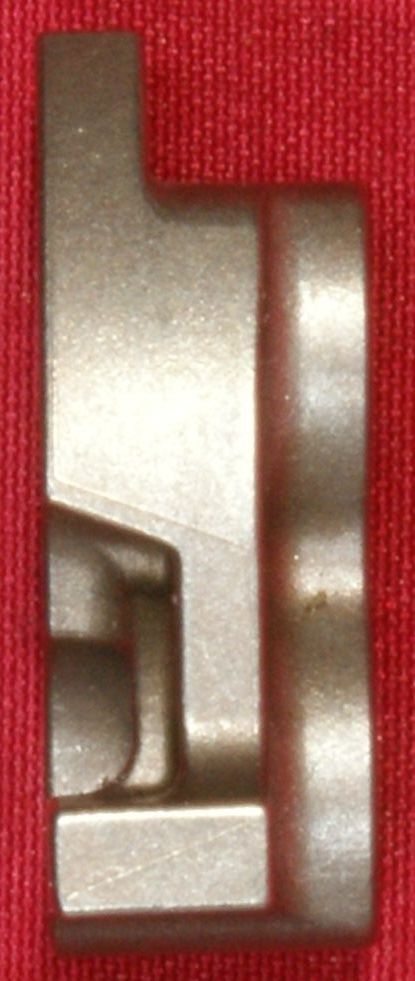
The block is made from aluminum and has a black anodized finish.
Figure 27

Figure 28
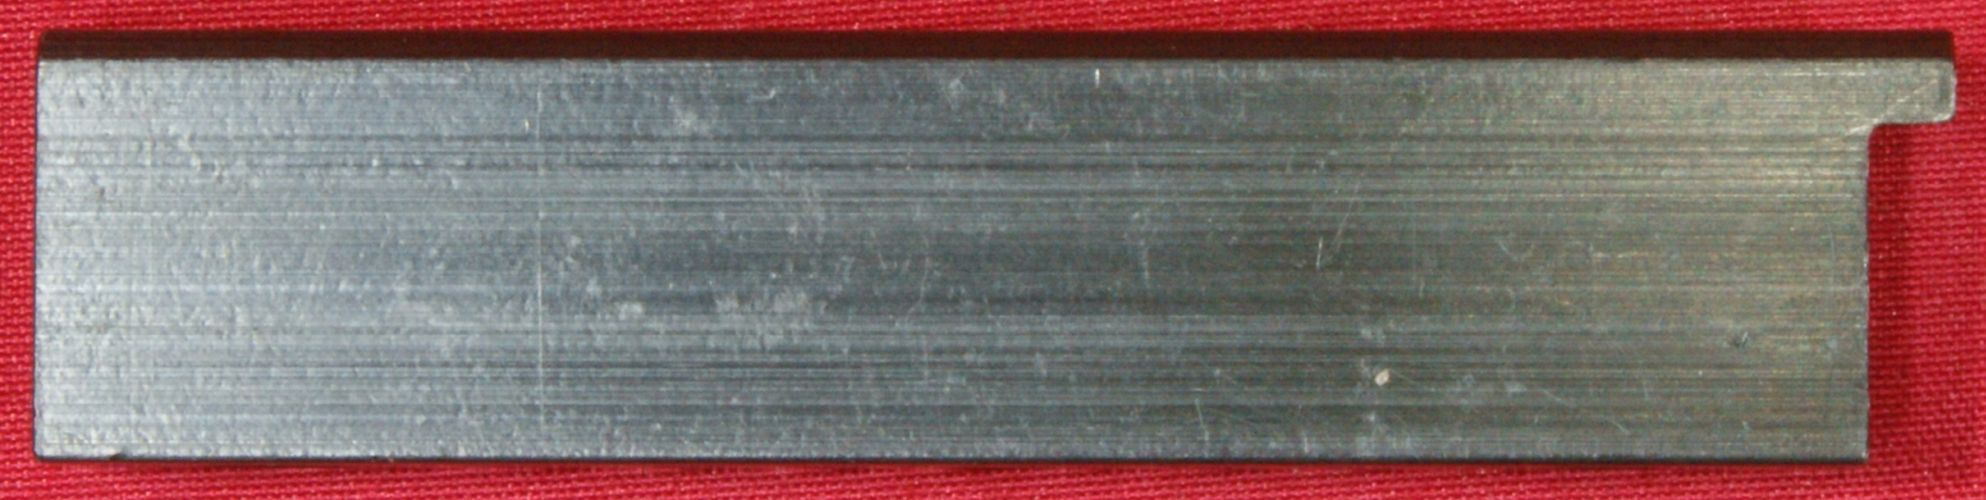
Figure 29
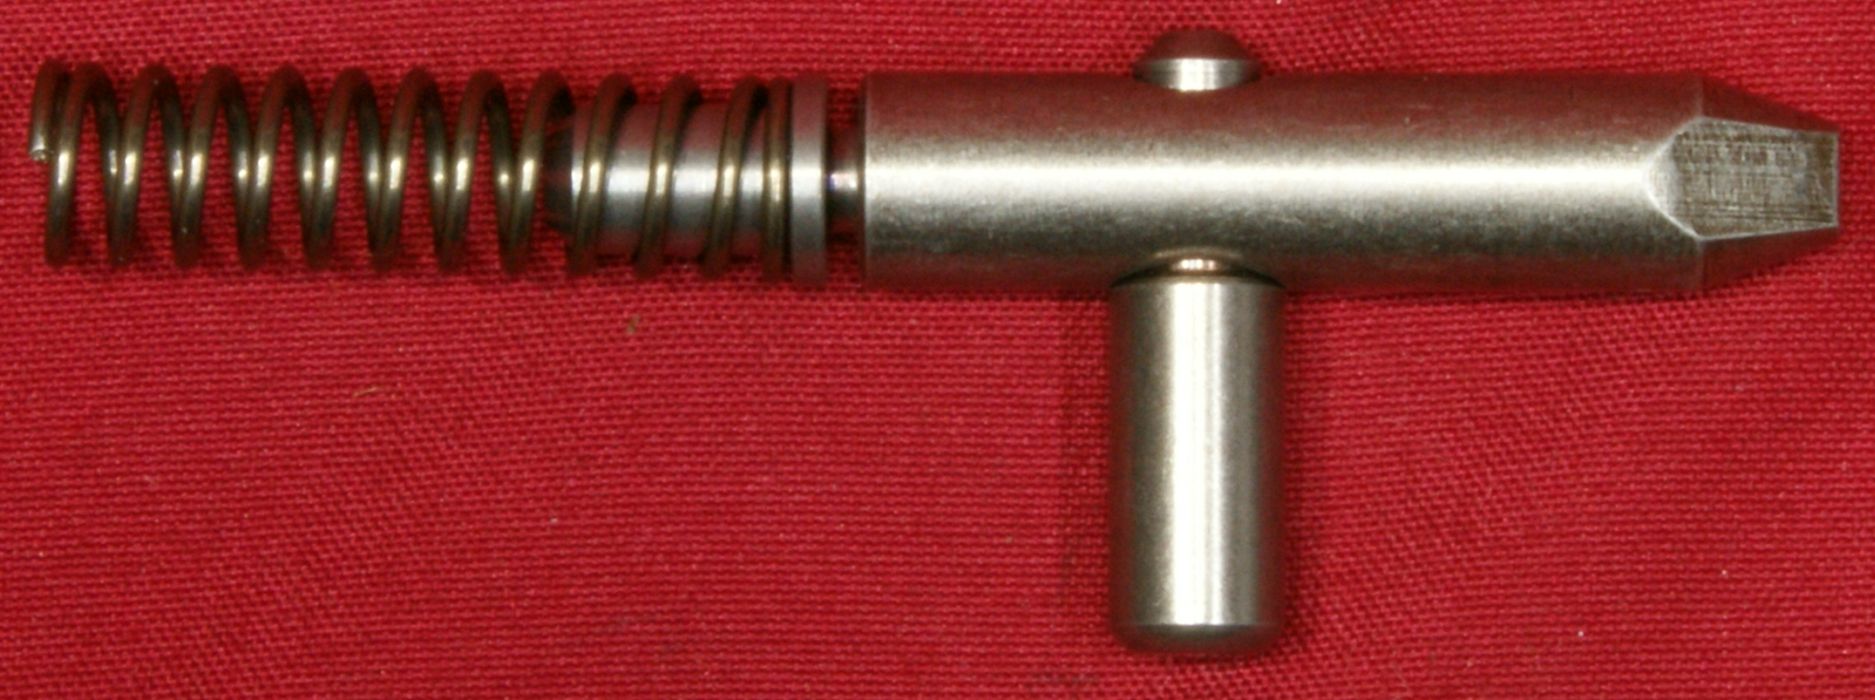
These next two photos show the stainless steel takedown plunger, detent, lever and spring.
Figure 30
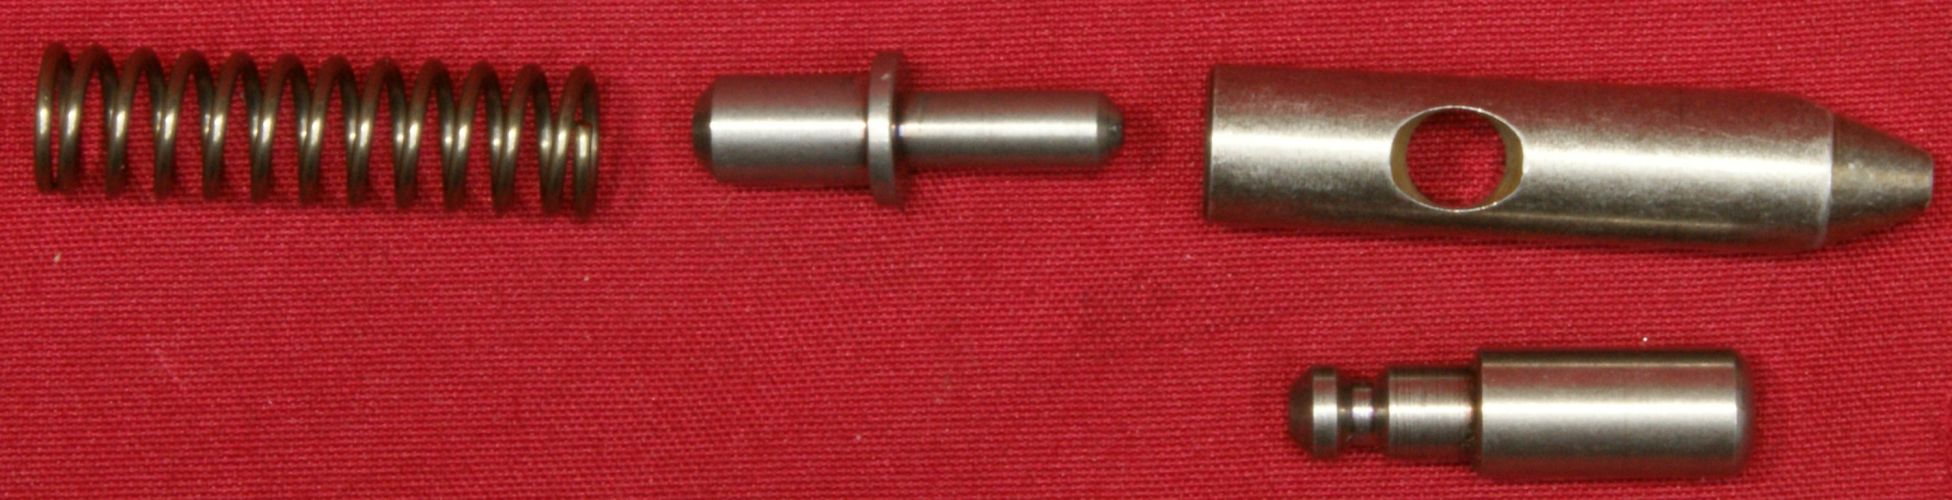
Figure 31
The sling swivel stud is screwed directly into the laminated forend.
Figure 32

Figure 33
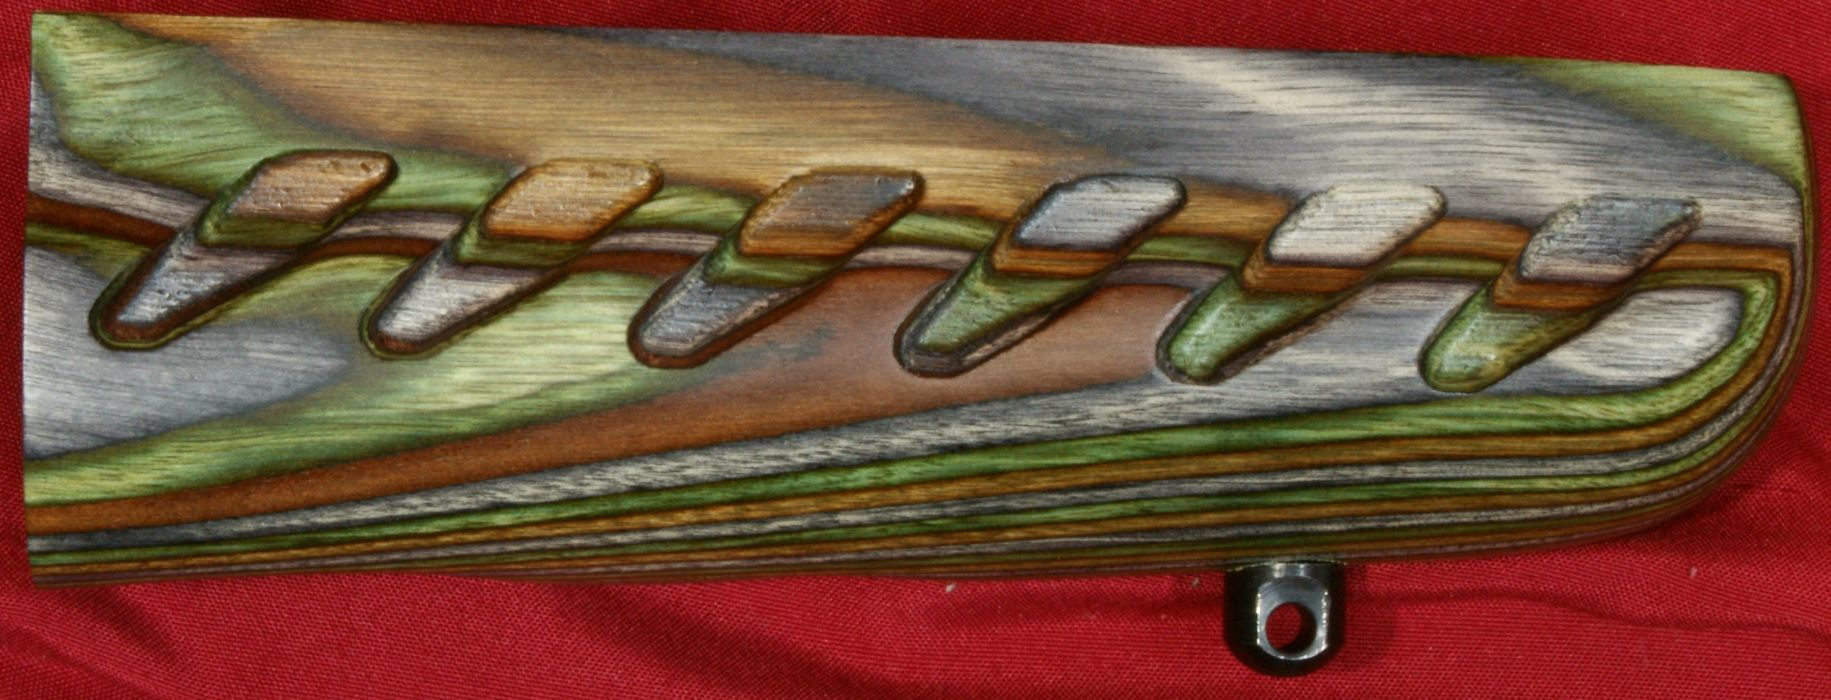
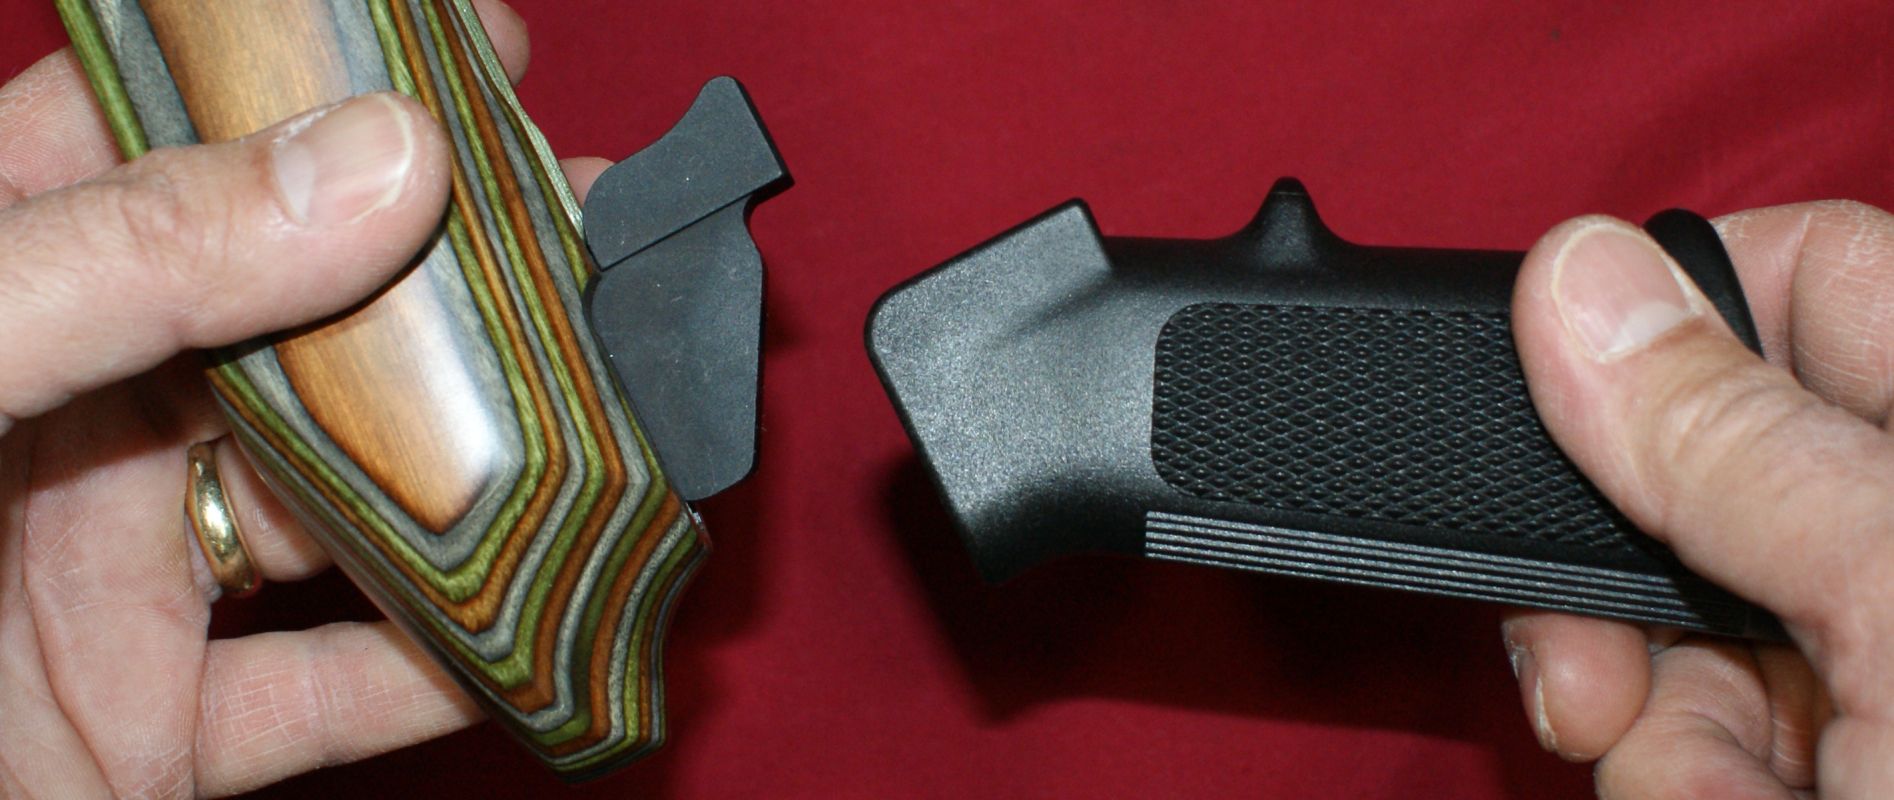
Figure 34

You can remove the A2 style pistol grip just like you would on any AR styled rifle. Using an Allen wrench, remove the grip bolt.
Figure 35
The grip slides off the grip mounting lug.
Figure 36
The grip mounting lug can be removed by removing the bolt at the rear of the stock.
Figure 37
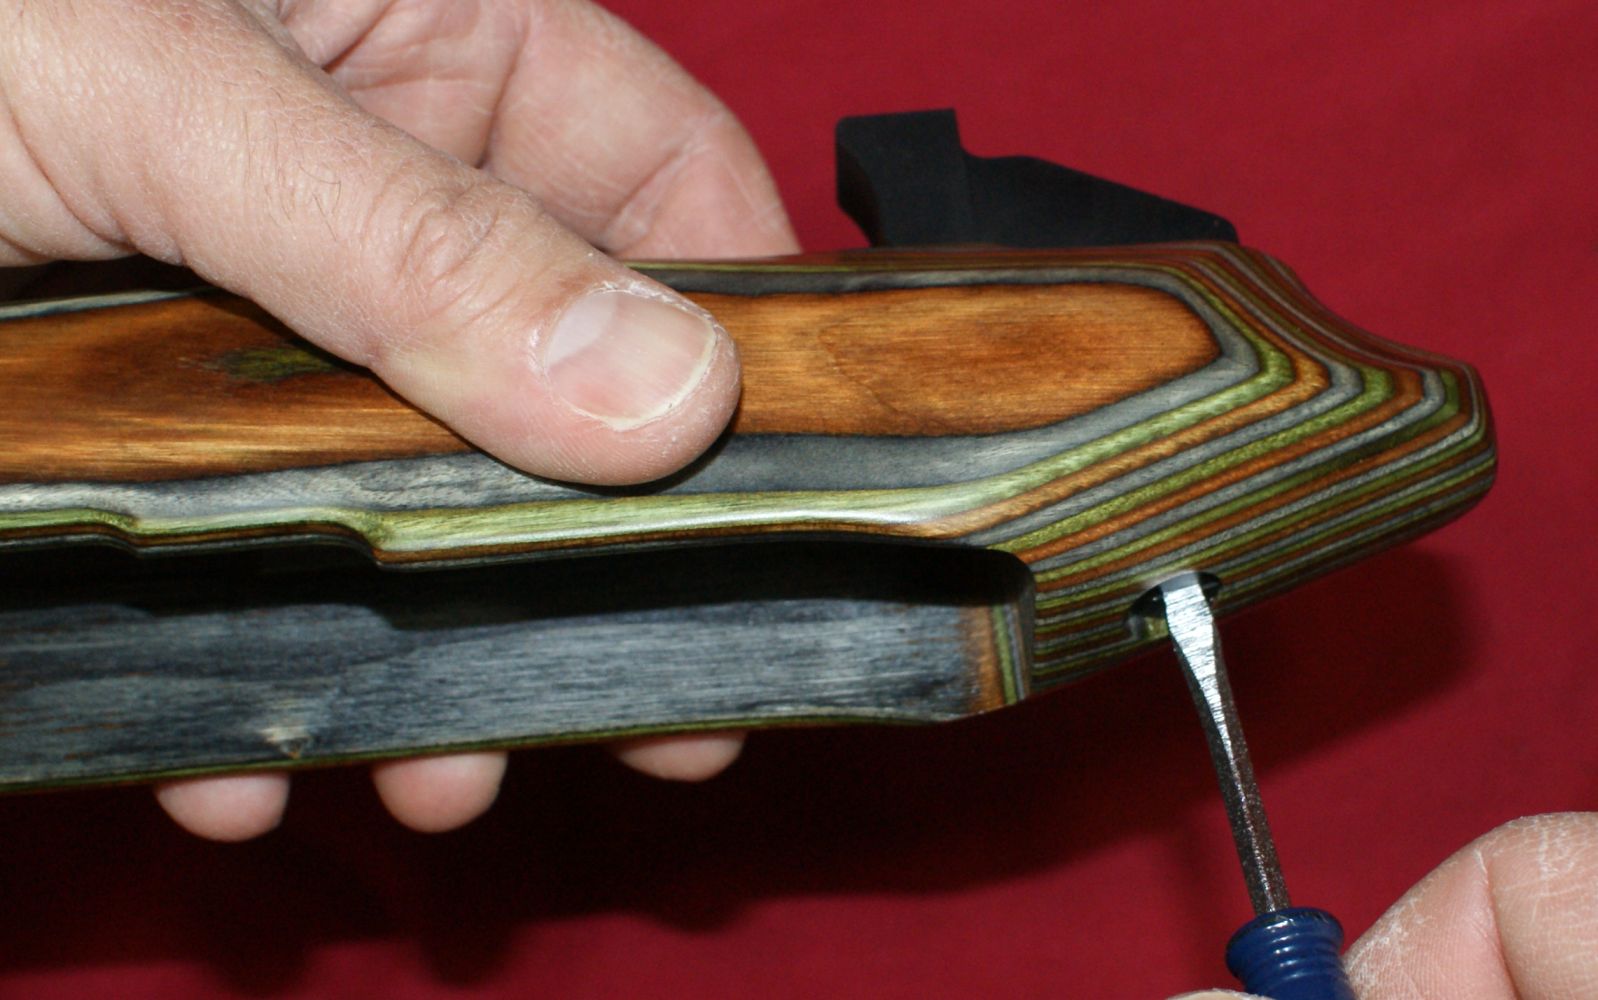
With the bolt removed, the lug can be lifted from the stock as shown.
Figure 38

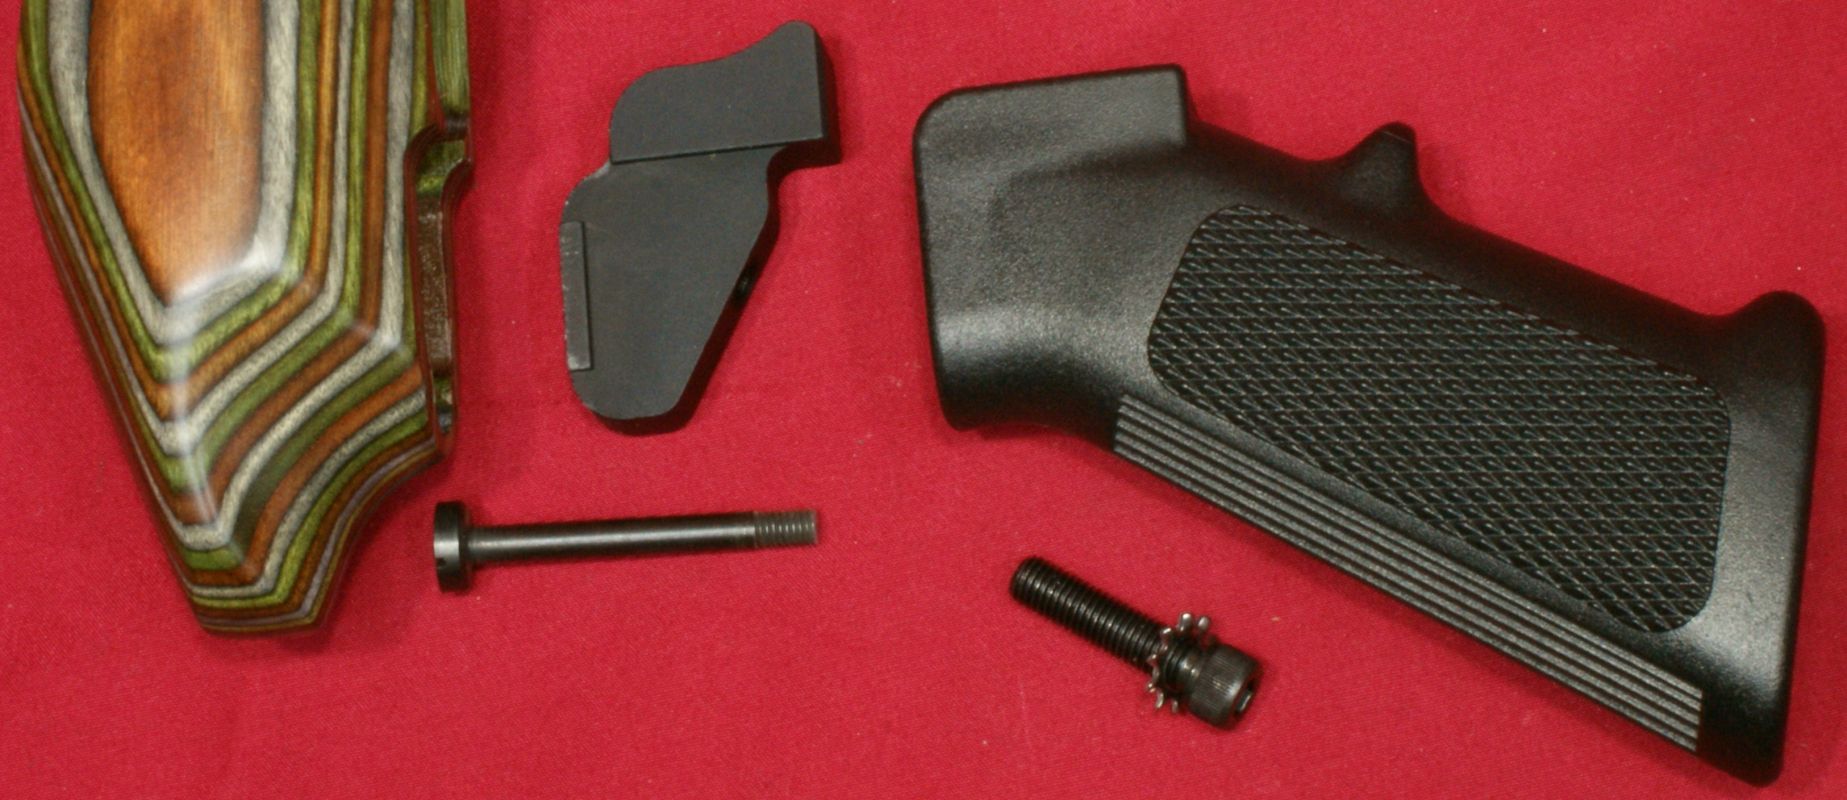
The grip and mounting components are shown below. None of these items were installed with thread locker and I feel they were only marginally tight. You might want to check them on your pistol to ensure tightness.
Figure 39
These next several photos show the laminated buttstock. Based on my count, there are 34 layers of wood laminated together to make up the stock. The layers are stacked in consecutive layers of grey, green and brown.
Figure 40
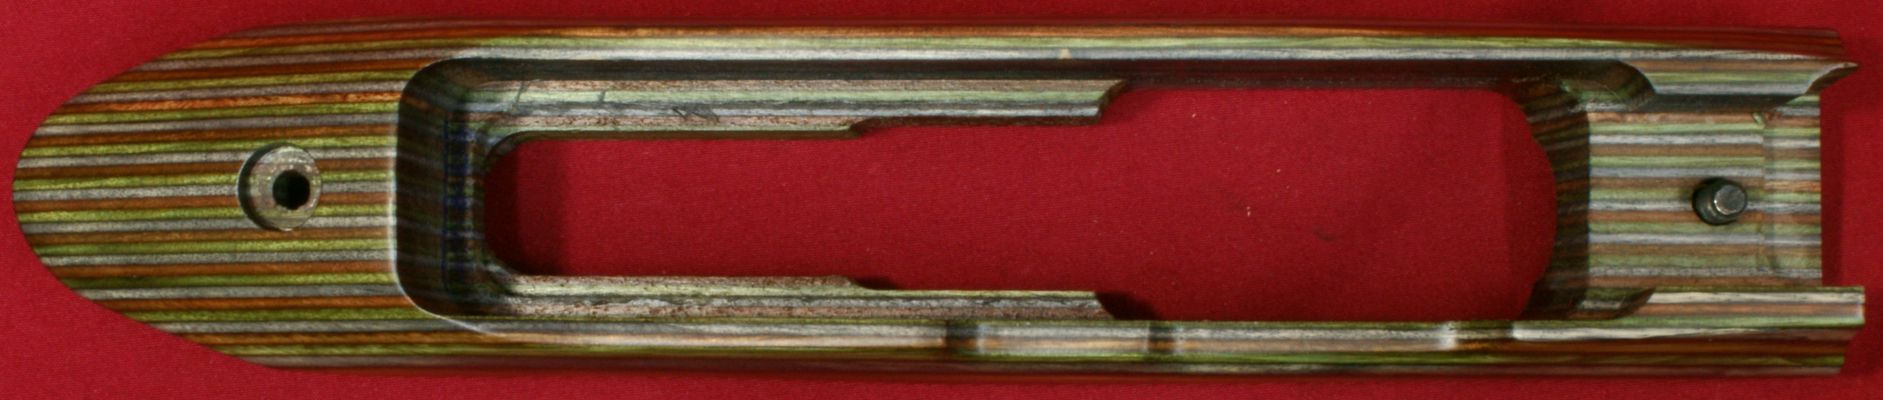
Figure 41

Figure 42

Figure 43

In this next photo you can see the ledge where the rear of the trigger housing nests to hold the receiver assembly in place at the rear of the buttstock.
Figure 44
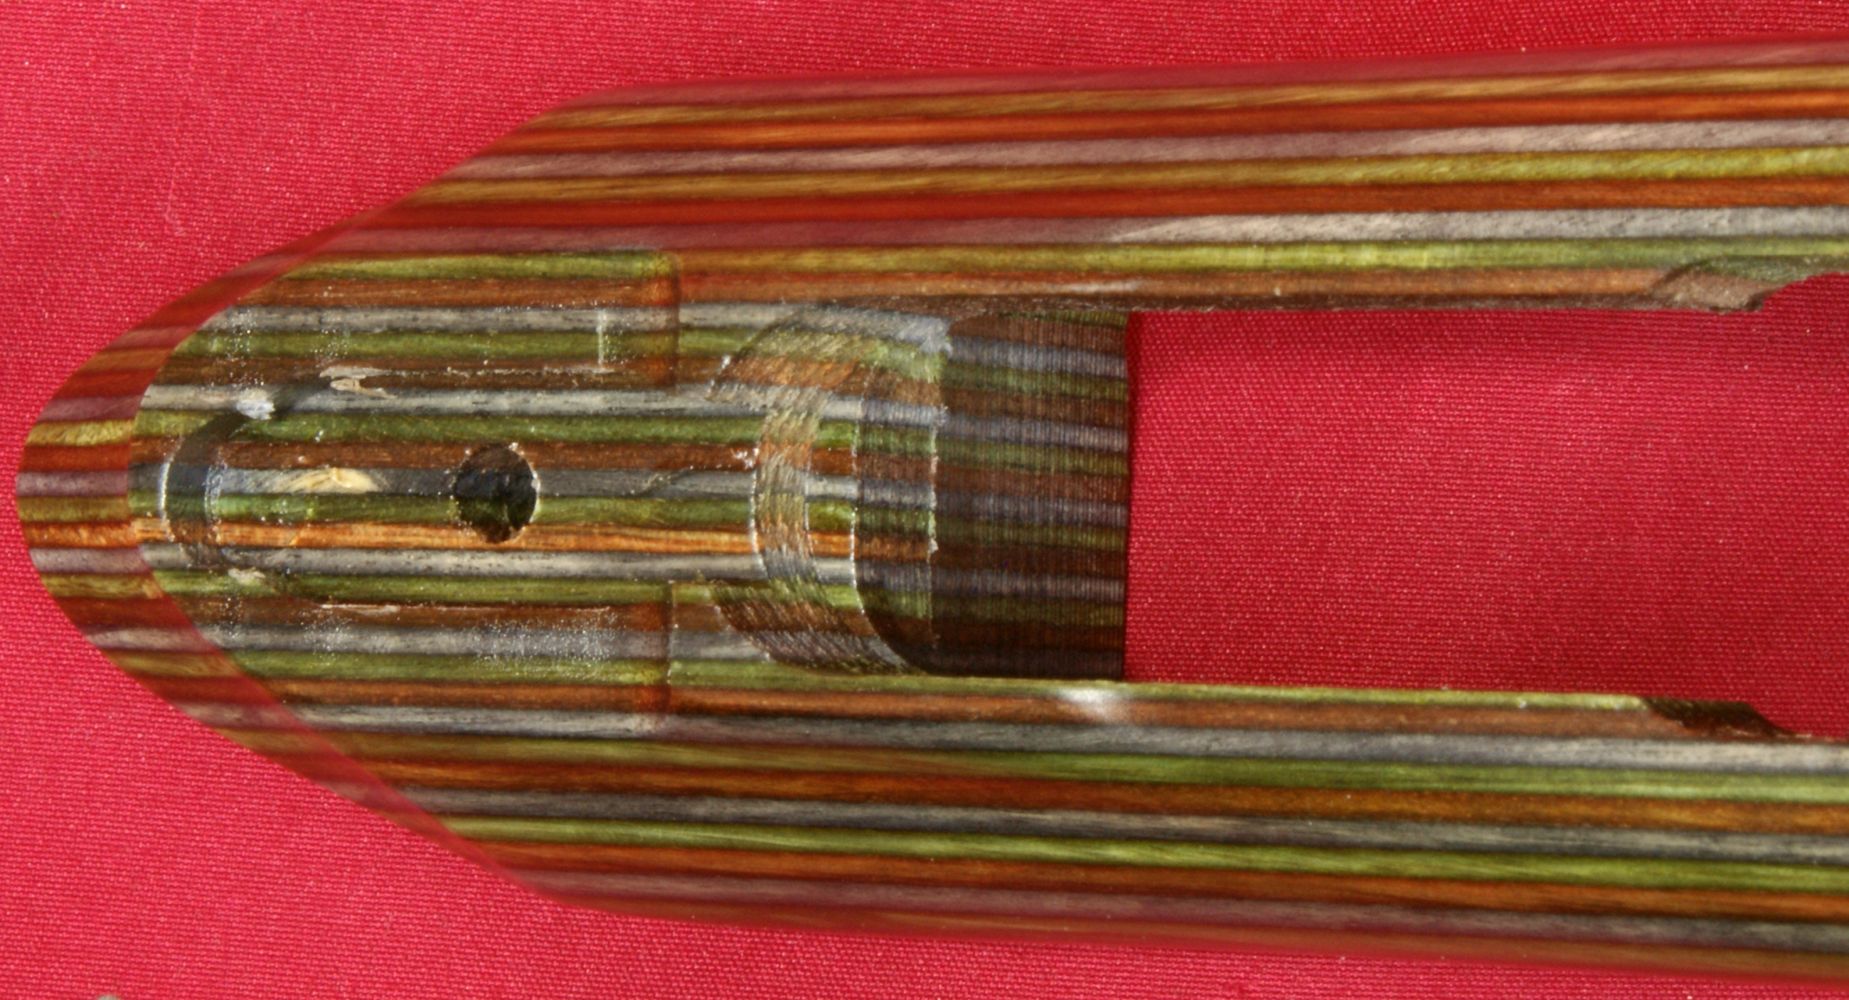
Figure 45

Figure 46 Figure 47 - Grip Mounting Lug
Figure 48
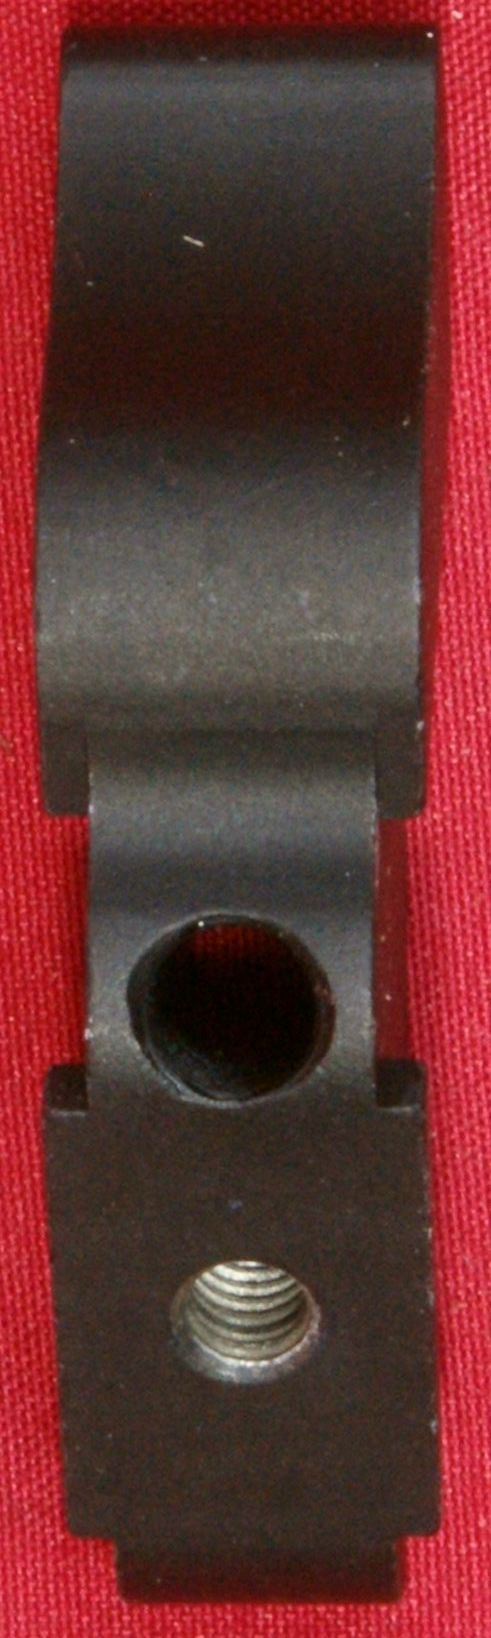

Figure 49 - Grip Mounting Lug Bolt

As I mentioned in Part 3, I checked torque on the rail mounting screws and it was less than 10 in-lbs on each. I removed the screws and rail and then later reinstalled the rail using purple (low strength) Loctite on the screws and torqued them all to 18 in-lbs.
Figure 50

I decided to check the torque on the takedown clamp and found these screws to be only snug tight. I decided to go ahead and remove the screws and clamp. When I reinstalled these screws, I torqued them to 40 in-lbs.
Figure 51
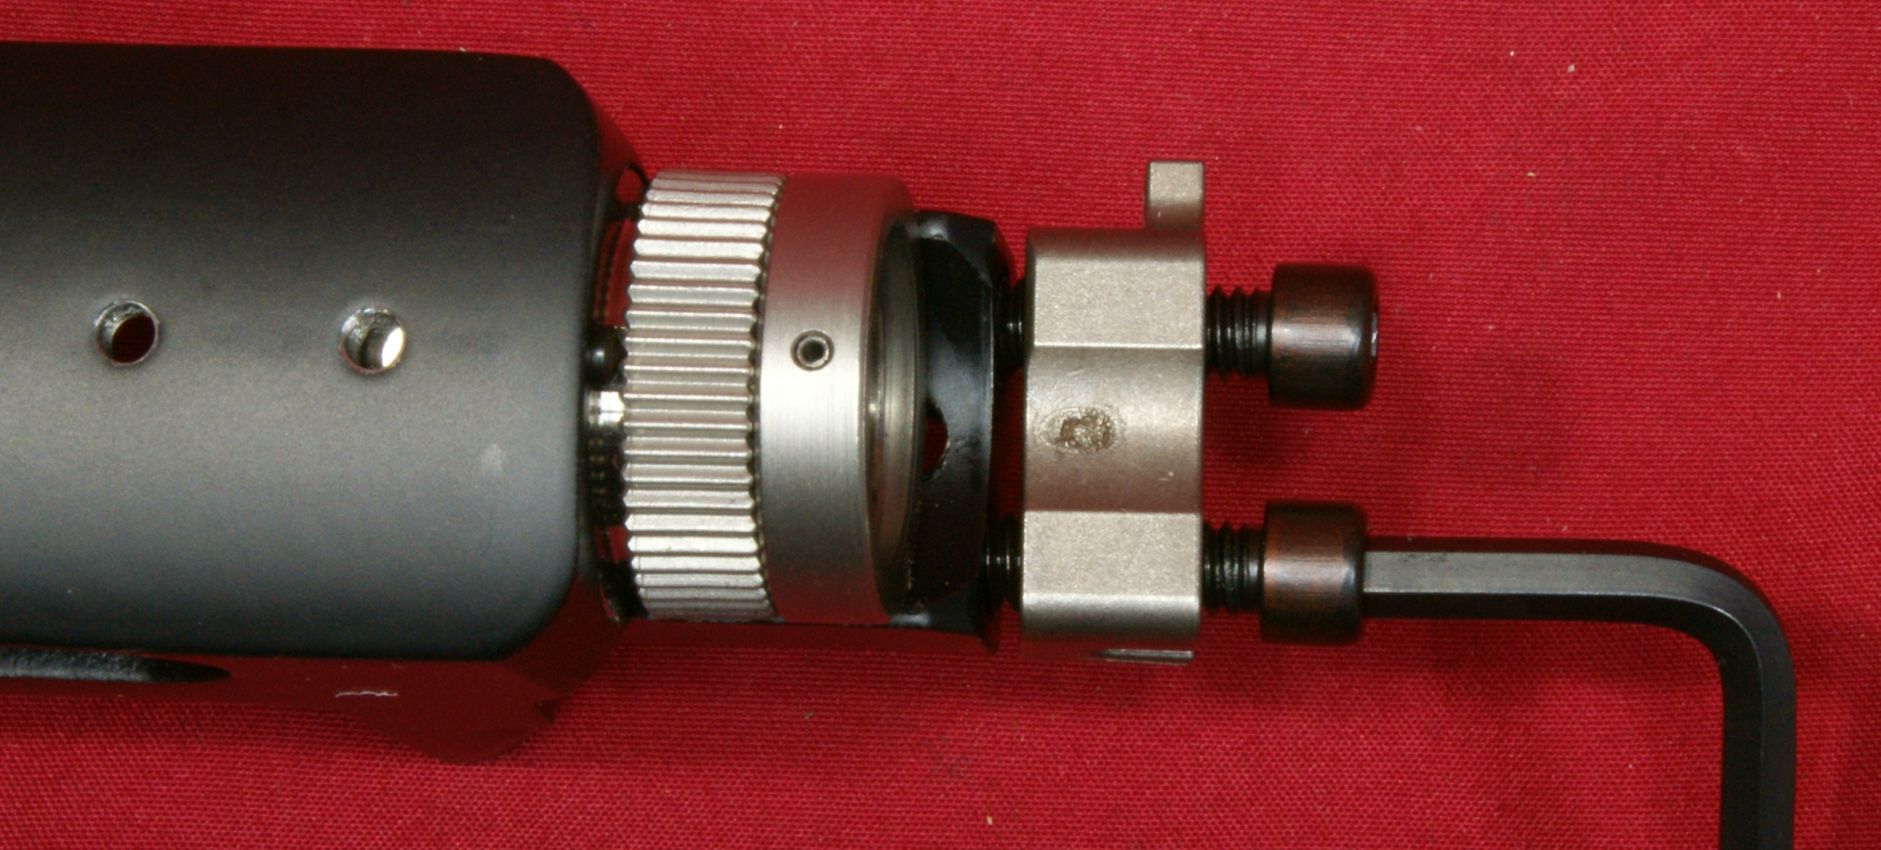
Figure 52
Figure 53 - Takedown Clamp
Figure 54
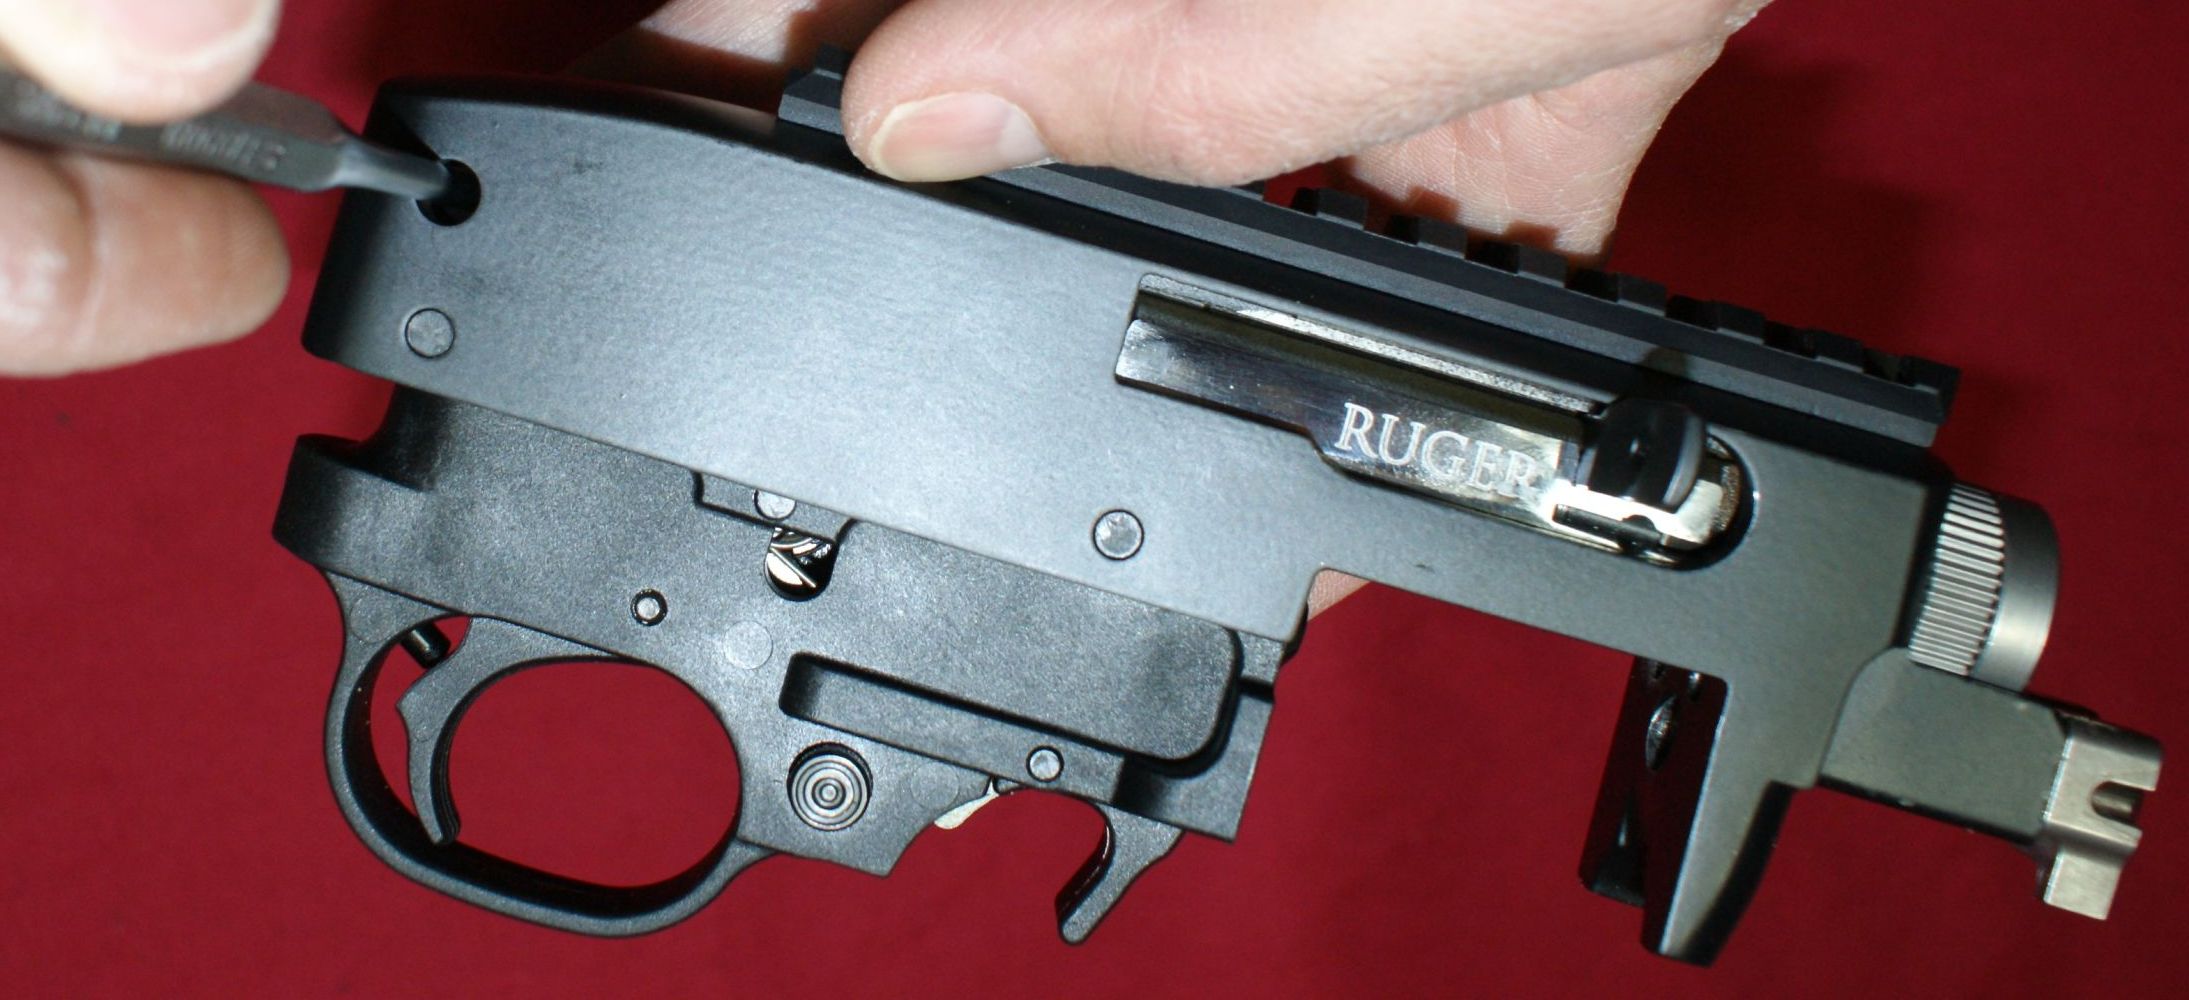
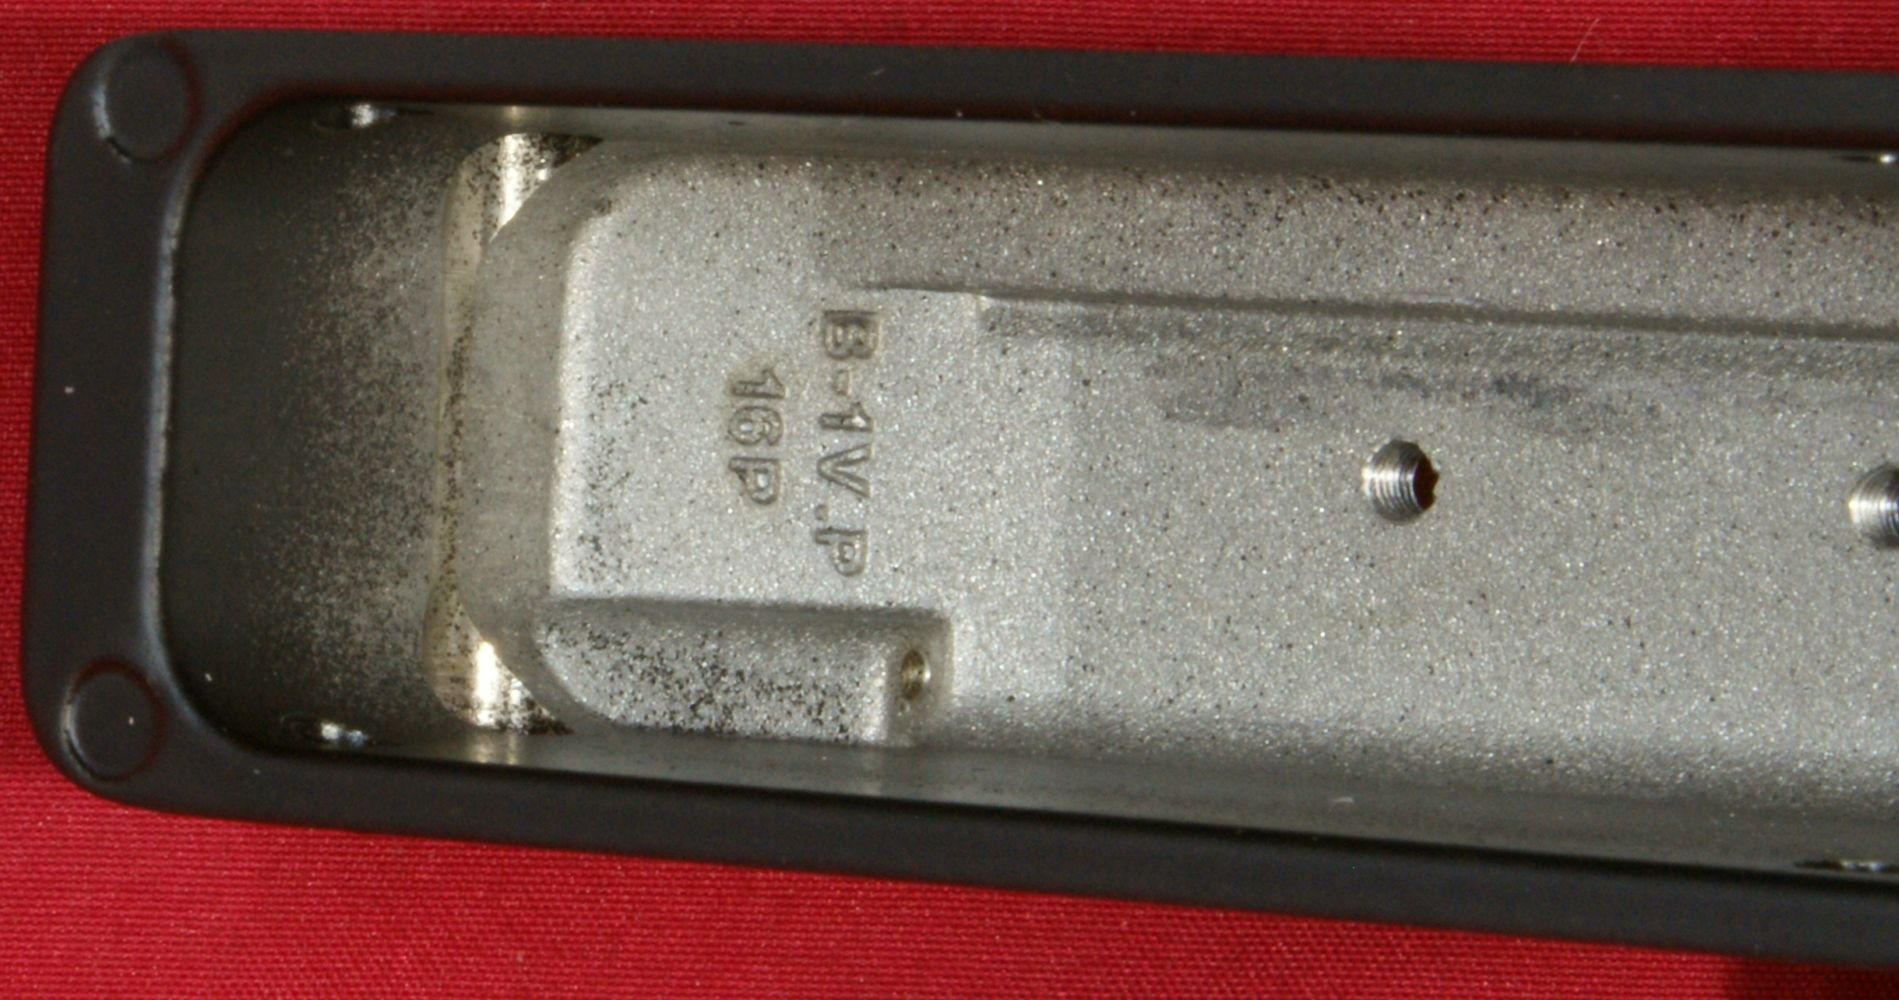
This next series of photos gives you a good look at the receiver assembly. I chose not to remove the barrel insert because the instruction manual clearly stated this part must be factory fitted.
Figure 55
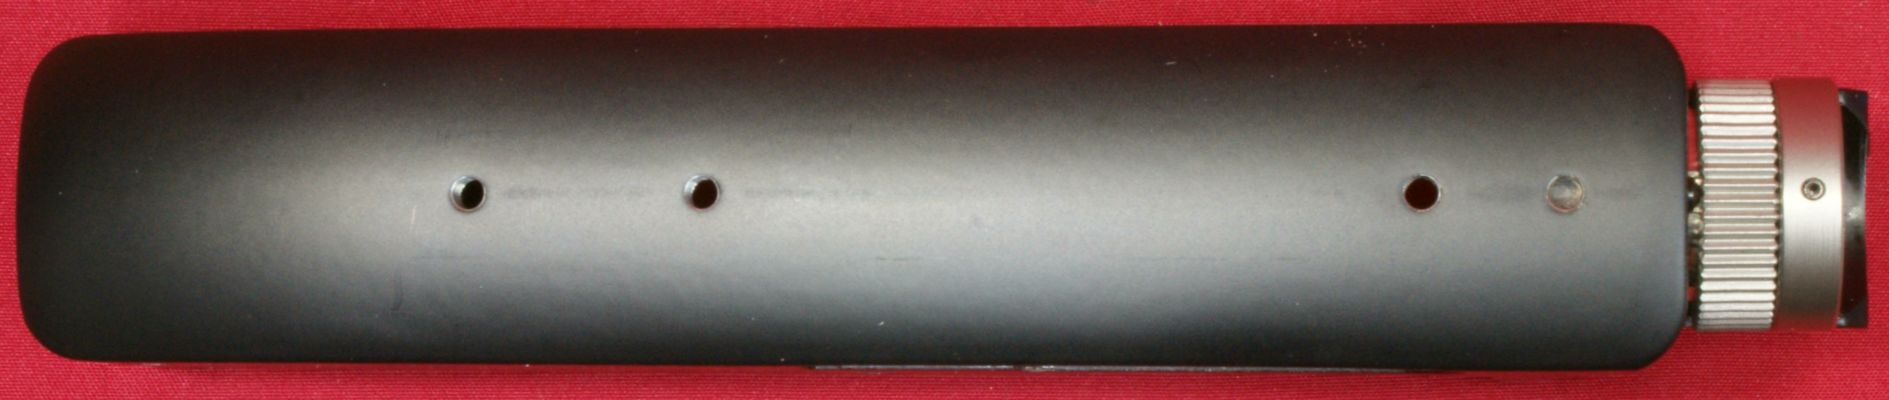
The receiver is made from aluminum and painted to the matte black finish.
Figure 56
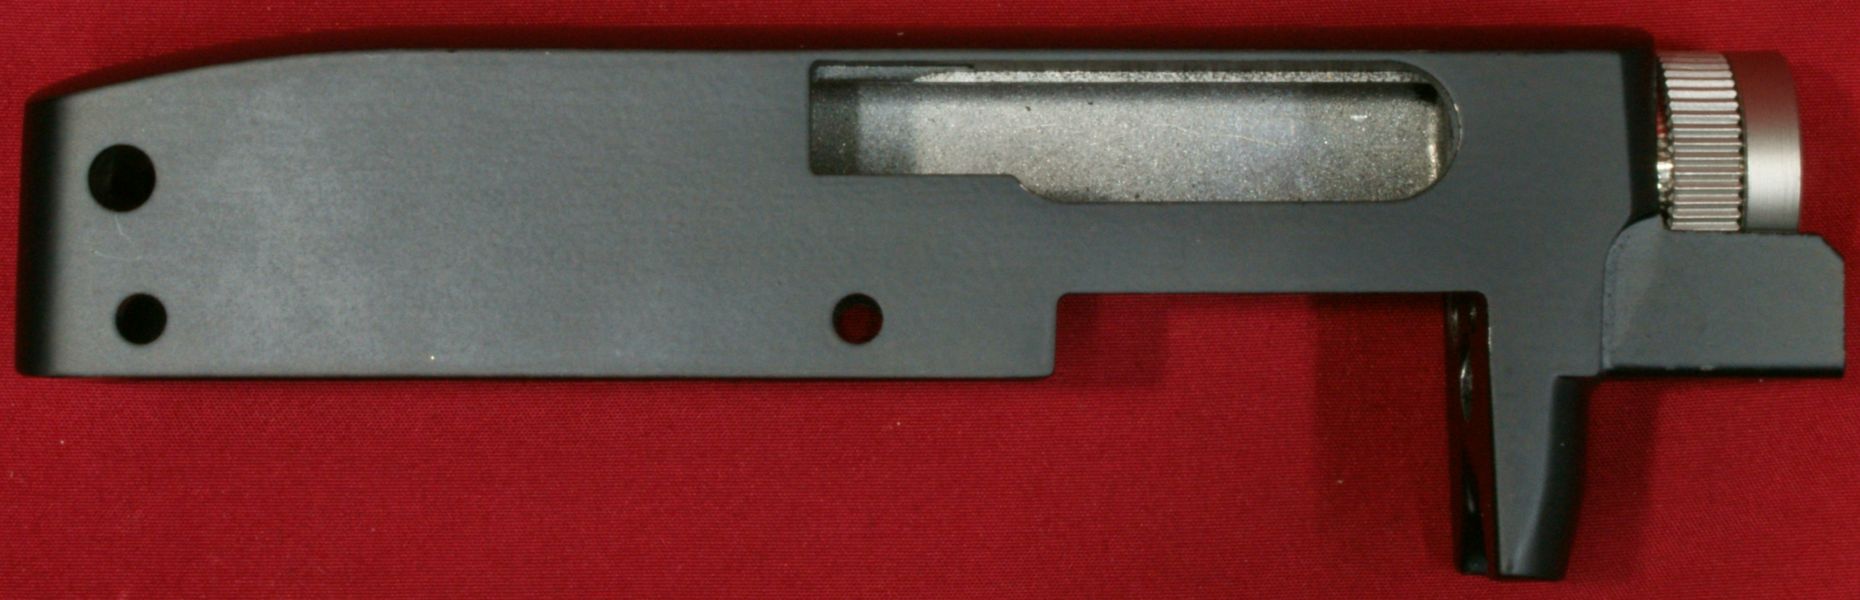
The inside of the receiver is kept bare so that you don't have paint wearing or flaking off causing potential cycling issues. I found the inside of the receiver to be fairly dry of lubrication and coated it thoroughly with some Tetra Gun Lubricant. Once I reassembled, the bolt had a much smoother action when hand cycling.
Figure 57
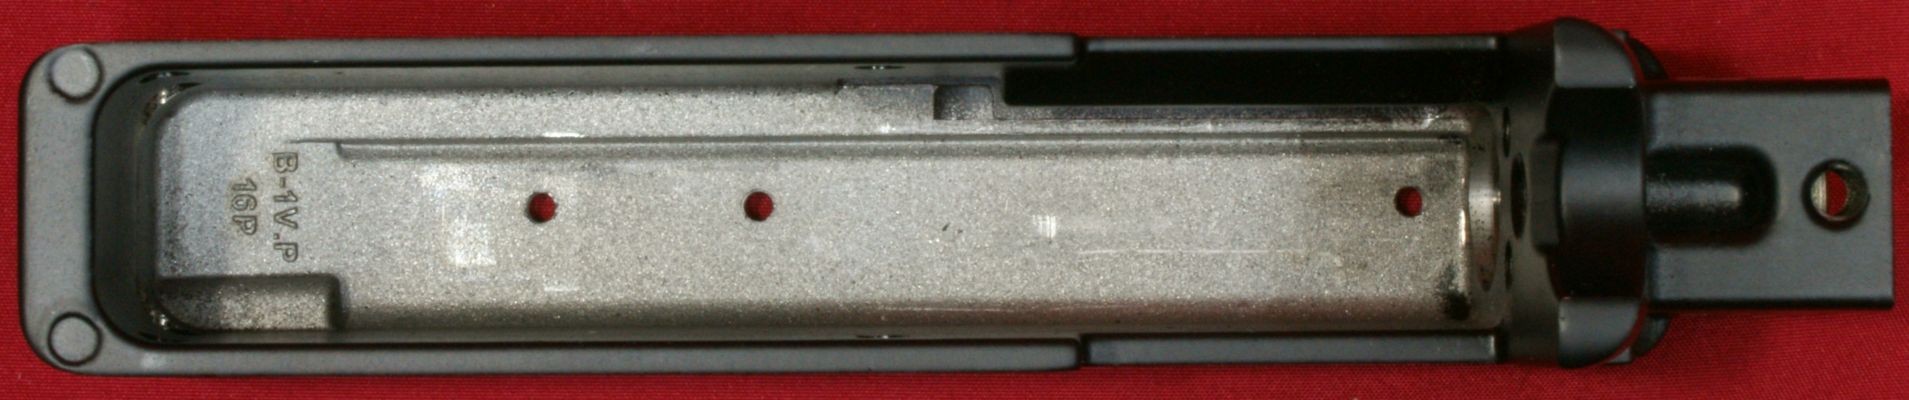
Figure 58
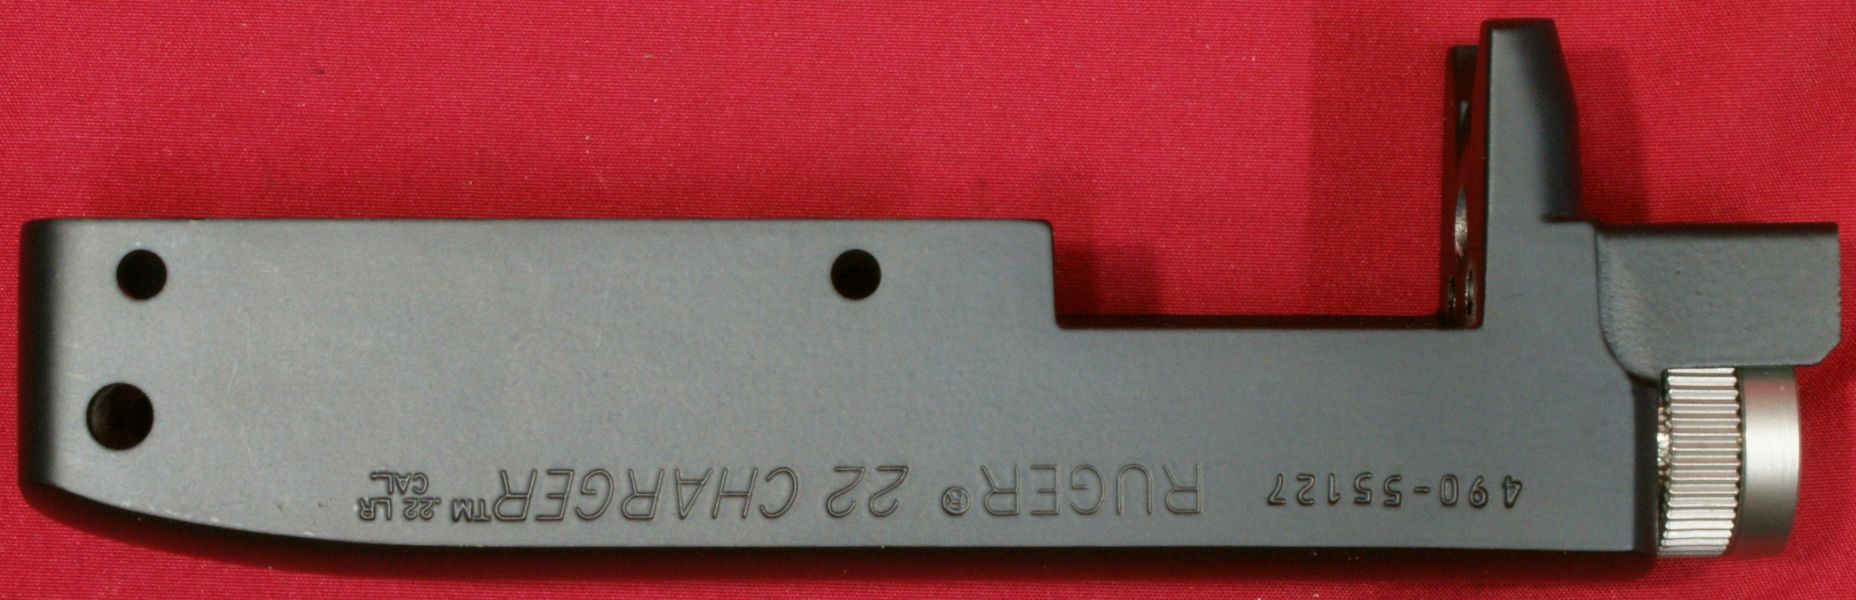
Figure 59
Figure 60
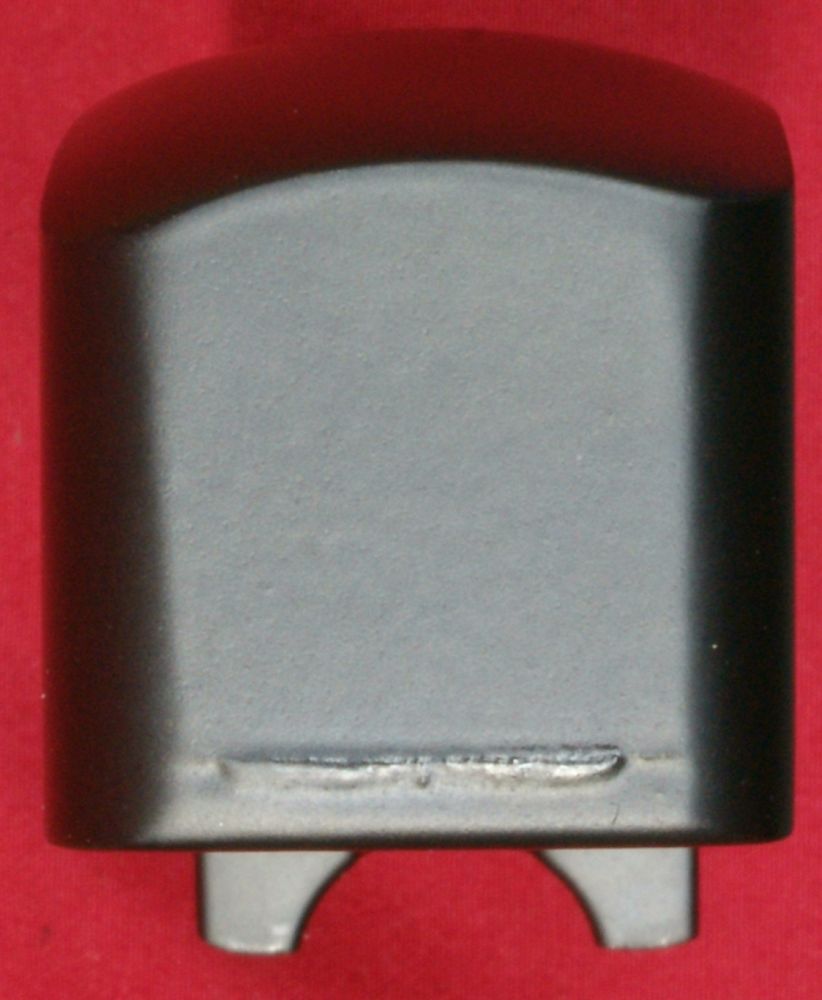
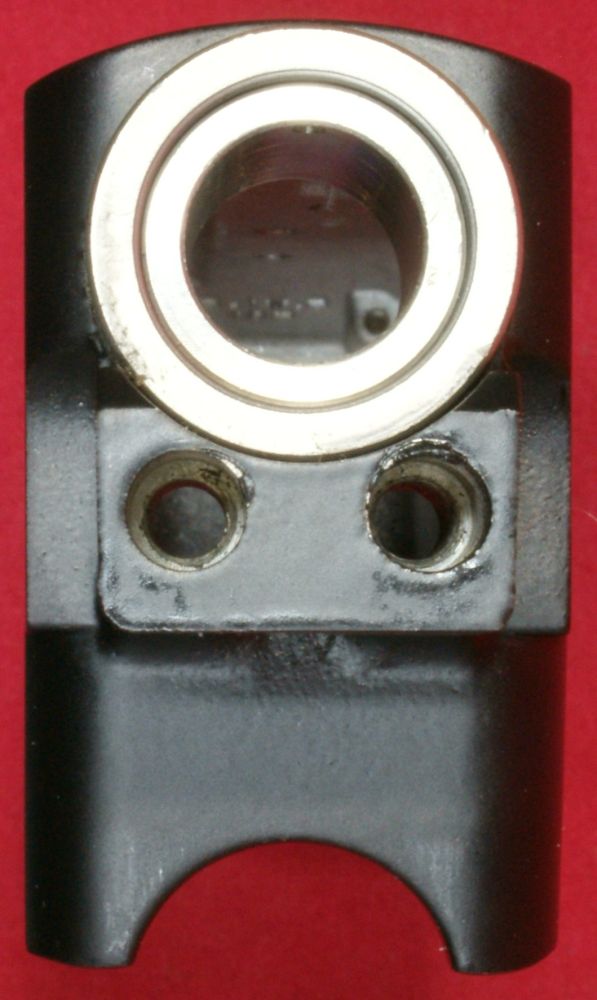
Figure 61
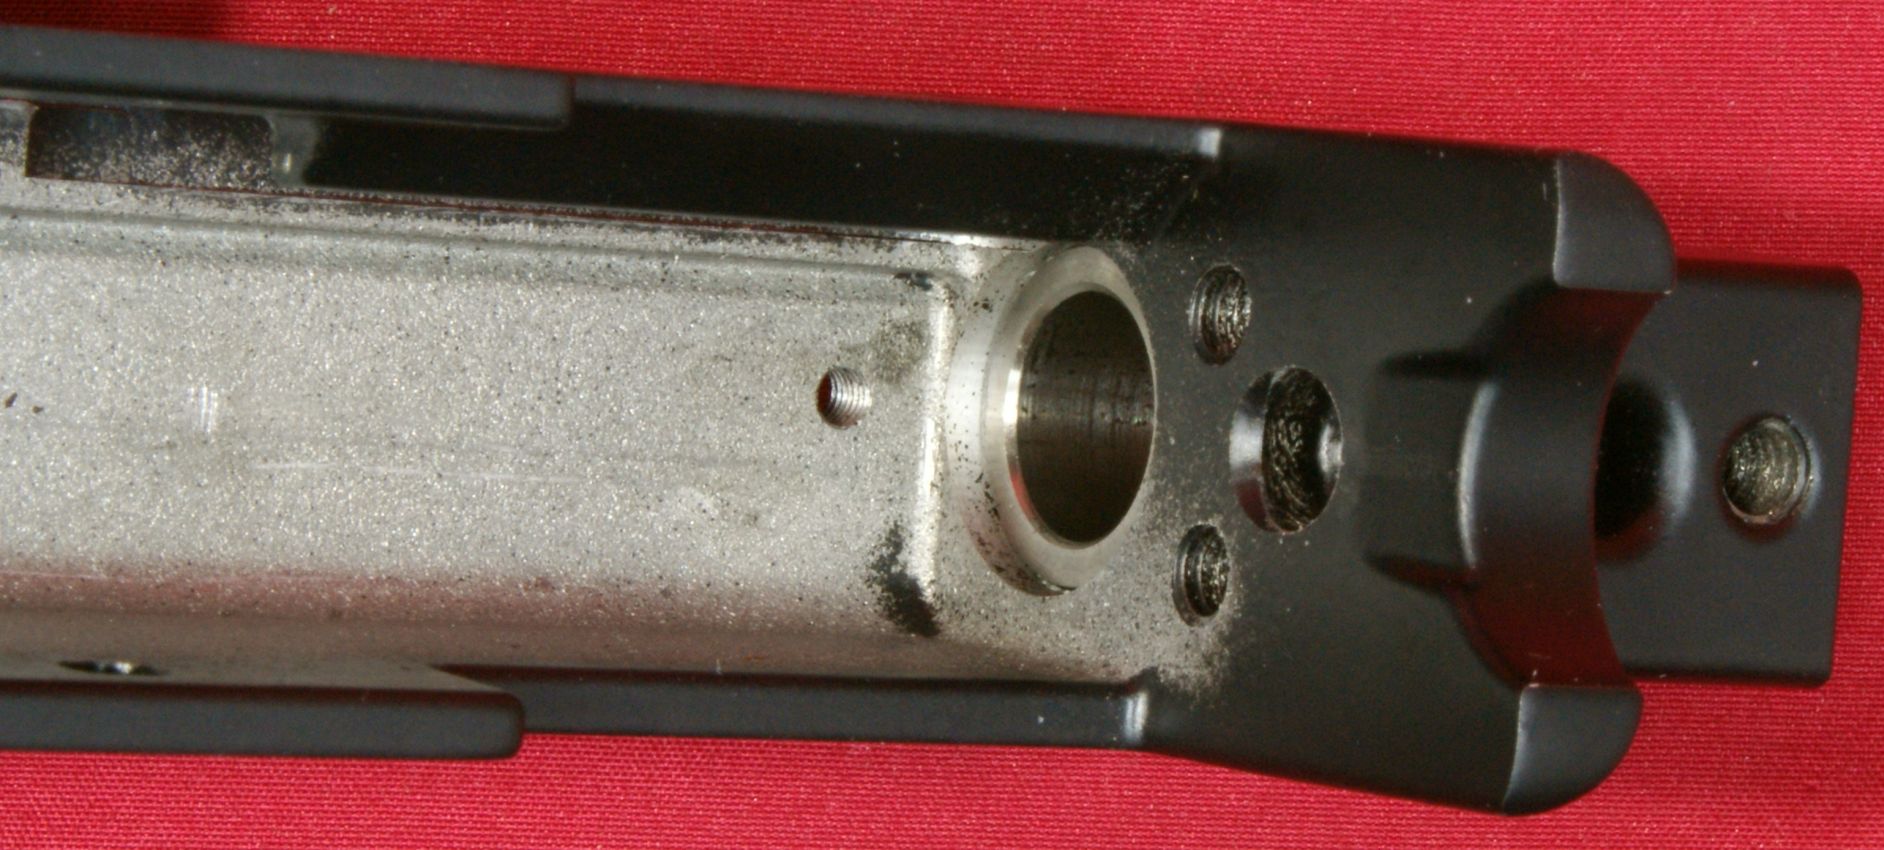
Figure 62
These next several photos give you some different views of the stainless steel bolt.
Figure 63
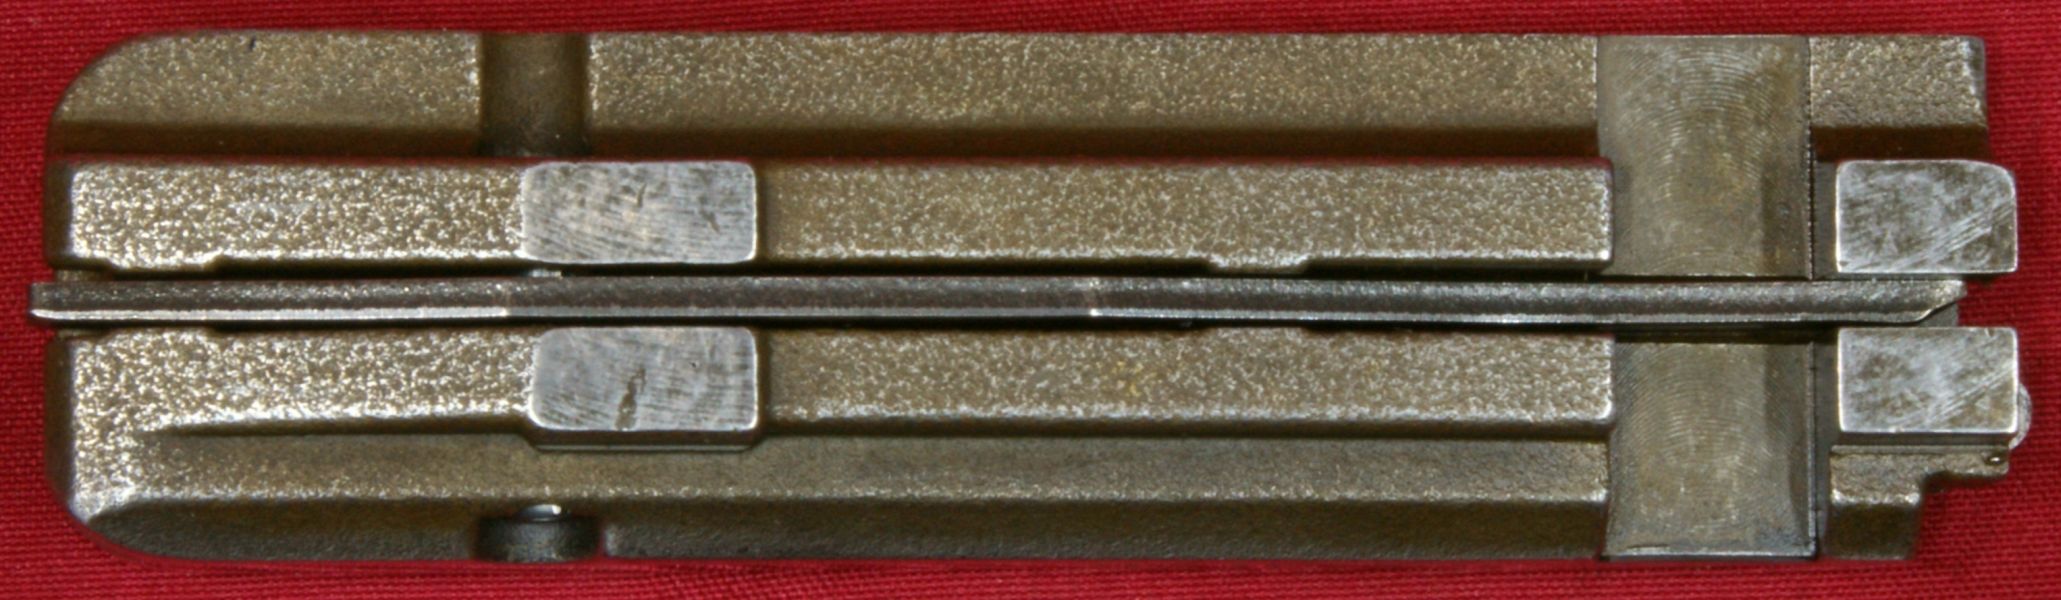
Figure 64
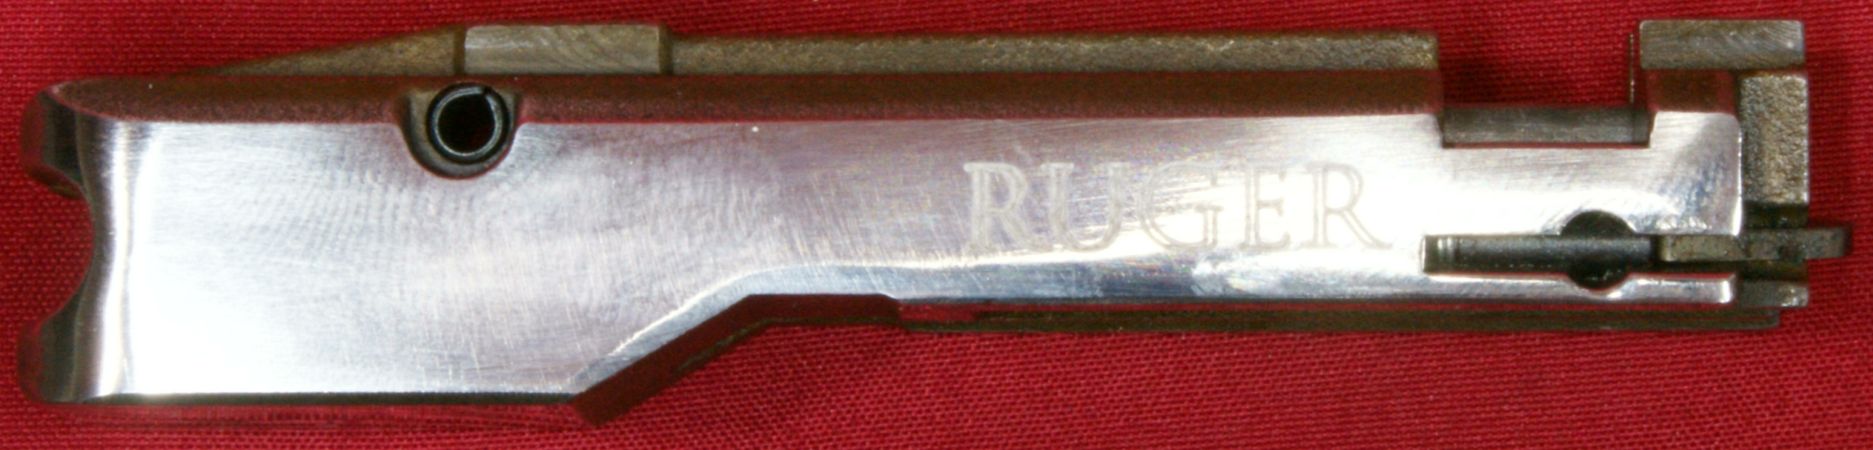
Figure 65
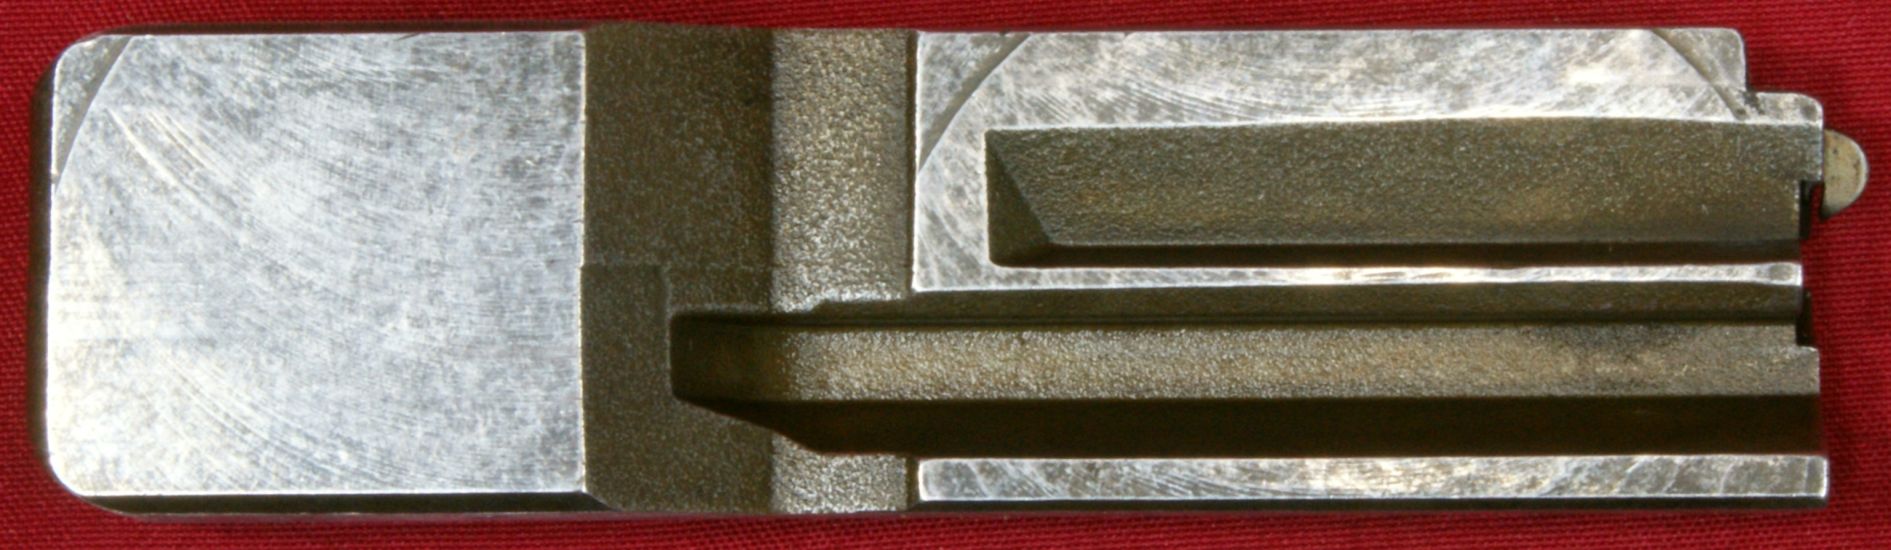
Figure 66
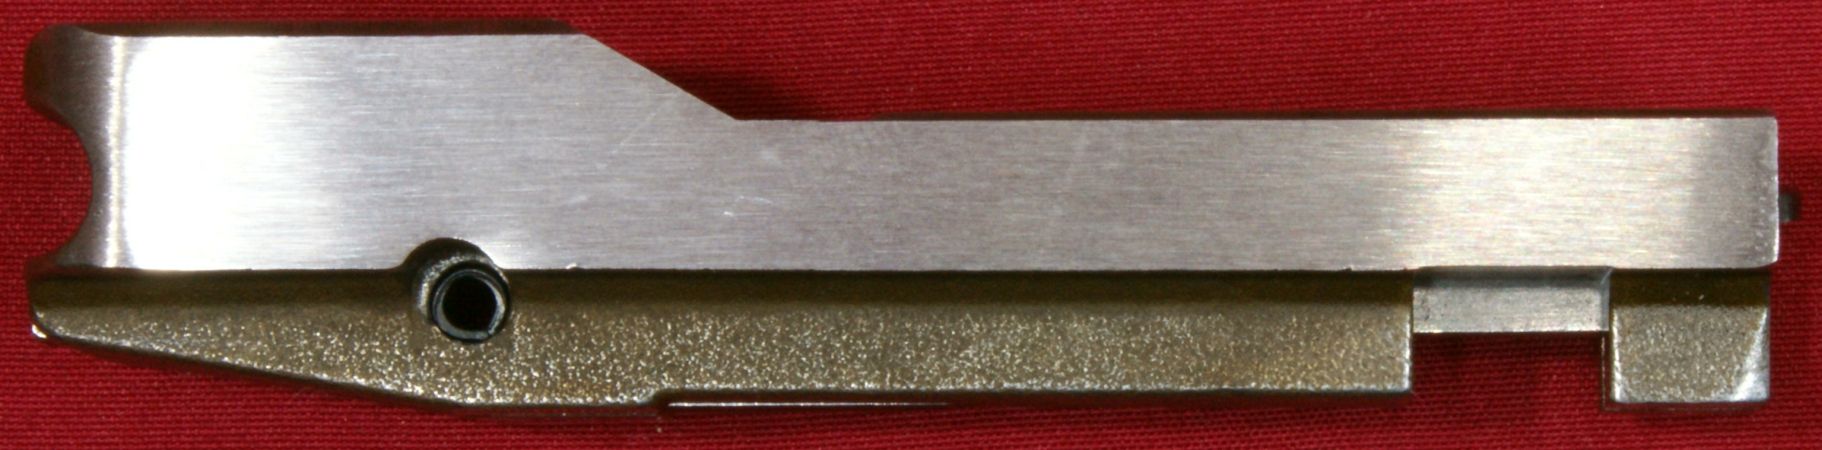
Figure 67
Figure 68
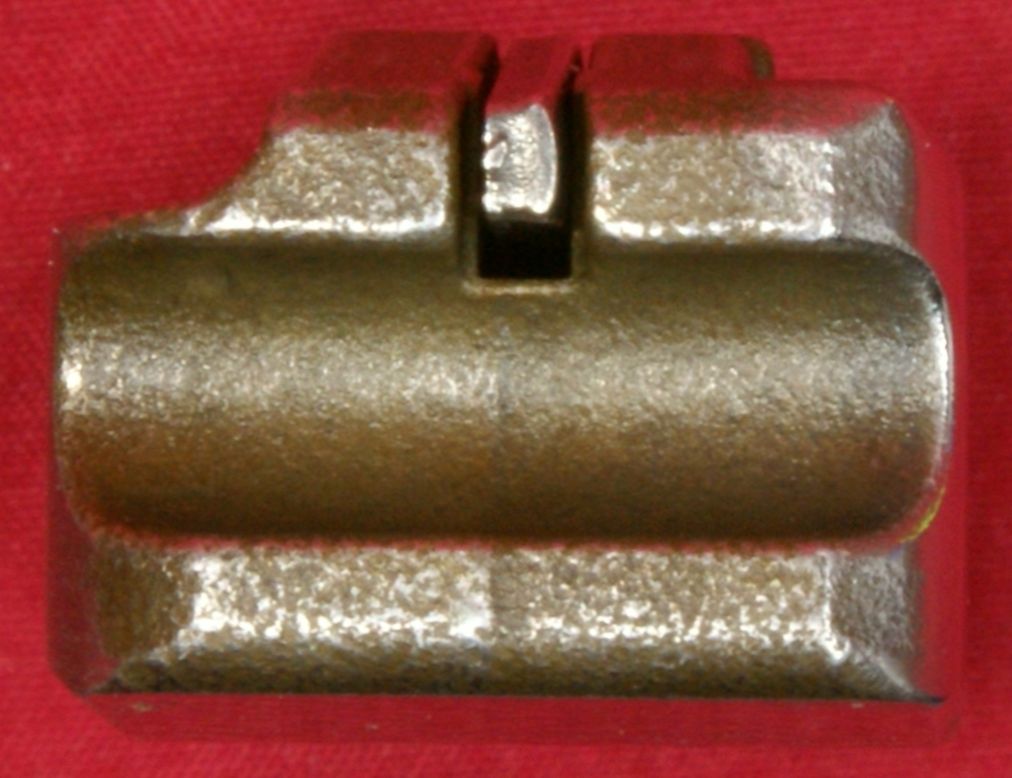

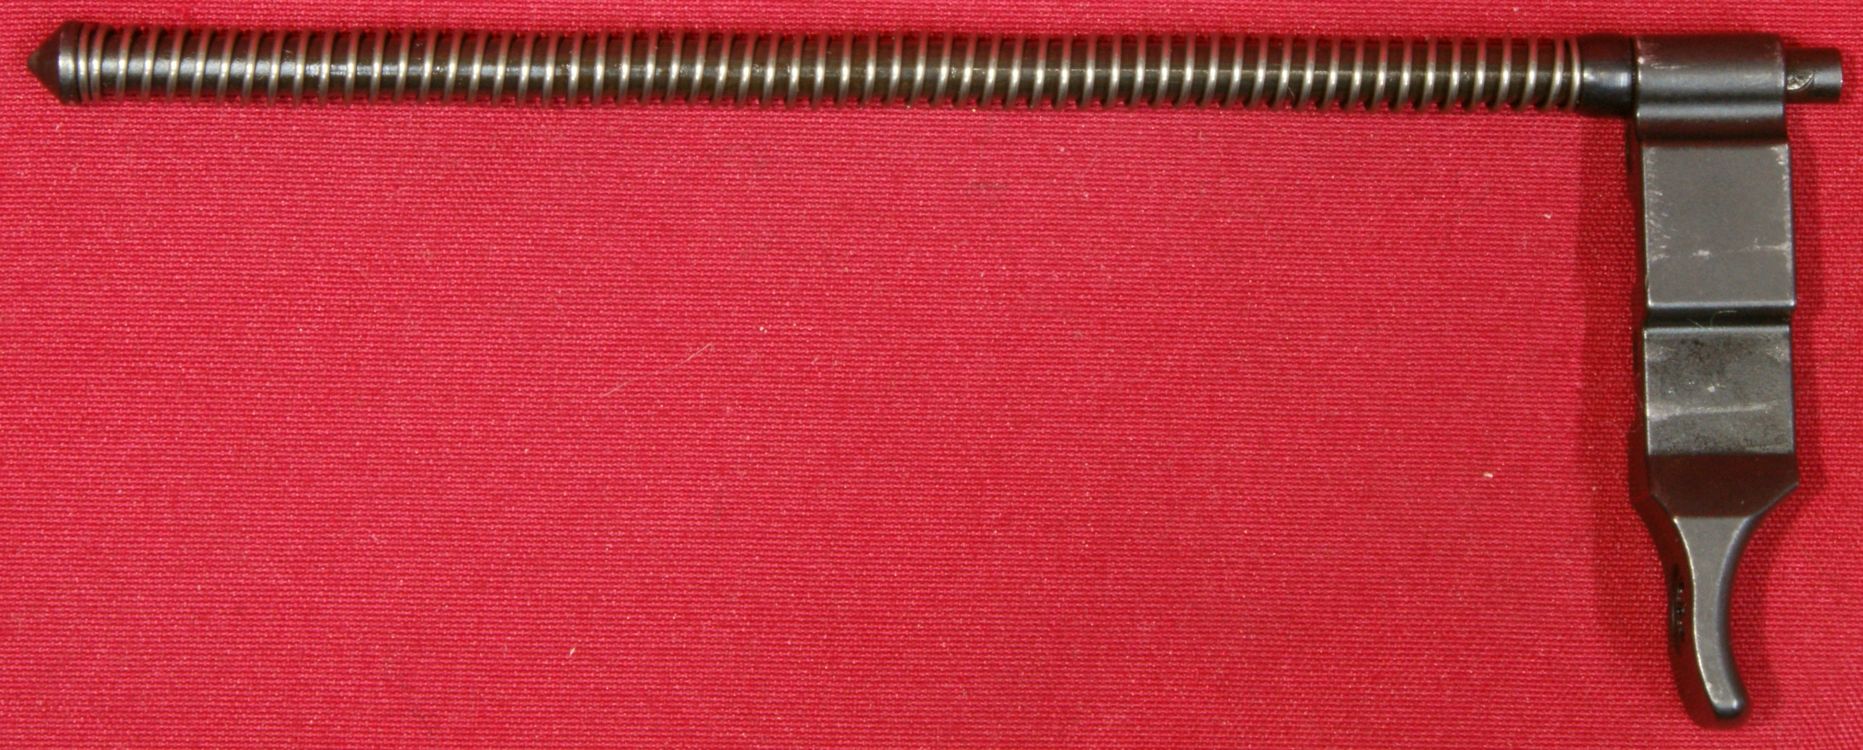
Figure 69 - Cocking Handle, Guide Rod and Recoil Spring Assembly
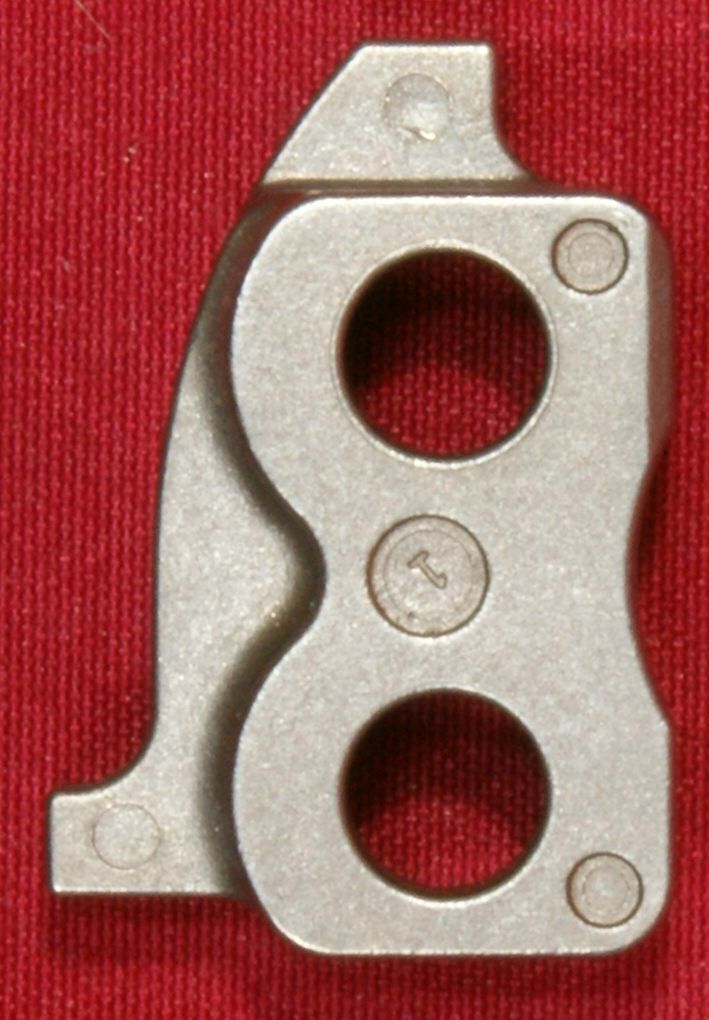
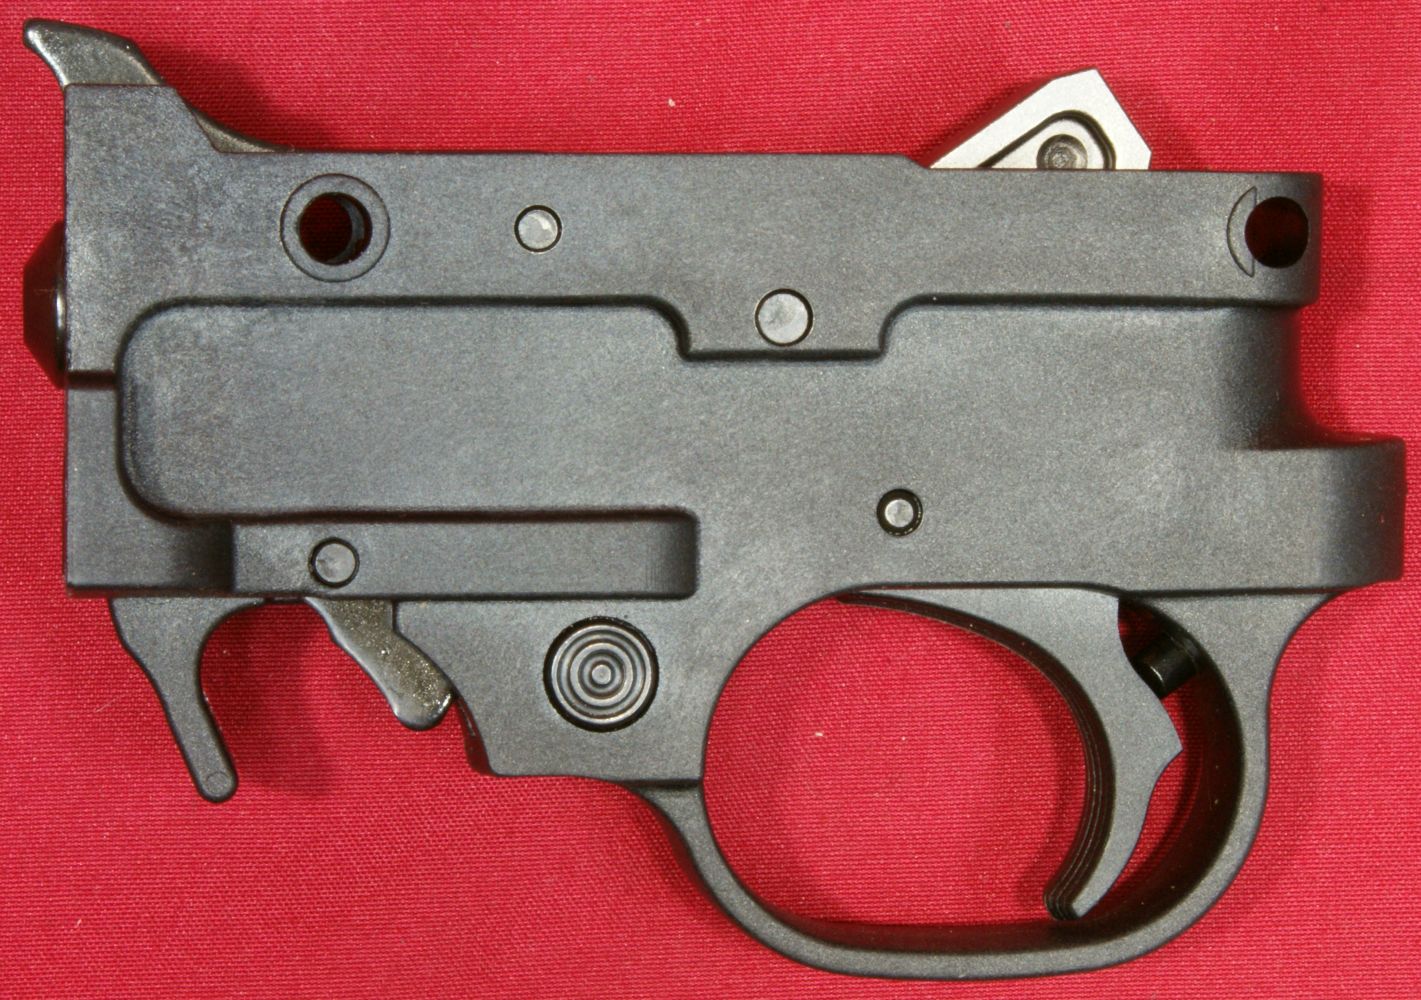
These next photos give you a good look at the trigger housing assembly. I would not recommend any further disassembly unless you are comfortable working on firearms. Ruger states that the Hammer, Safety Button, Sear and Trigger must be factory fitted.
Figure 70
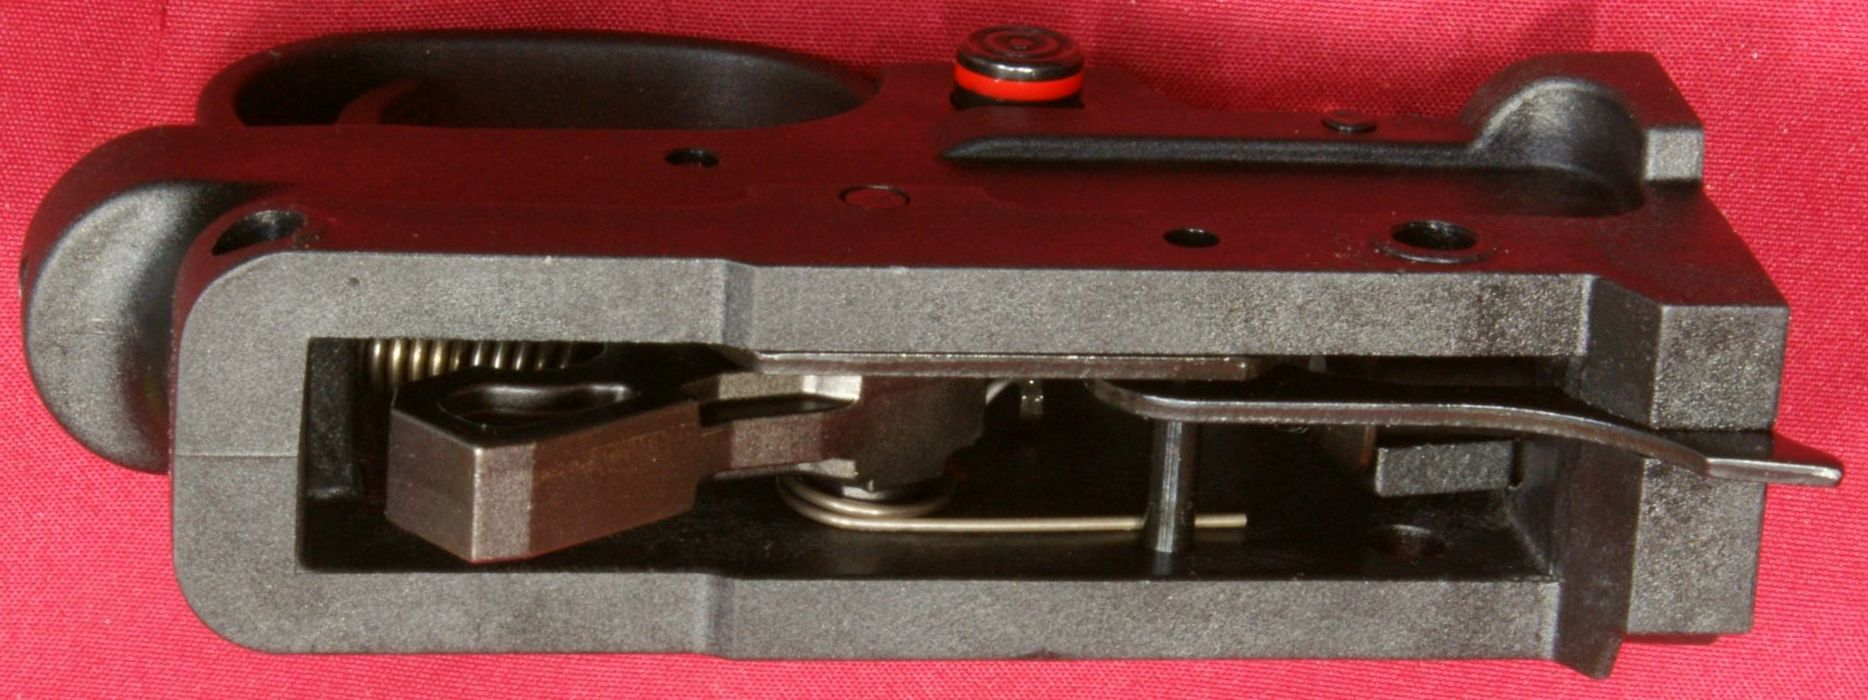
Figure 71
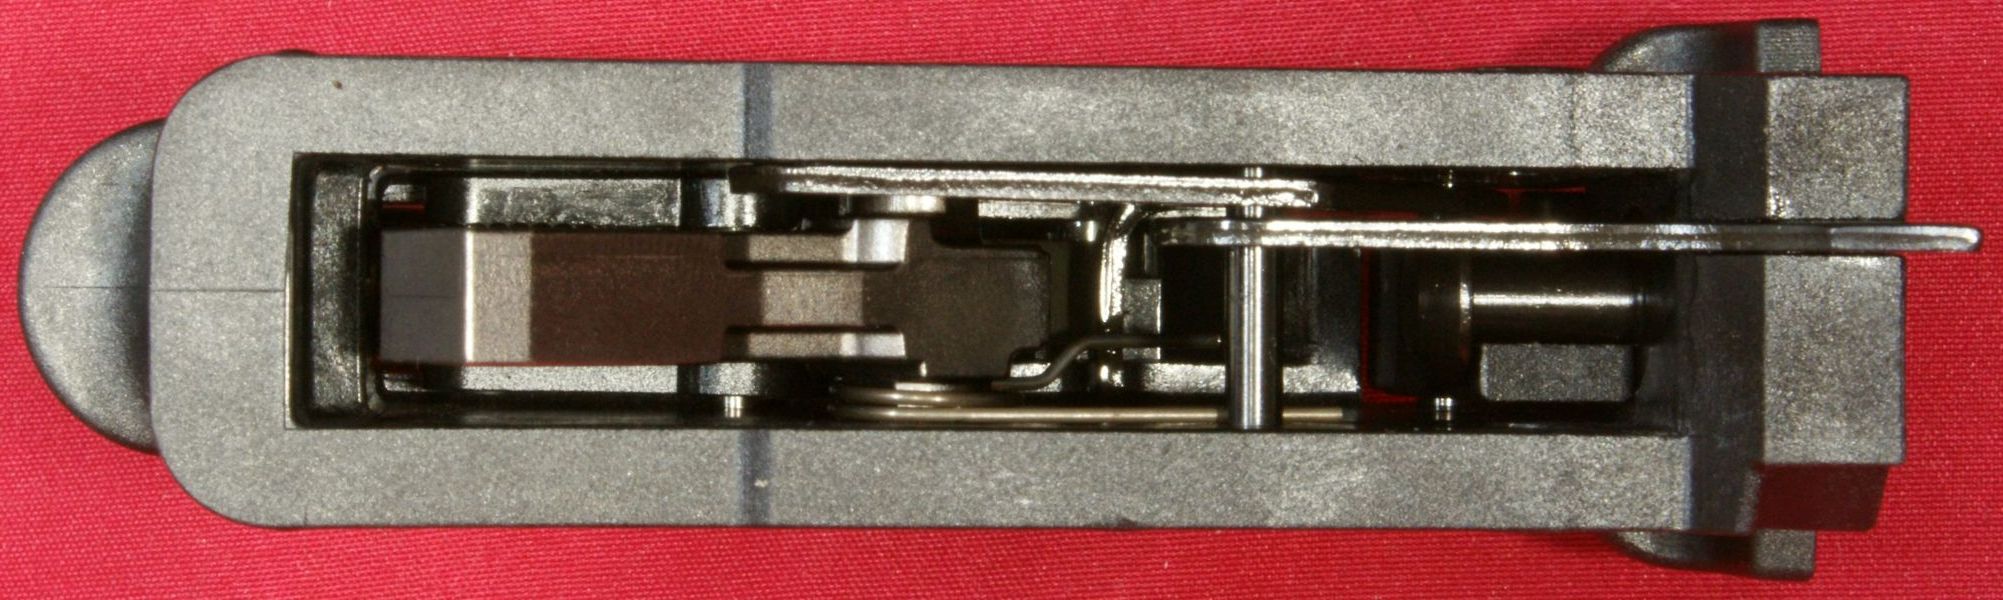
Figure 72
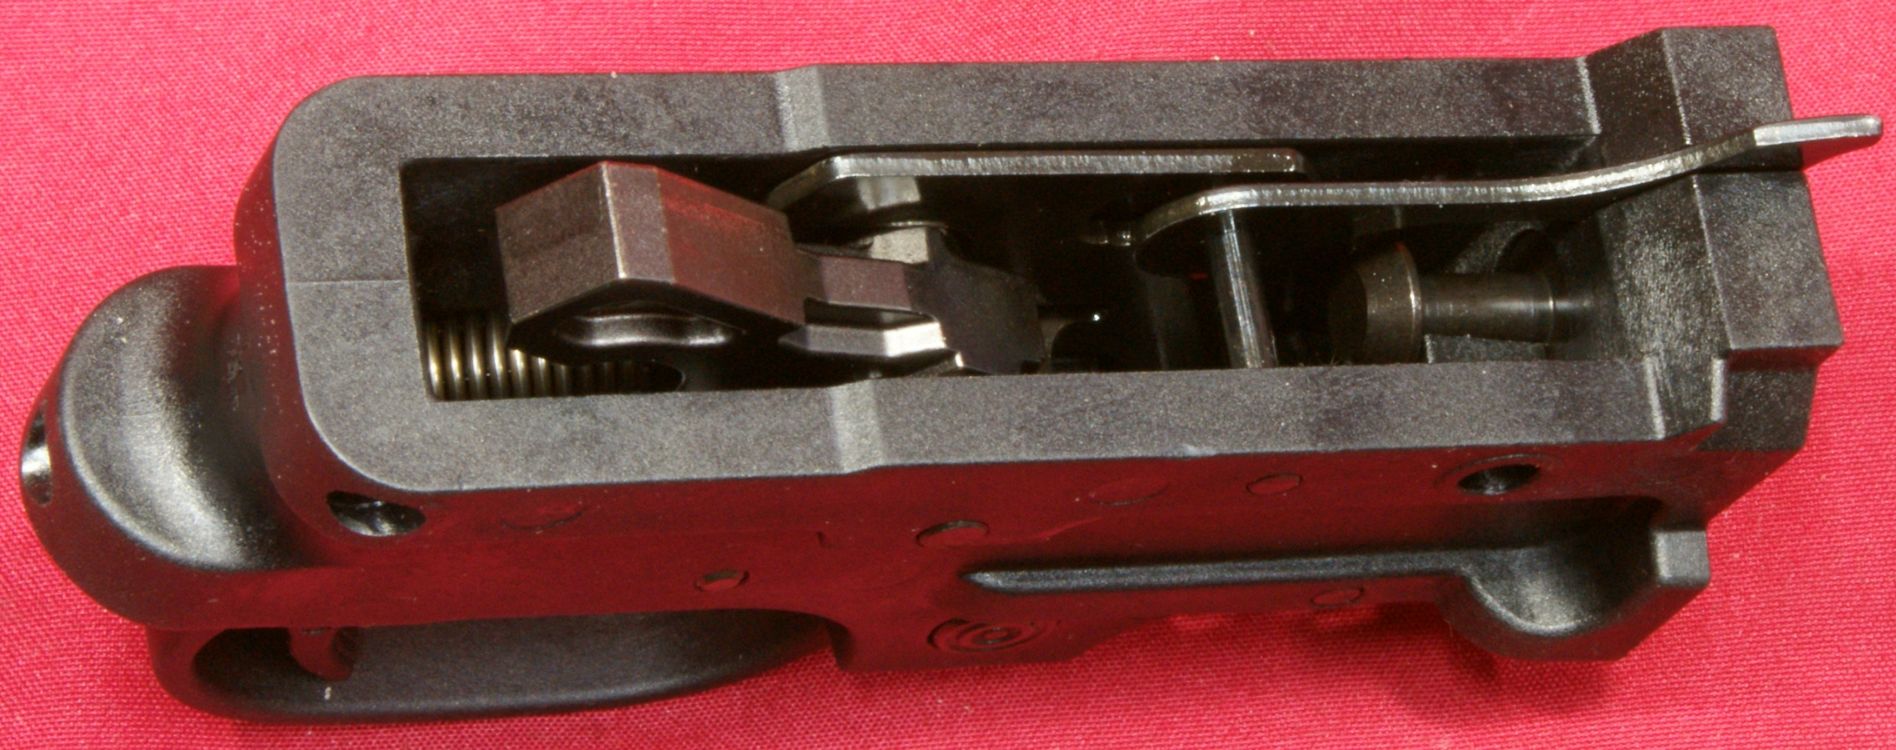
Figure 73
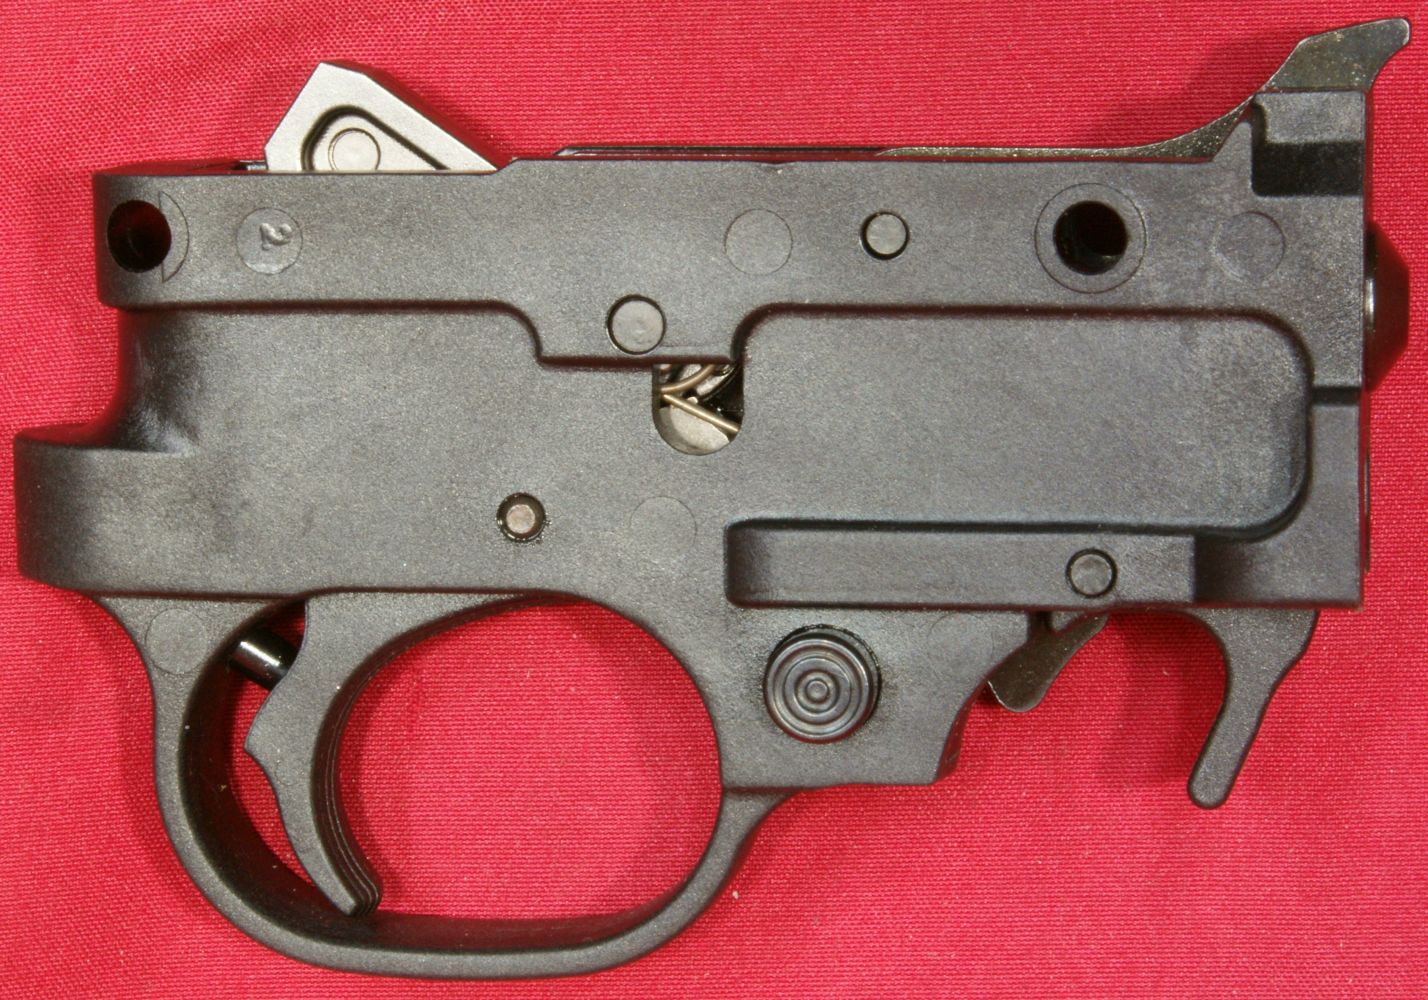
Figure 74

Figure 75
Figure 76

Thoughts
Disassembly is simple and easy. I found that the forend bolt was also slightly long and shortened it by one thread. By removing the block on the bottom of the barrel and realigning the block during reinstallation, I was able to achieve a better fit of the forend on the barrel assembly. In general, I would check the tightness on all of the screws to ensure they will not work loose in the future. Lubricating the inside of the receiver allowed the bolt to have a smoother action when hand cycling.
For more detailed photos and commentary, make sure you check out the other parts of this review and feel free to leave comments below. The following links are provided to help you see other parts of this review.
- Ruger 22 Charger Review: Part 1 - Introduction, Specifications and Summary
- Ruger 22 Charger Review: Part 2 - What's in the Box
- Ruger 22 Charger Review: Part 3 - External and Operational Features
- Ruger 22 Charger Review: Part 4 - Disassembly and Internal Features (this page)
- Ruger 22 Charger Review: Part 5 - Range Test
Or
If you would like to be notified about future Gunsumer Reports reviews via Facebook, make sure "You Like This" by clicking the Facebook "Like" button at the bottom or top of this page. If it already says "You Like This" beside the button, clicking it again will uncheck the "Like" status and you will not be notified.
| Share on Facebook | |
© 2010, 2011, 2012, 2013, 2014, 2015, 2016, 2017, 2018, 2019, 2020, 2021, 2022, 2023 & 2024 Gunsumer Reports™, All rights reserved.
FTC Disclosure