|
|
Gunsumer Reports TM Providing Detailed Objective Reviews for Firearms and Firearm Accessories |
Ruger 22/45 Lite Review
Part 5 - Internal Features
September 10, 2012
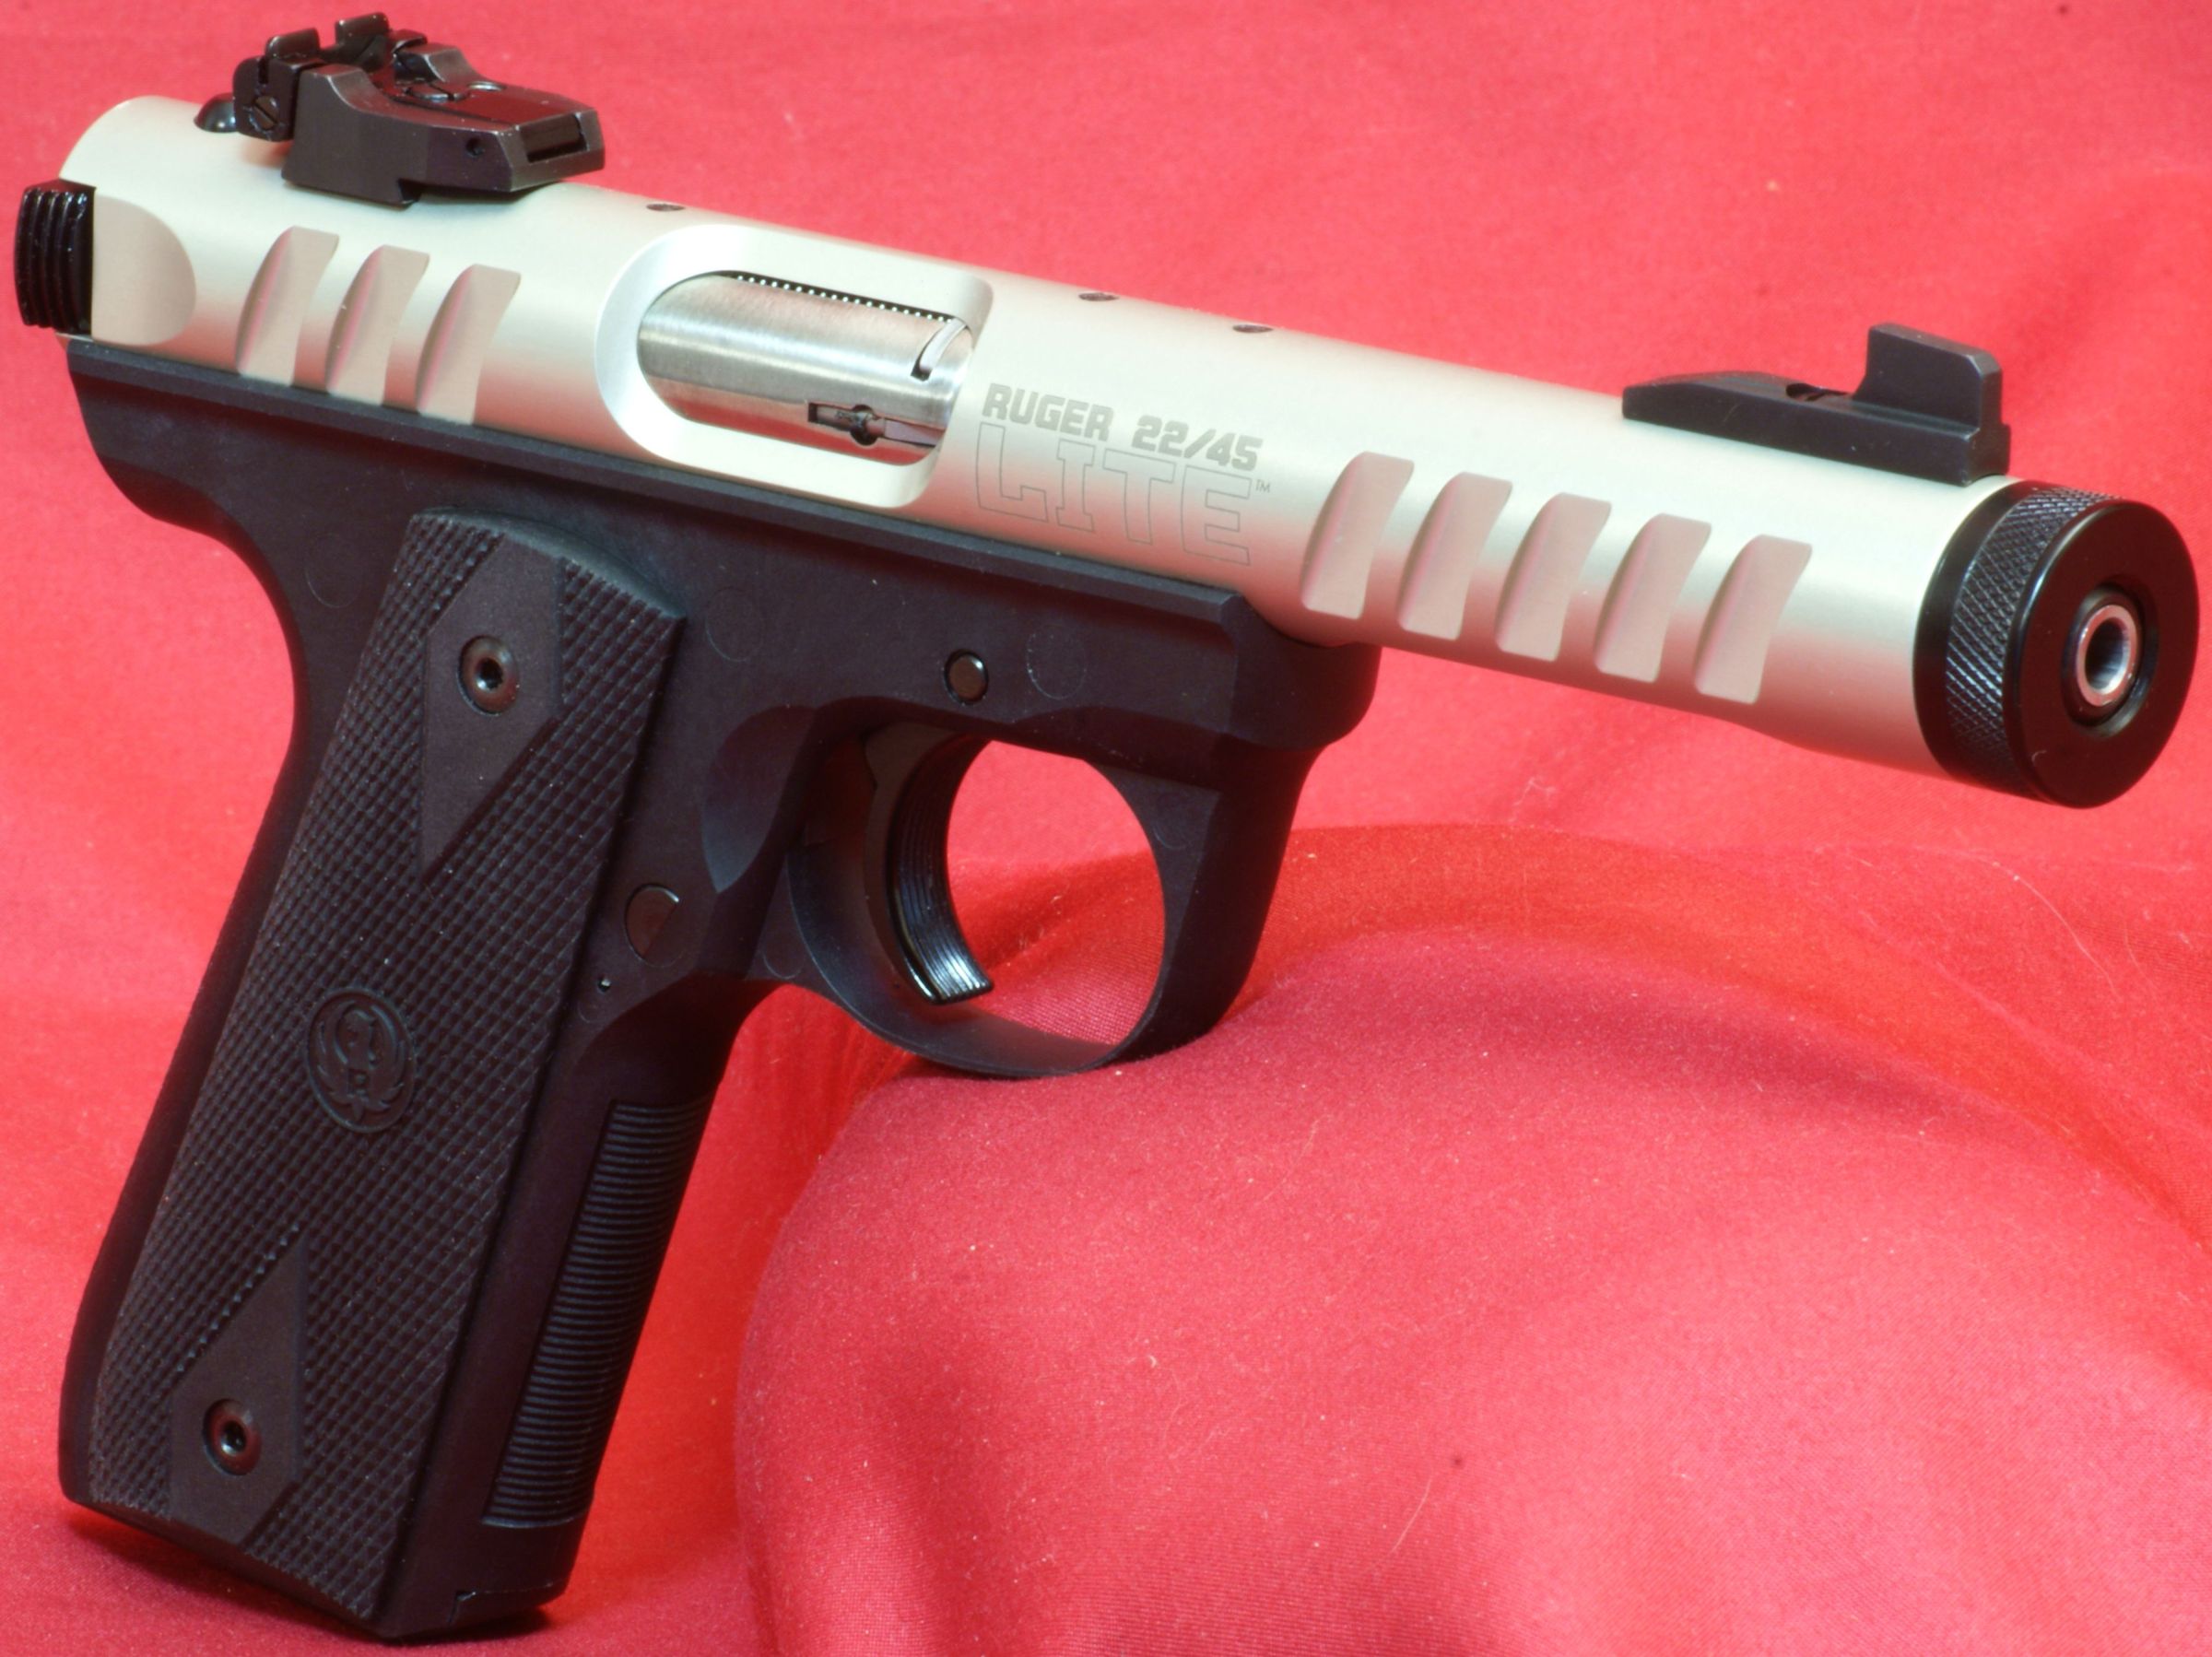
In the other parts of this review I have covered the External and Operational Features along with Disassembly and Reassembly of the Ruger 22/45 Lite Pistol. In this part of the review I'm going to focus on the internal features. Although I have provided many photos below for your viewing pleasure, the comments will be focused on the internal features that you see when the pistol is disassembled.
Barrel-Receiver Assembly
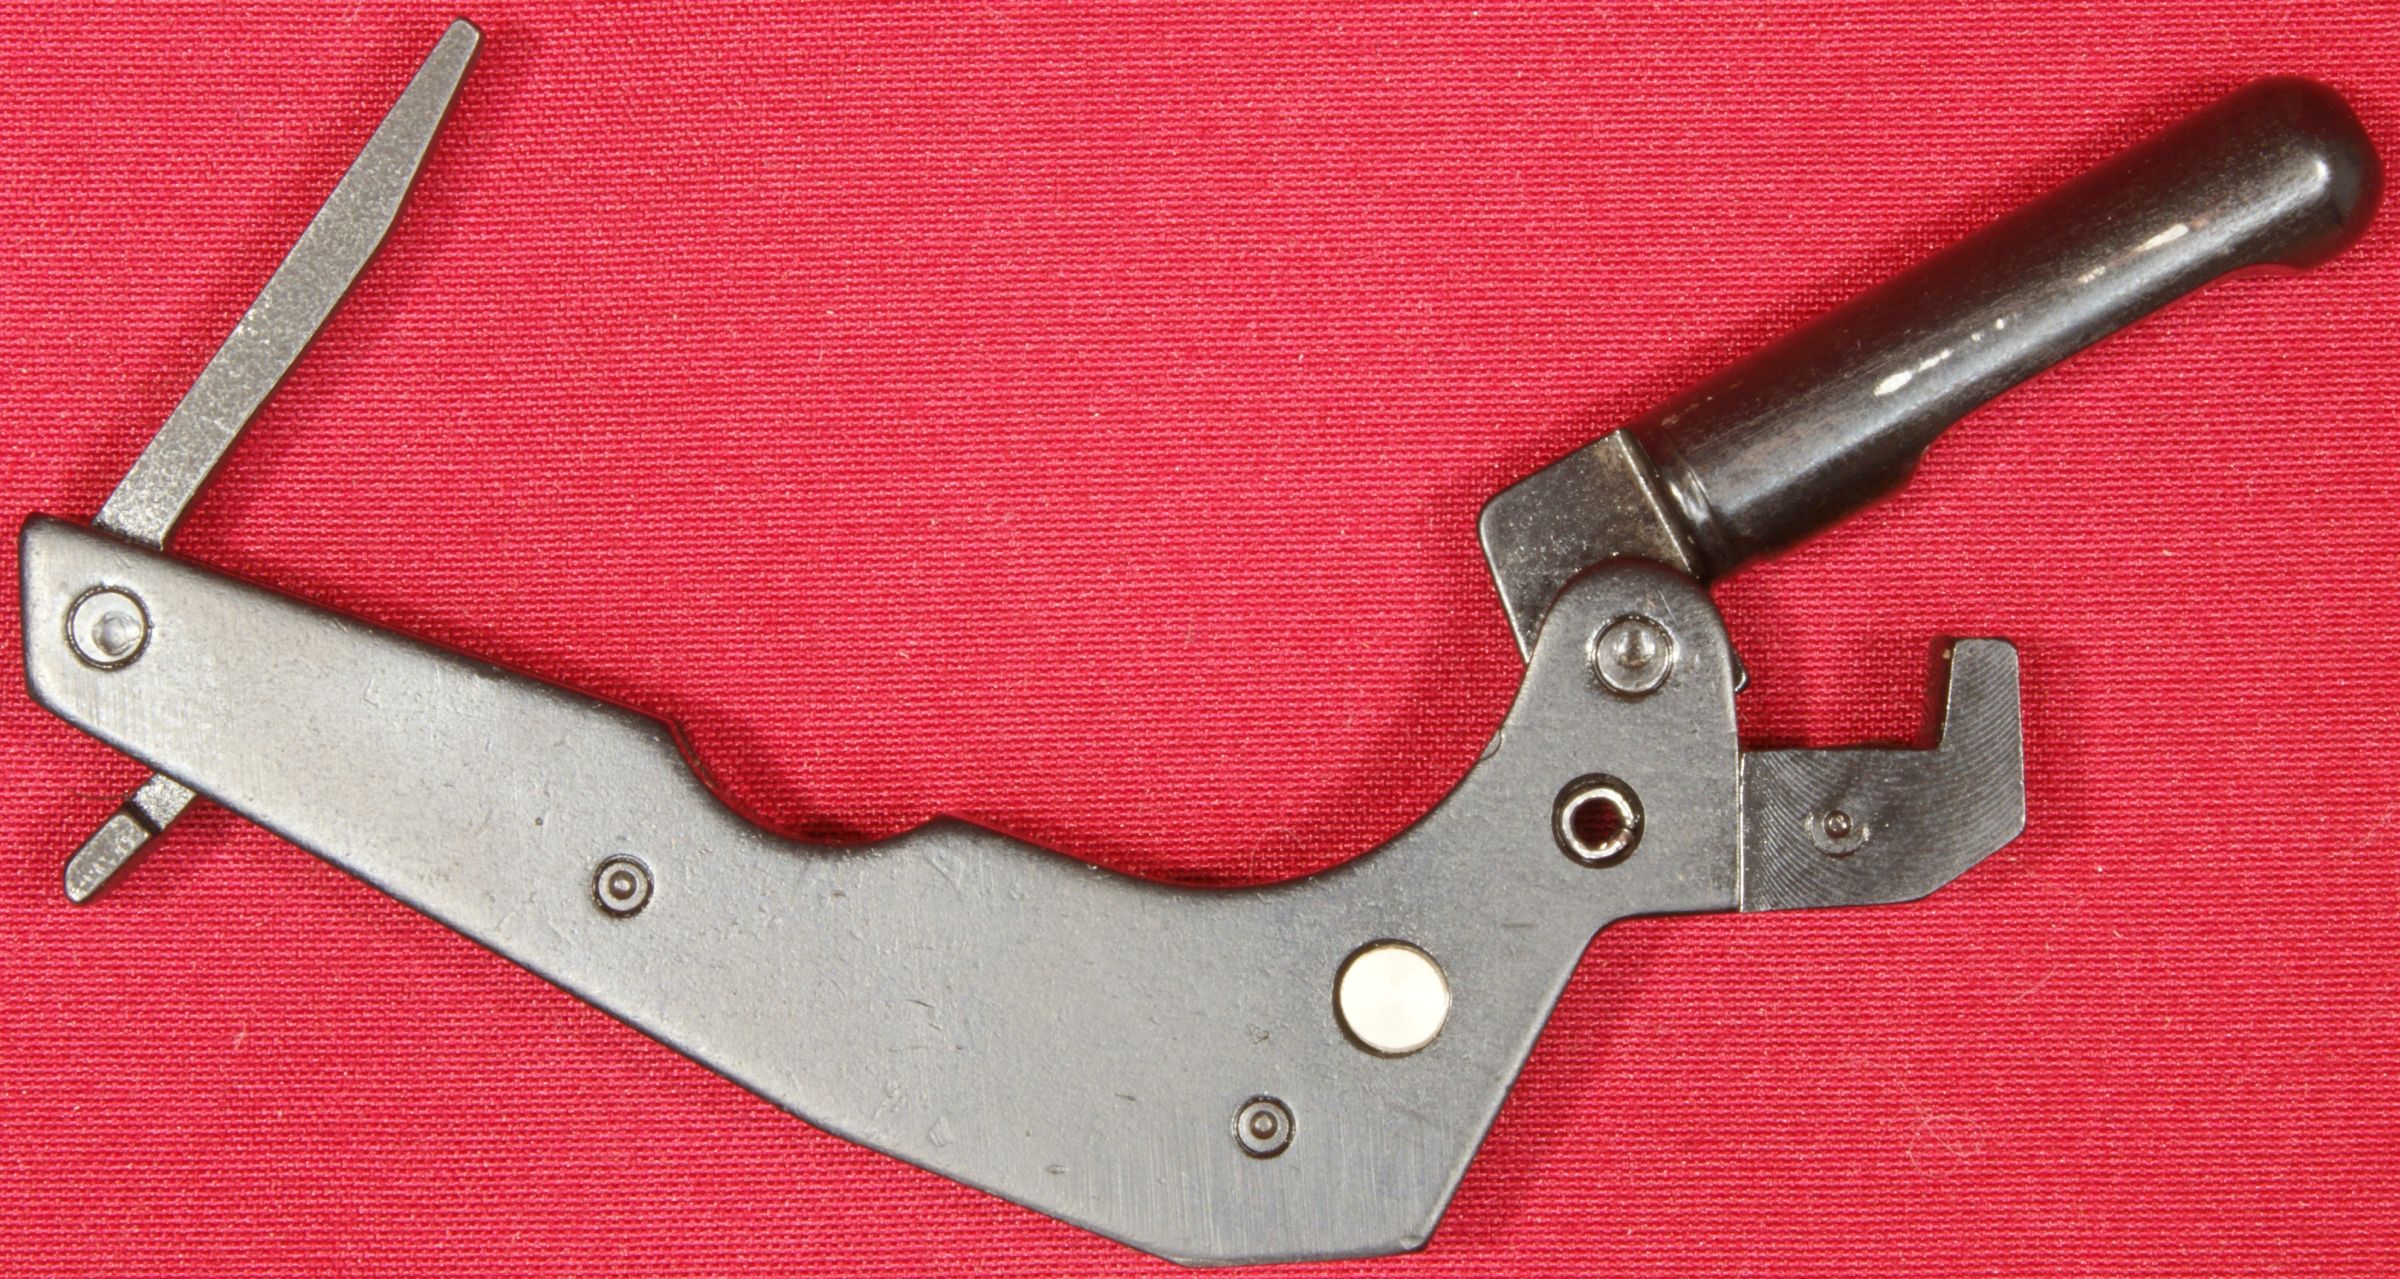
Personally, I like that the barrel-receiver assembly (aluminum receiver, barrel sleeve and barrel nut) is never intended to be disassembled by the end user. This keeps people like me from messing up a good thing. About the only thing you can disassemble is to remove the sights and loaded chamber indicator.
Figure 1

Figure 2

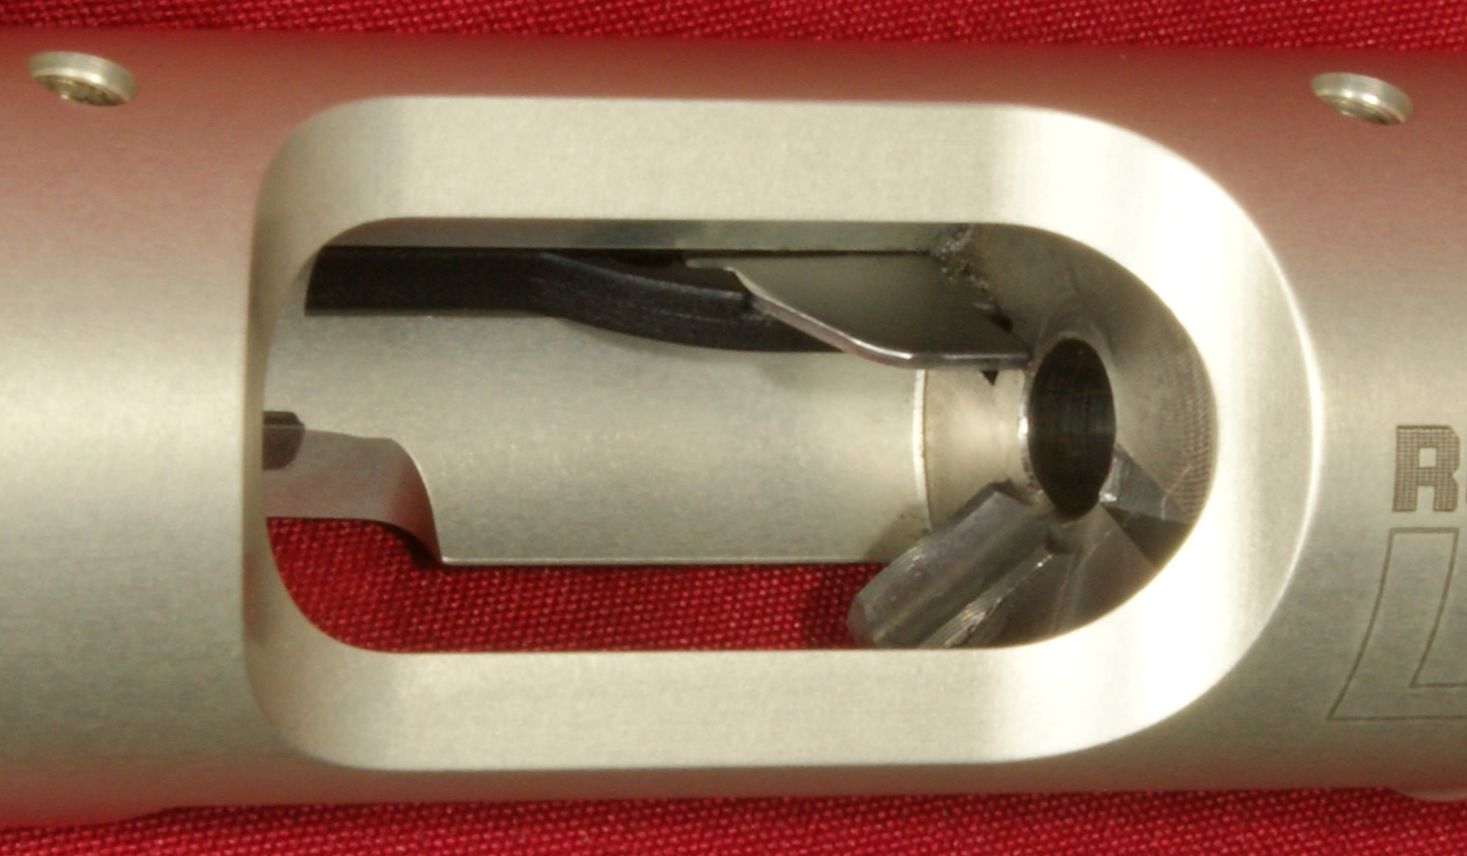
To remove the loaded chamber indicator, you will remove the pin shown below. The indicator is spring loaded to stay inside the aluminum housing so be careful not to lose the spring if you decide to remove the pin.
Figure 3

Figure 4

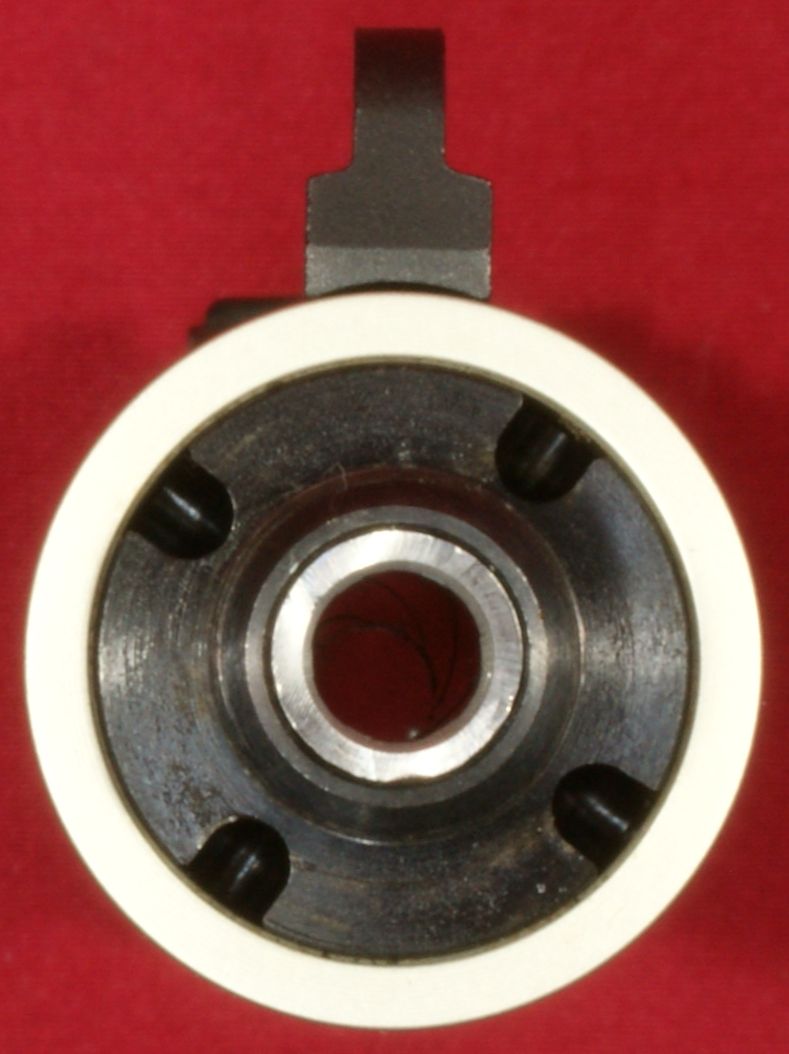
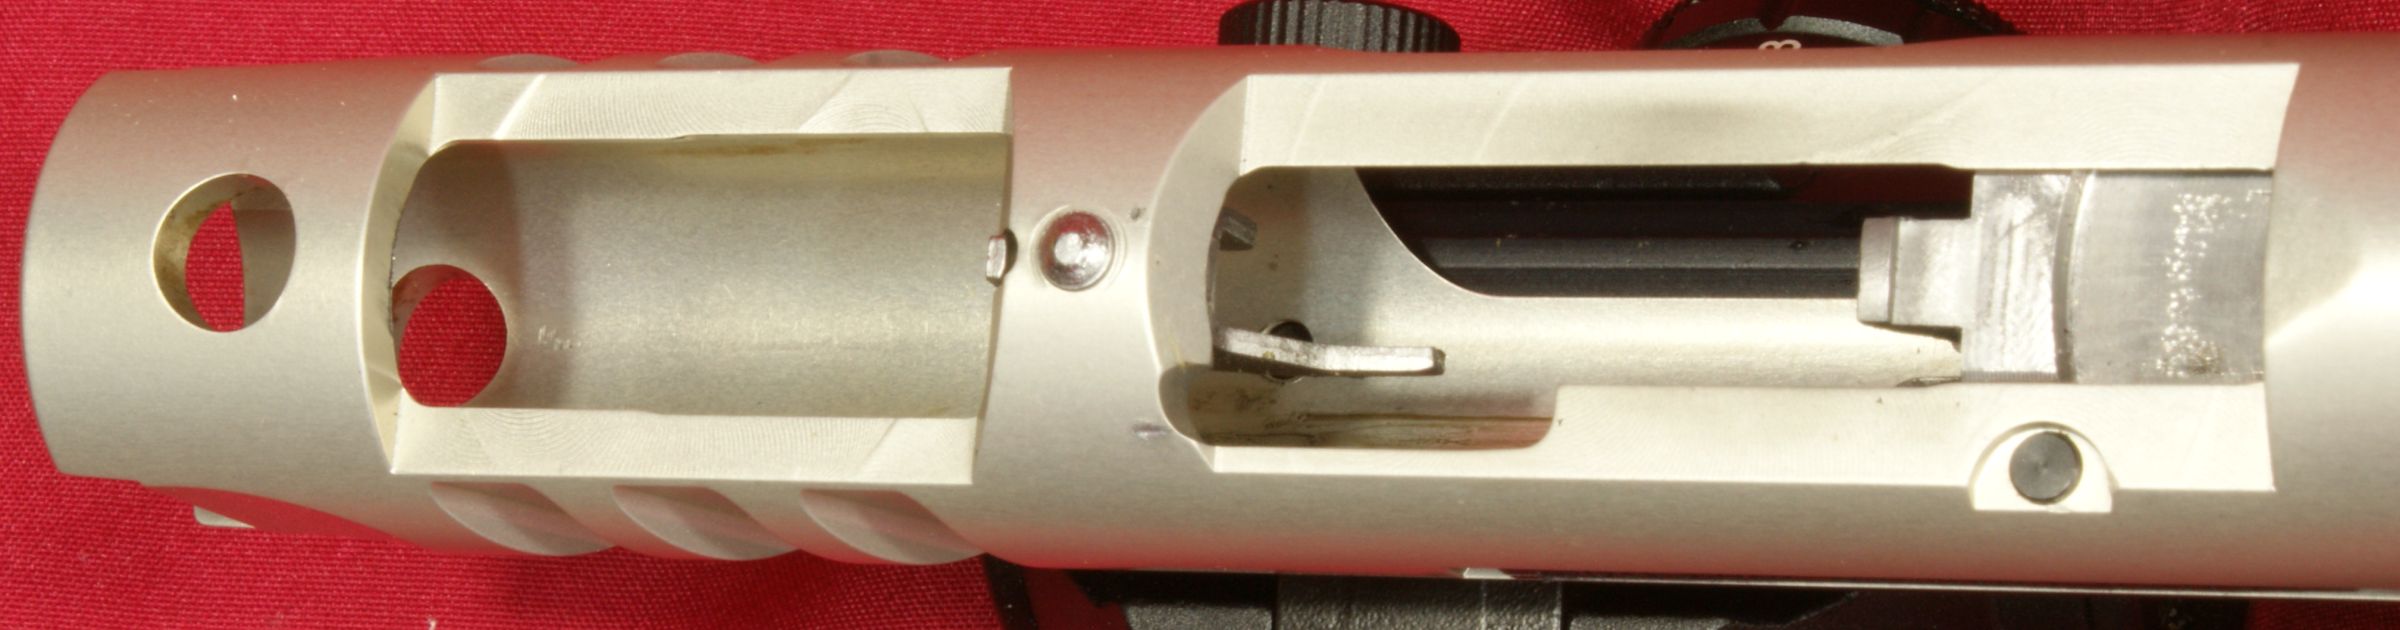
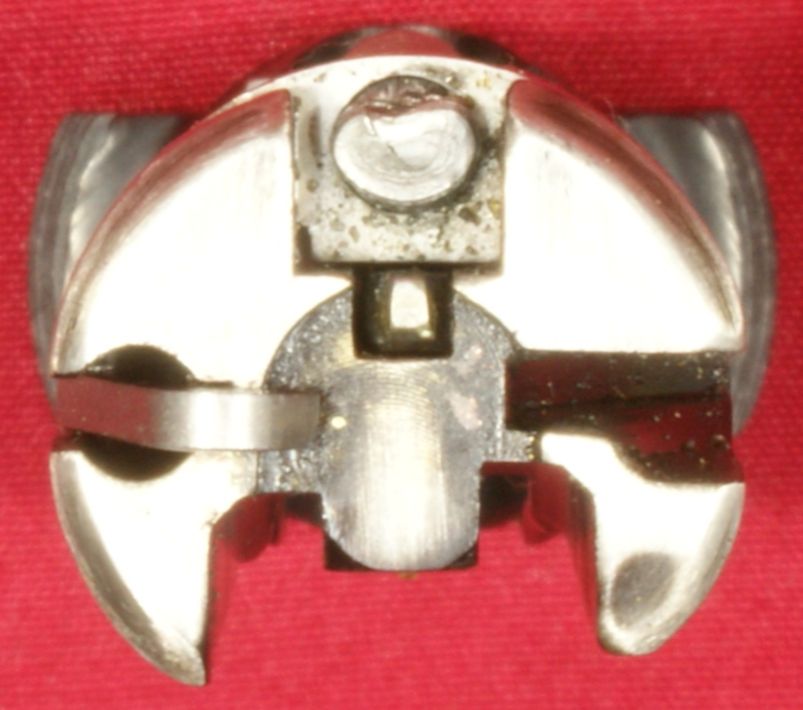
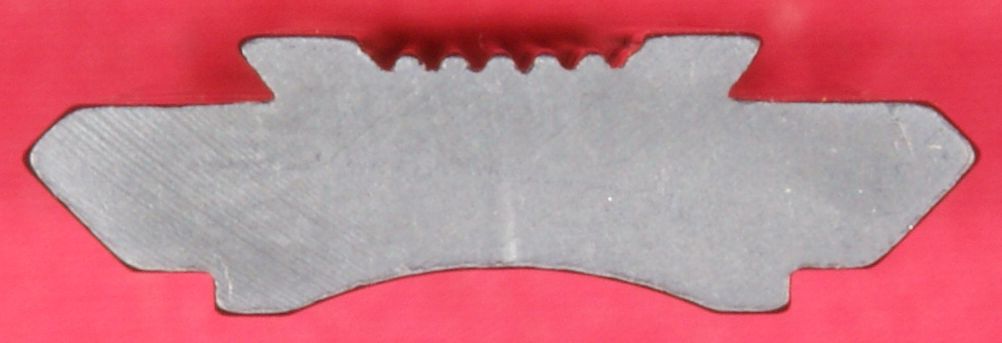
The black barrel nut is not intended to ever be removed and doing so will most likely damage your assembly. Looking inside the assembly from the rear, you can see the U shaped part that appears to be riveted to the bottom of the aluminum housing. This part maintains the rotational alignment of the bolt inside the housing and the left side of the U functions as the ejector. The circular shape inside the housing and the circular bolt maintain good positional alignment as the bolt cycles.
Figure 5
Figure 6
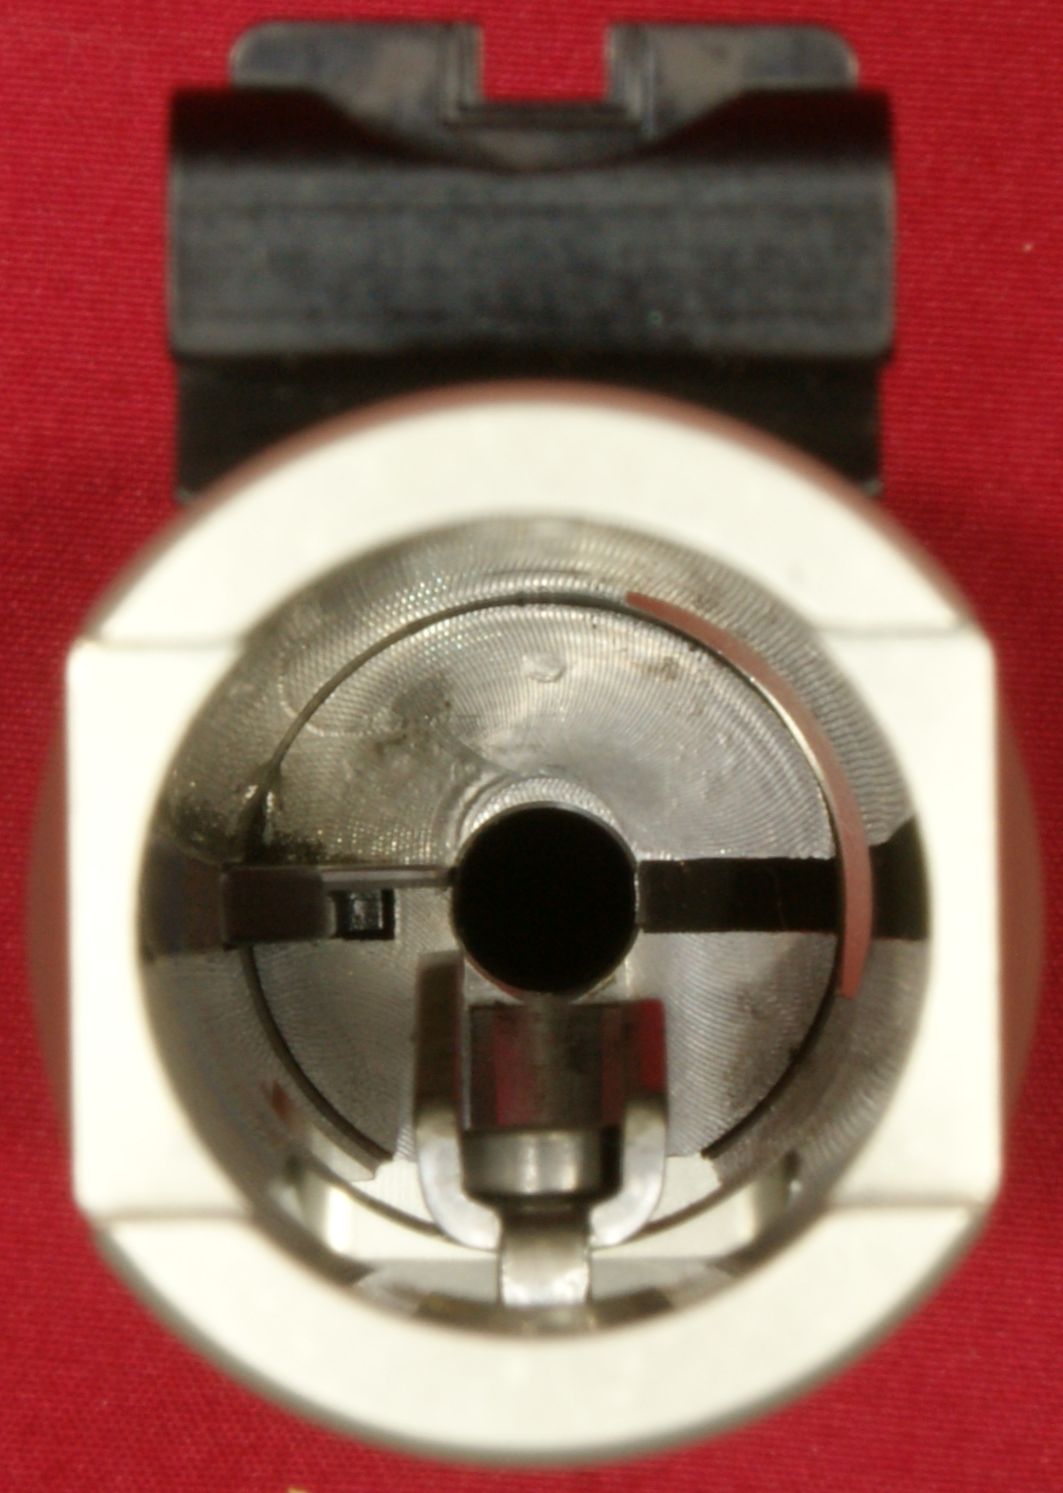
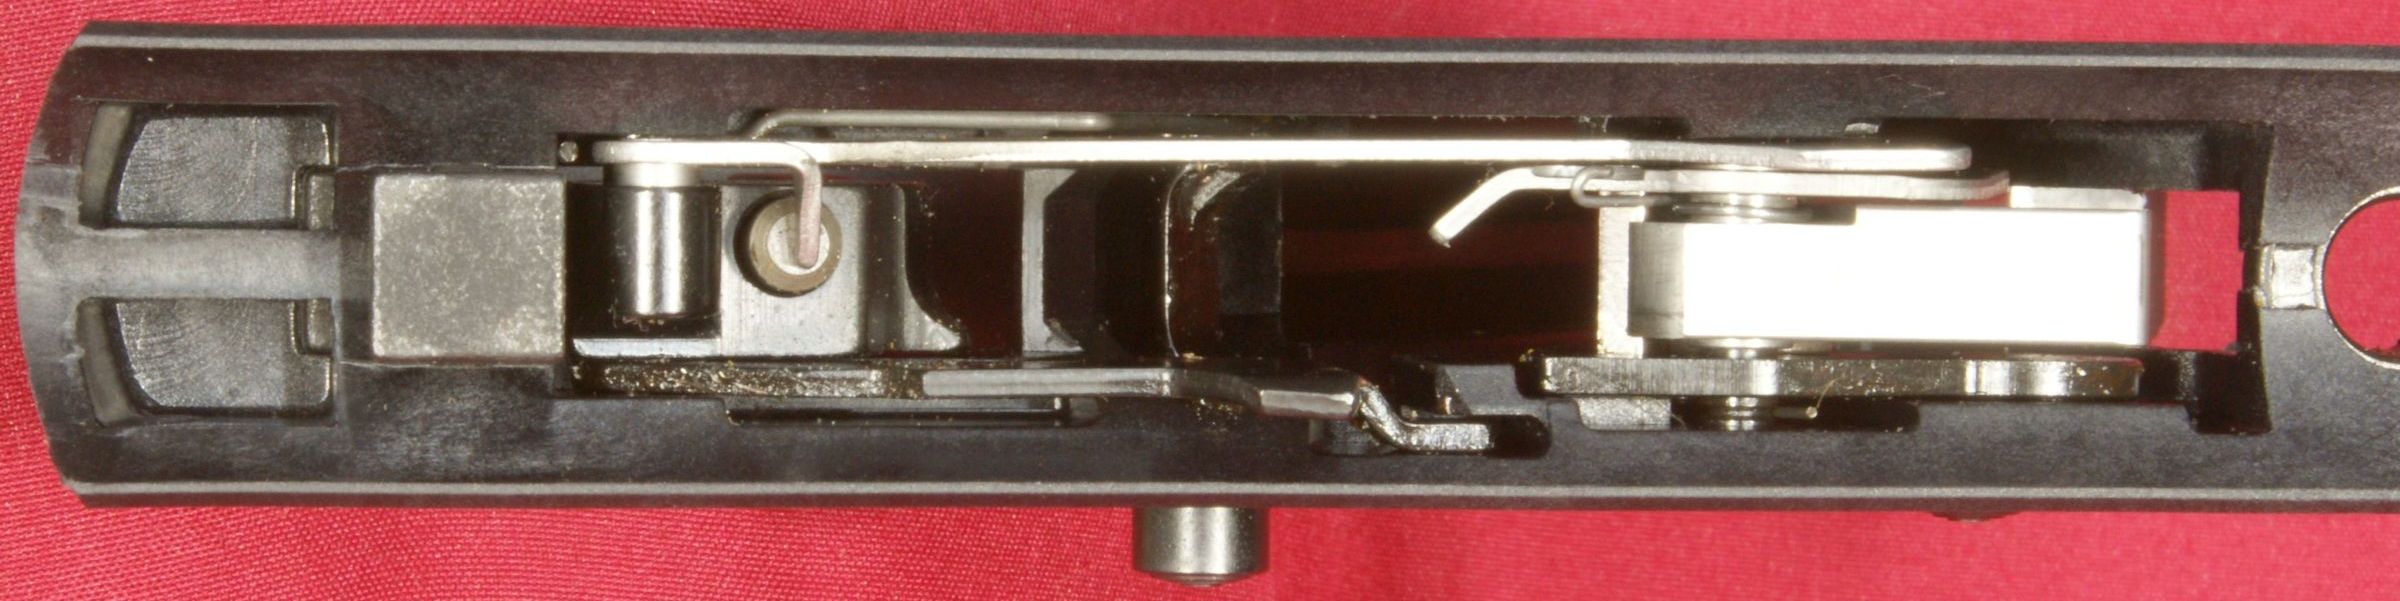
The feed ramp is an integral part of the chamber-end of the stainless steel barrel sleeve. You can also see the stainless steel blade that sticks out on the loaded chamber indicator. When a round is chambered, the rim moves this blade to the left which causes the loaded chamber indicator to push out on the left side.
Figure 7
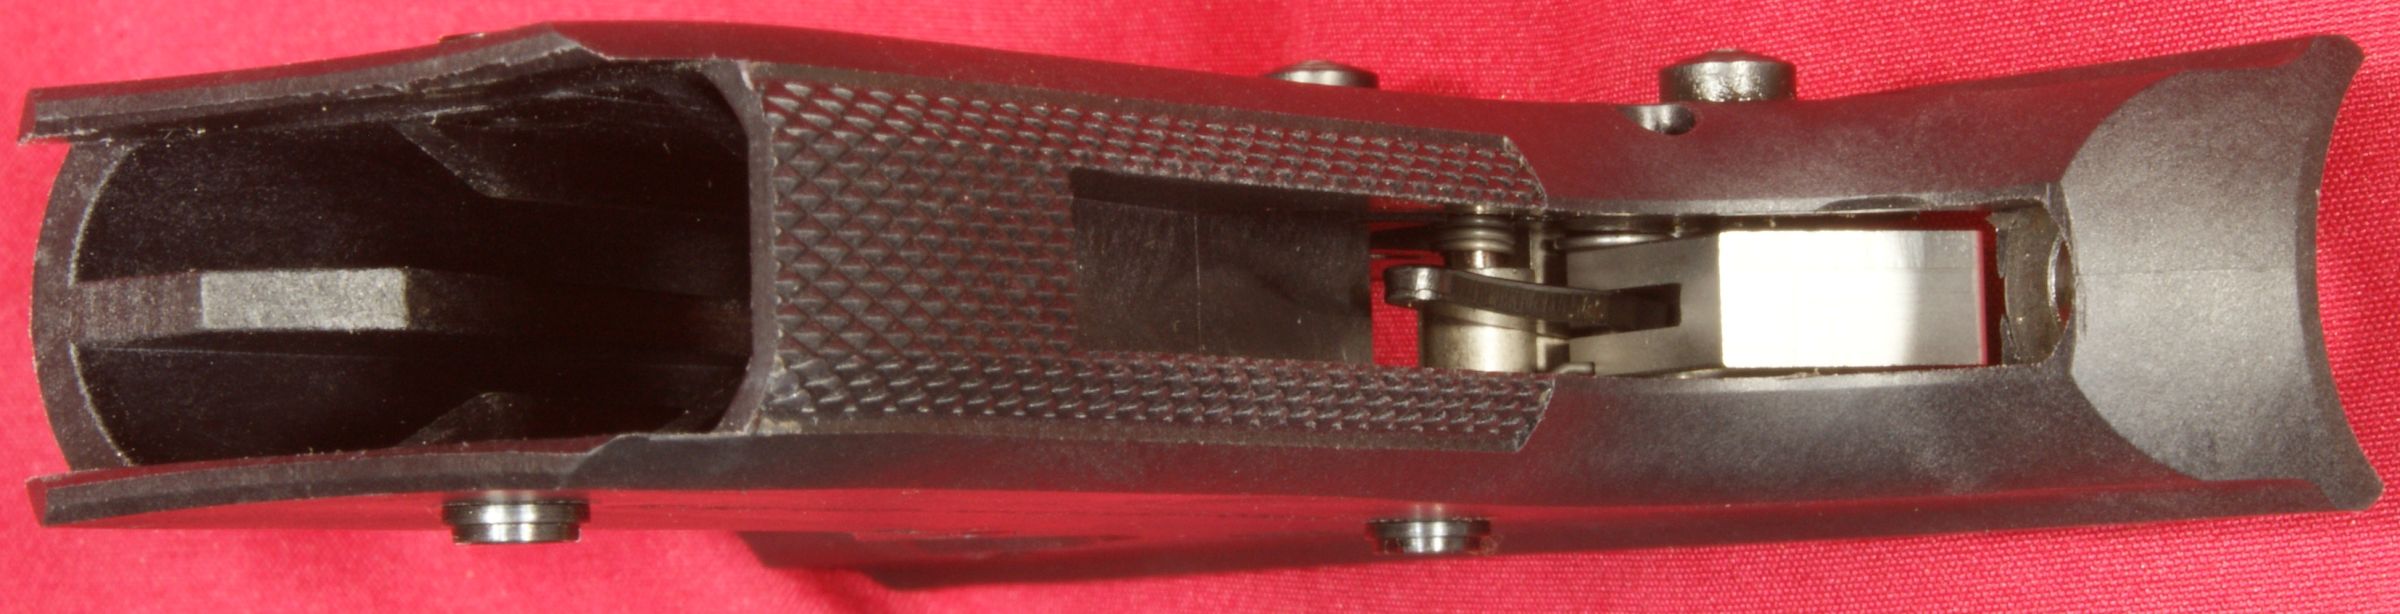
You can see the areas on the housing that are grabbed by the lugs on the frame and mainspring housing lever.
Figure 8

Figure 9
Bolt Assembly
In the photo below you can see how the bolt has been polished so that it has a bare stainless steel look that shows through the ejection port.
Figure 10
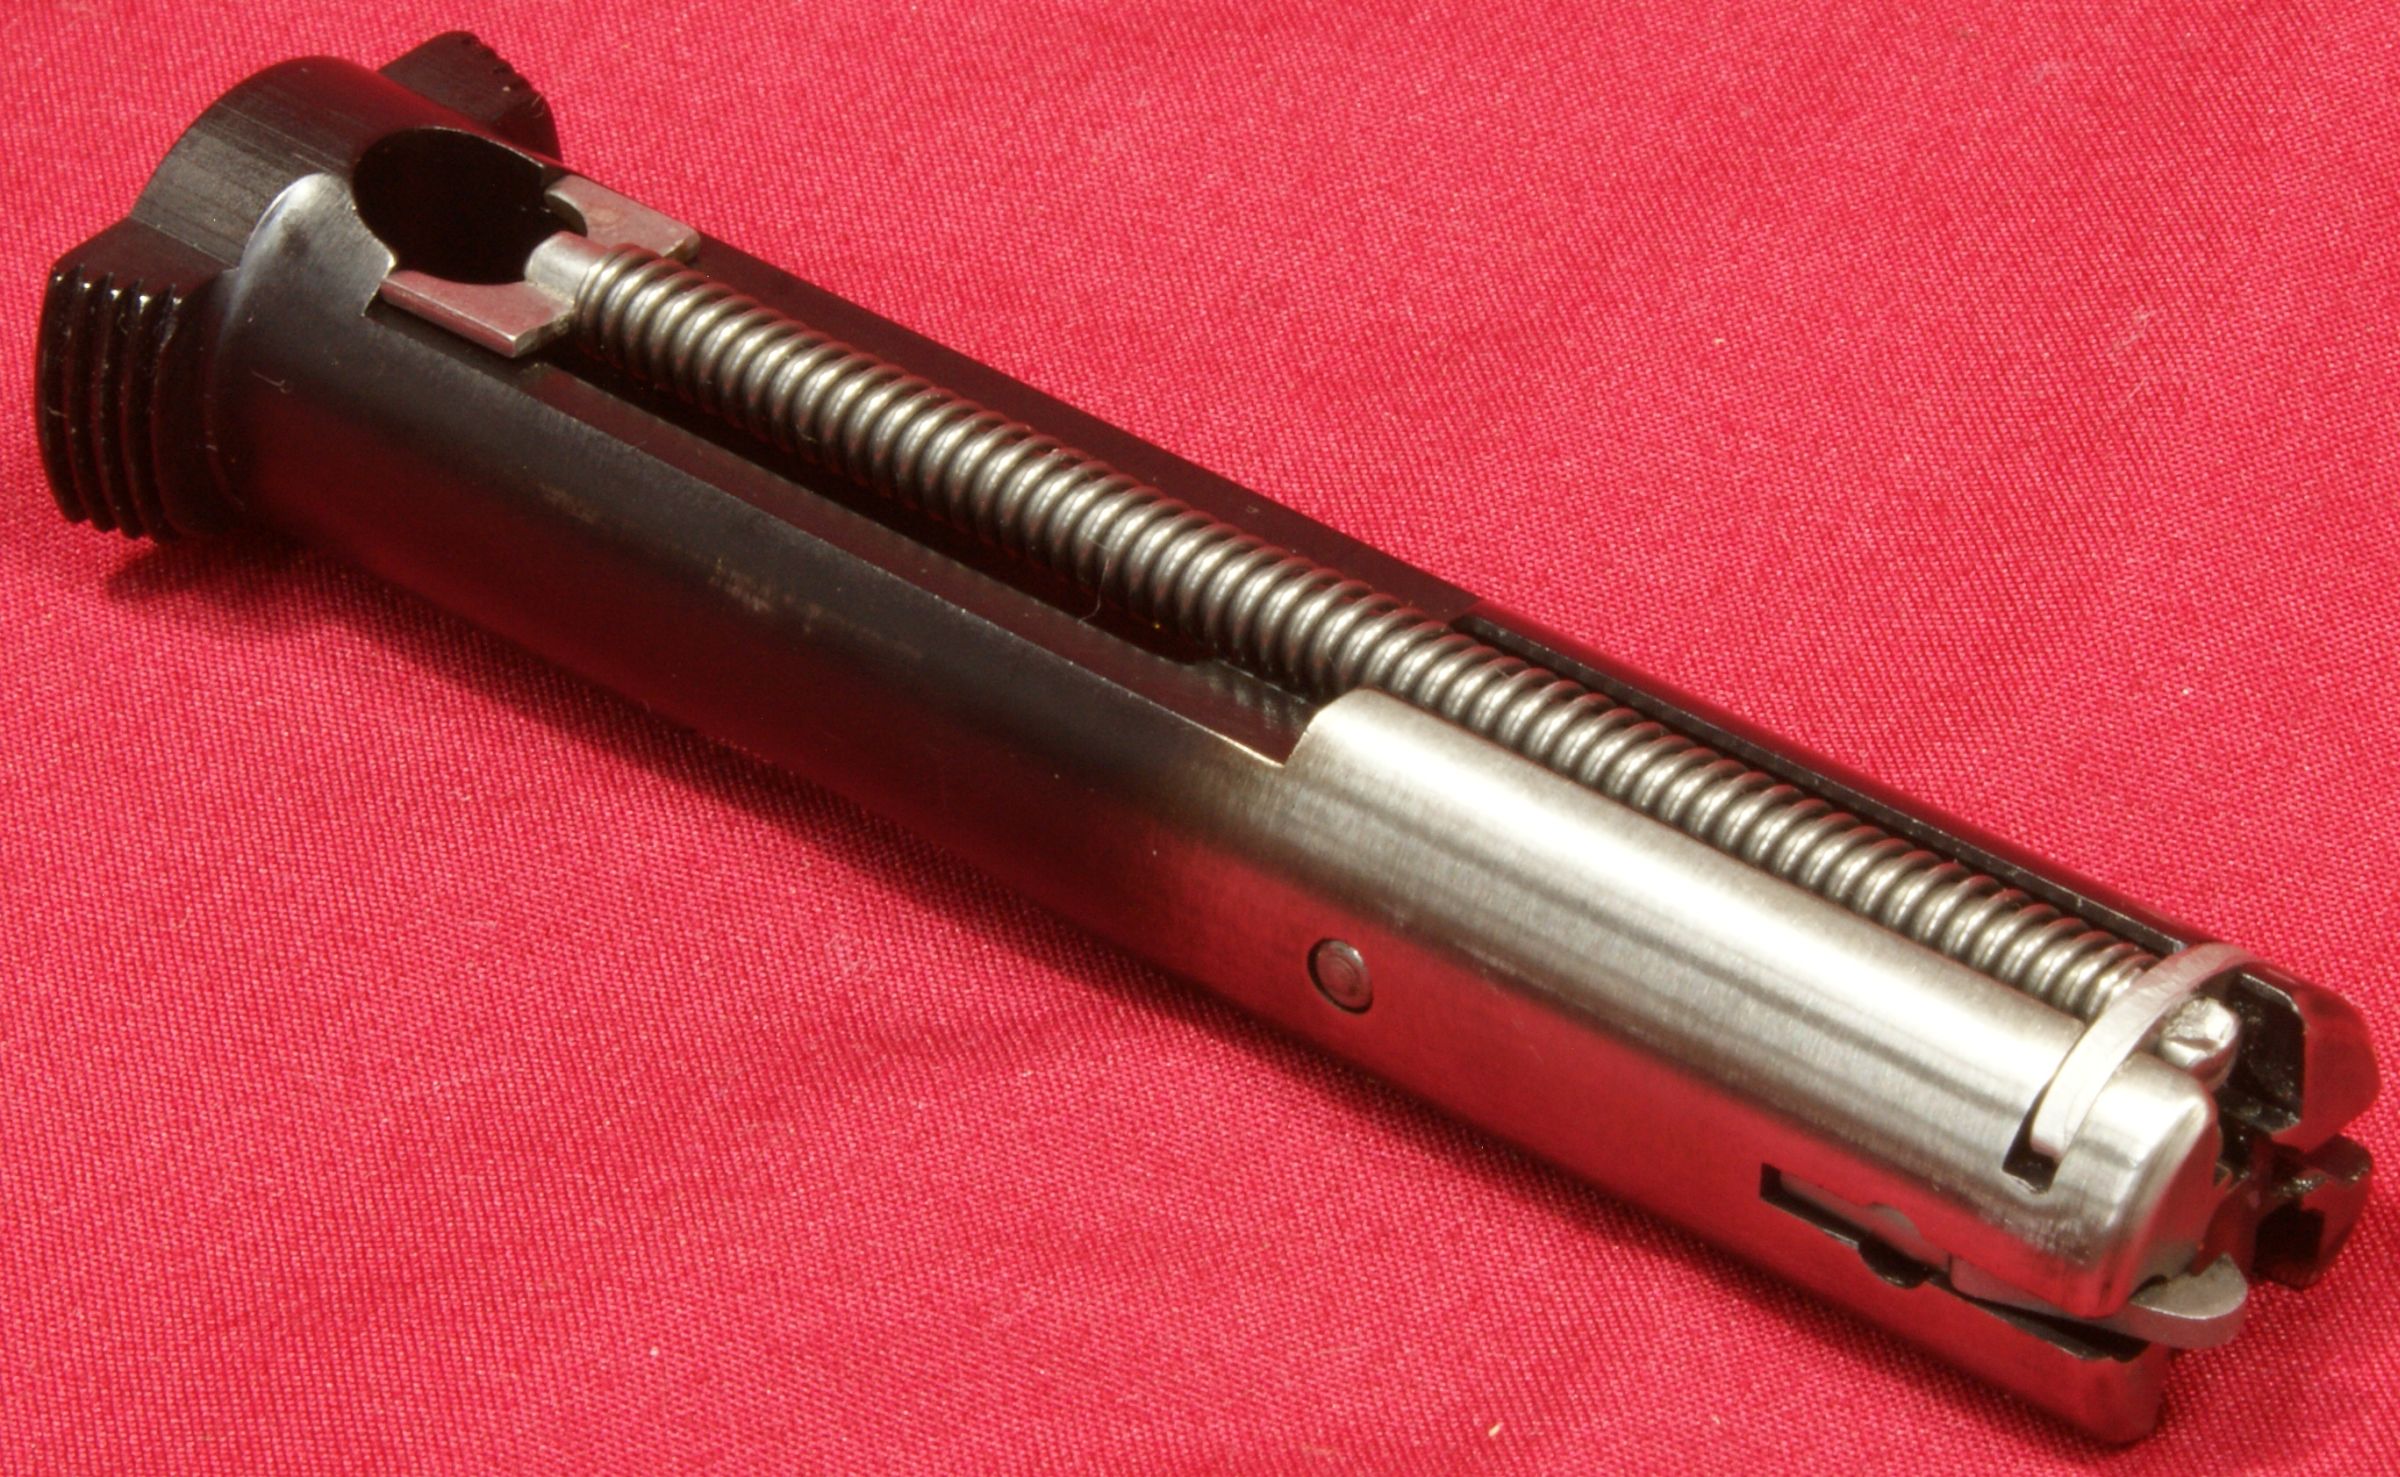
Figure 11 - Top
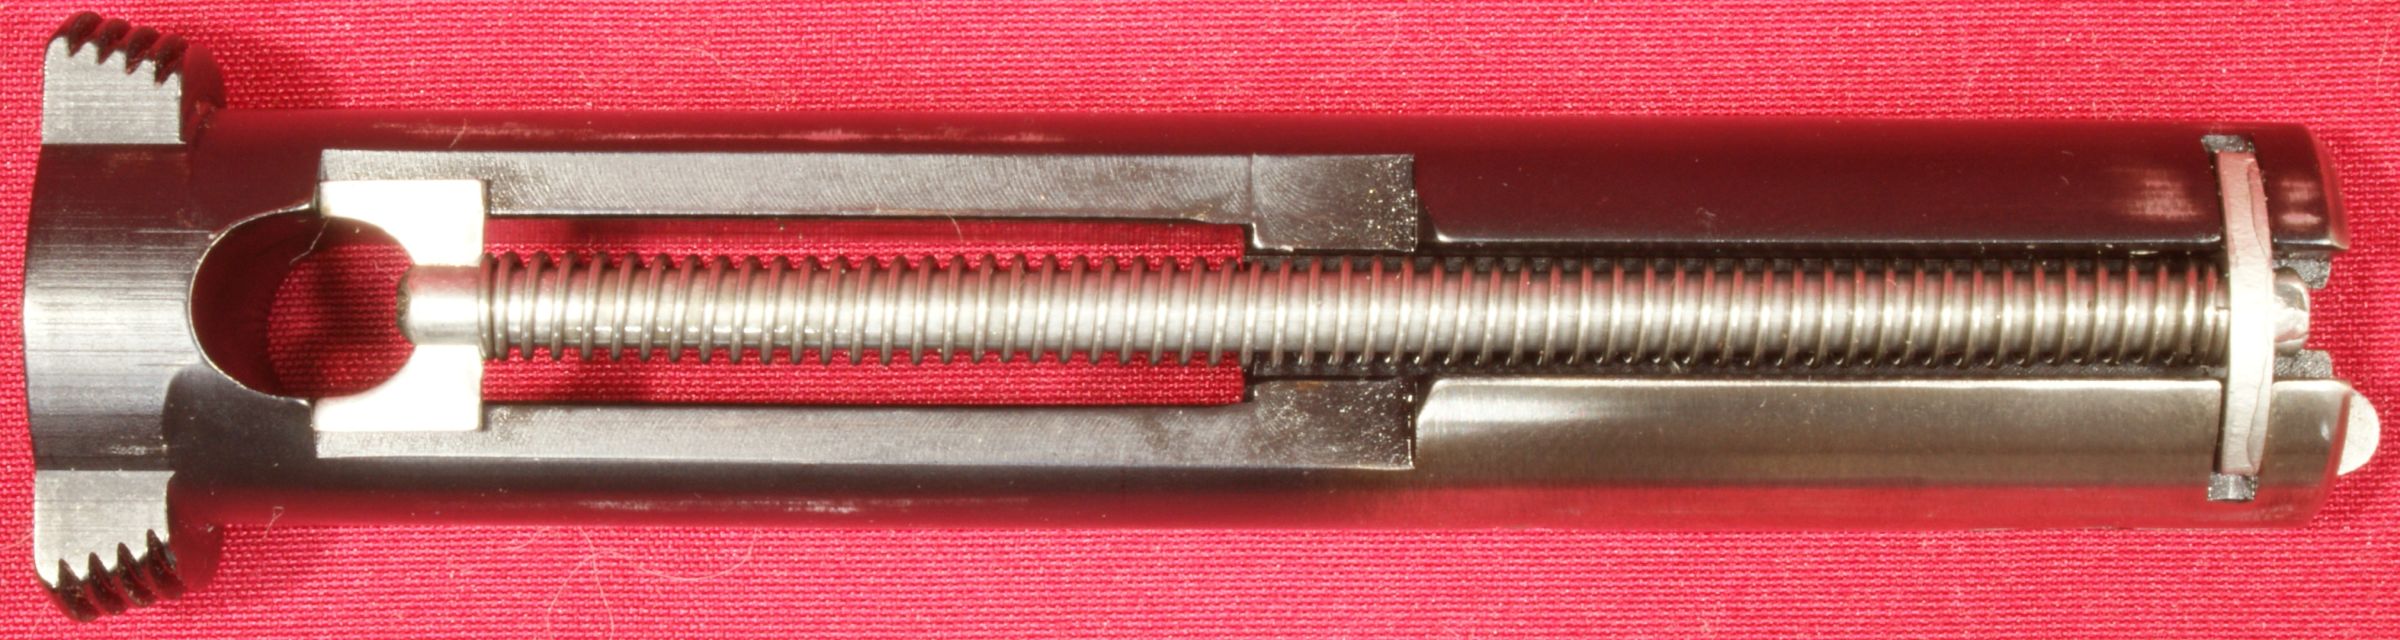
Figure 12 - Right

Figure 13 - Bottom
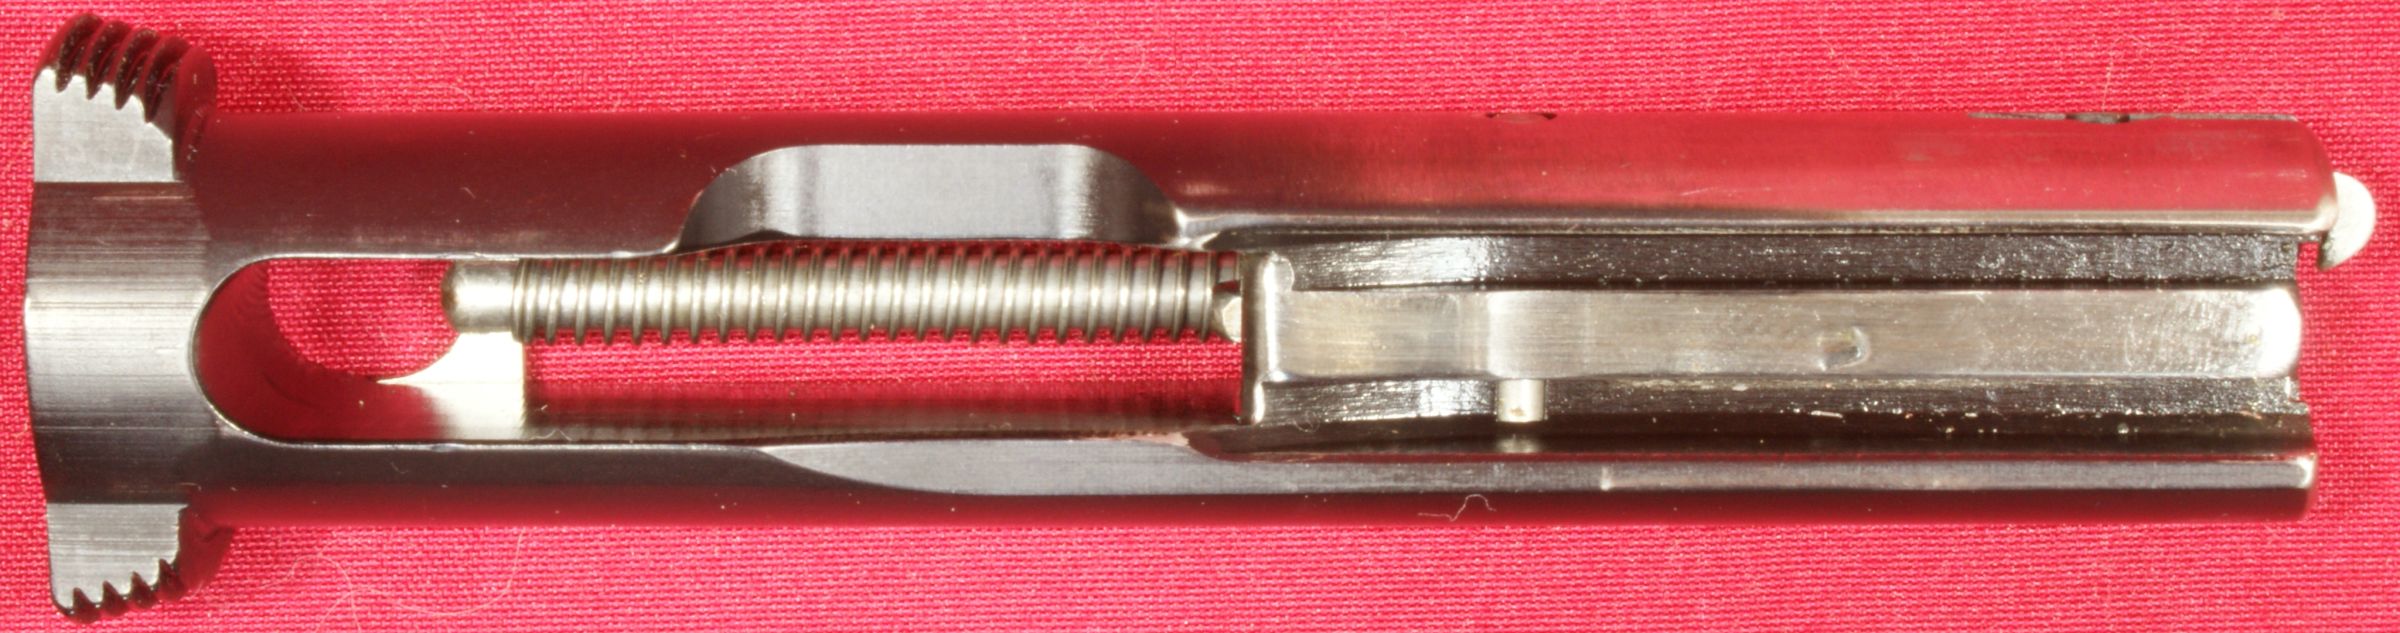
Figure 14 - Left

The end of the firing pin is rectangular in shape. The firing pin actually has an over travel firing pin stop to prevent the firing pin from contacting the rear face of the chamber when you dry fire the pistol. You can see one end of this pin in the photo above.
Figure 15
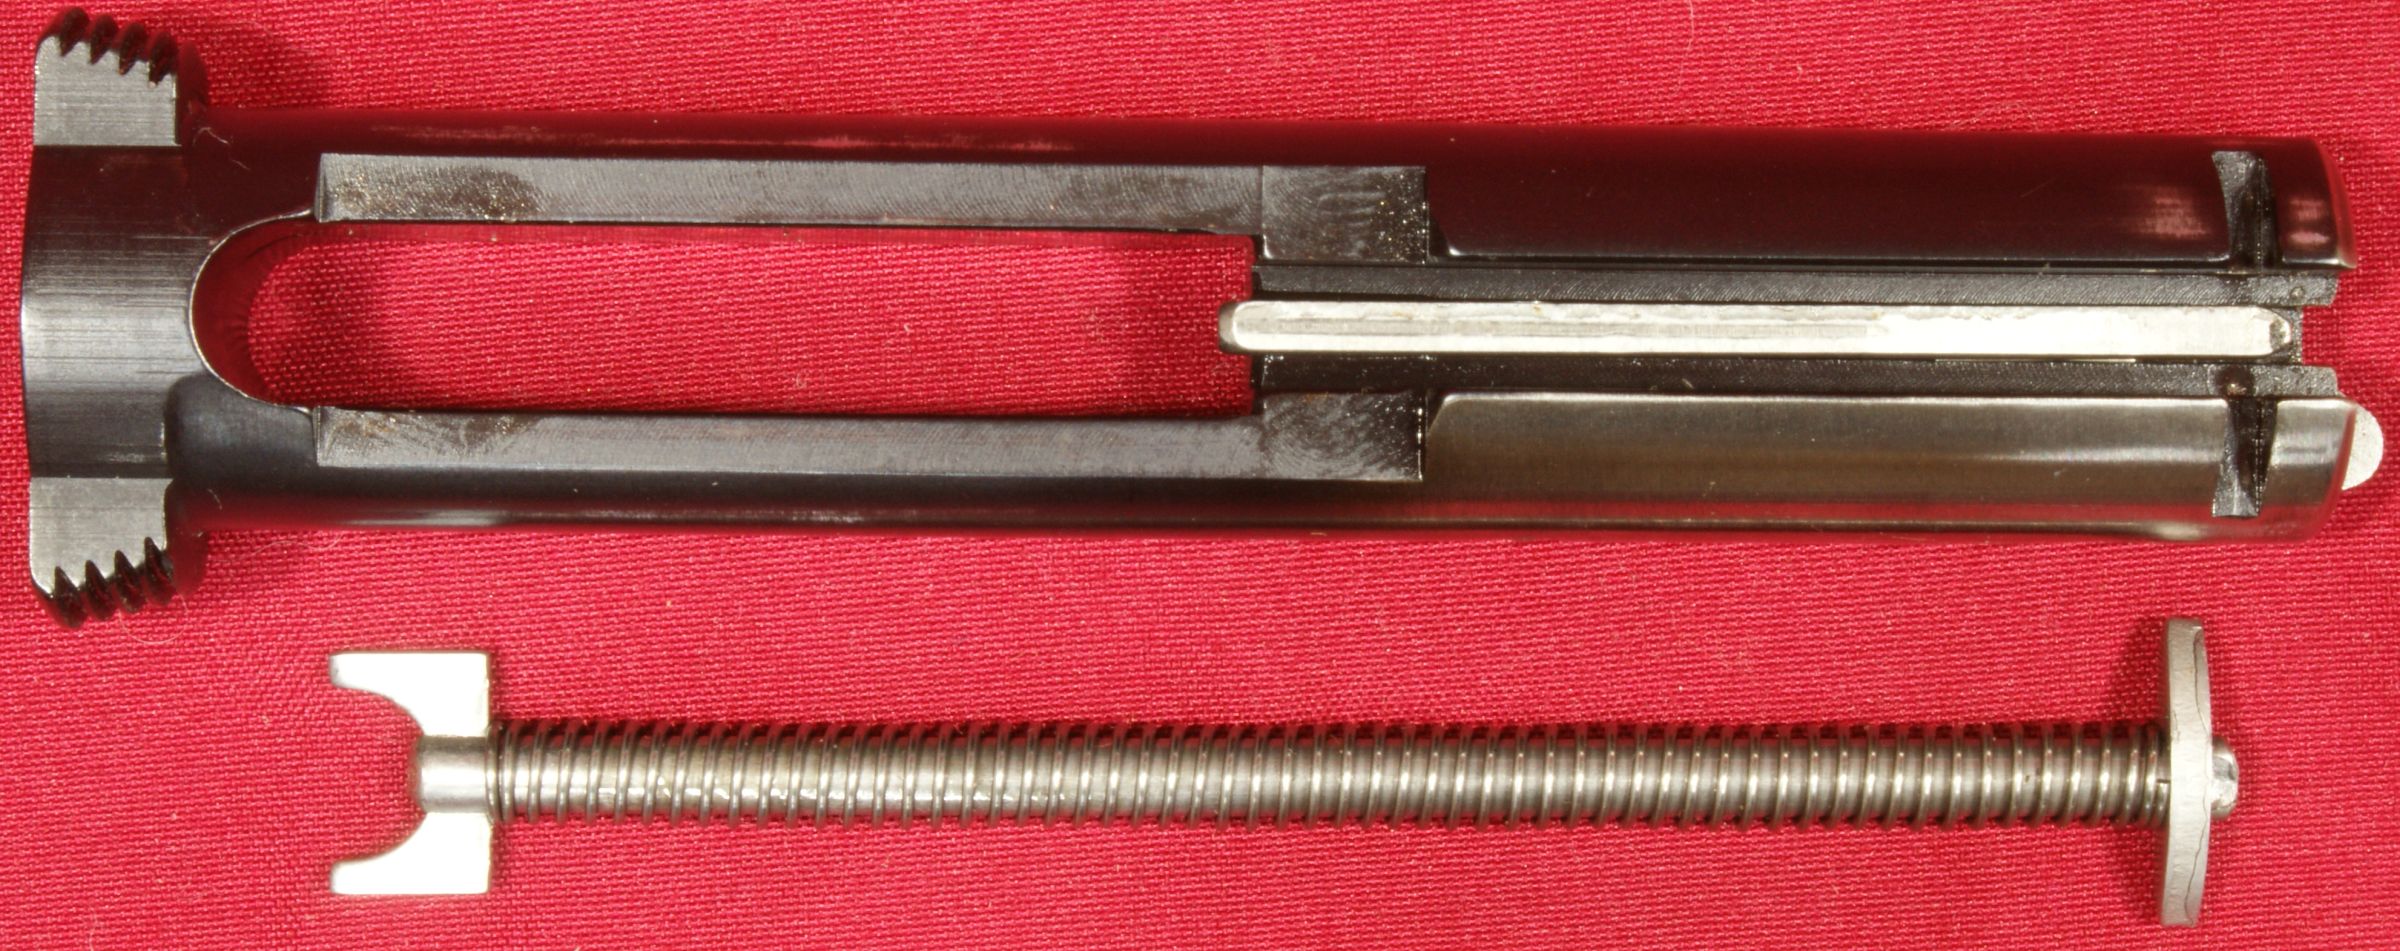
The recoil spring assembly can be easily lifted from the bolt for cleaning.
Figure 16
Barrel Cap (Thread Protector) and Spring
The spring is made from steel and the barrel cap (thread protector) is made from aluminum.
Figure 17
Figure 18
![]()
Figure 19
Figure 20
Figure 21
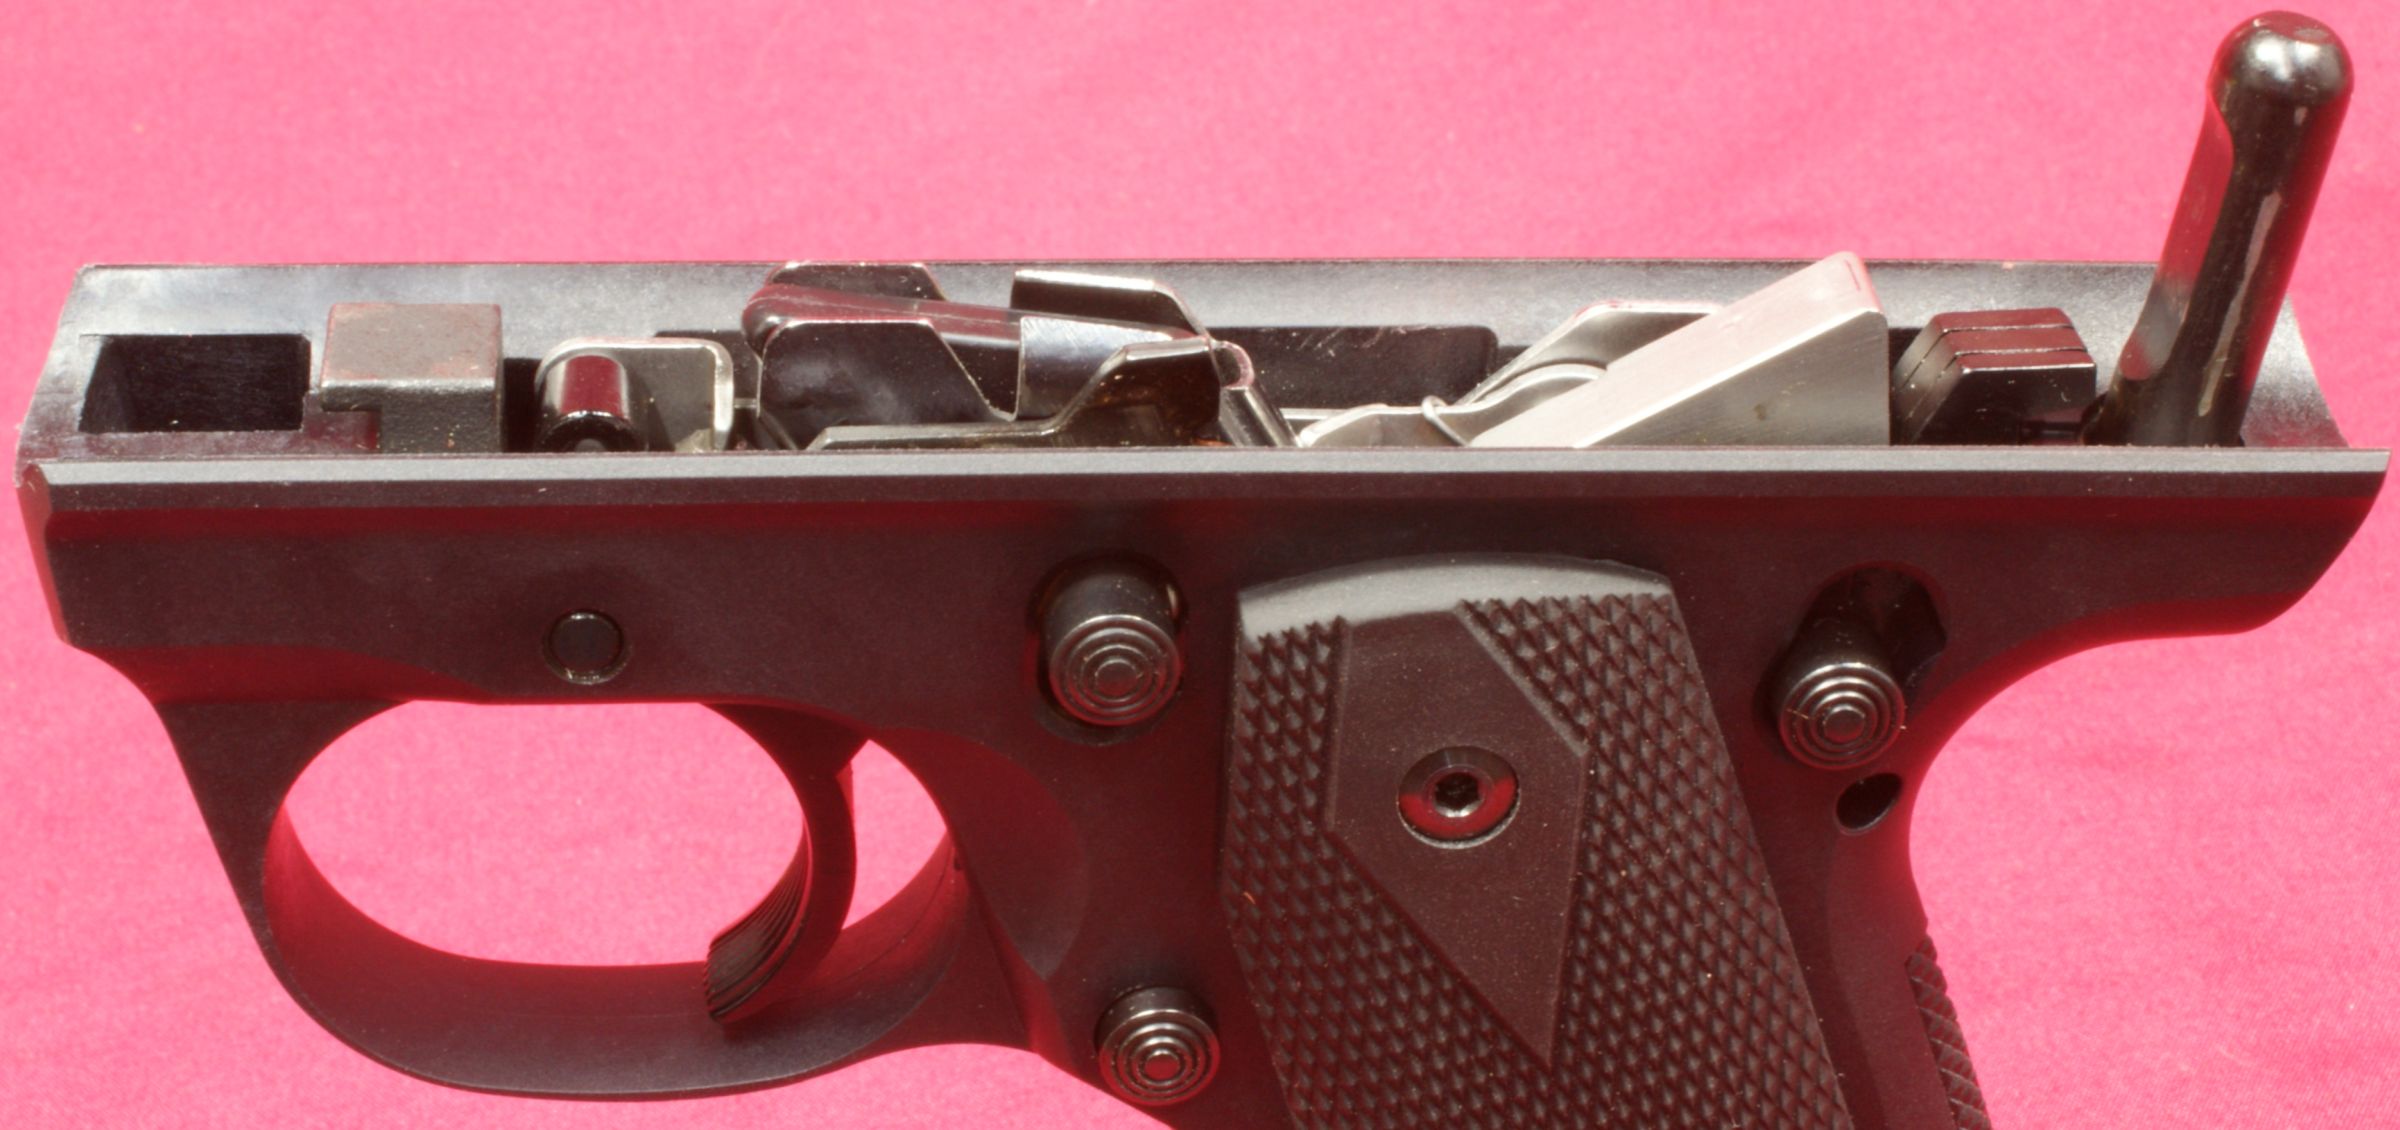
Grip Frame Assembly
These next few photos try to give you a good look inside the grip frame at the various mechanisms.
Figure 22
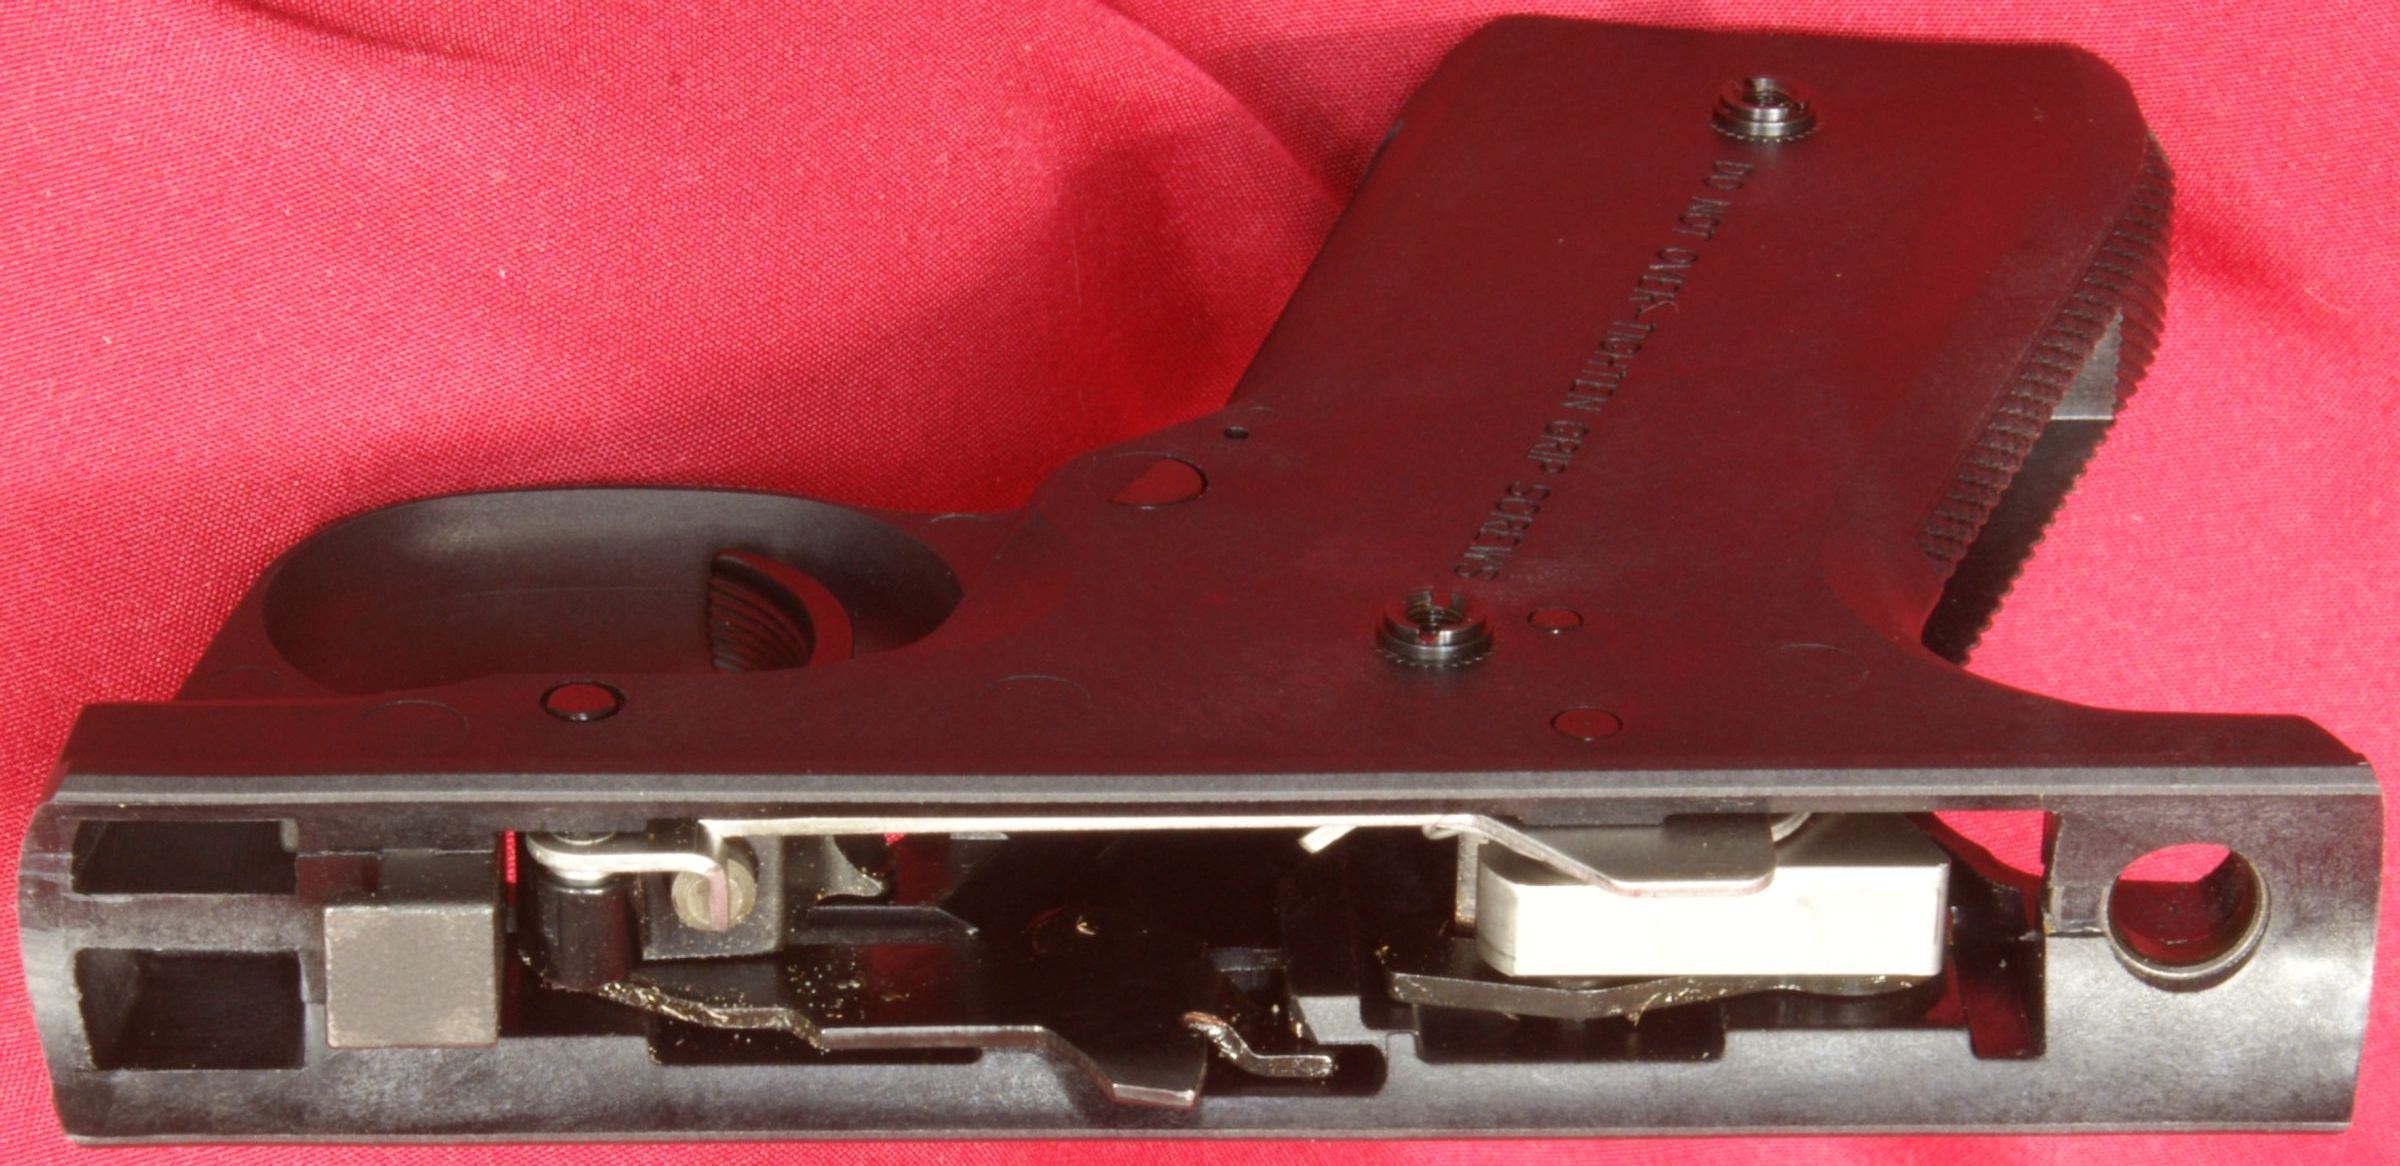
Figure 23
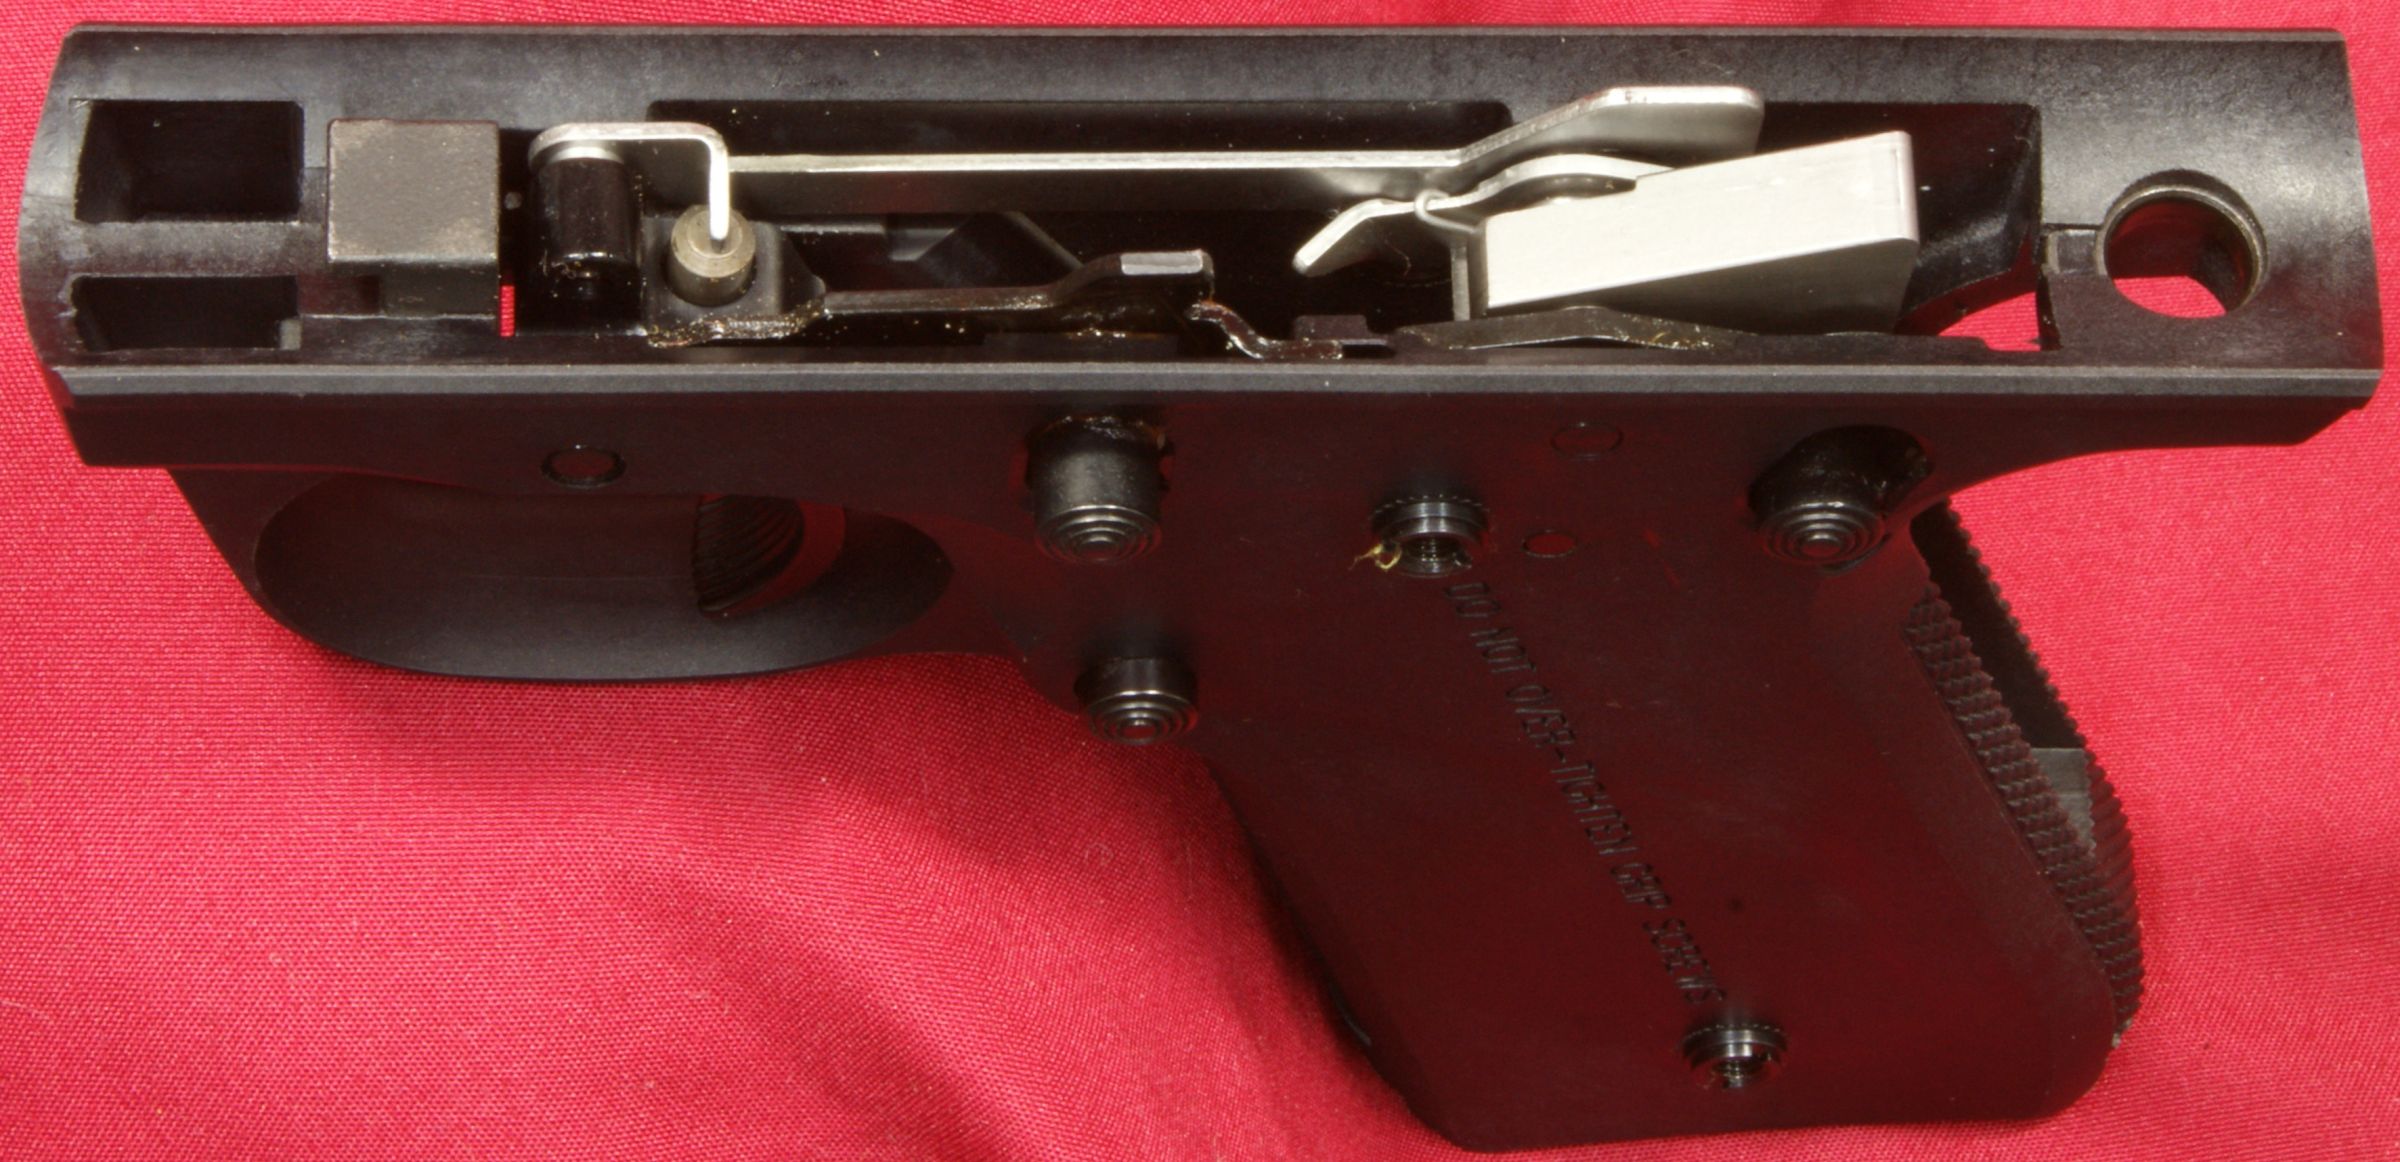
In the photo below I have tried to identify some of the items such as the A - Disconnector Assembly, B - Magazine Disconnect, C - Hammer, D - Safety Assembly and E - Bolt Stop Assembly. This photo also shows the hammer in the cocked position.
Figure 24
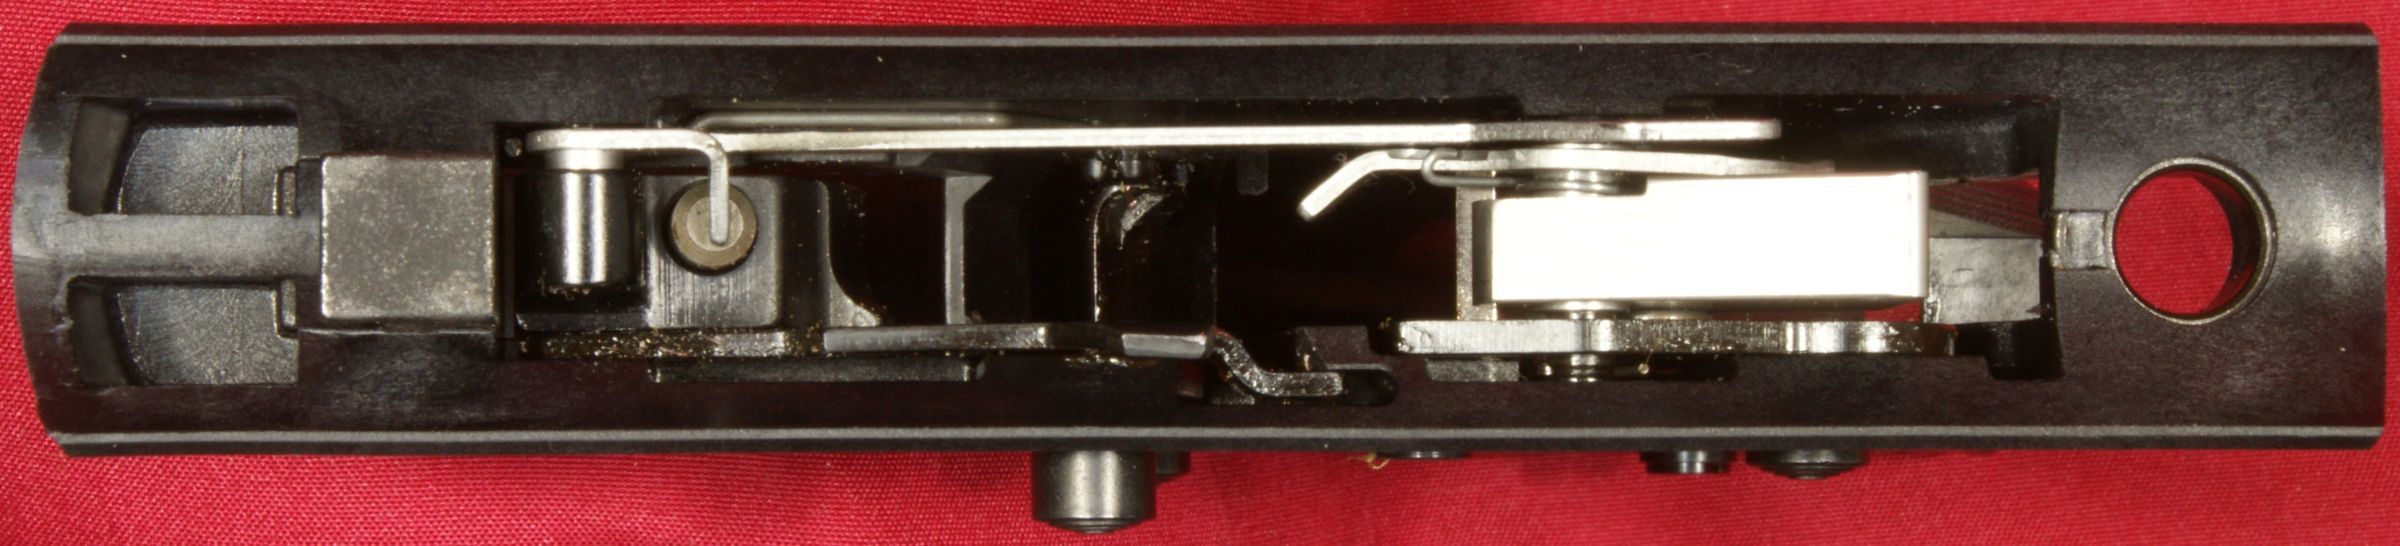
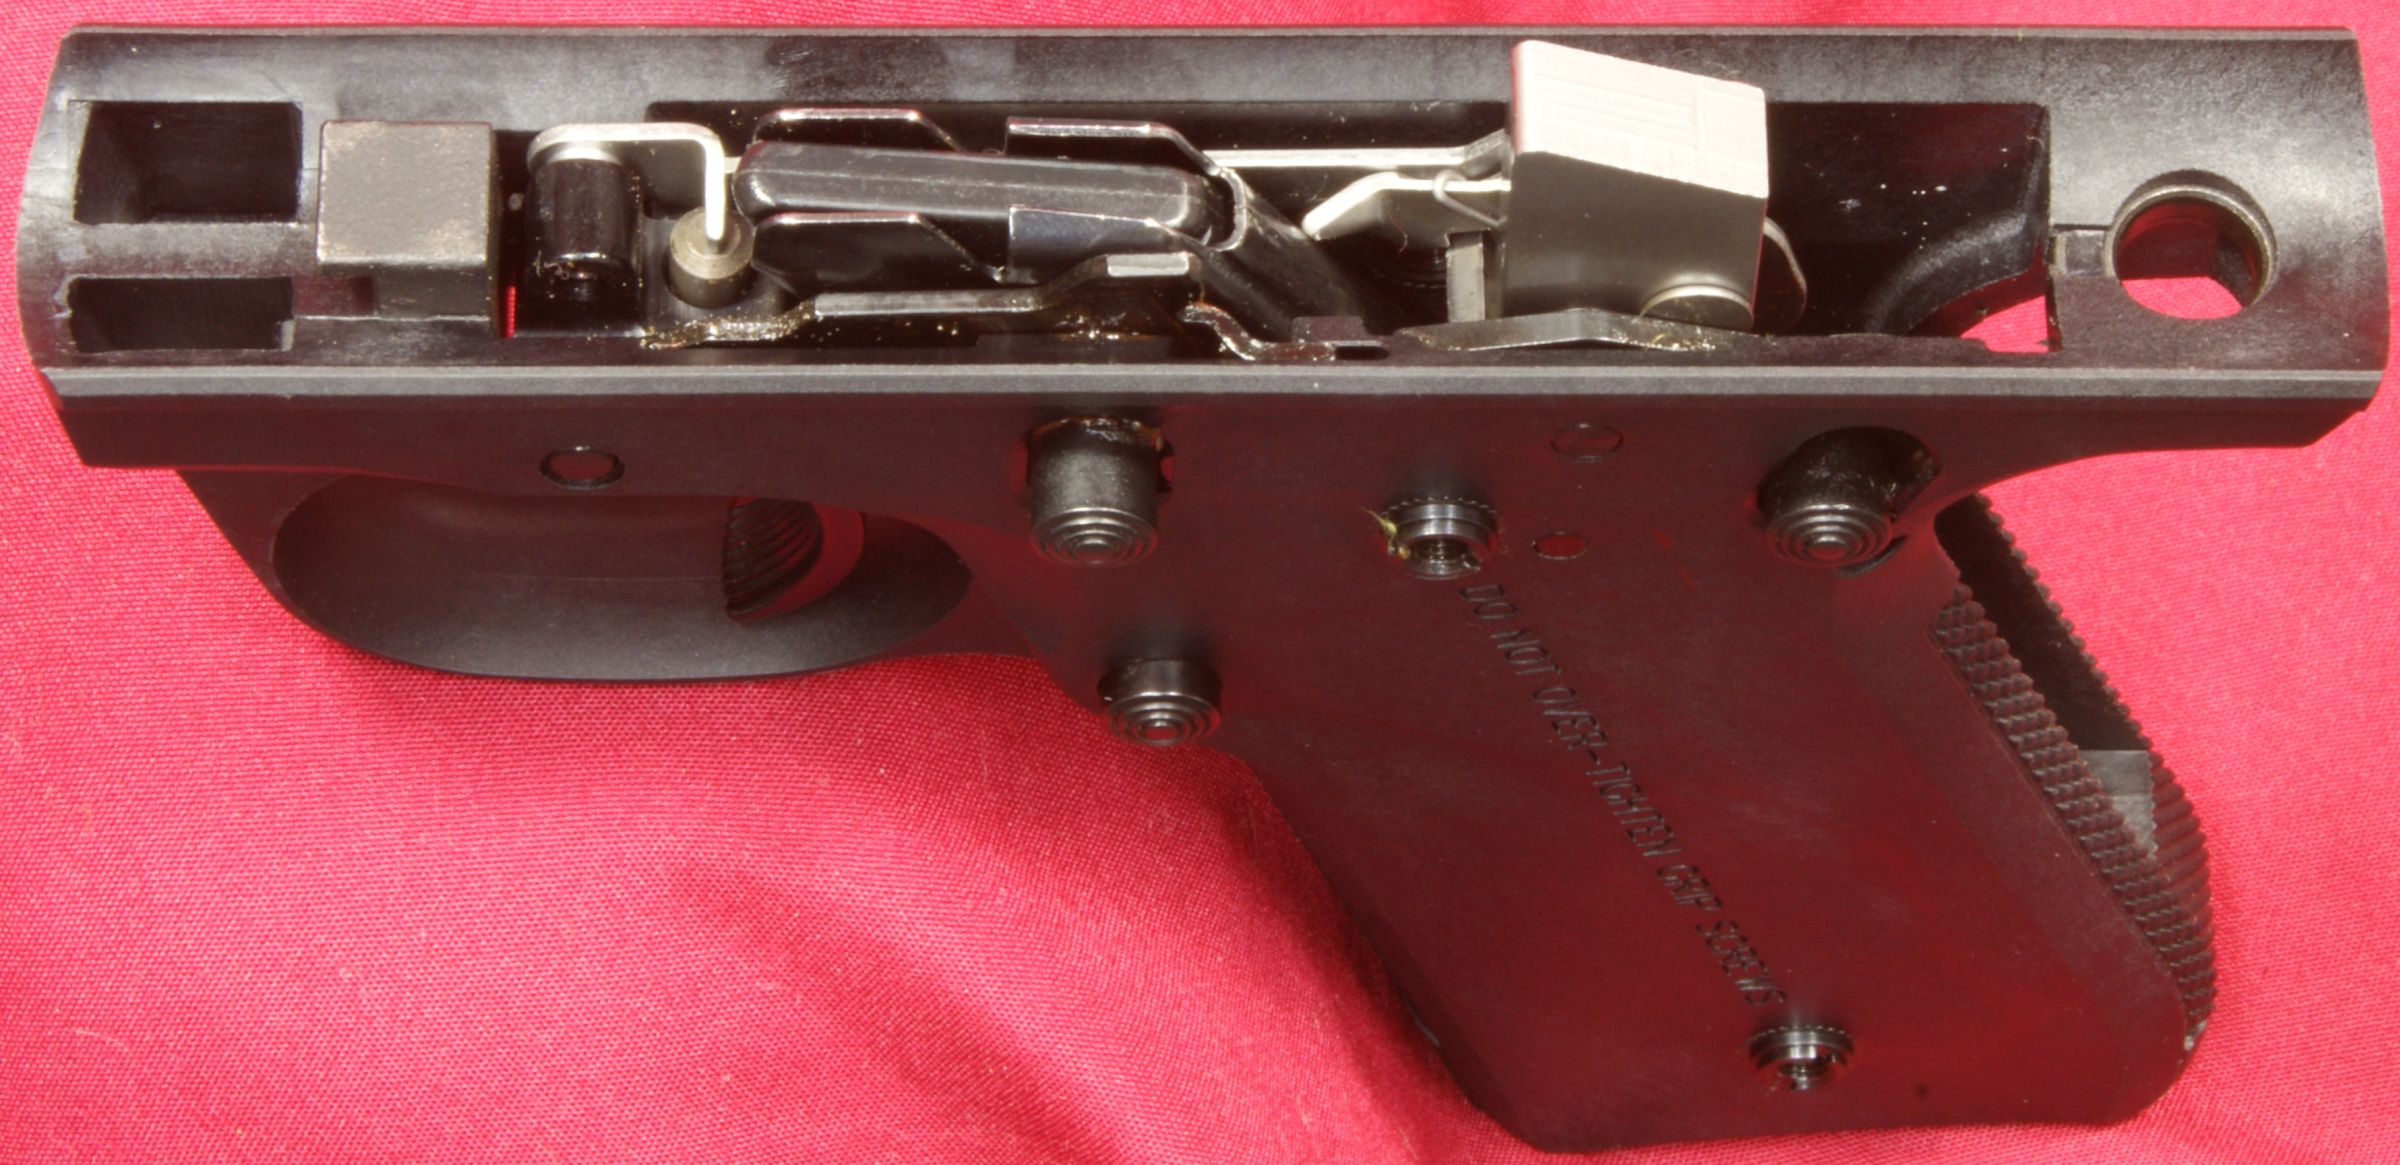
The photo below shows the grip frame with a magazine installed and the hammer in the uncocked position.
Figure 25
The photo below shows how the opposing lugs, one fixed in the front and the other lug on the mainspring housing in the back, secure the barrel-receiver assembly when installed on the pistol.
Figure 26
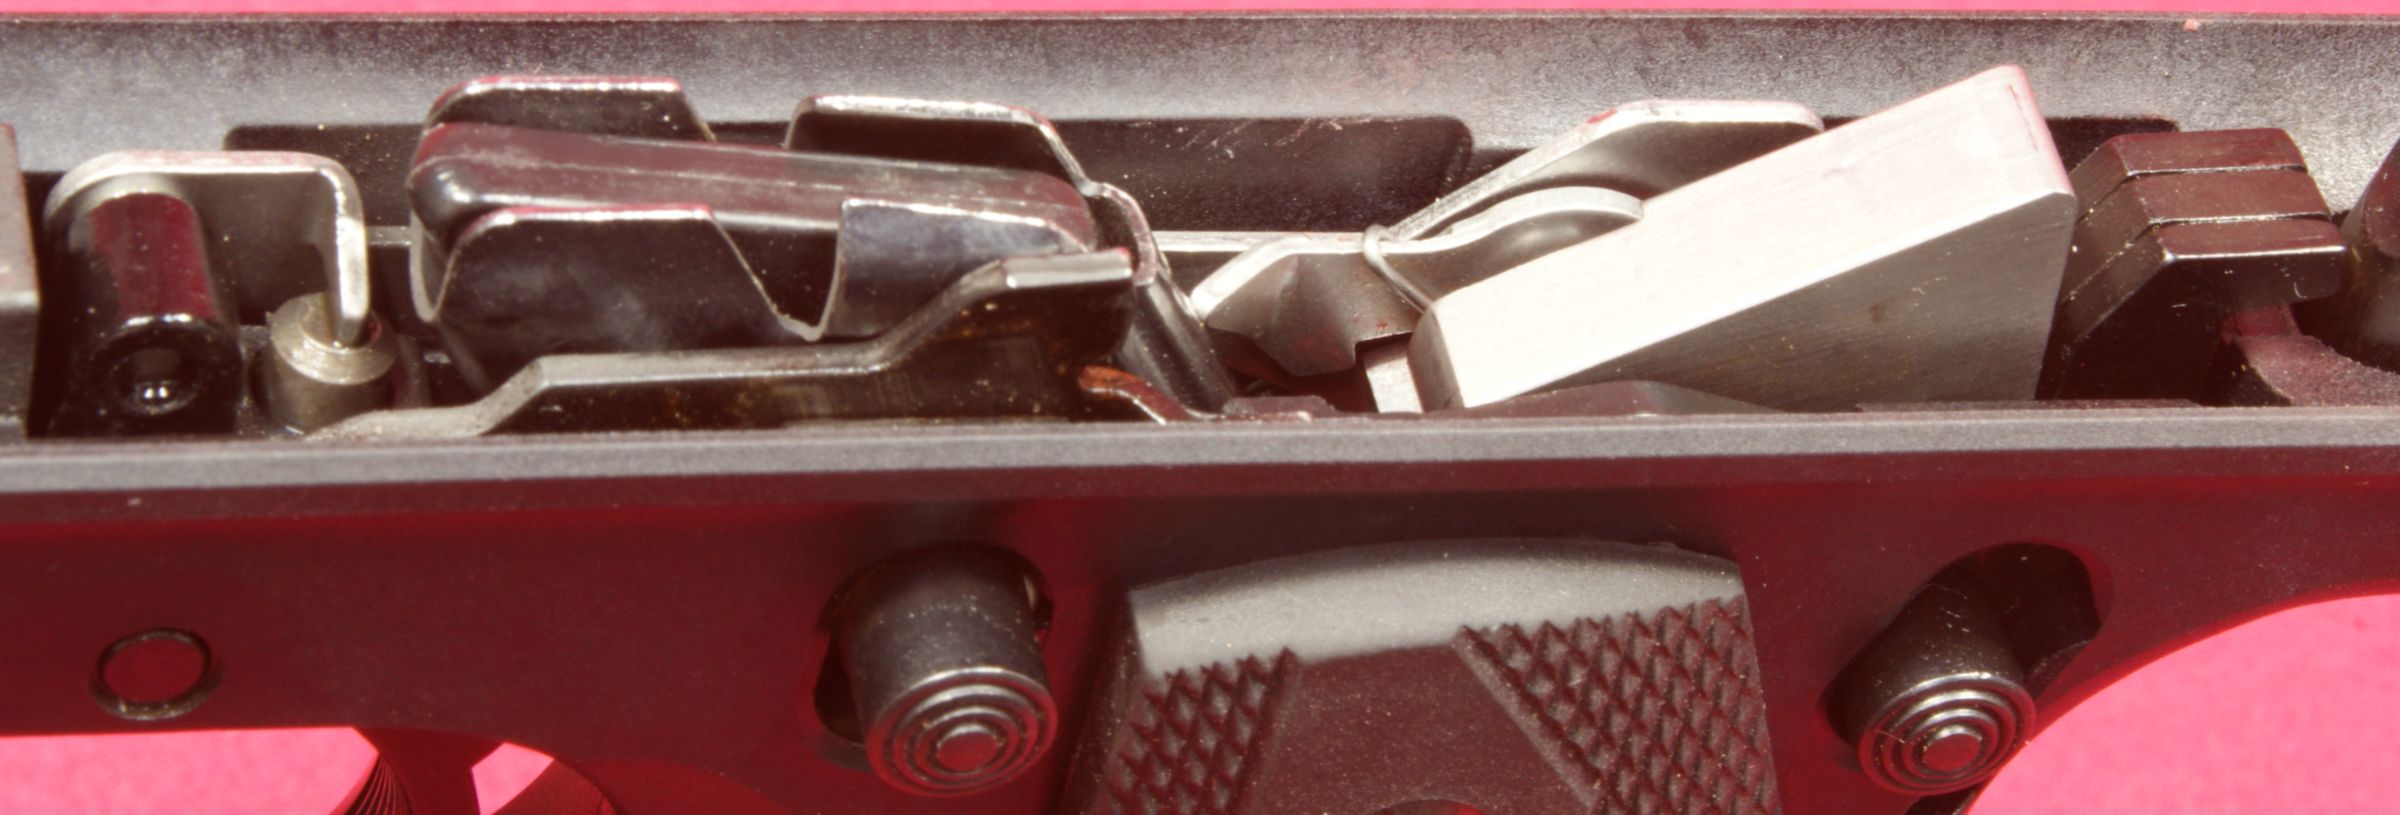
In the photo below you can also get a good look at the notch in the magazine disconnect. The photo shows a magazine installed so the notch has been raised above the sear. With the magazine removed, the disconnect drops down over the sear and there is no gap visible.
Figure 27
In these next two photos I'm trying to show the safety lever in the "safe" and "fire" positions. You can see how the safety lever has a notch that goes over the sear when in the safe position.
Figure 28 - Safety Lever in "Safe" Position
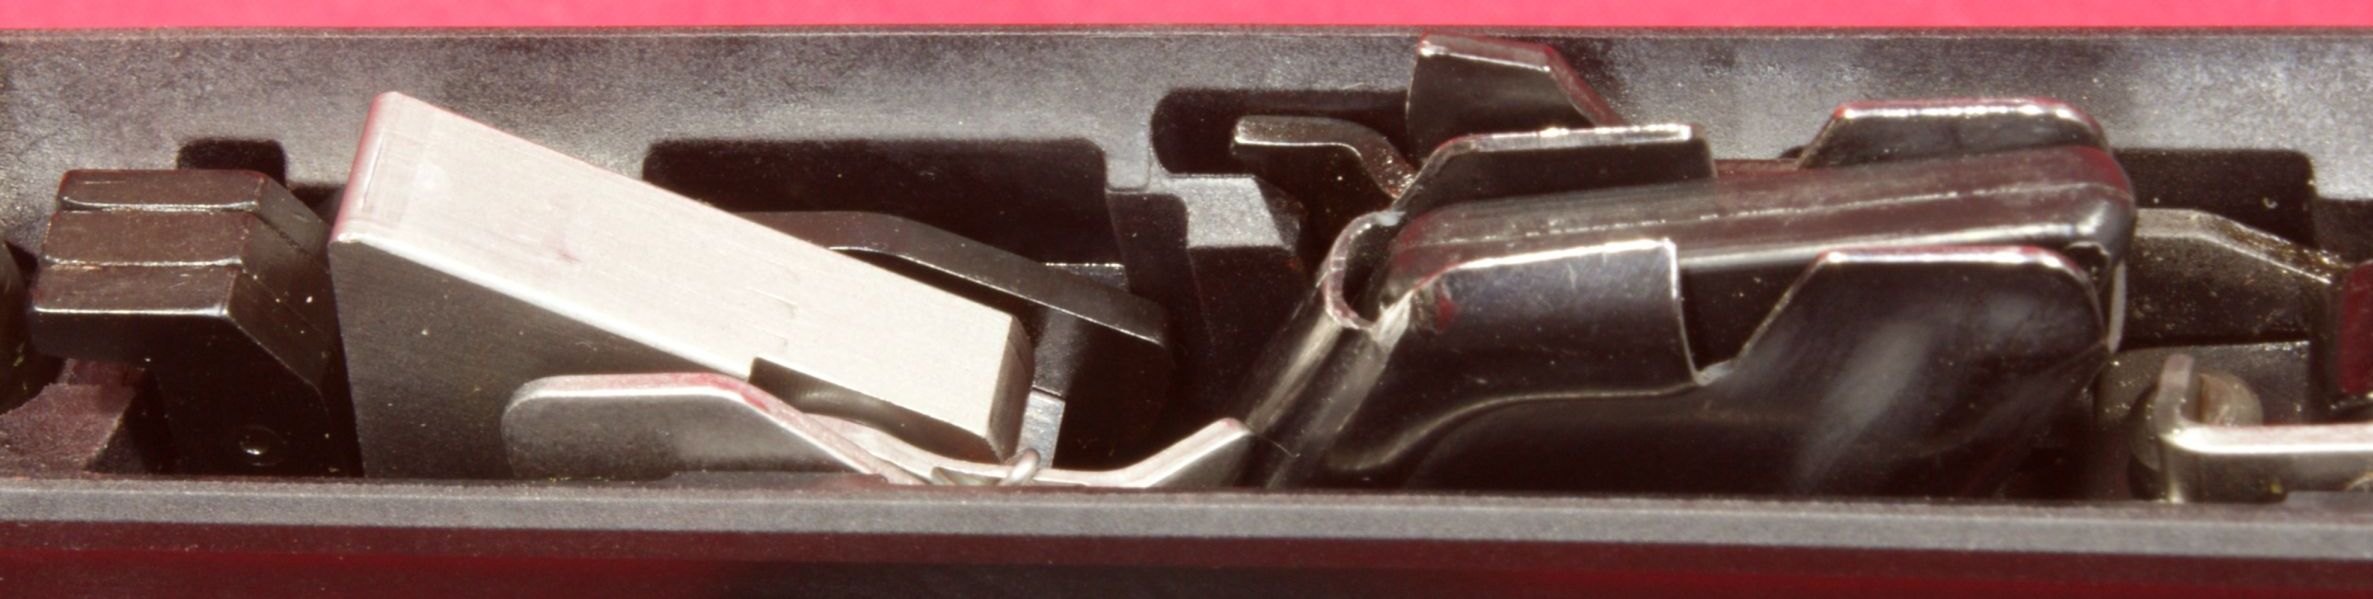
Figure 29 - Safety Lever in "Fire" Position

In the photo below you can see the magazine latch.
Figure 30
I included the photo below so you can get a good look at the bottom of the hammer and hammer strut.
Figure 31
The grip panels are held in place by threaded insert in the polymer grip which then has a second threaded insert screwed into the first.
Figure 32
Grip Panels
Figure 33
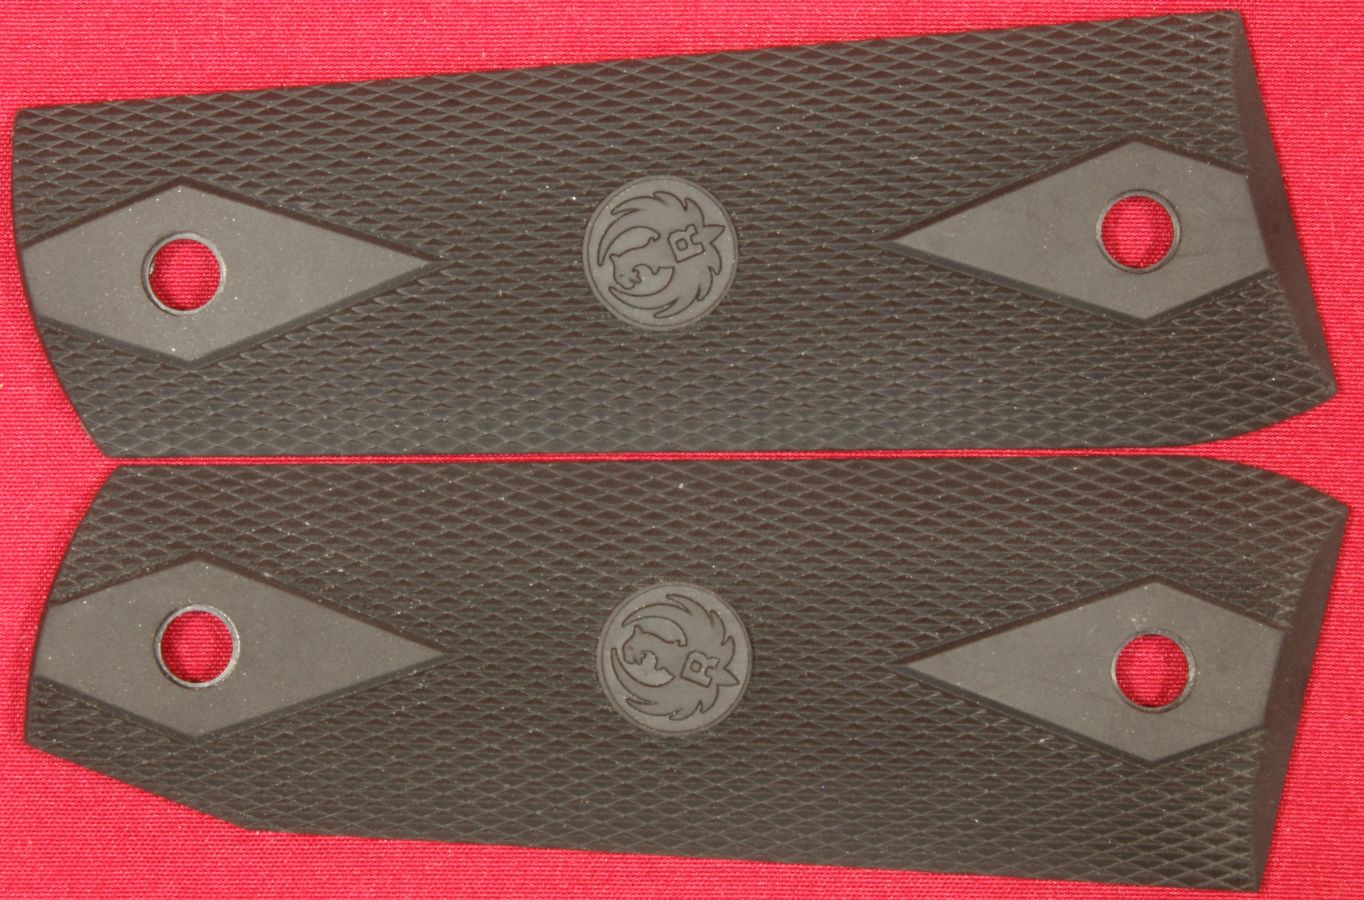
The grip panels are made by Hogue specifically for the Ruger 22/45 pistols.
Figure 34
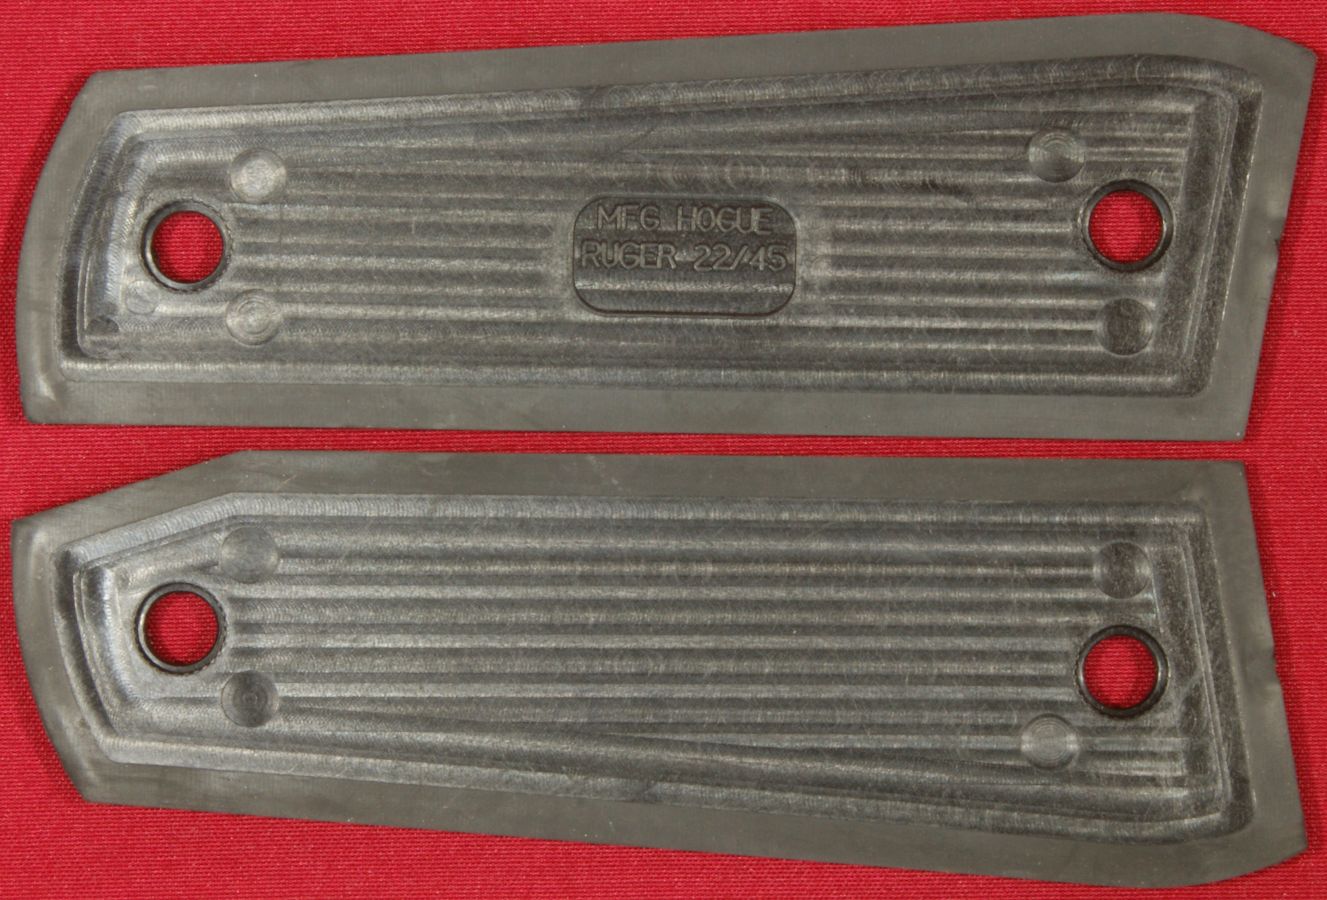
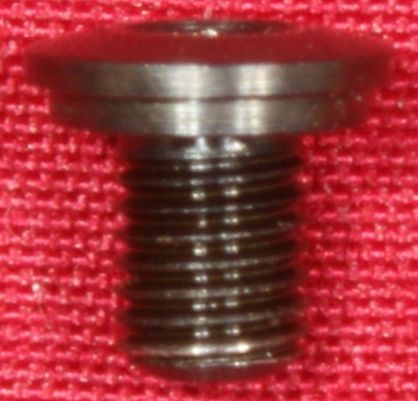
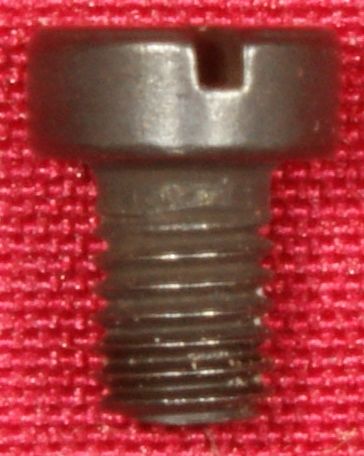
Figure 35 - Grip Panel Screw
Mainspring Housing Assembly
The mainspring housing assembly parts appear to all be made from steel. You can see in the photo below the internal lock that is part of this assembly. This lock is basically like a set screw. When your rotate the lock counterclockwise to engage the lock, the set screw backs out of the housing and blocks the safety lever from being pushed to the fire position. This seems very simple and effective.
Figure 36
Figure 37
In this photo below you can see the cup portion of the hammer spring plunger. The end of the hammer strut rides in this cup.
Figure 38

Figure 39

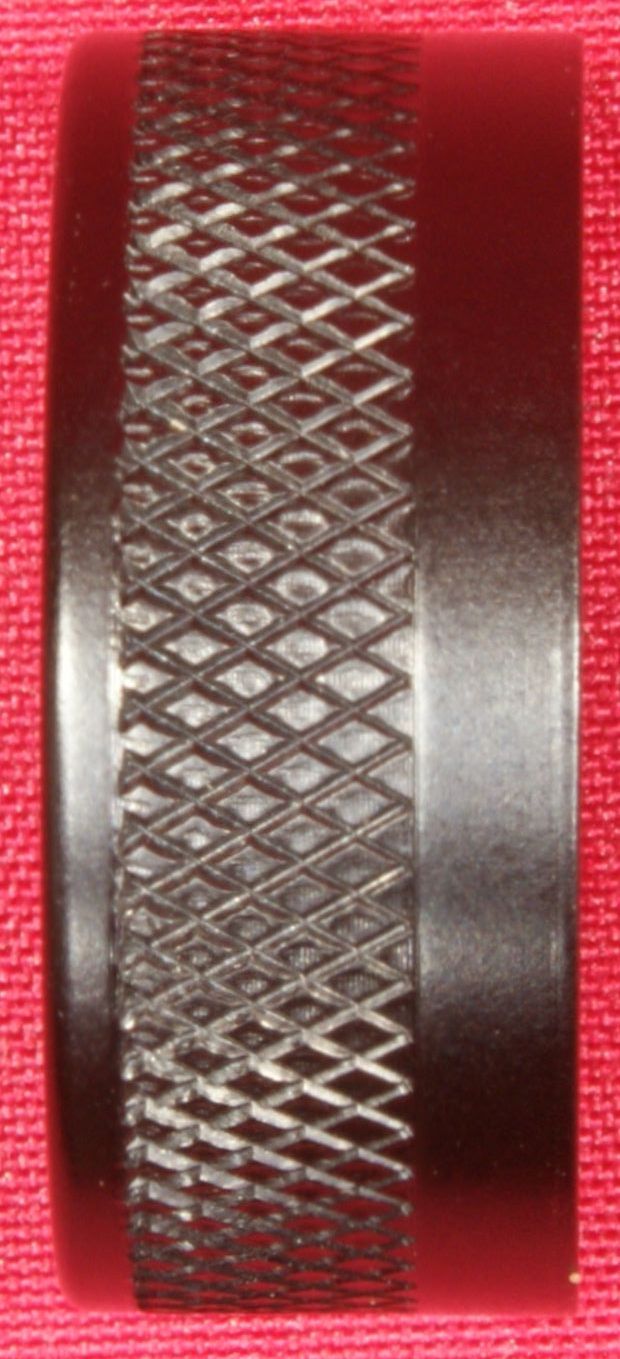
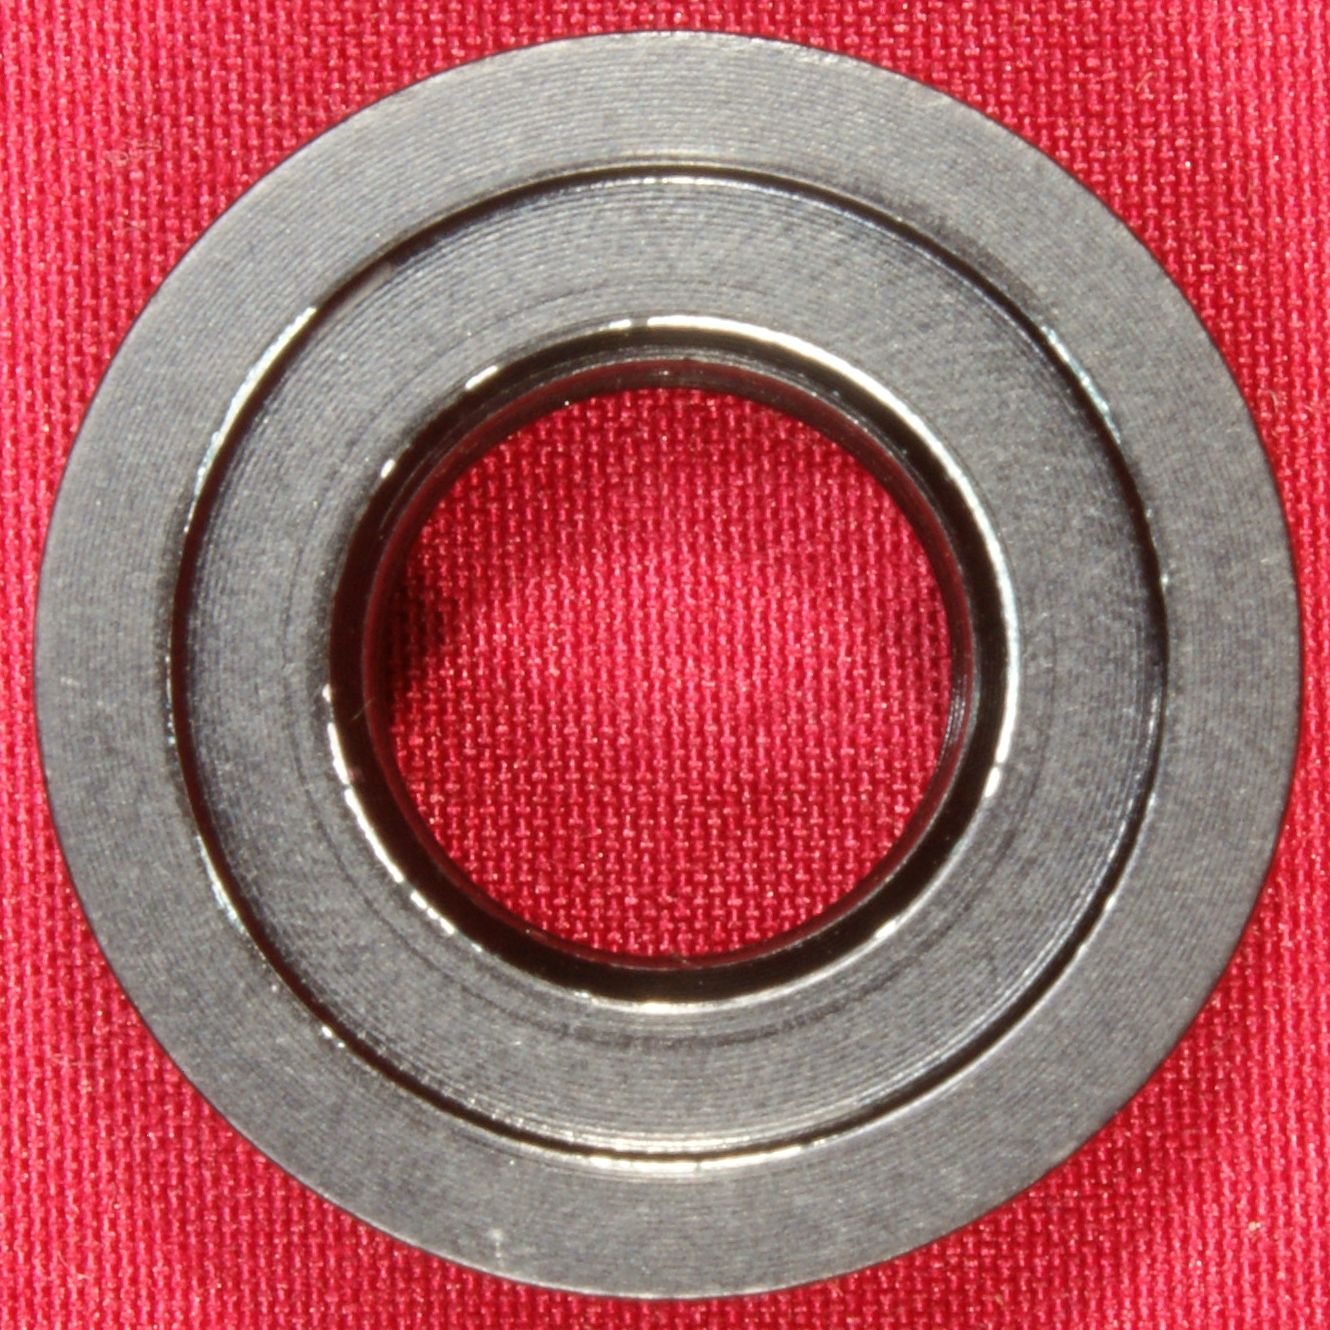
Weaver-Style Base Adapter
Figure 40

Figure 41

Figure 42
Figure 43
Thoughts
After studying the internals of this pistol for weeks, I feel that the 22/45 pistol is a simple yet clever design and I can understand why the Ruger Mark pistols have been so popular over the years.
For more detailed photos and commentary, make sure you check out the other parts of this review and feel free to leave comments on my Reader's Comments page. The following links are provided to help you see other parts of this review.
- Ruger 22/45 Lite Review: Part 1 - Introduction, Specifications and Summary
- Ruger 22/45 Lite Review: Part 2 - What's in the Box
- Ruger 22/45 Lite Review: Part 3 - External and Operational Features
- Ruger 22/45 Lite Review: Part 4 - Disassembly and Reassembly
- Ruger 22/45 Lite Review: Part 5 - Internal Features (this page)
- Ruger 22/45 Lite Review: Part 6 - Range Test
Or
If you would like to be notified about future Gunsumer Reports reviews via Facebook, make sure "You Like This" by clicking the Facebook "Like" button at the bottom or top of this page. If it already says "You Like This" beside the button, clicking it again will uncheck the "Like" status and you will not be notified.
| Share on Facebook | |
© 2010, 2011, 2012, 2013, 2014, 2015, 2016, 2017, 2018, 2019, 2020, 2021, 2022, 2023 & 2024 Gunsumer Reports™, All rights reserved.
FTC Disclosure