|
|
Gunsumer Reports TM Providing Detailed Objective Reviews for Firearms and Firearm Accessories |
Remington 887 Nitro Mag Tactical Review
Part 4 - Disassembly and Internal Features
June 14, 2011

Disassembly
In this part of the review, I'm going to cover basic disassembly of the shotgun for normal cleaning and show some of the internal features of the shotgun. Although I show many photos and give comments on the steps for disassembly, you should always refer to the manufacturer's owner's manual as the official source for these instructions. Also you should always make sure your firearm is unloaded and on safety prior to any disassembly.
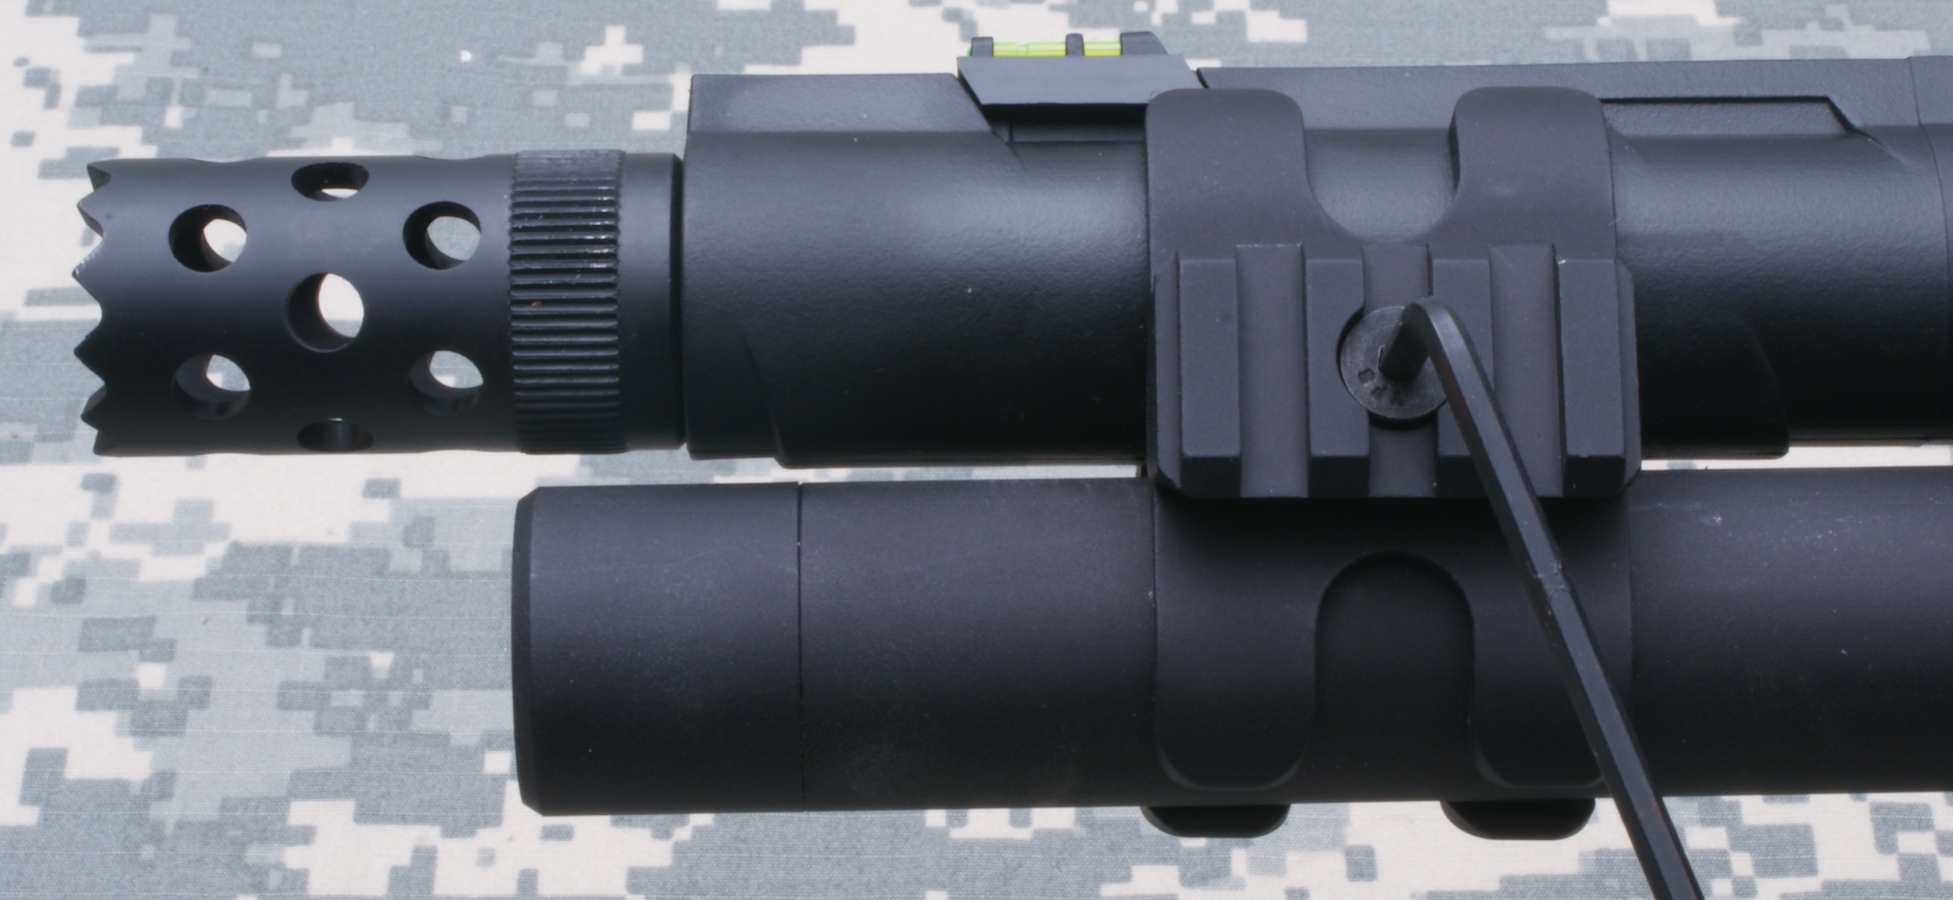
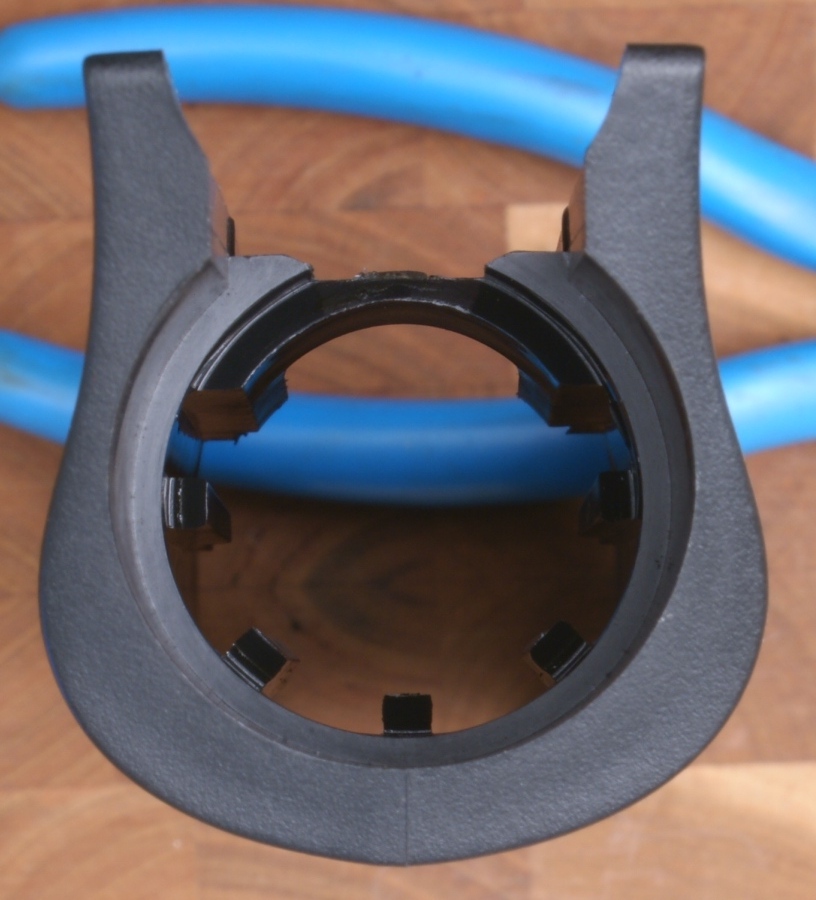
Step 1 - Remove Barrel Clamp
To remove the Barrel Clamp, you first remove the short Picatinny rail to access one of the slotted nuts underneath. To remove the rail, you will use a 7/64" Allen hex wrench. Remington's additional instruction sheet provided with the shotgun (but not in the owner's manual) covers these details.
Figure 1
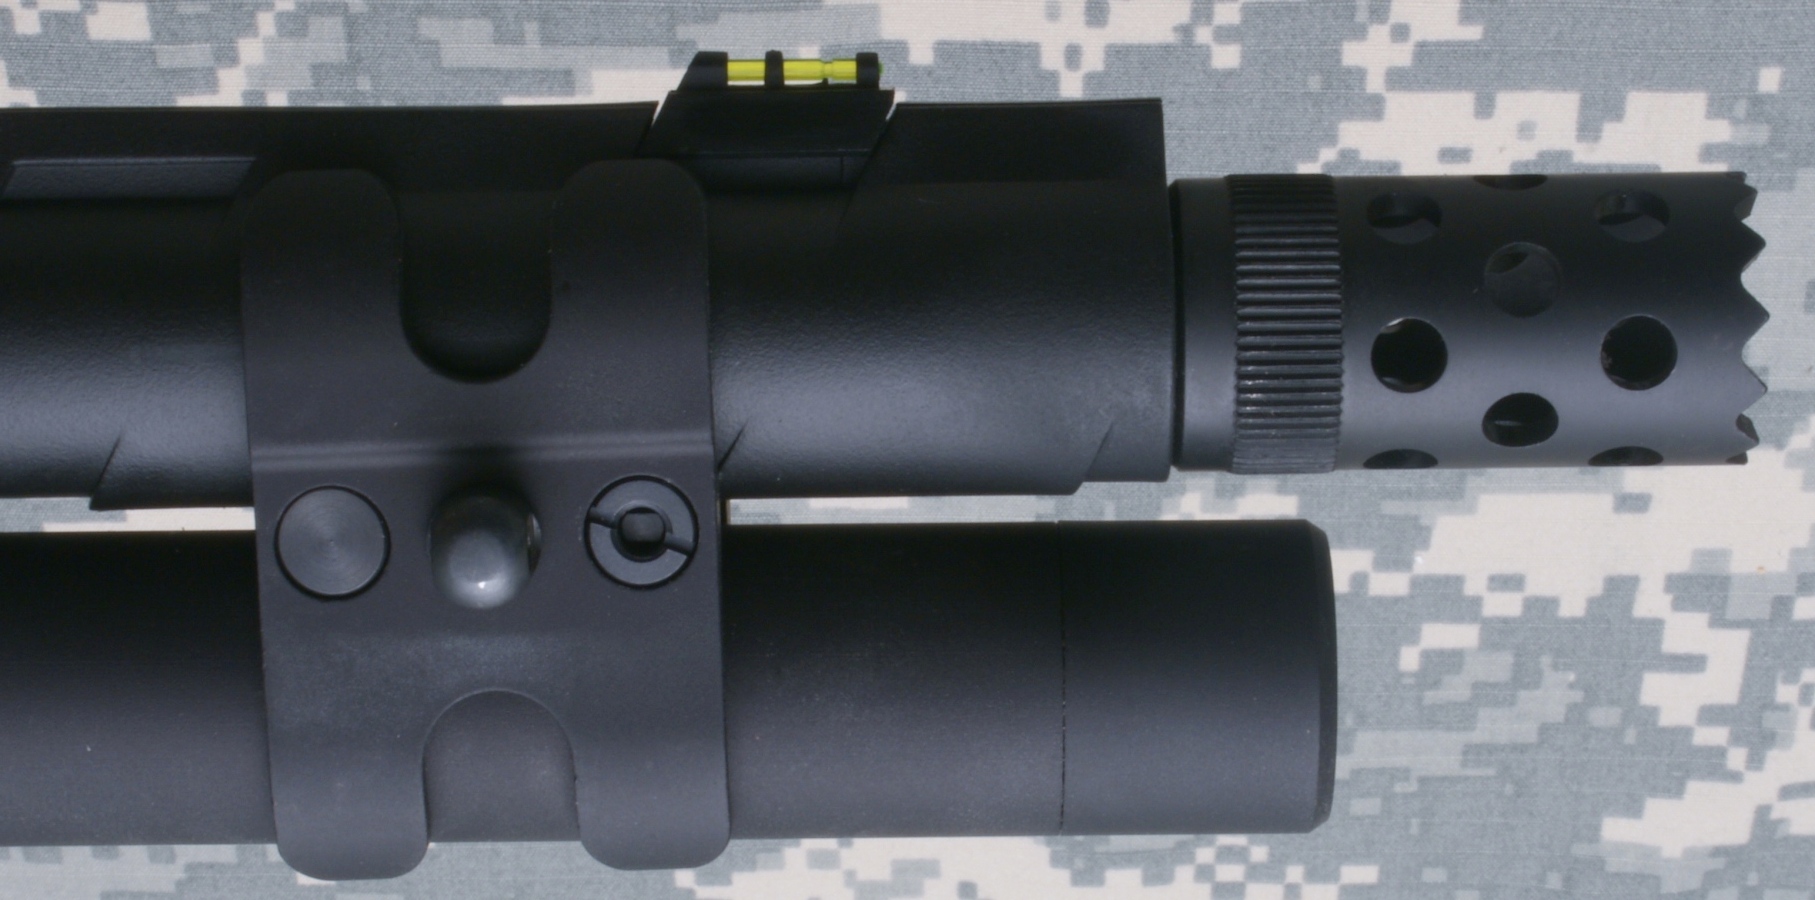
Now that the slotted nut is exposed, using a flat head screwdriver, remove the slotted nuts on both sides.
Figure 2
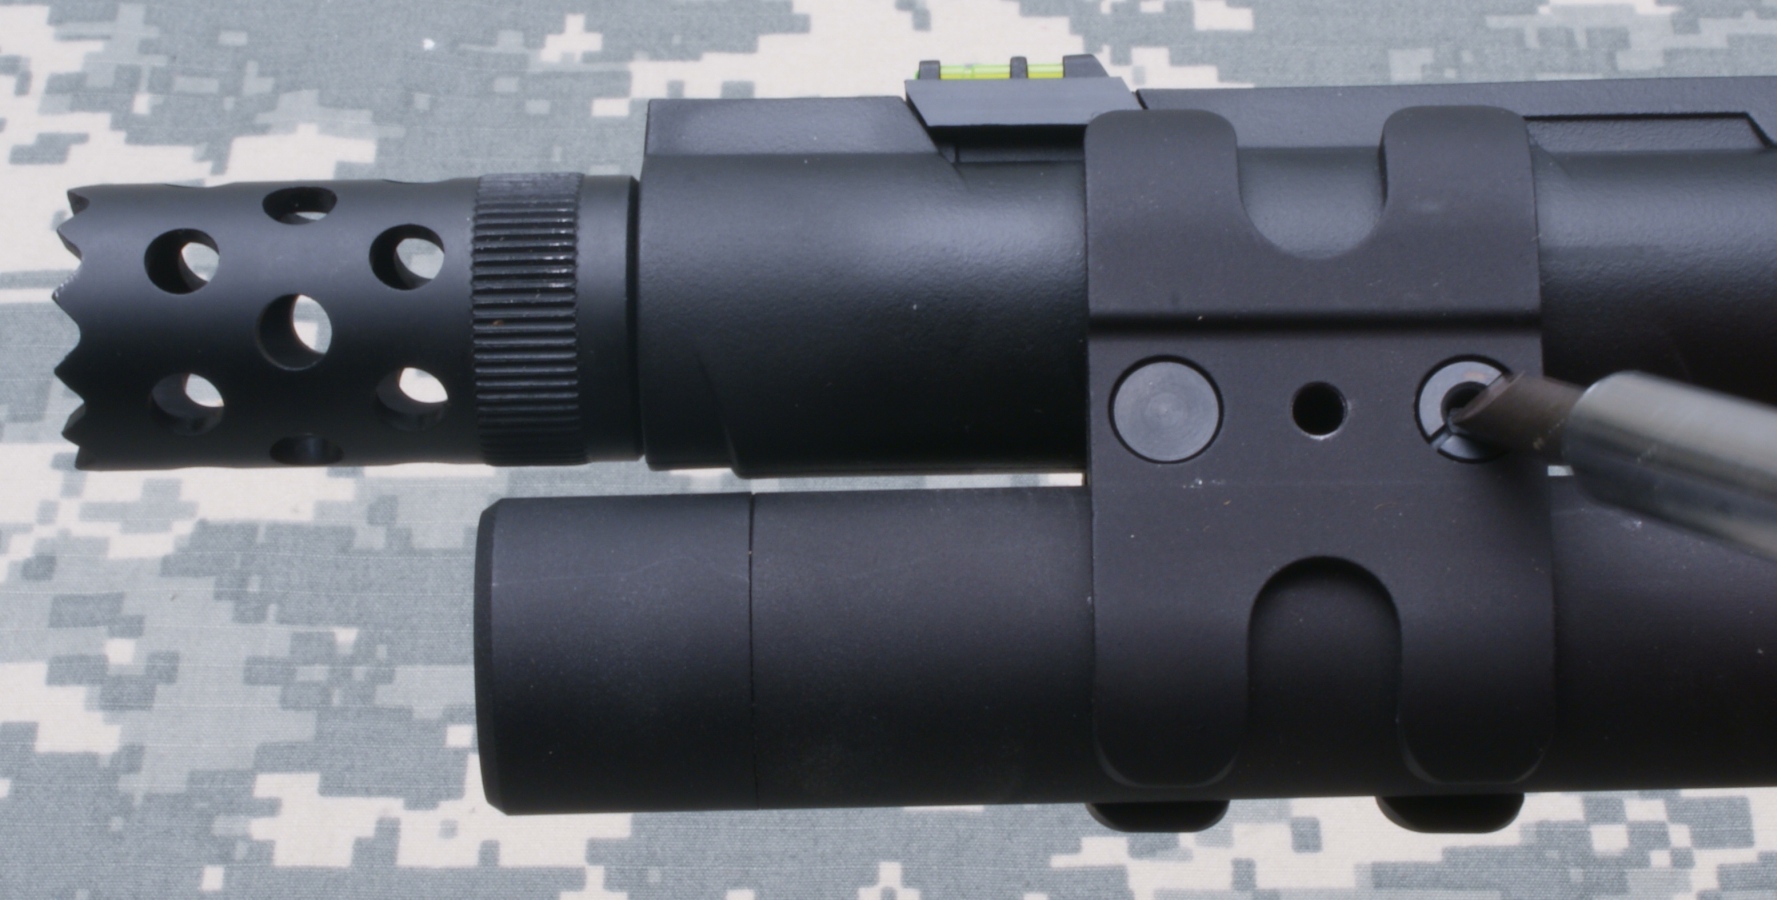
Figure 3
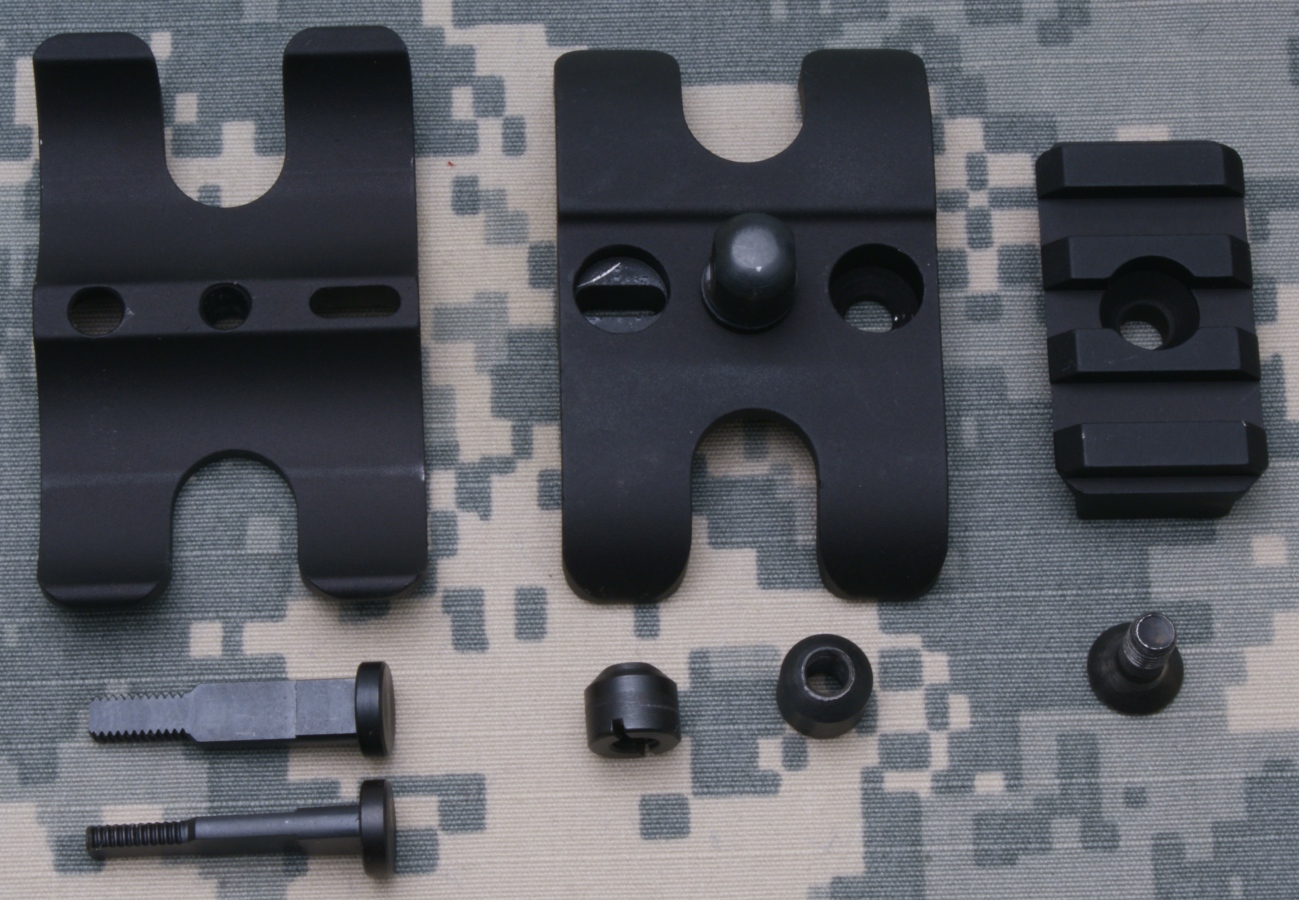
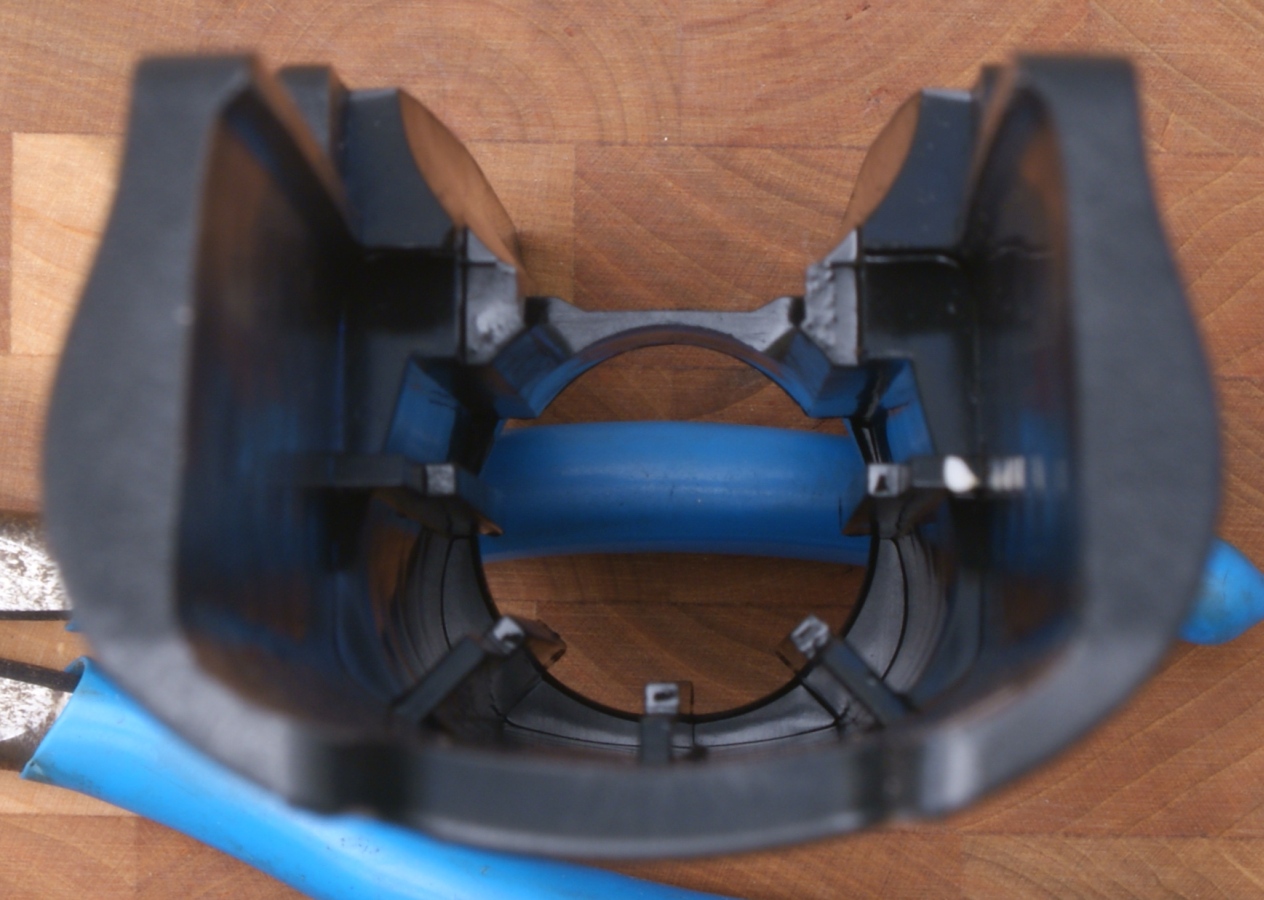
The Barrel Clamp components are shown below. The addition of this Barrel Clamp increases the time and complexity for takedown and reassembly of the shotgun. It also adds the need for another tool. Neigher of these is significant if you are at home, but they could become a problem if you ran into an issue at the range or in the field.
Figure 4
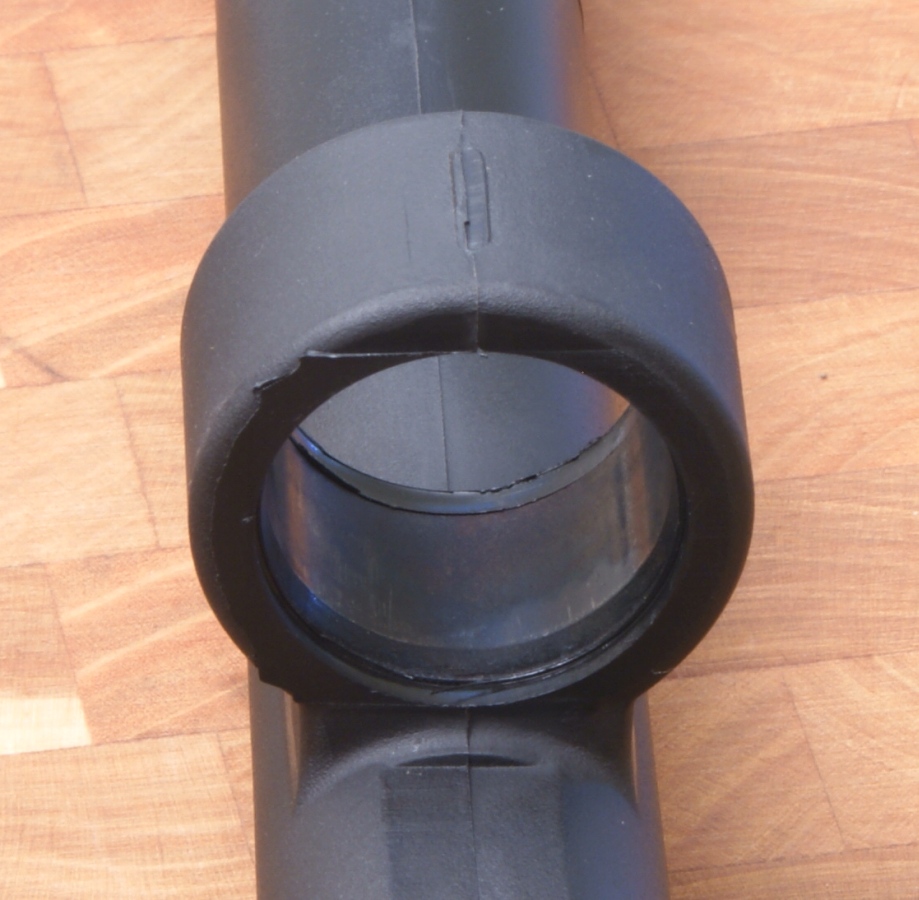
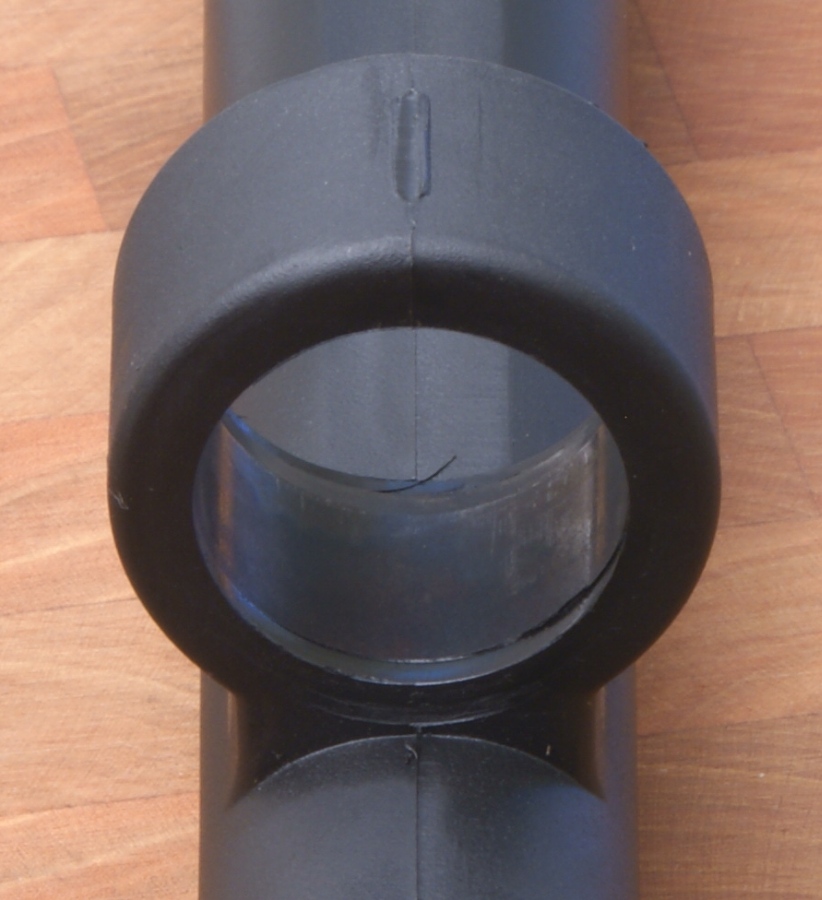
Step 2 - Remove Extension Tube
The instructions actually state to remove the magazine extension tube cap first, but it is possible to remove the extension tube without doing this. You just unscrew the extension tube from the end of the magazine.
Figure 5
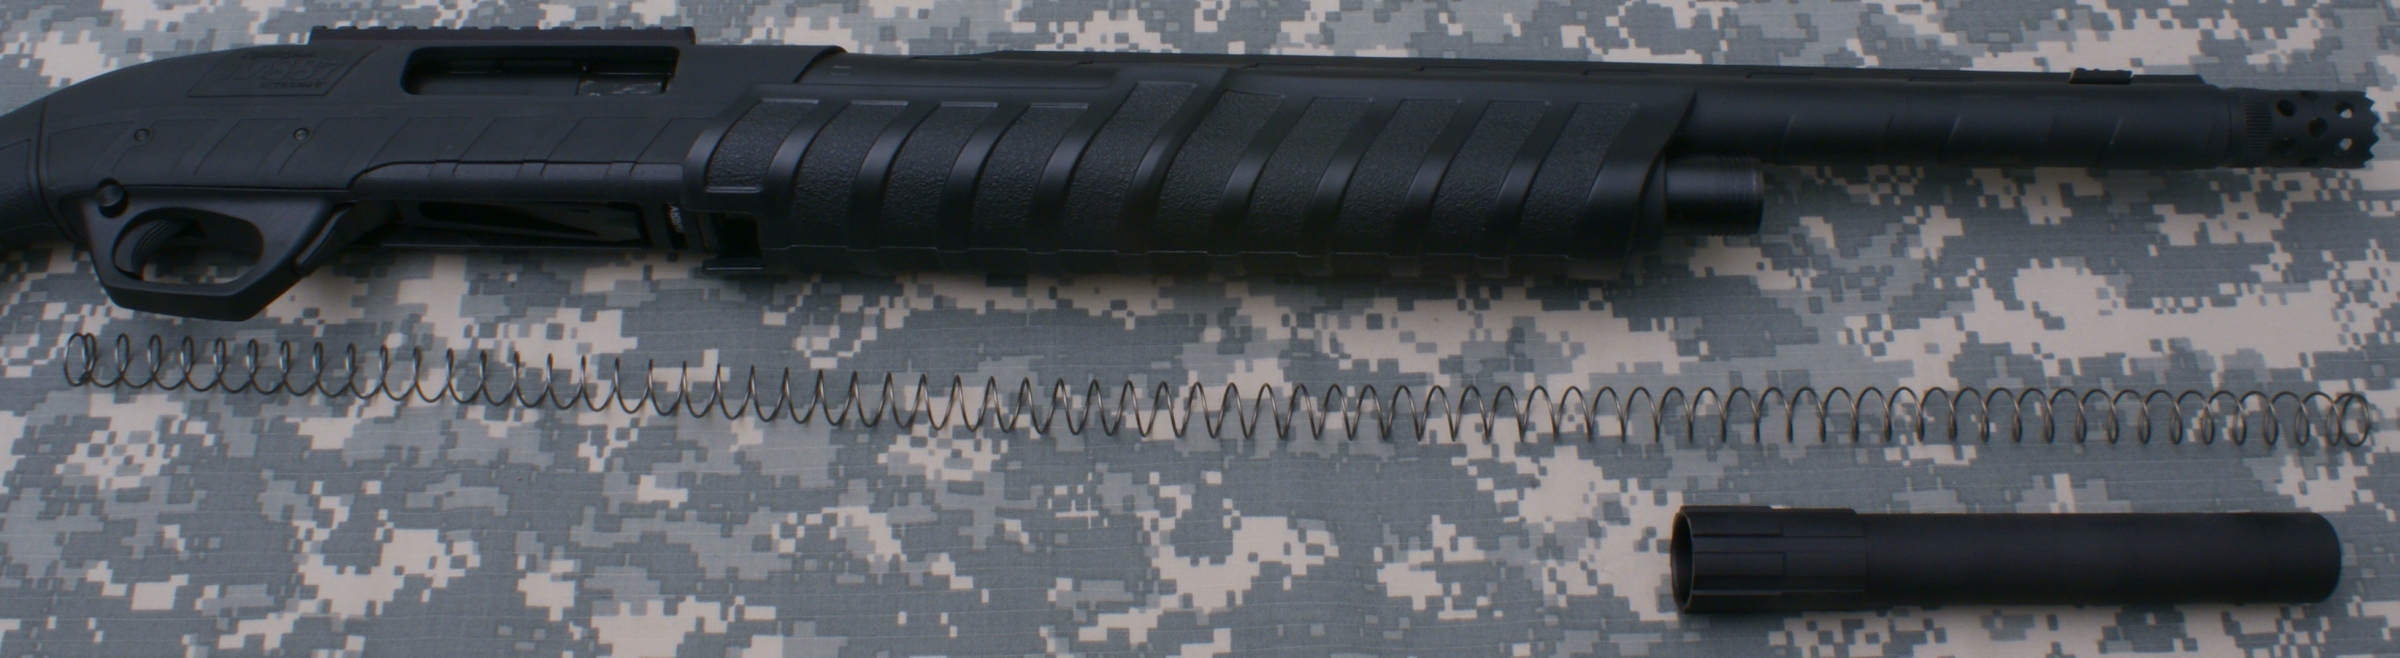
Step 3 - Remove Barrel
To remove the barrel, the action should be near the mid position. When the extension tube is removed, the barrel should easily pull from the receiver. In the photo below I also unscrewed by hand the Tactical Choke.
Figure 6
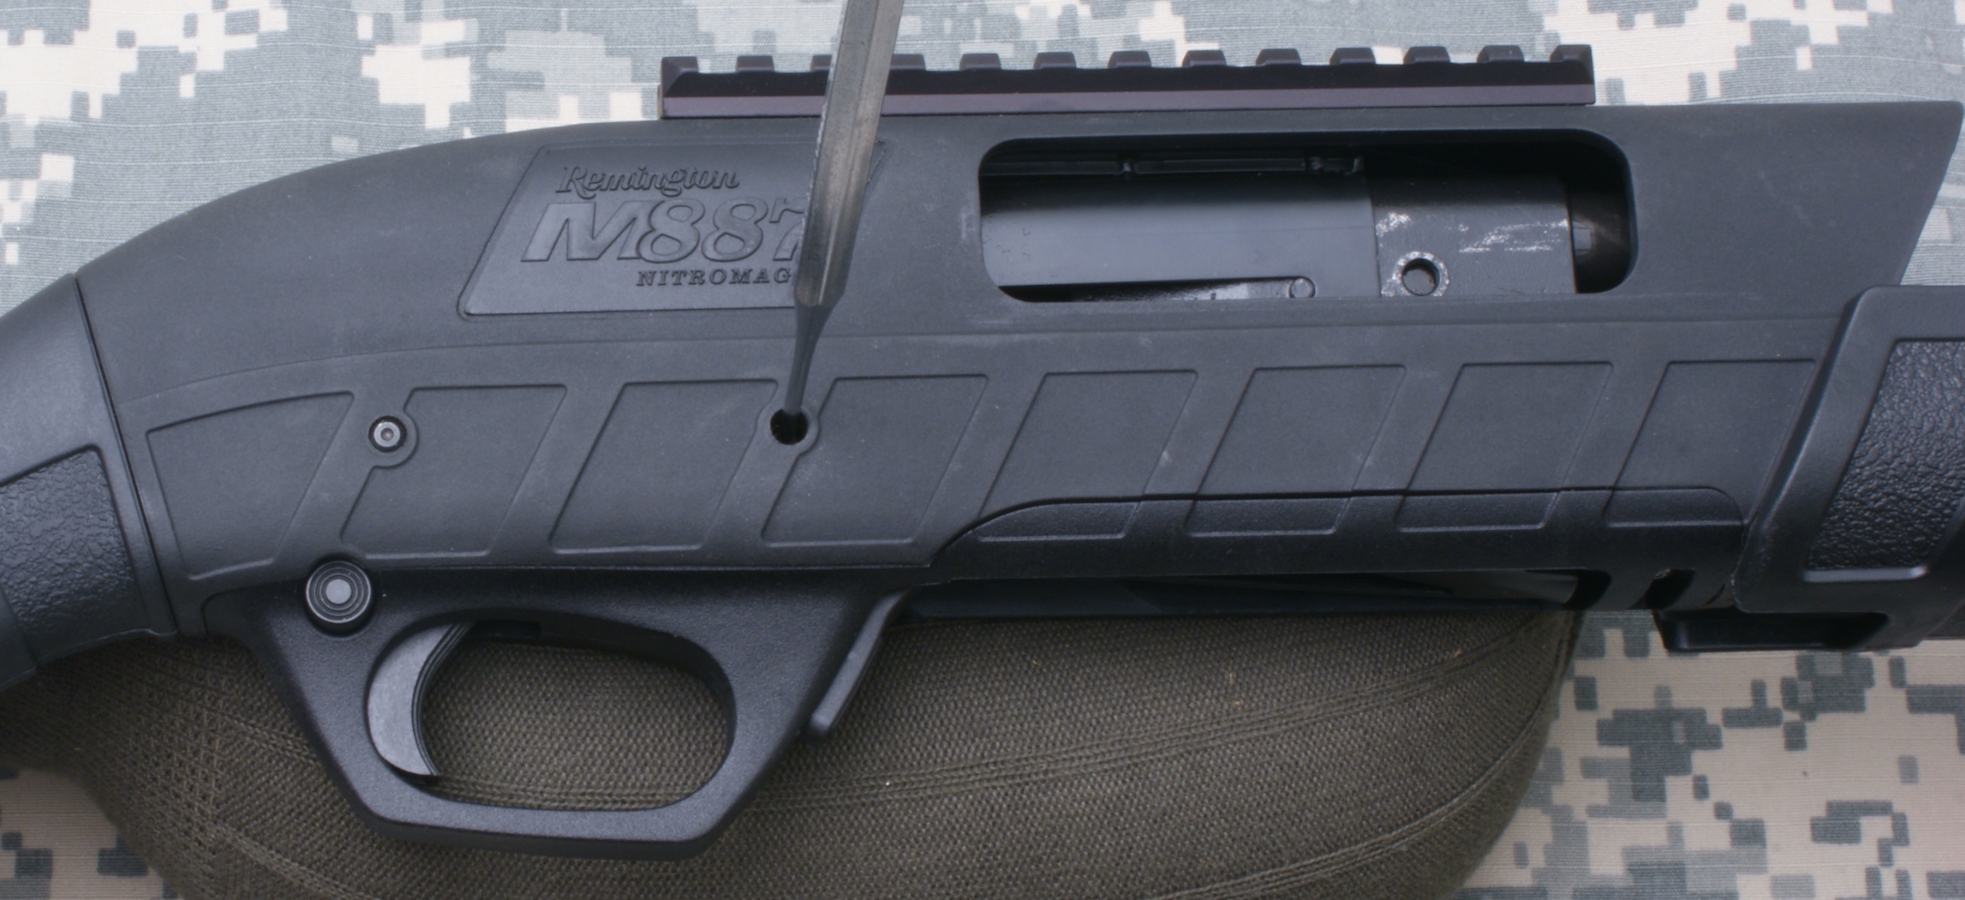
Step 4 - Remove Trigger Assembly
To remove the trigger assembly, you must push out the two trigger plate pins. I placed the receiver on a soft surface and used a punch to drive the pins out. Once they disengaged from the detents, I was able to remove them the rest of the way using my fingers.
Figure 7
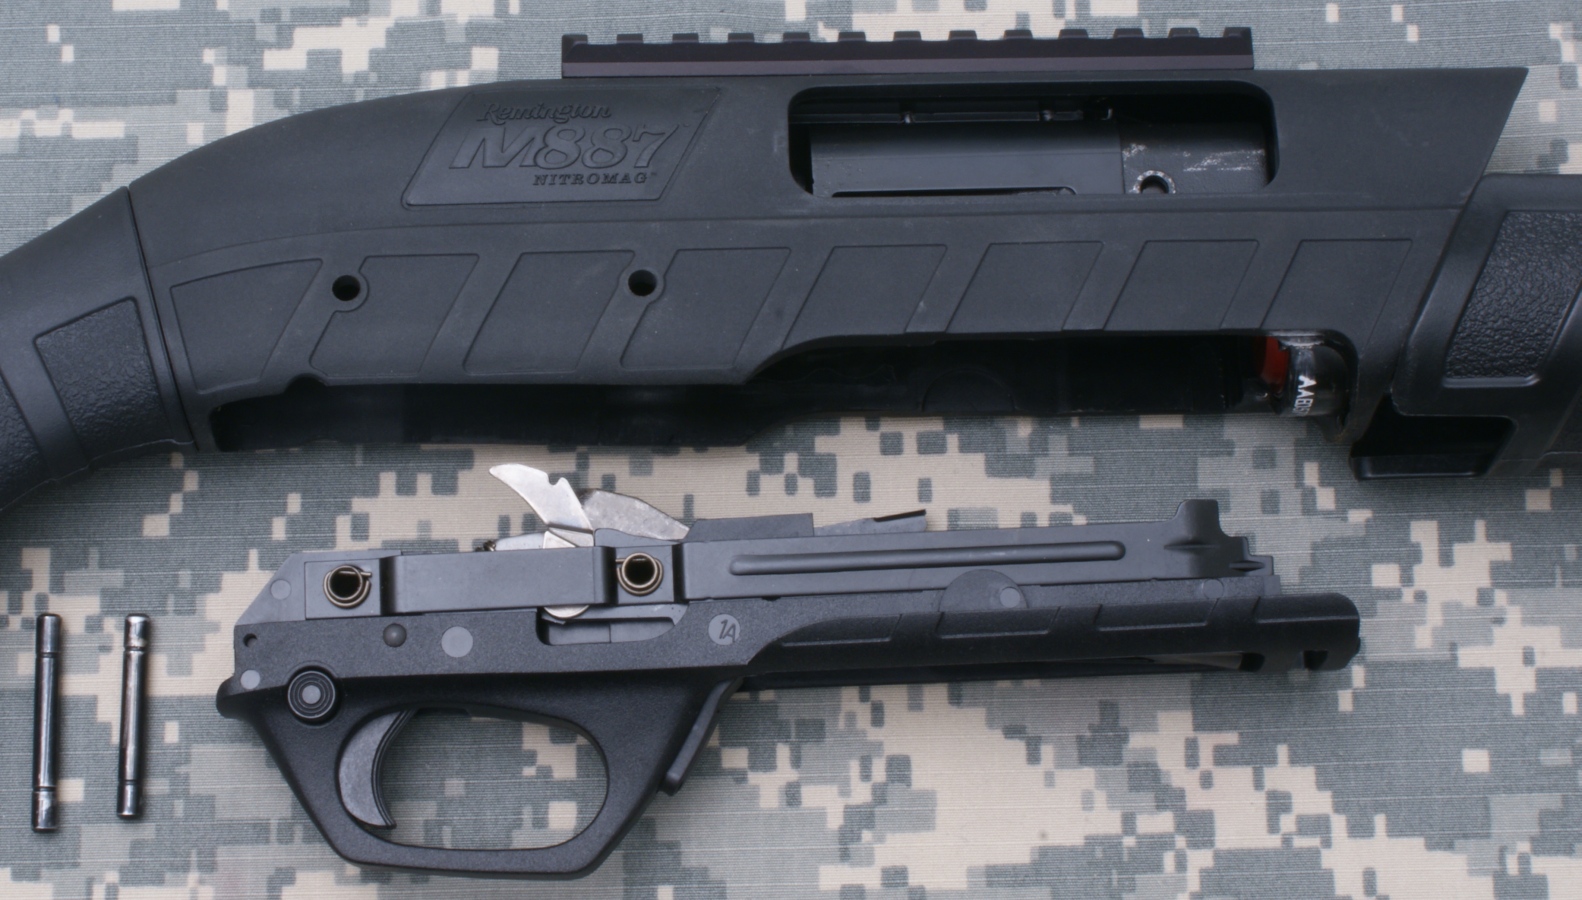
The Trigger Assembly is removed by pulling downward on the trigger guard. Notice in the photo below that the two pins are of different lengths. The longer pin goes in the forward hole.
Figure 8
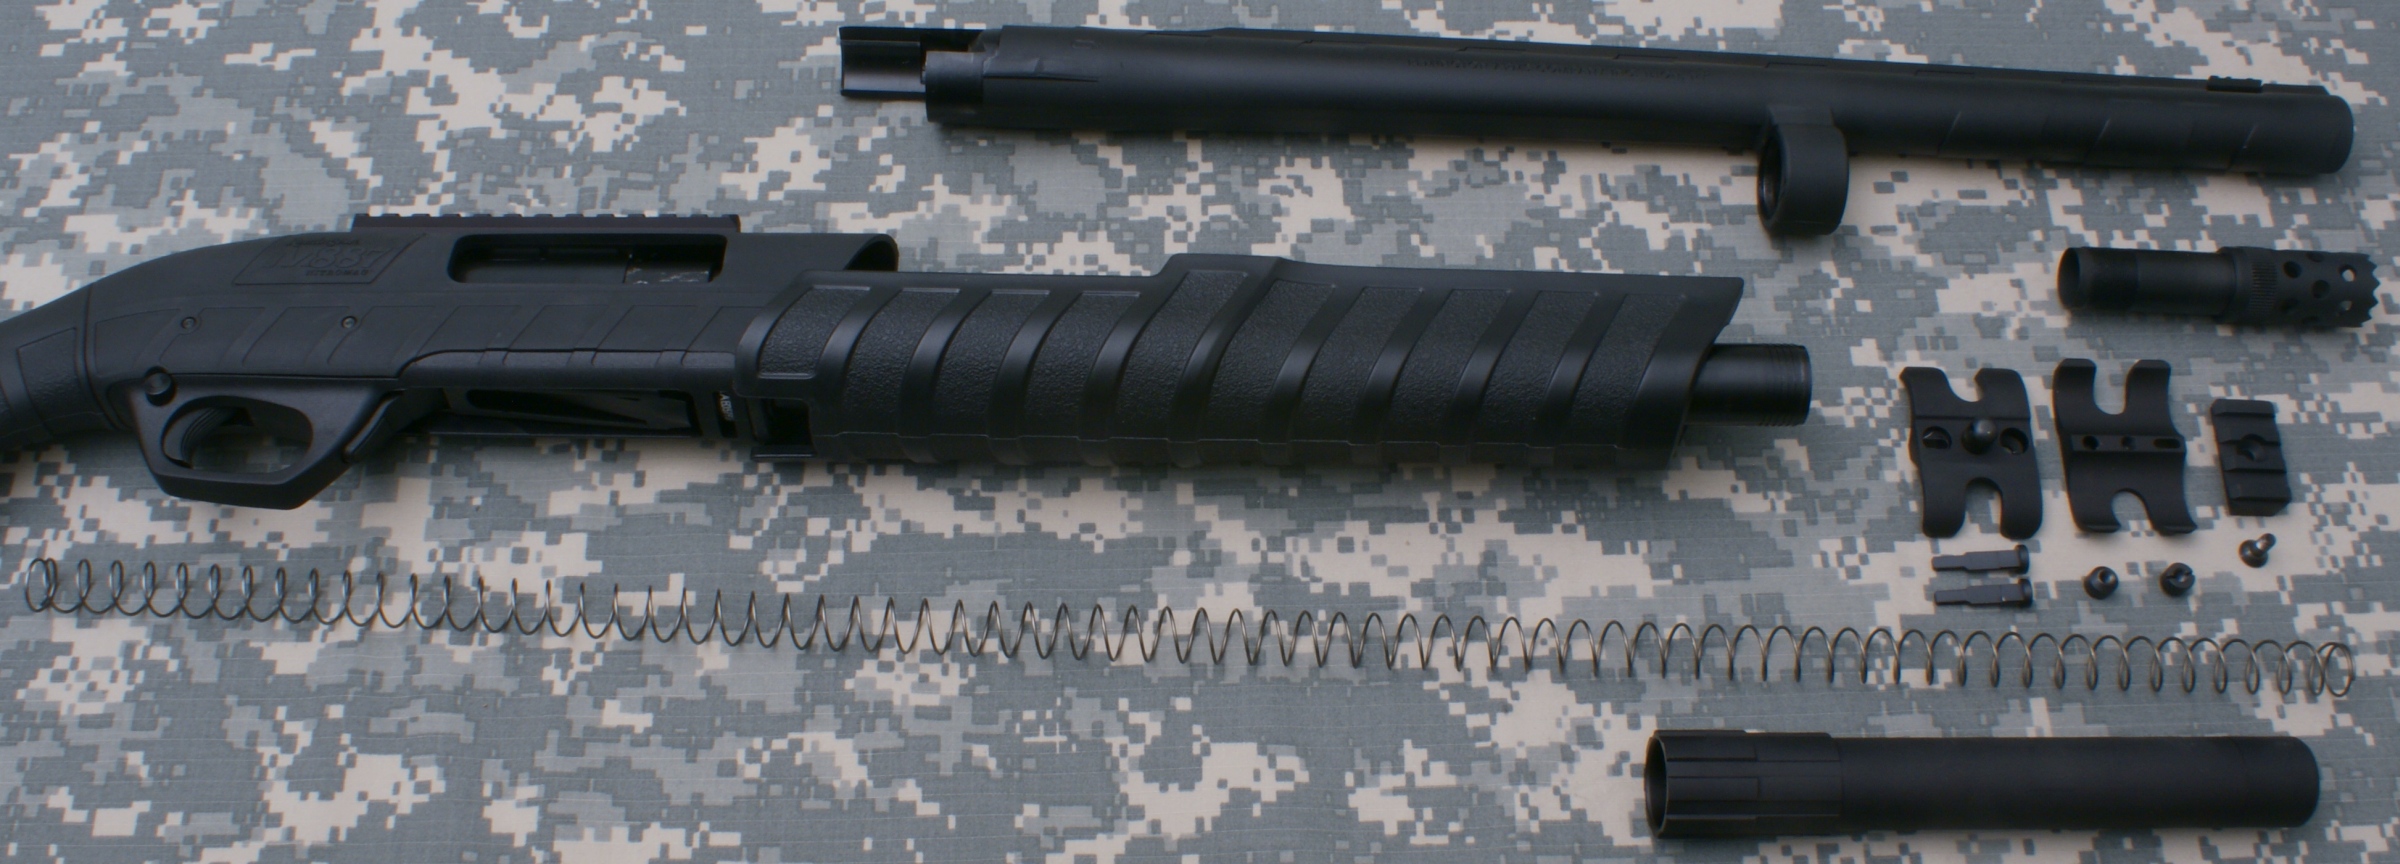
Step 5 - Remove Fore-end and Bolt
Once the Trigger Assembly has been removed, you can remove the bolt slide assembly (fore-end, action bars and bolt) by pulling the fore-end off the magazine tube. The bolt assembly can be lifted from the action bars (if it didn't already fall off in the process). The ejection port cover lifts from the bolt.
Figure 9

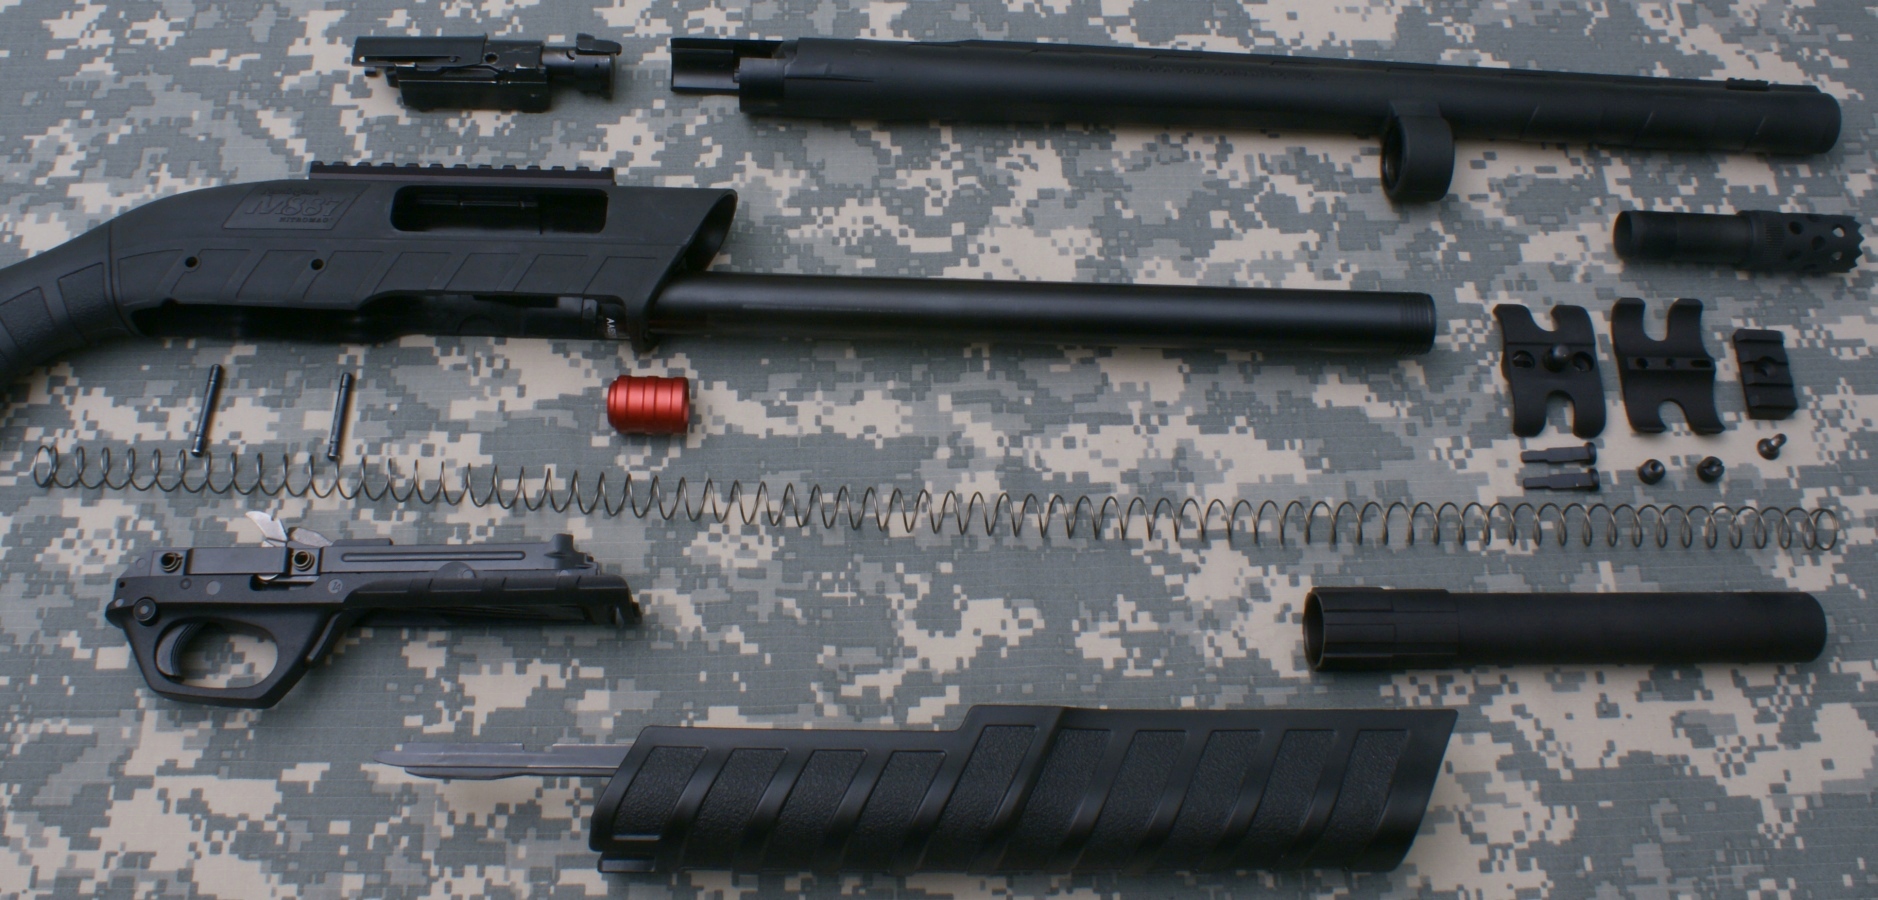
The photo below shows the maximum extent of normal disassembly for cleaning.
Figure 10
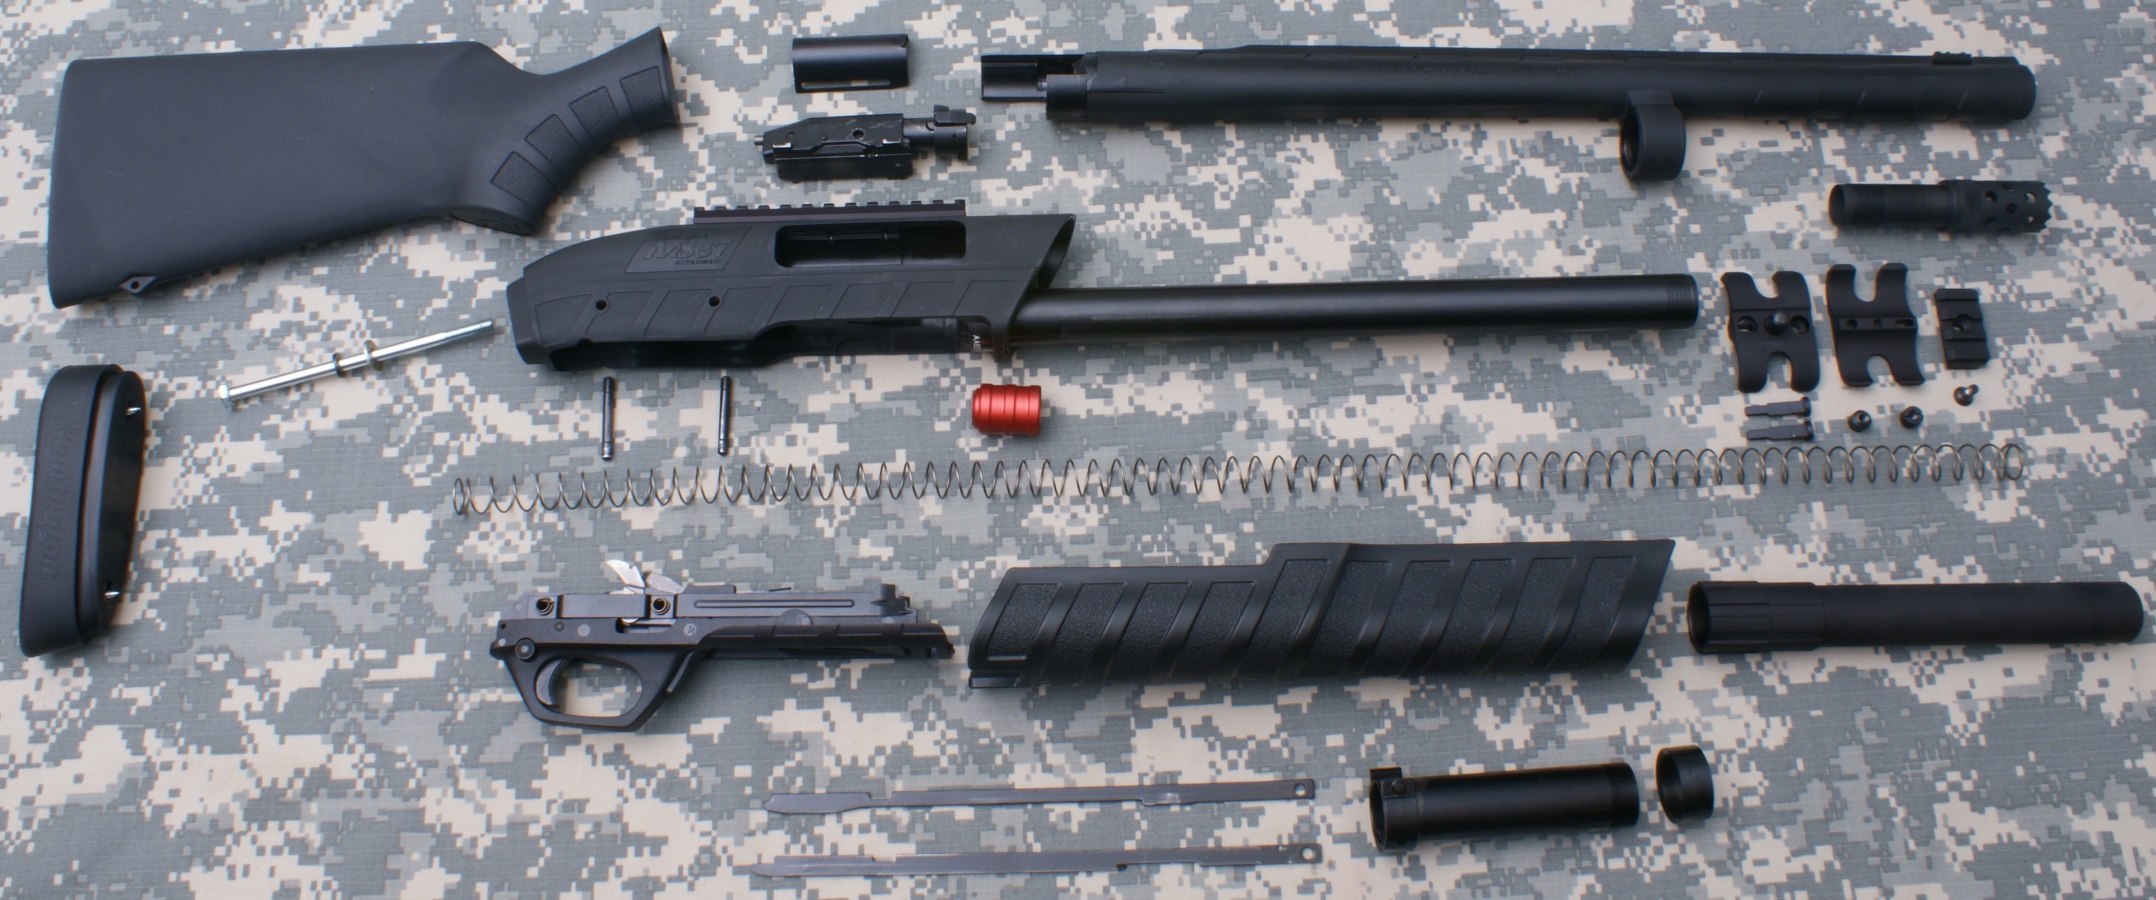
Remove Stock and Disassembly Fore-end Assembly
The next photo shows what I consider to be the maximum disassembly you should consider unless you are familiar with putting the trigger assembly back together. At this level of disassembly I removed the stock just like most stocks. Using a Phillips screwdriver, I loosened the two screws and removed the butt pad. Next, using a socket and ratchet, I removed the stock bolt and stock. For the fore-end I removed the tube nut and was able to slide the Fore-end Tube Assembly from the Fore-end. You should notice that the dual action bars are not part of the Fore-end Tube Assembly.
Figure 11
Internal Features
In this next section of the review, I show many detailed photos of the parts from the Remington 887 Nitro Mag Tactical Shotgun. From these photos you should get a good idea on the internal features and workmanship of the shotgun. I have added comments to point out some features I feel are significant.
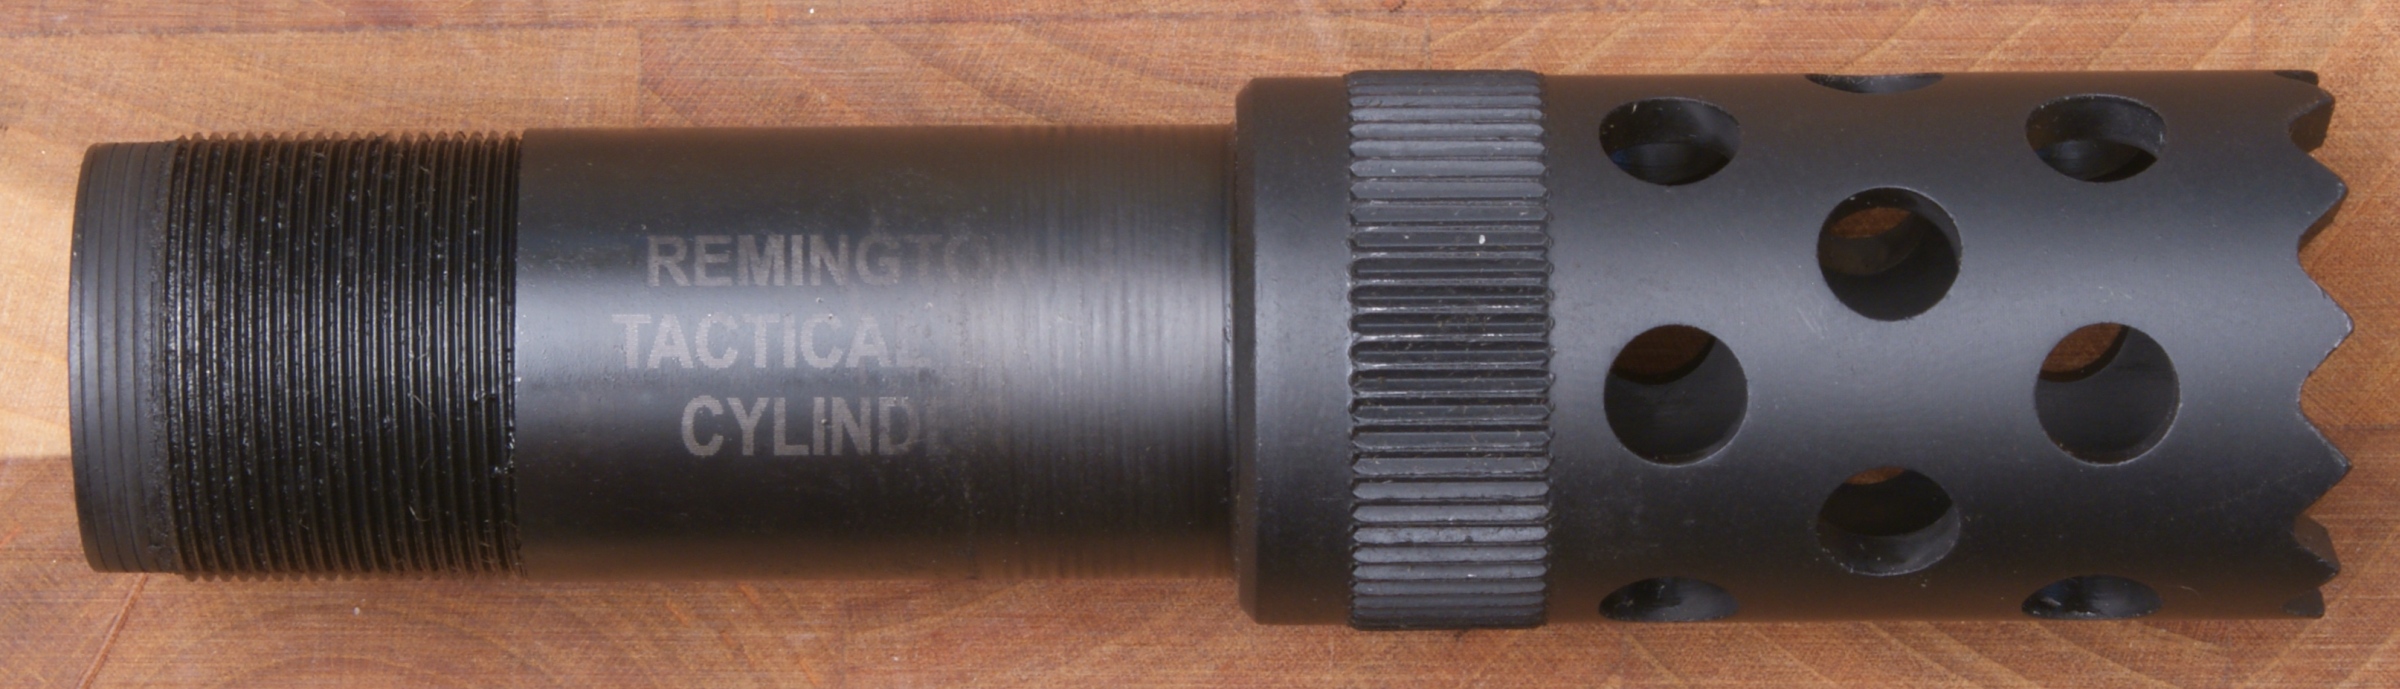
Tactical Choke
Removal of the choke is just a matter of grabbing it with your hand and unscrewing it out of the barrel. This is a "Cylinder" choke that has no constriction and you should be able to shoot nearly any shot or slug without damaging the choke and barrel.
Figure 12

Figure 13
Figure 14
Figure 15
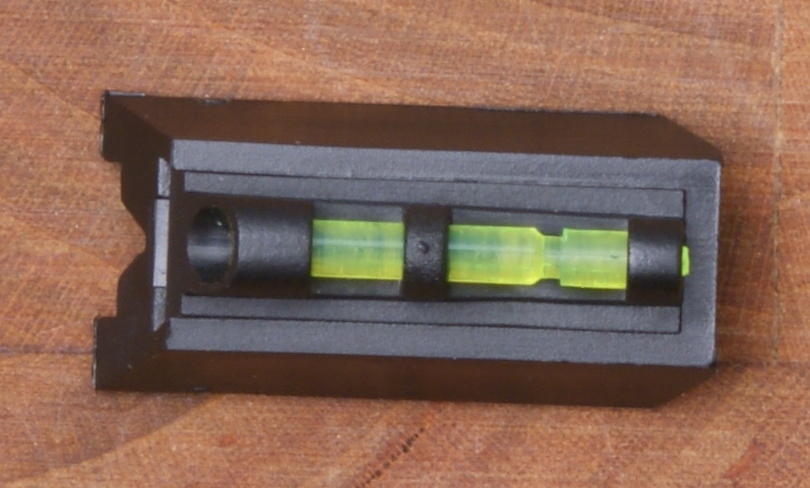
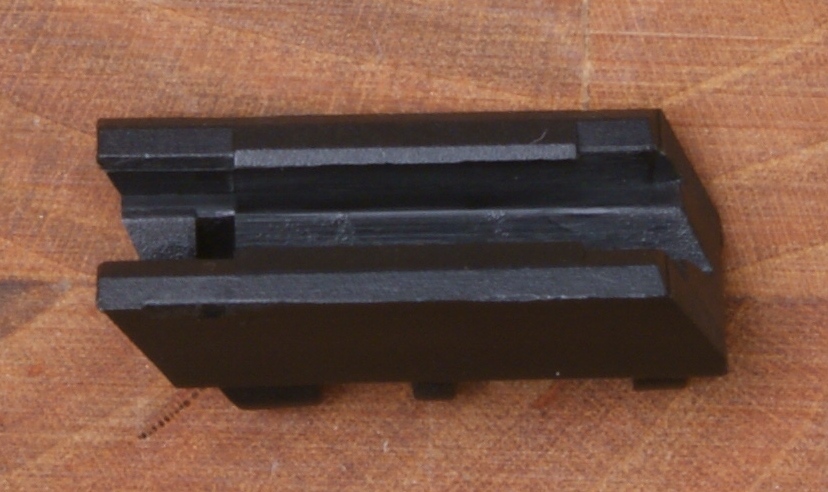
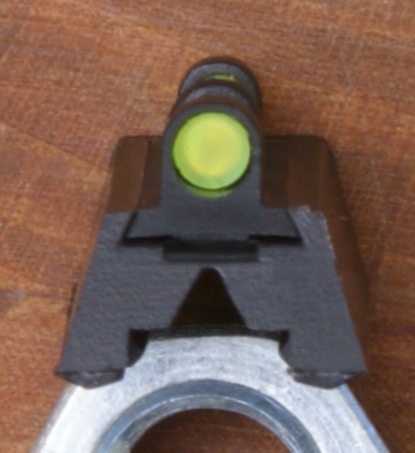
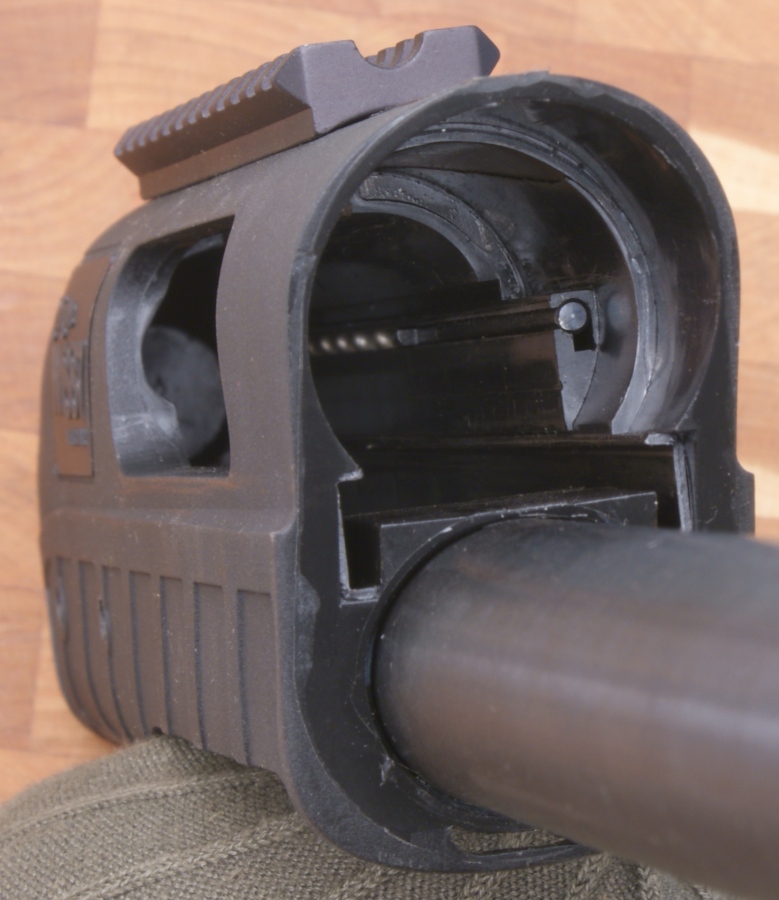
Front Sight
The front sight is a synthetic snap on part. Although it is not shown in the photos below, you can also slide the fiber optic portion of the sight from the base.
Figure 16
Figure 17
Figure 18
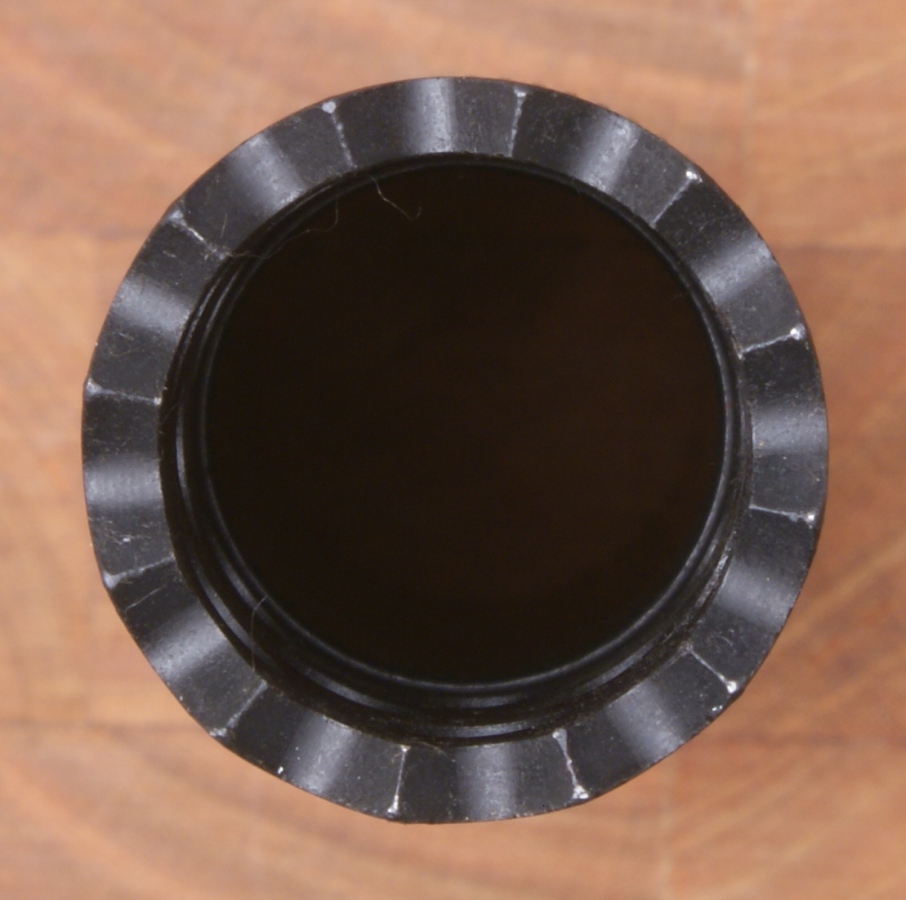
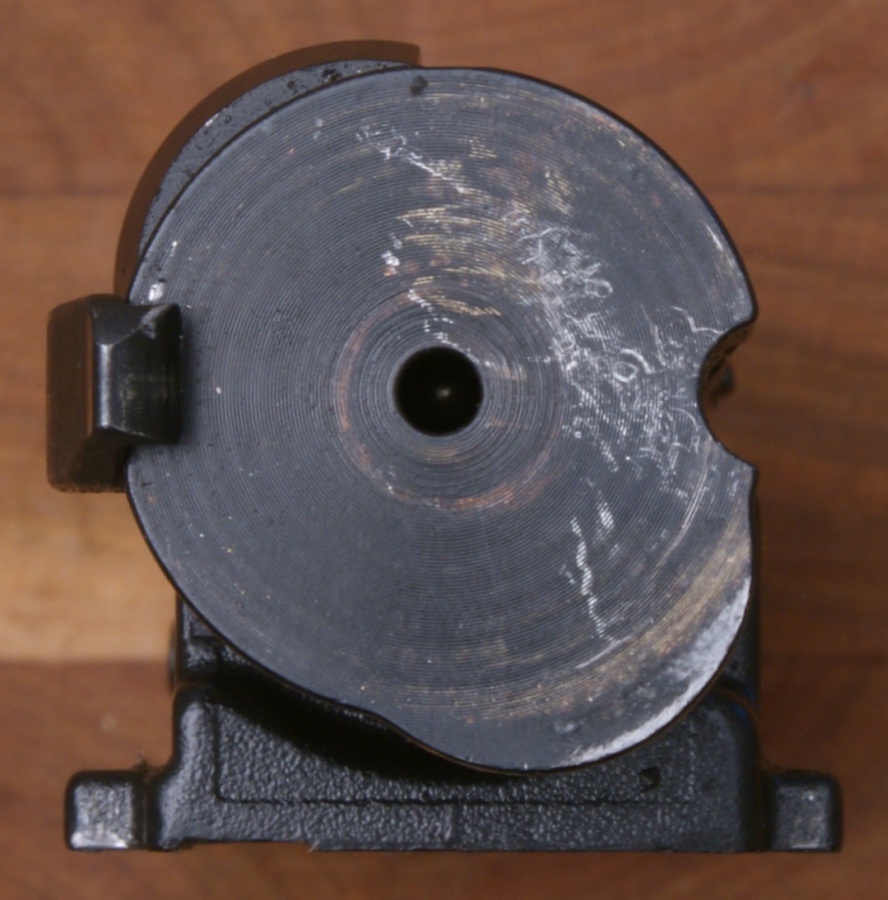
Barrel
The barrel is a cold hammer forged barrel manufactured from 4140 steel, coated with the ArmorLokt coating and measures 18.5" in length.
Figure 19

Figure 20

Figure 21

In the next four photos, notice how the ArmorLokt coating wraps around the end of the barrel and the magazine tube lug.
Figure 22
Figure 23
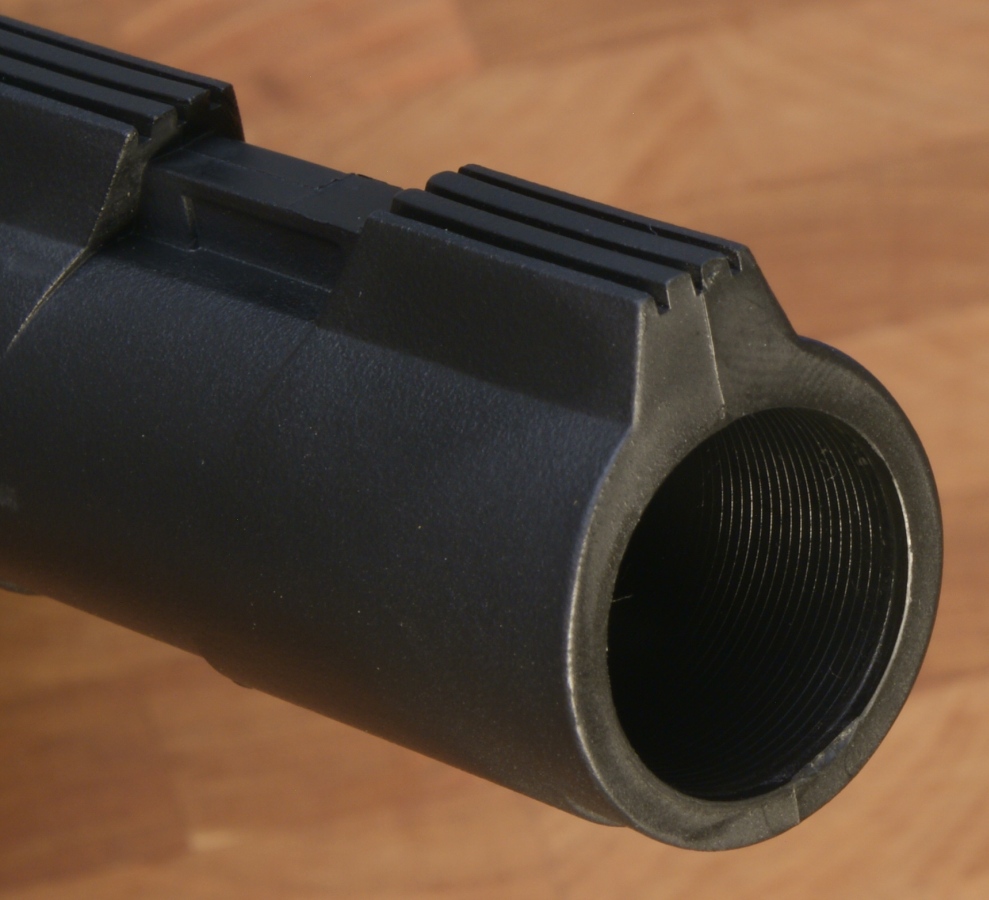
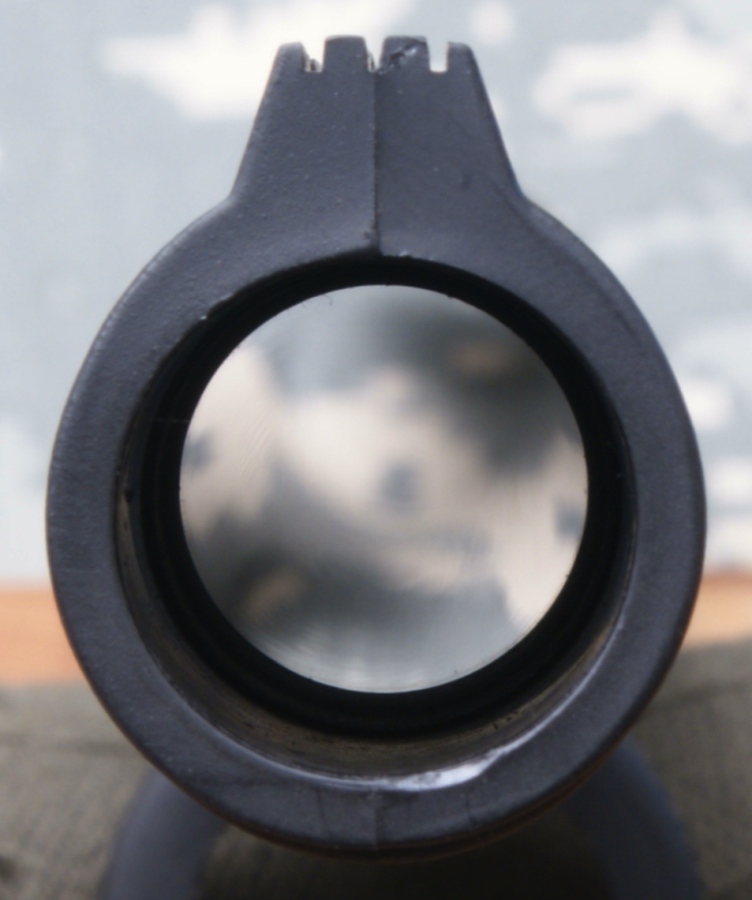
Figure 24
Figure 25
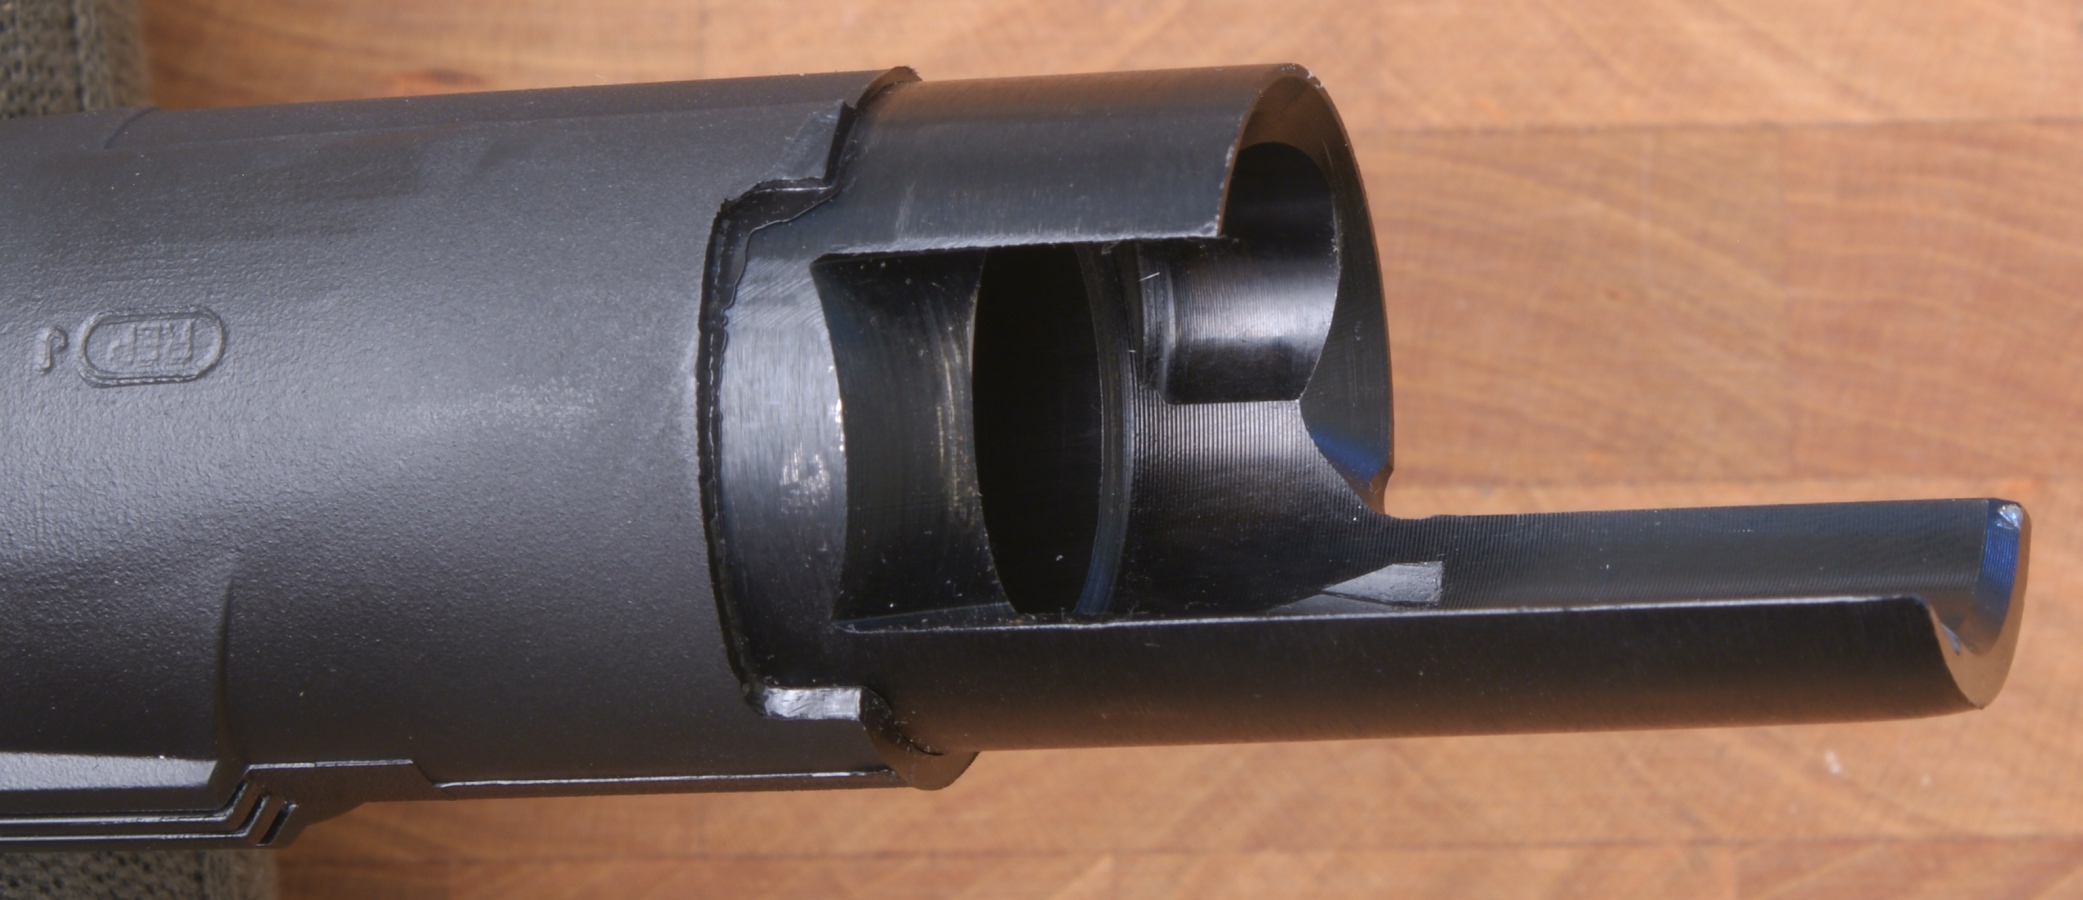
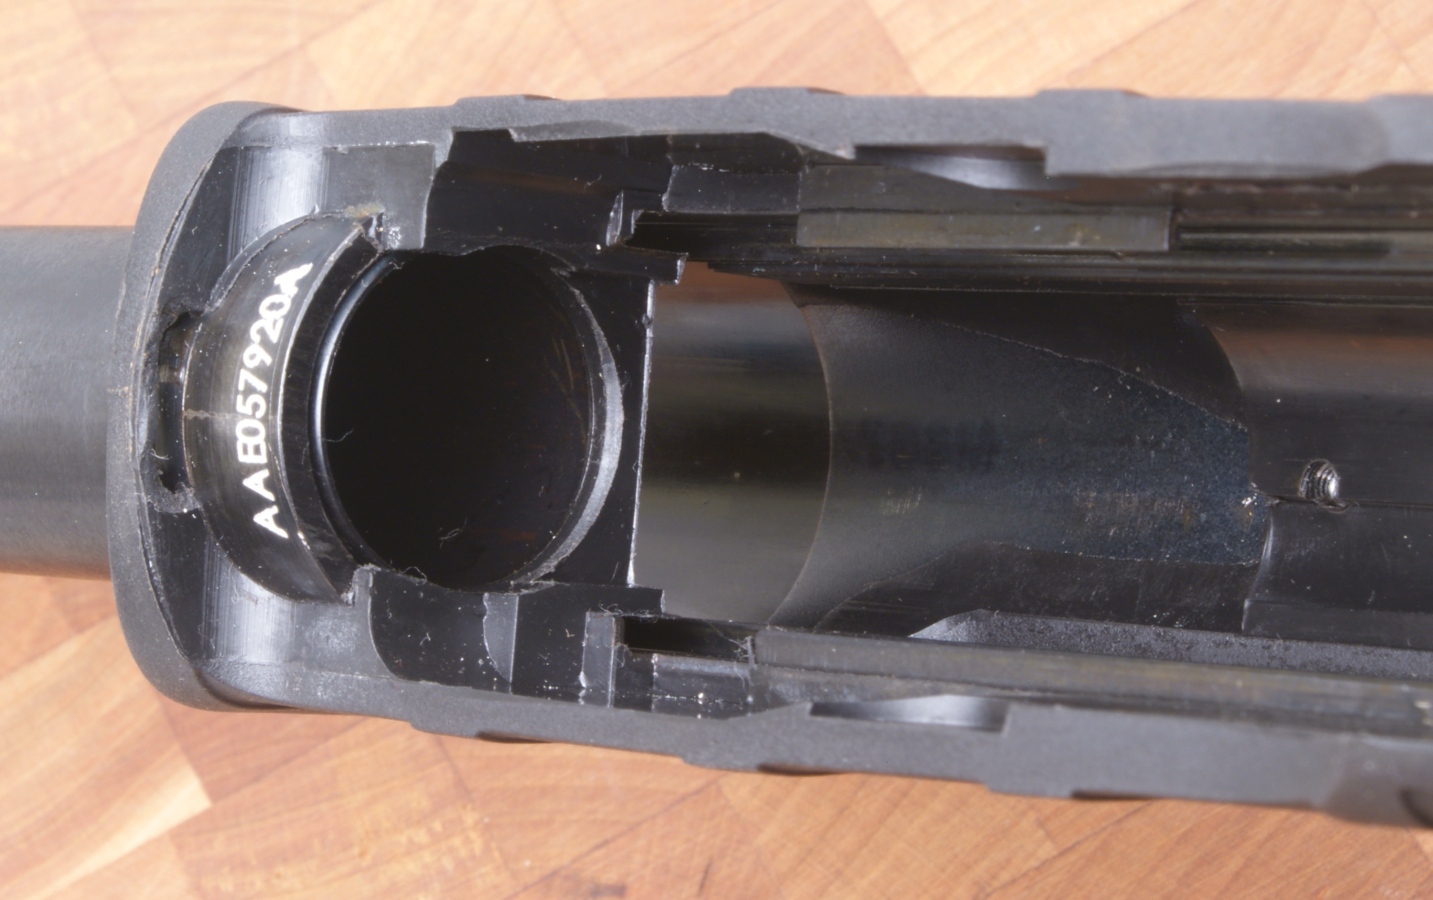
The next three photos show the integral barrel extension. Also notice how the barrel extension is not coated where it interfaces inside the receiver.
Figure 26
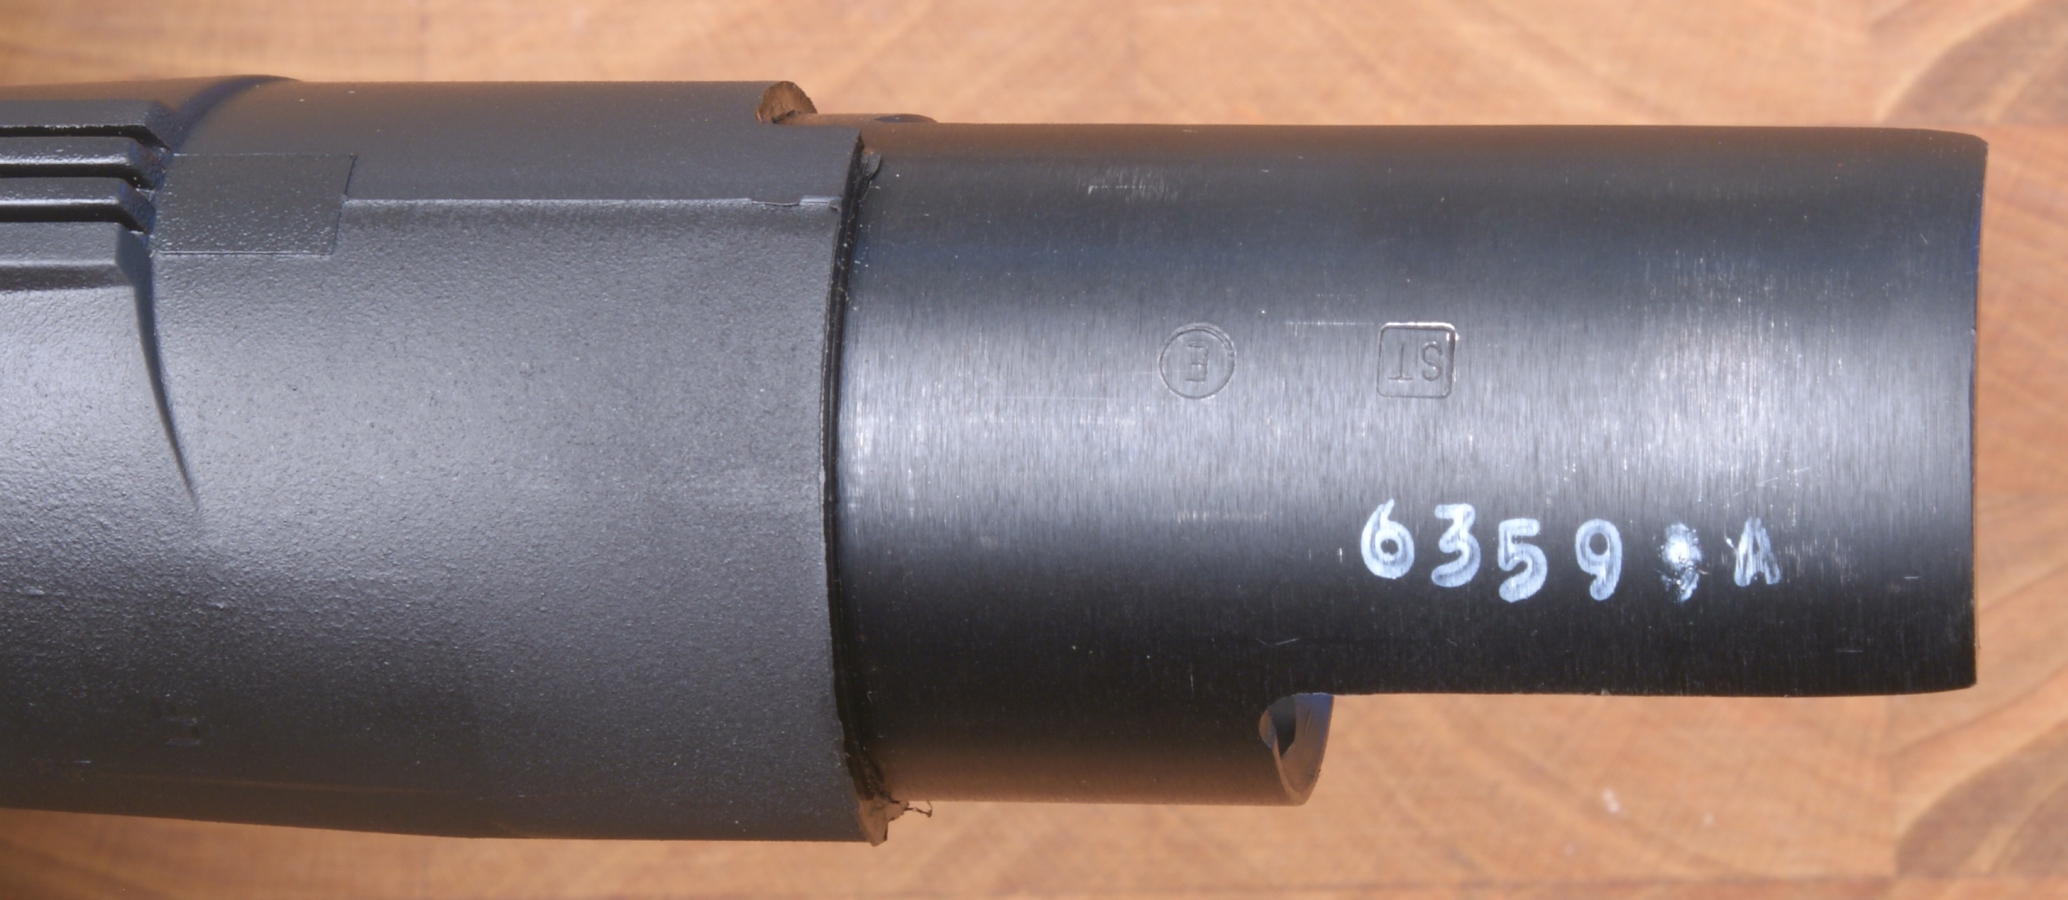
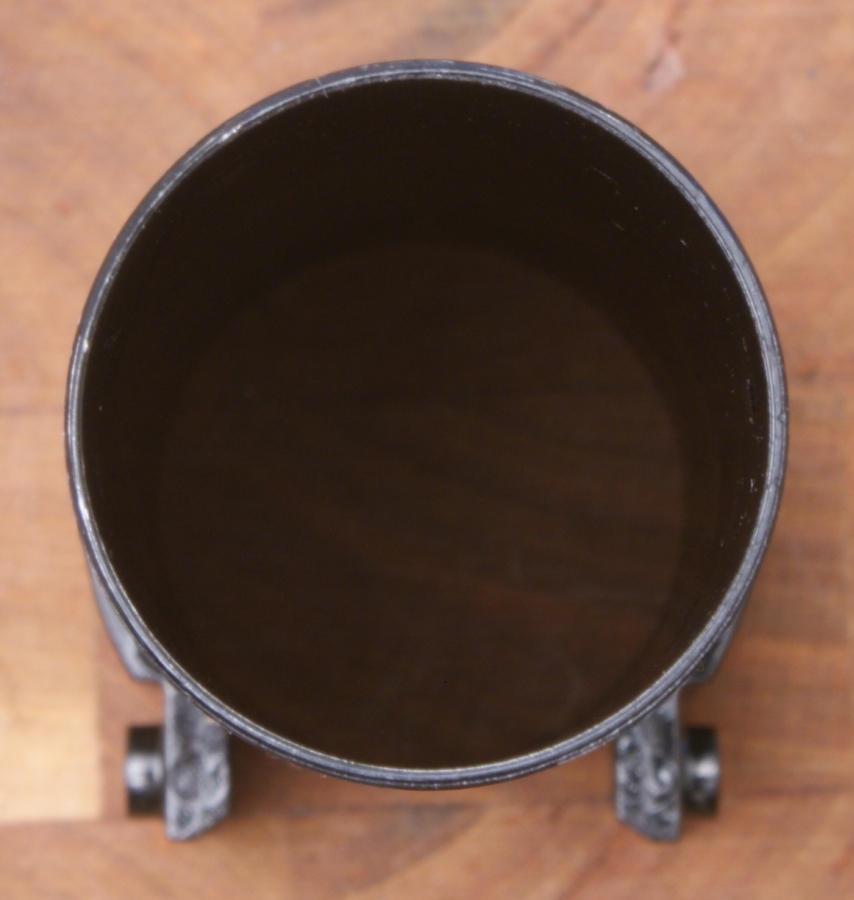
The photo below shows the slot which the rotating bolt engages. Also notice three distinctive dimples behind the slot. I believe these are where Remginton did a Rockwell hardness test to verify the heat treatment of the barrel.
Figure 27
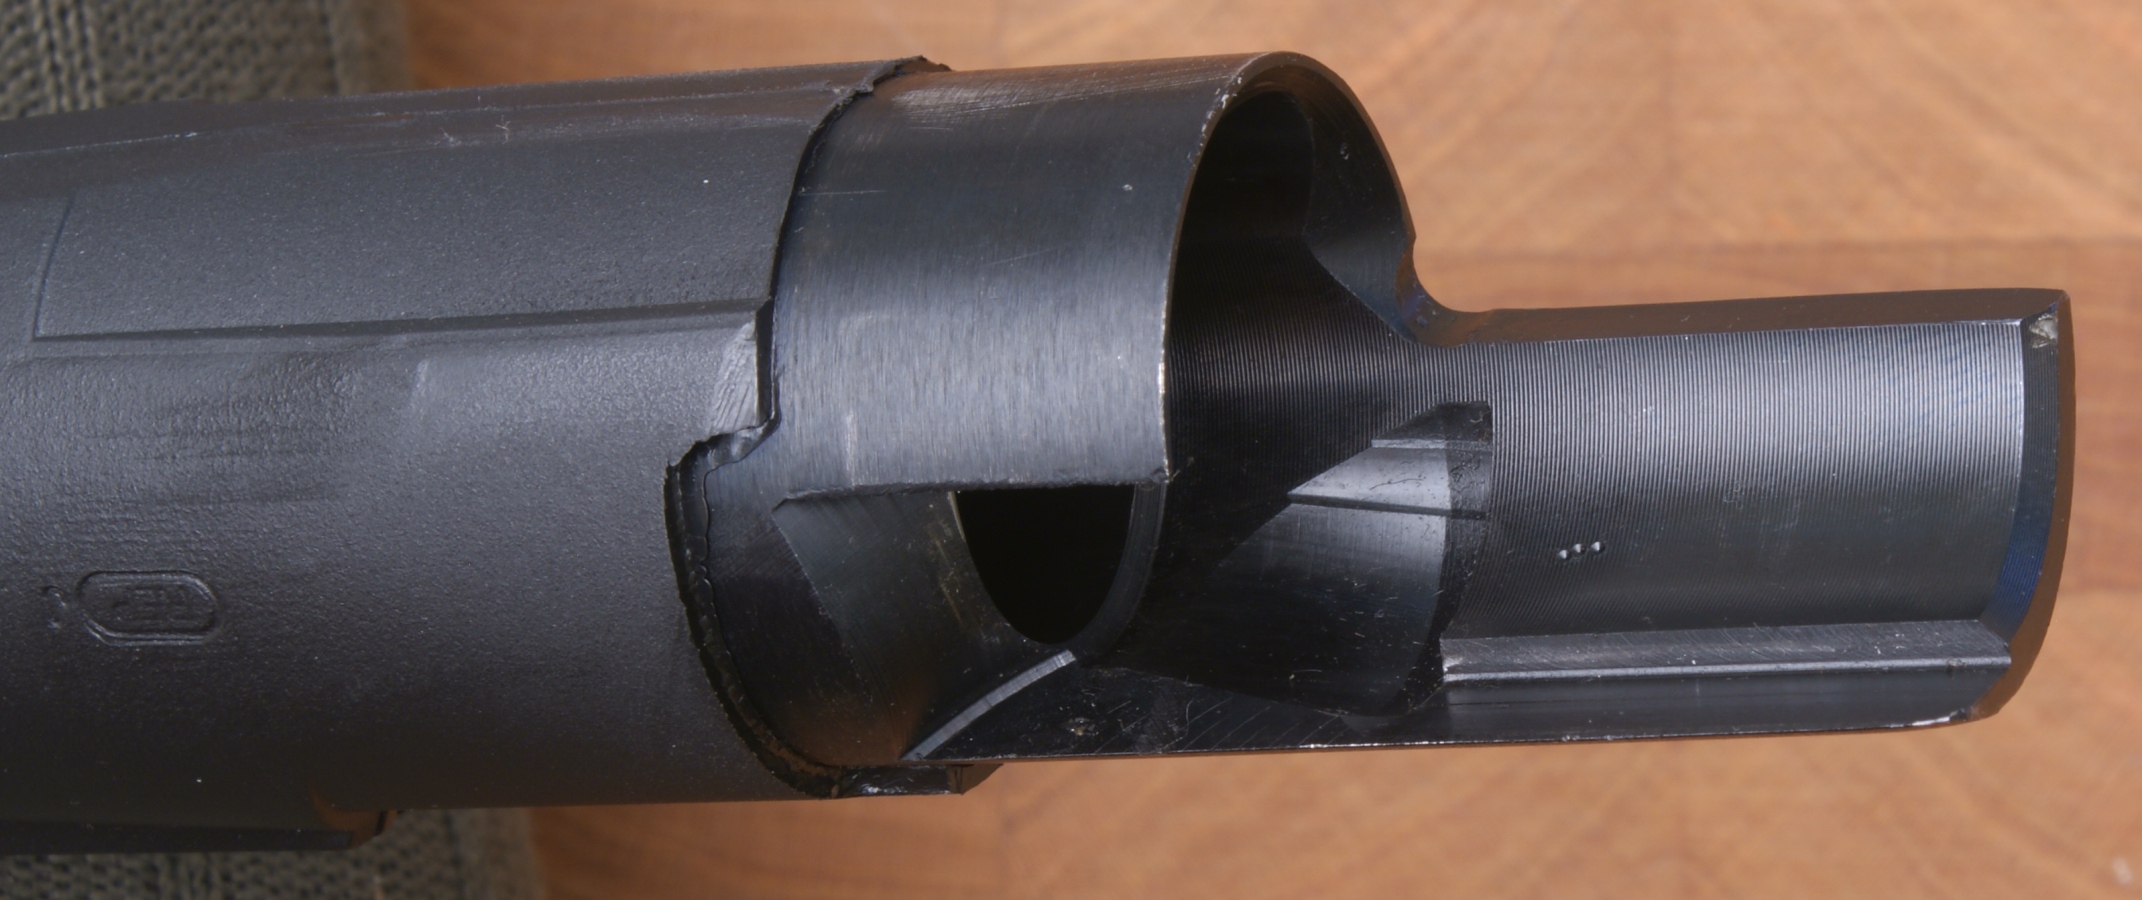
Figure 38
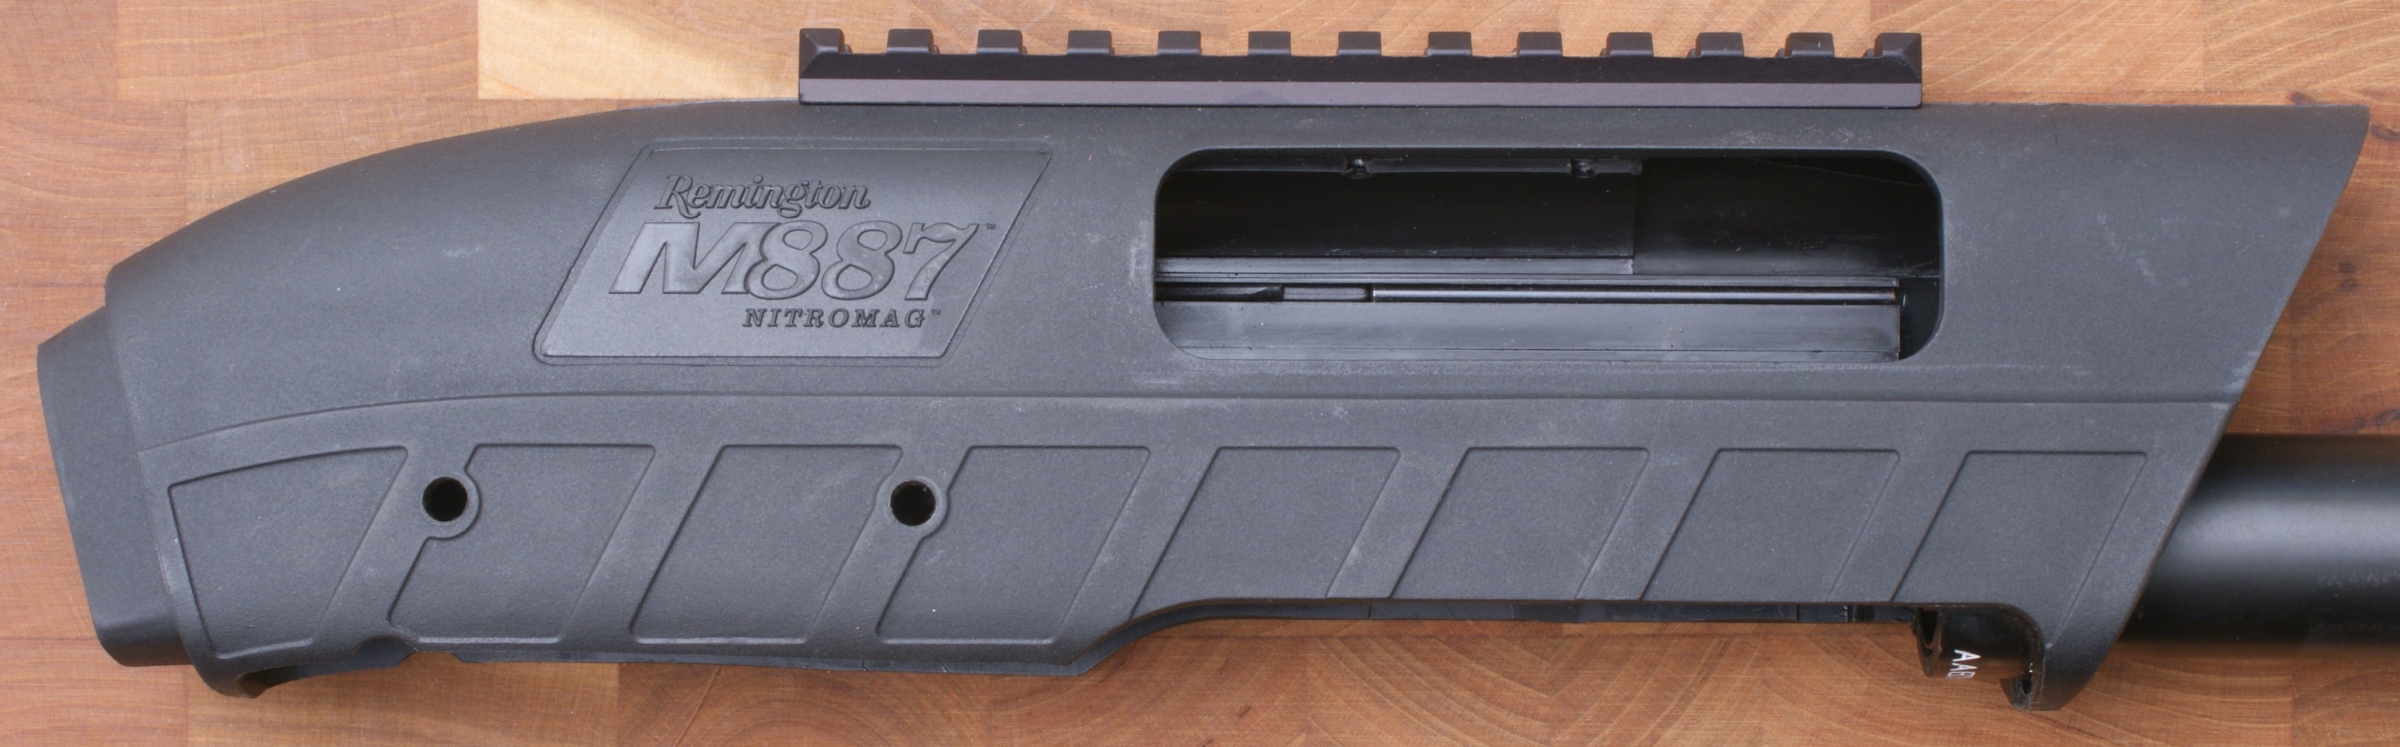
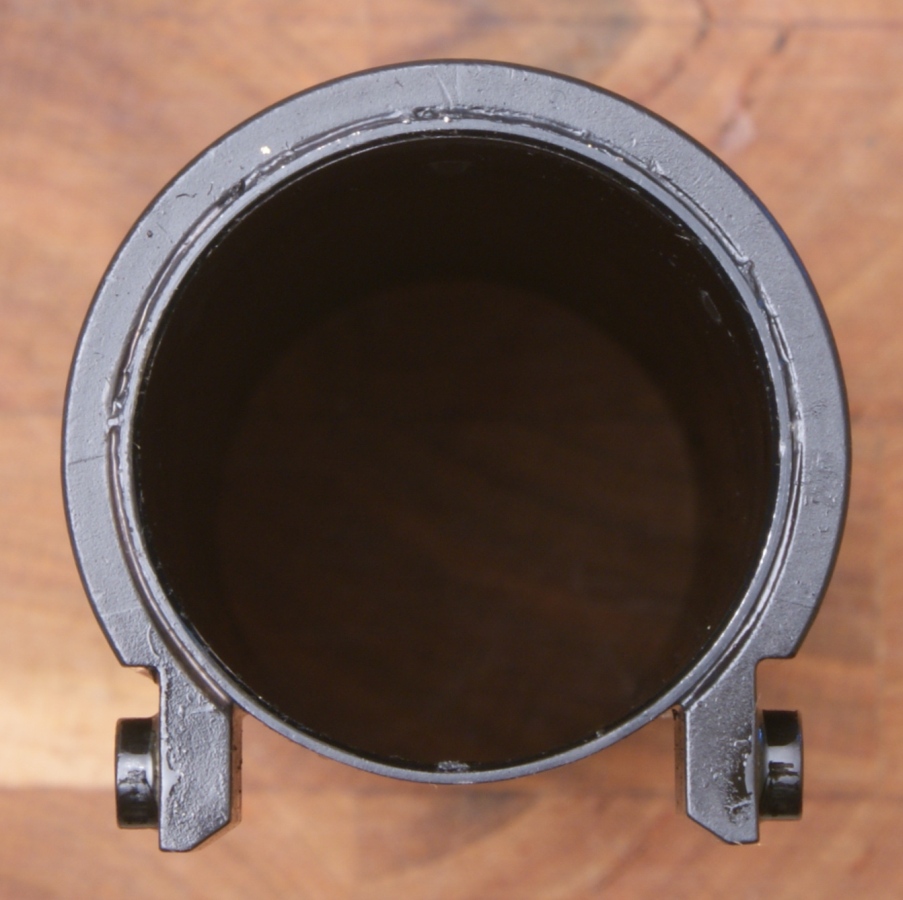
Receiver
The steel alloy portion of the receiver is embedded in an ArmorLokt coating. The receiver includes a 4.92" Picatinny rail on the top surface that is mounted with three screws. The holes for the screws are drilled and tapped into the steel portion of the receiver.
Figure 39

Figure 40
The serial number is on the bottom forward steel portion of the receiver.
Figure 41

Figure 42
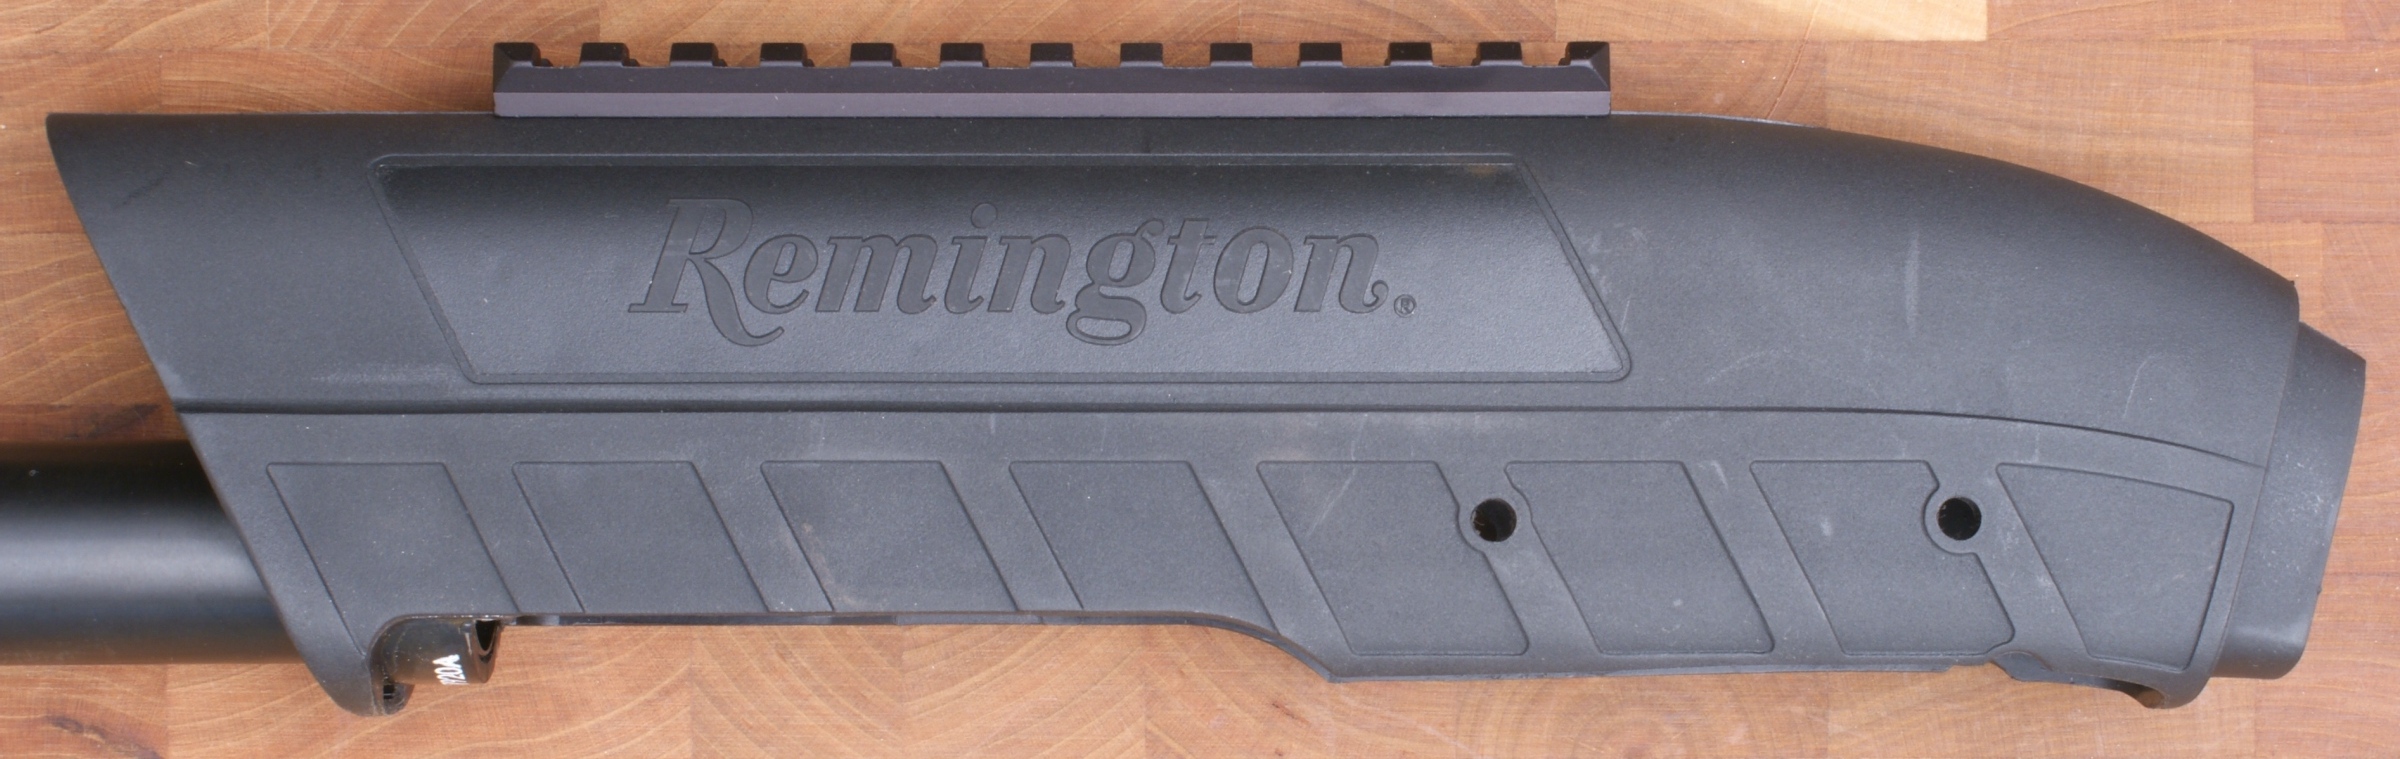
Figure 43
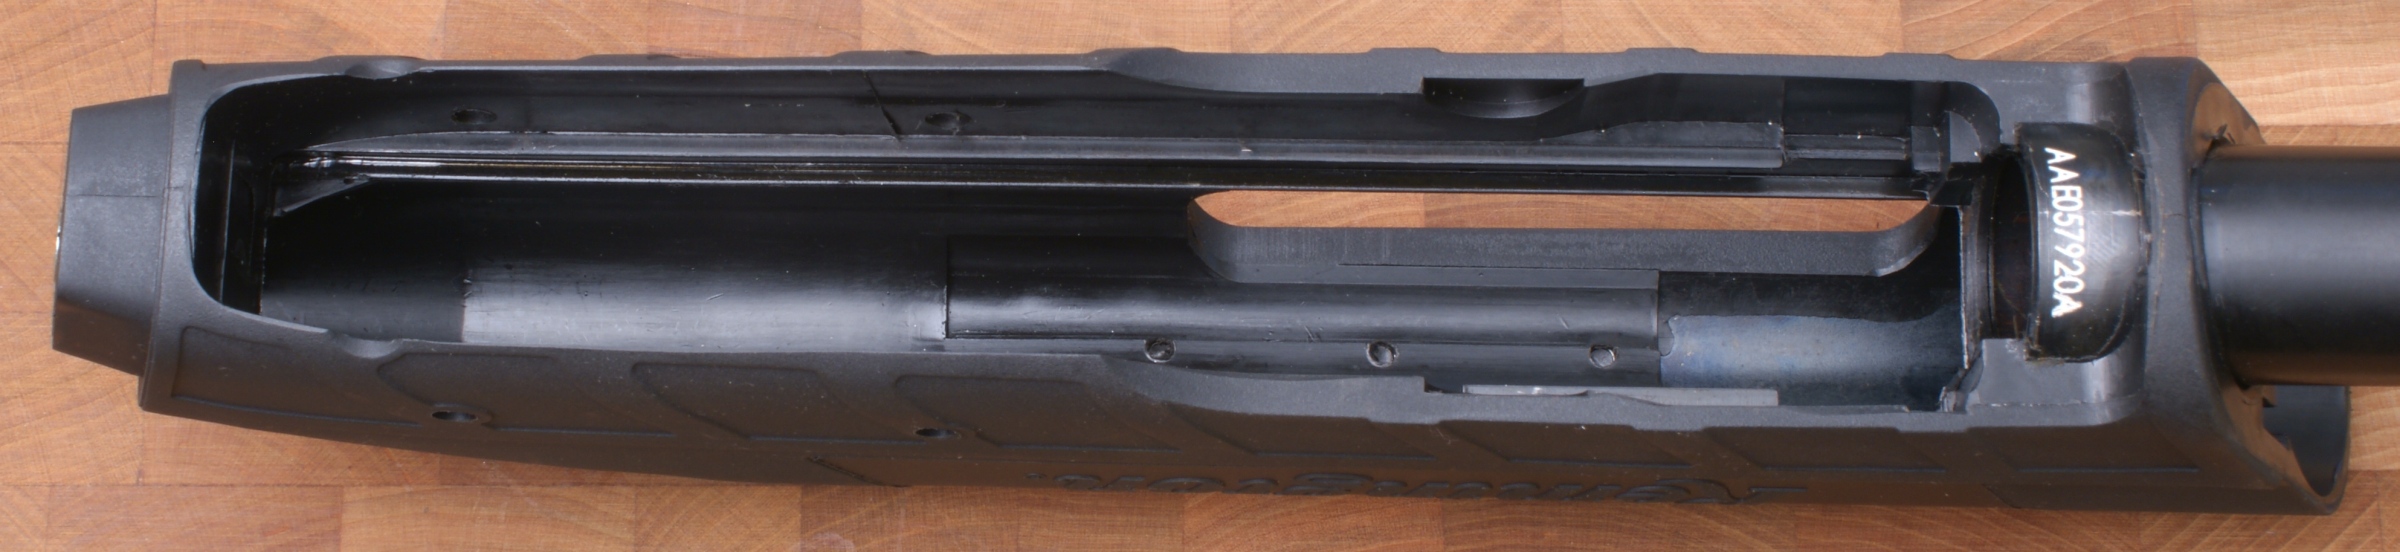
Figure 44
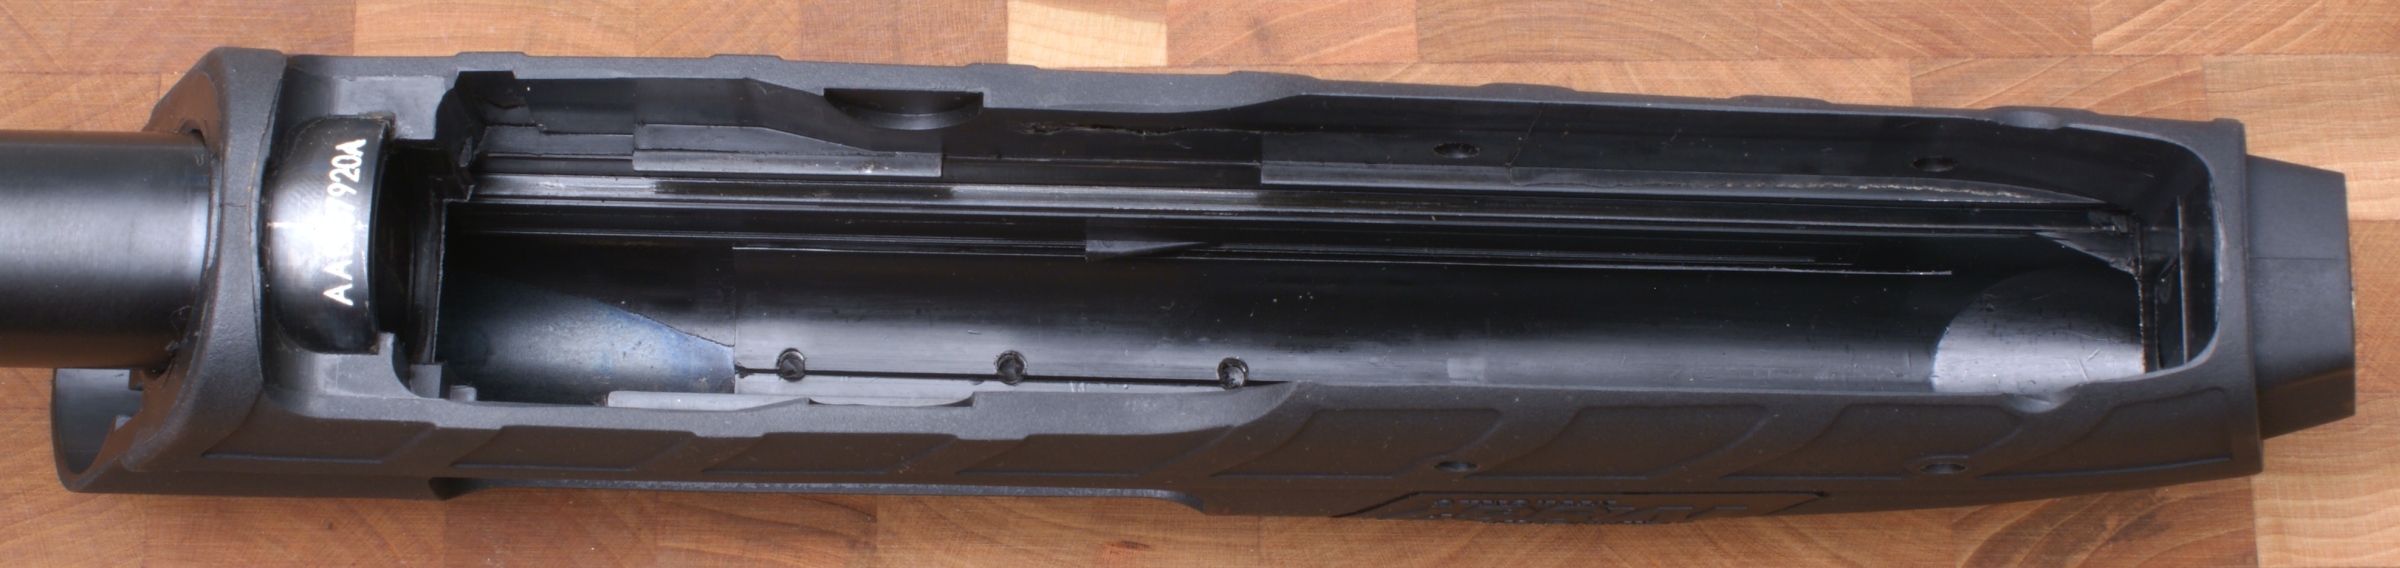
In this next photo you can see how the inside of the receiver is ArmorLokt coated. There was an area on the inside back of the receiver where the coating was missing. You can see in the photo below that the coating in that area is extremely thin. When I disassembled the shotgun, there were no coating flakes inside the receiver. I have deduced that in the extremely thin areas, Remington must allow a certain portion of the coating in certain areas to flake off and still pass their quality control inspections.
Figure 45
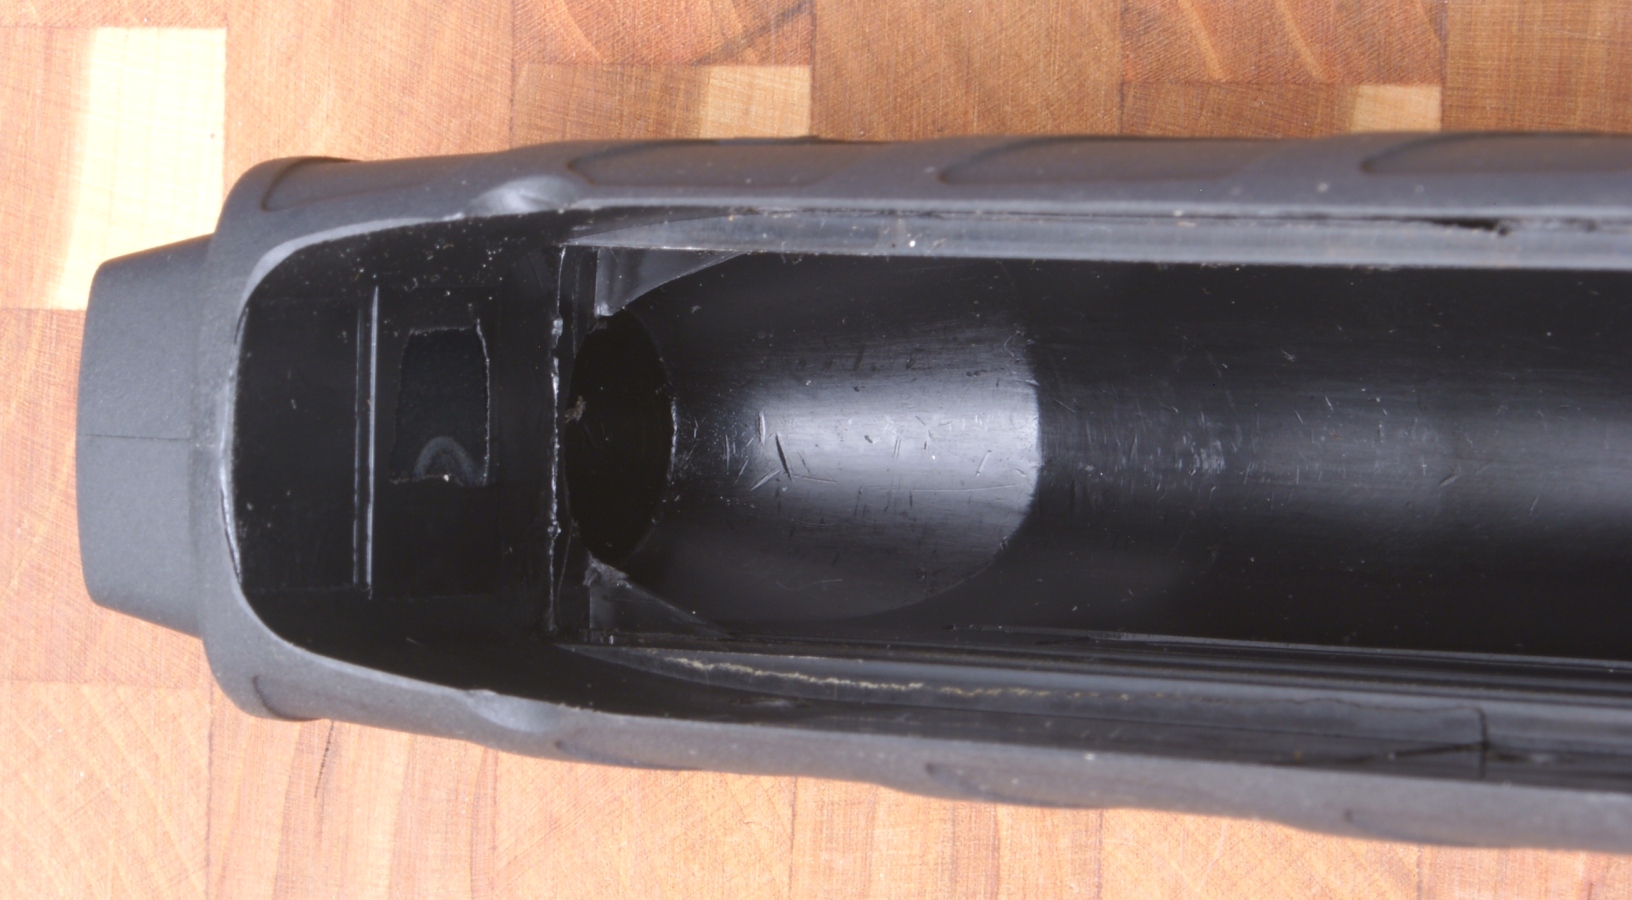
From the photo below and if you know much about the Remington 870, it is clear that you will not be using an 870 aftermarket stock on this shotgun. There is steel insert embedded into the ArmorLokt coating which mates with the stock attachment bolt. To compare this area to an 870, take a look at the last photo in my Remington 870 Tactical Express Review.
Figure 46
Inside the top of the receiver where the barrel extension interfaces also had a large area that looks like the coating was missing. Again, I believe this to be acceptable since there were not flakes found within the receiver upon disassembly.
Figure 47
The interface area of the action bars to the receiver is not coated. The magazine tube that screws into the receiver is supposed to be removable, but I was unable to remove it during disassembly. I was afraid I was going to damage the tube because it was so tight. If the tube ever gets damaged, it is supposed to be easily replaceable. I will not remove the magazine tube unless it inadvertently gets damaged.
Figure 48
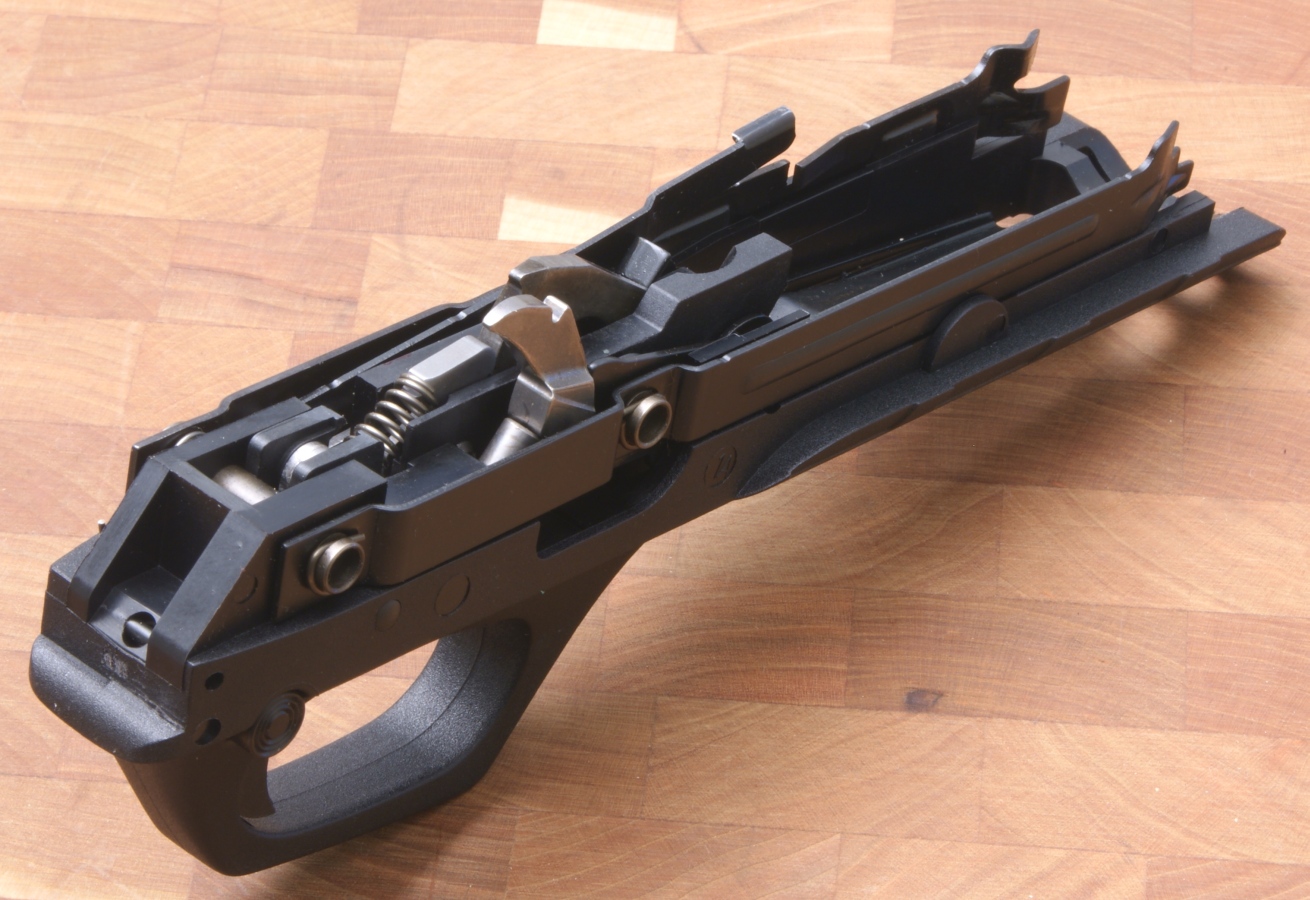
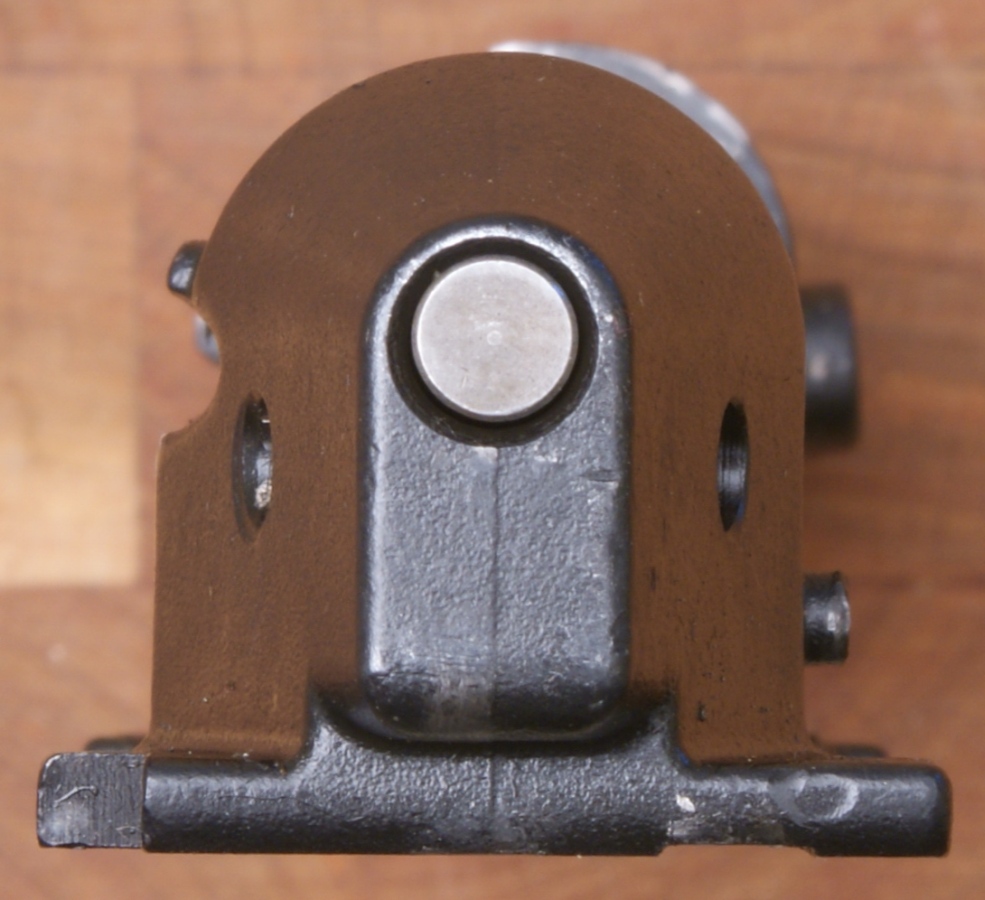
Trigger Plate Assembly
I was impressed at how easy the assembly pops out of the receiver. On installation, the front of the Trigger Plate has a tab that nests inside the front of the receiver and then Trigger Plate rotates into place. This nested feature provides support to the front of this long trigger plate.
Figure 49
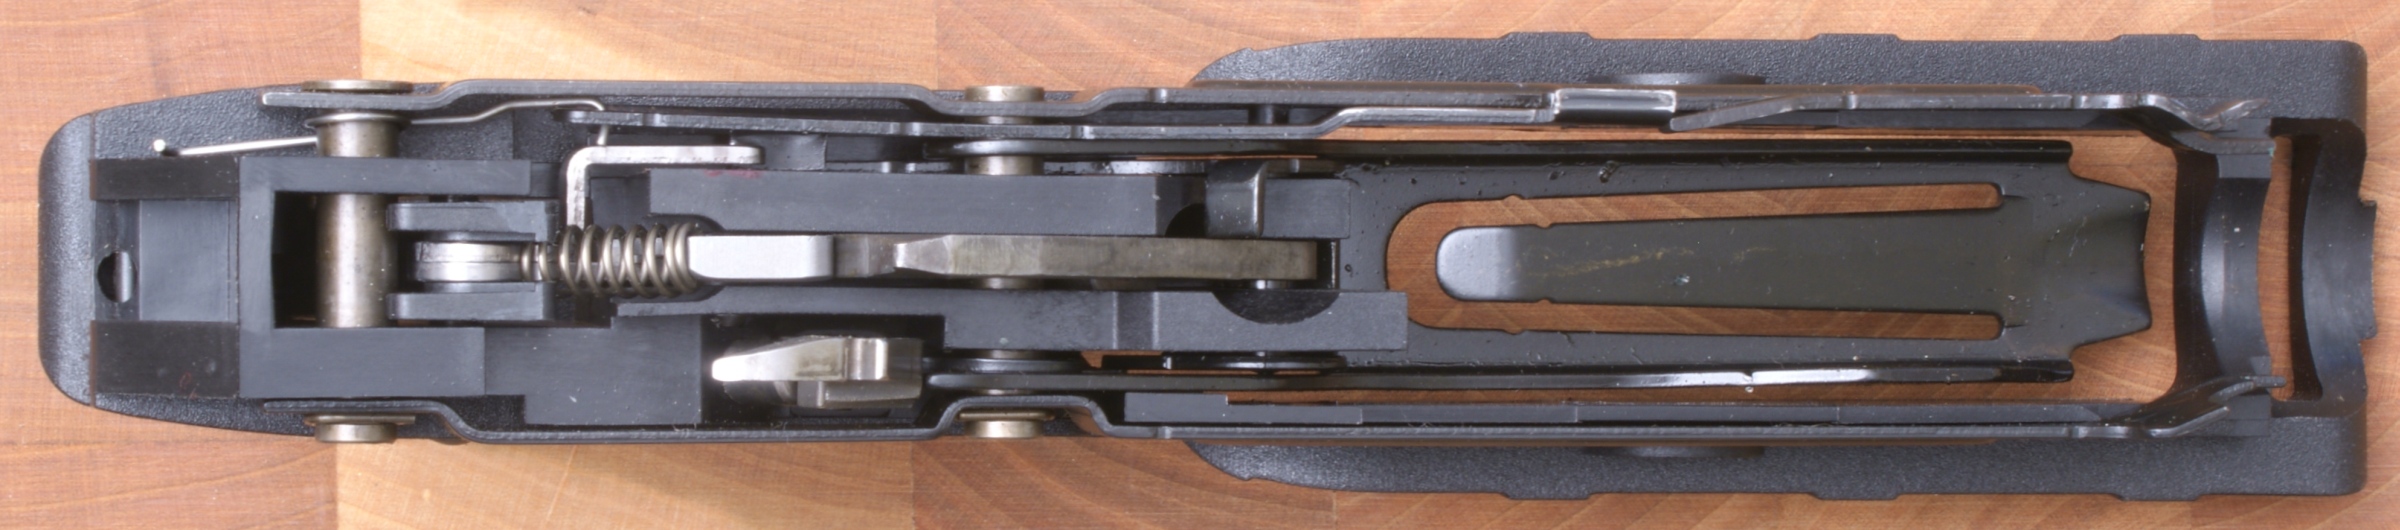
Figure 50
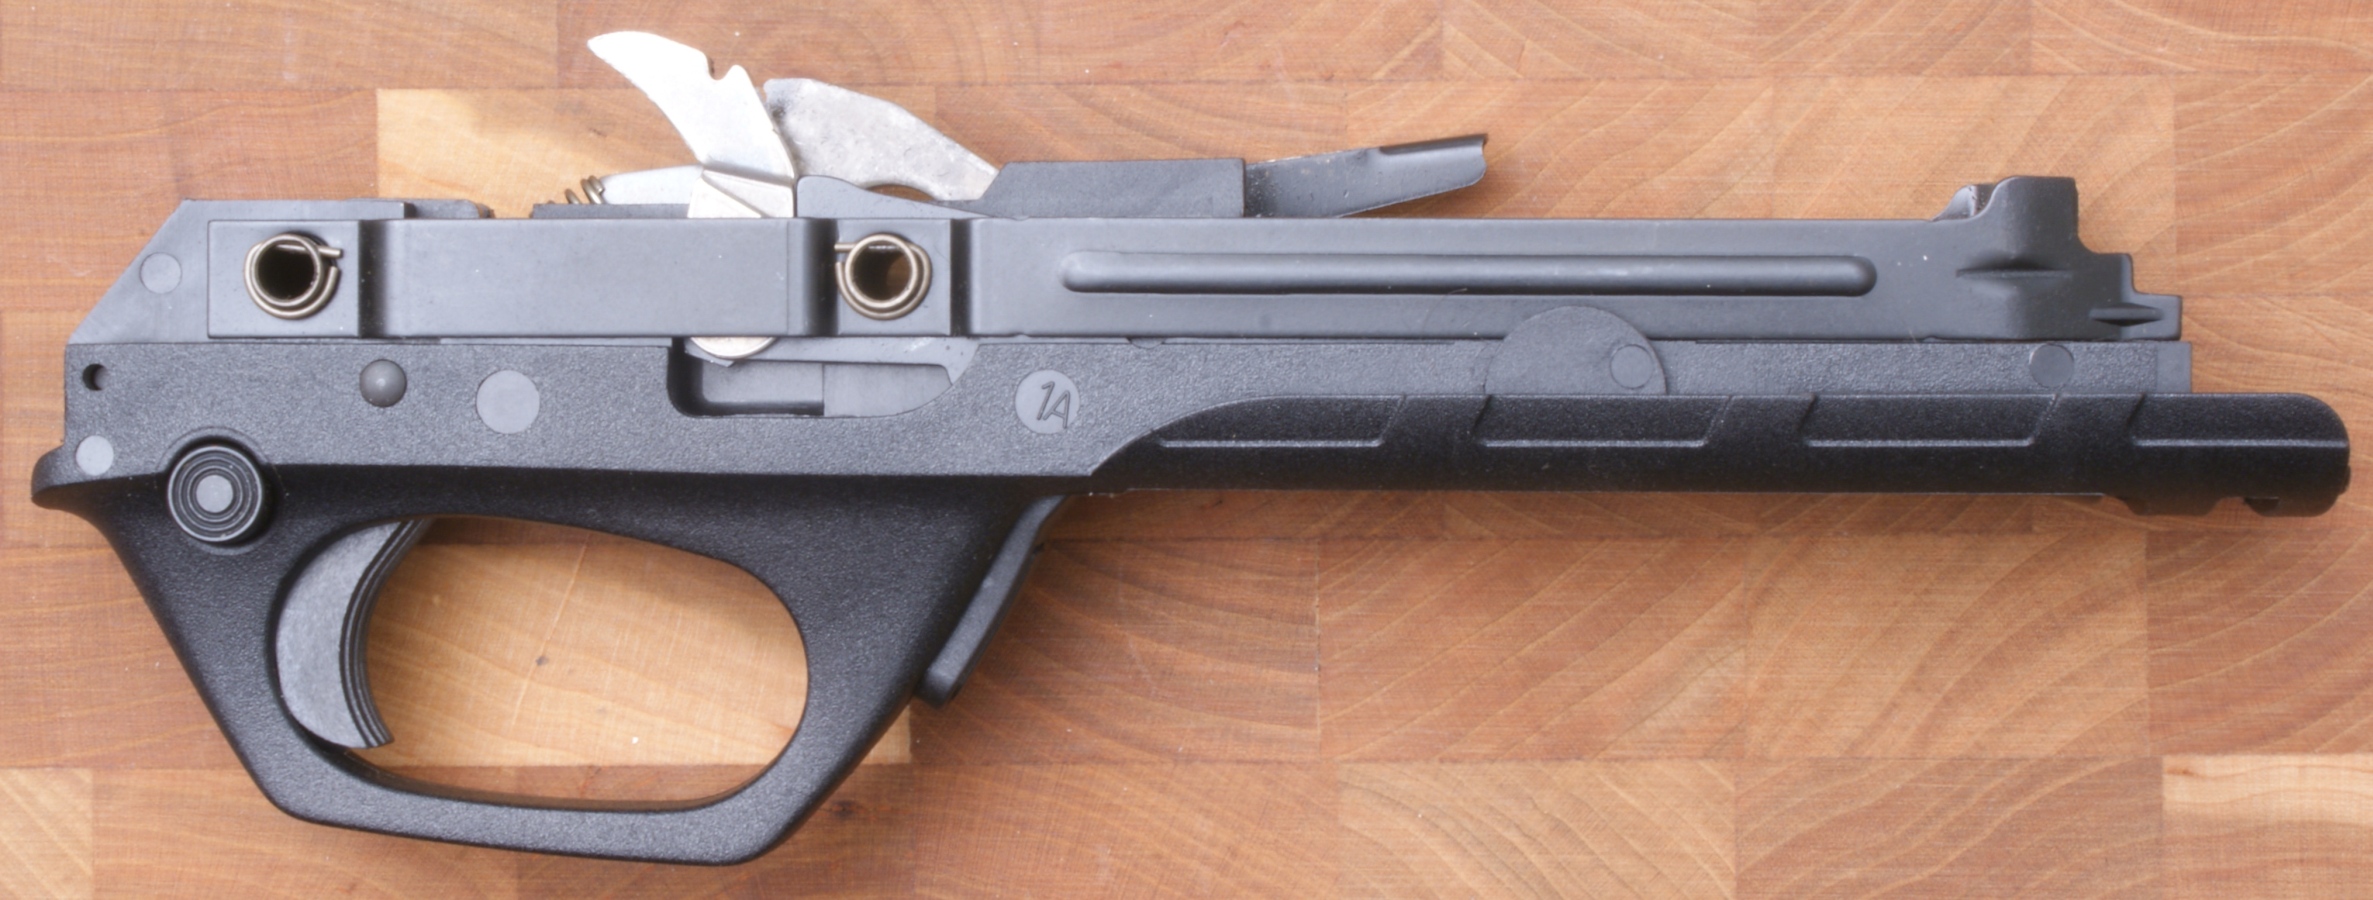
Figure 51
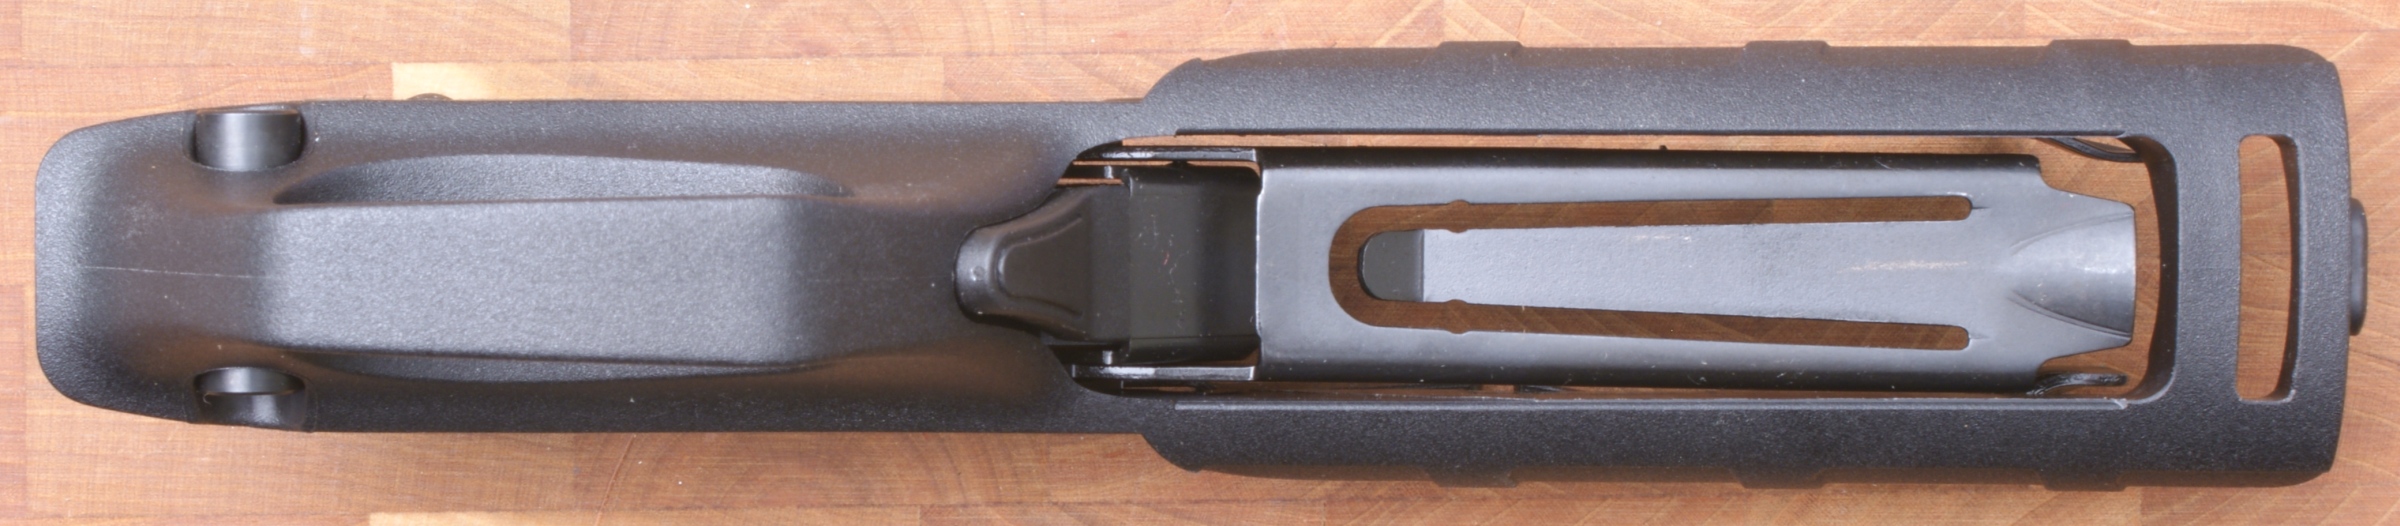
Figure 52
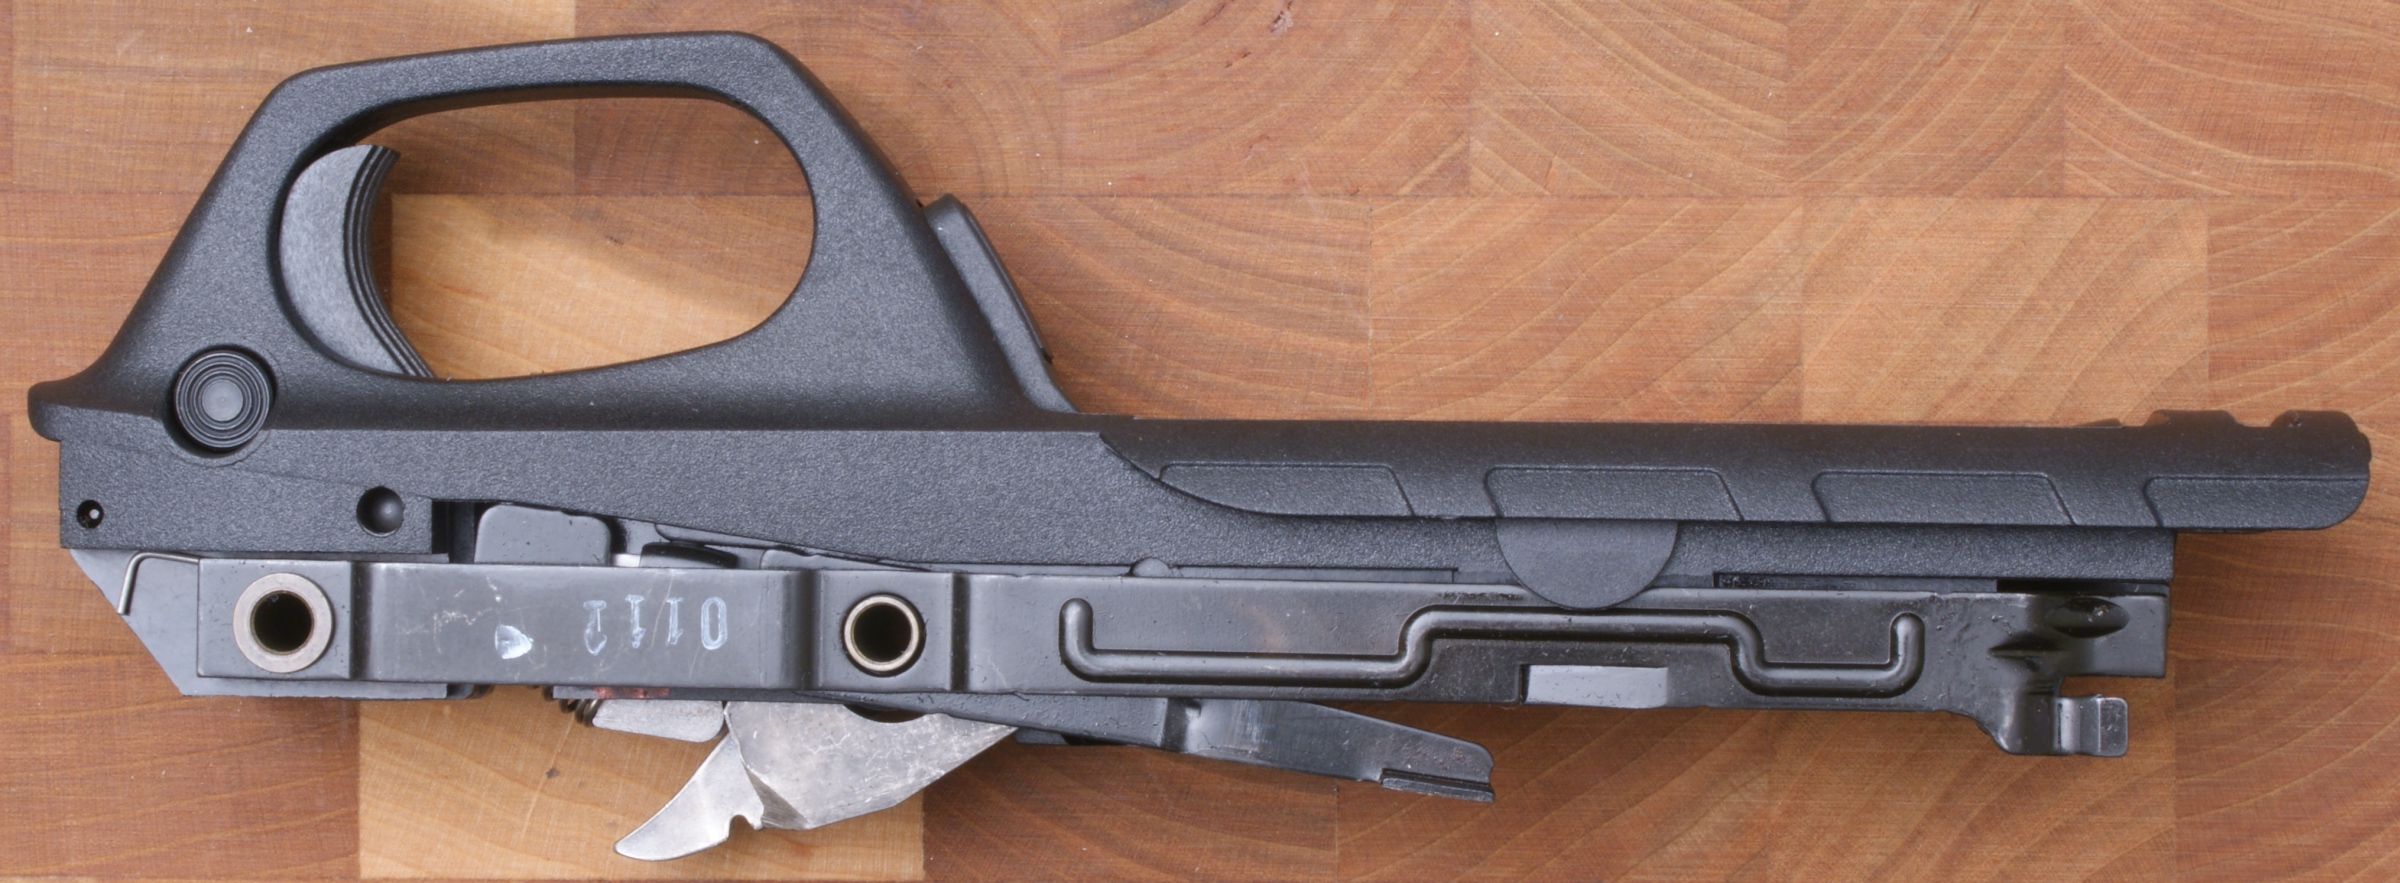
Figure 53
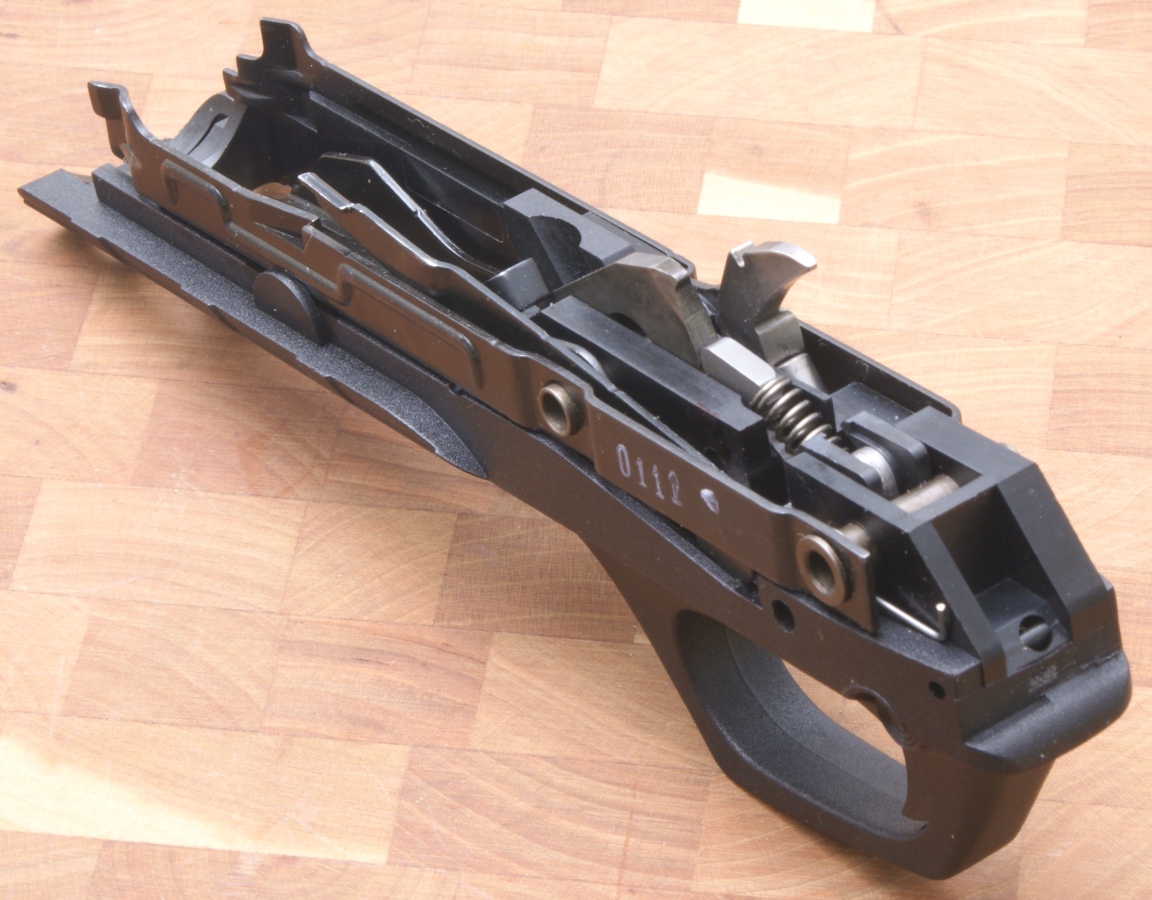
Figure 54
Stock
The stock is made from some type of synthetic material.
Figure 55
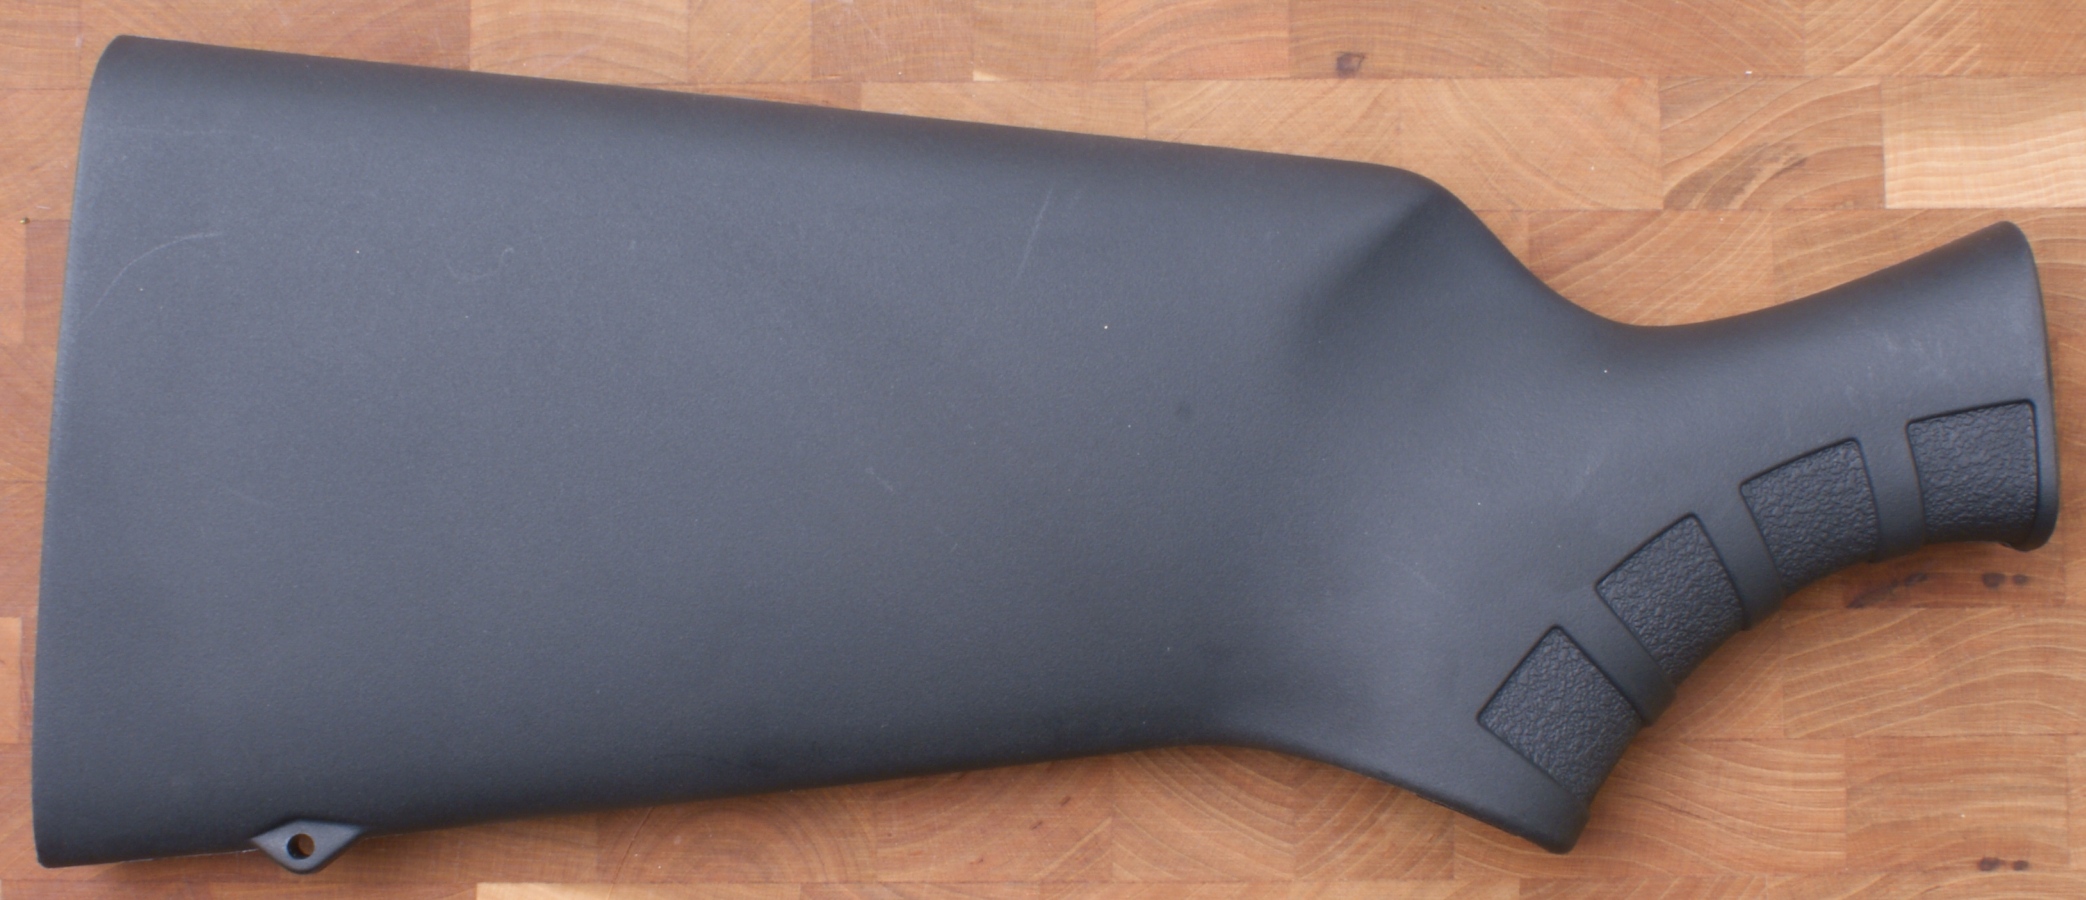
Figure 56
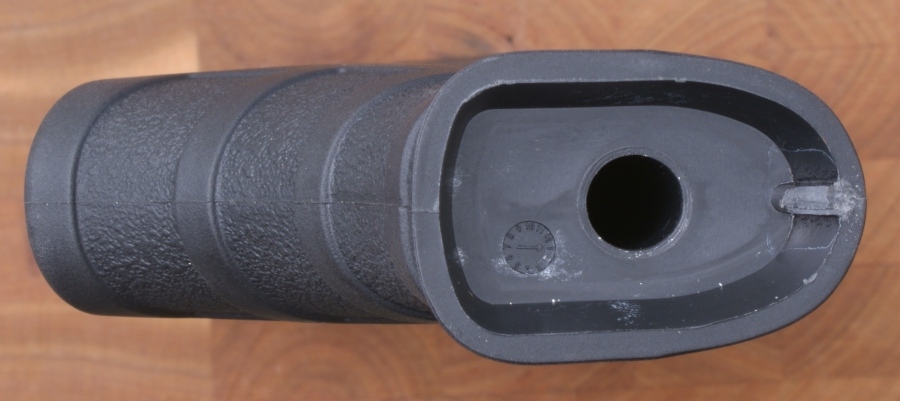
Figure 57
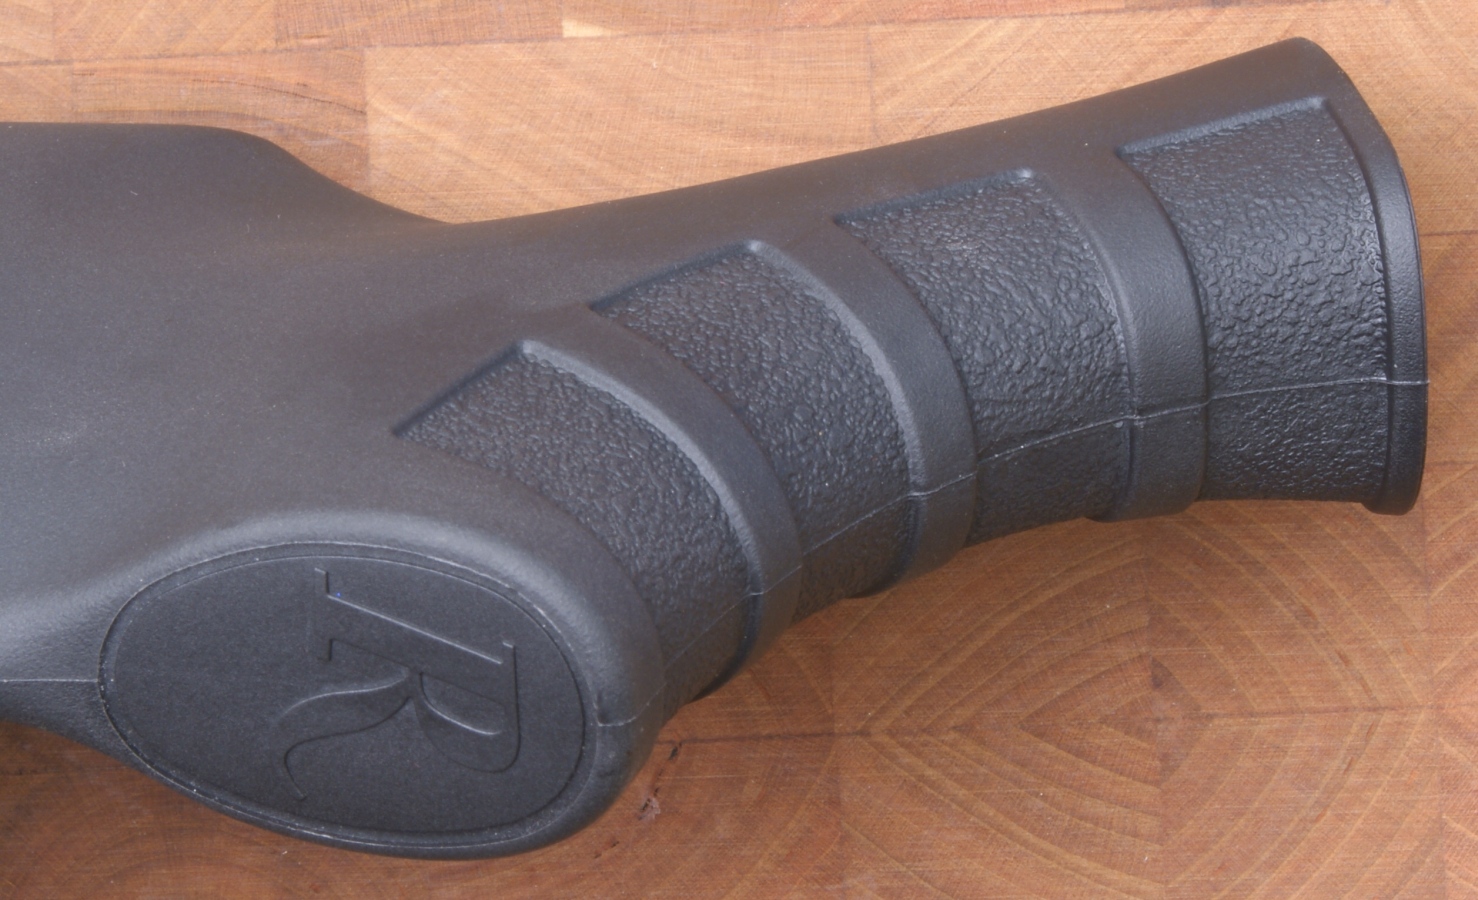
The grip portion of the stock has the same basic ribbed styling as the receiver along with some basic texturing.
Figure 58
The stock includes an integrally molded sling mount.
Figure 59
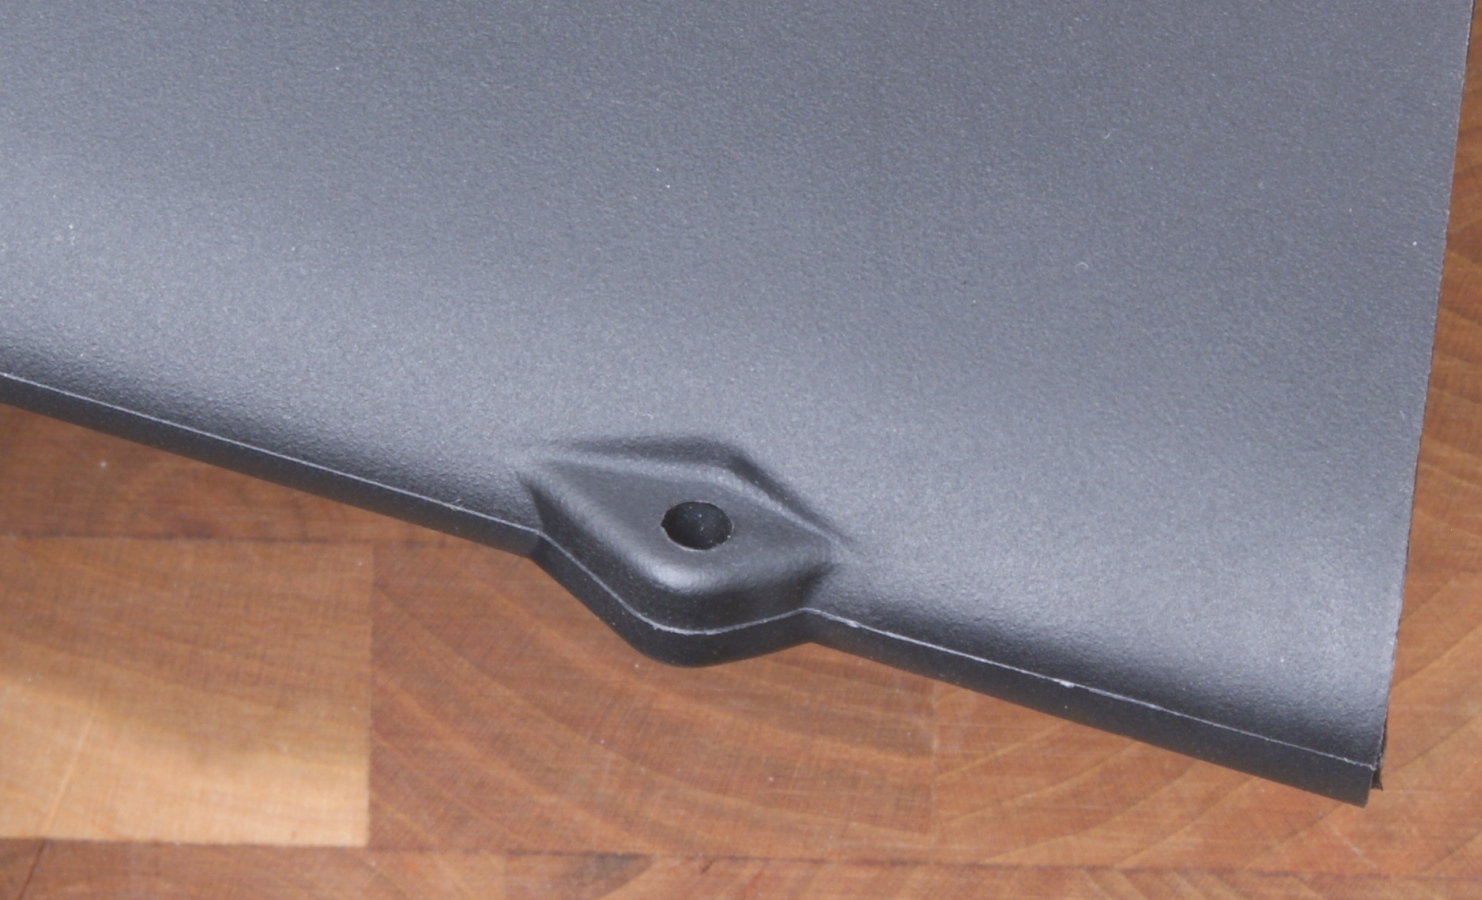
Figure 60
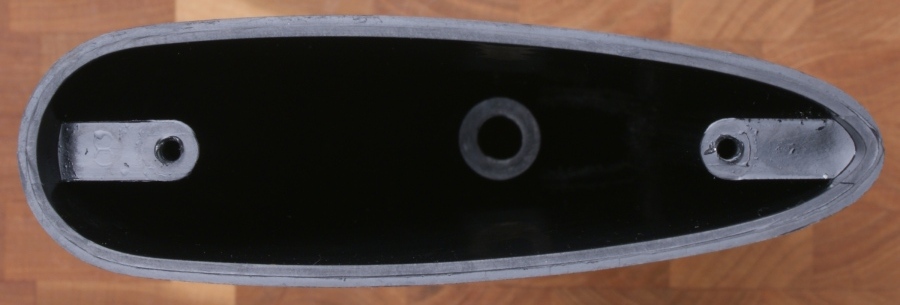
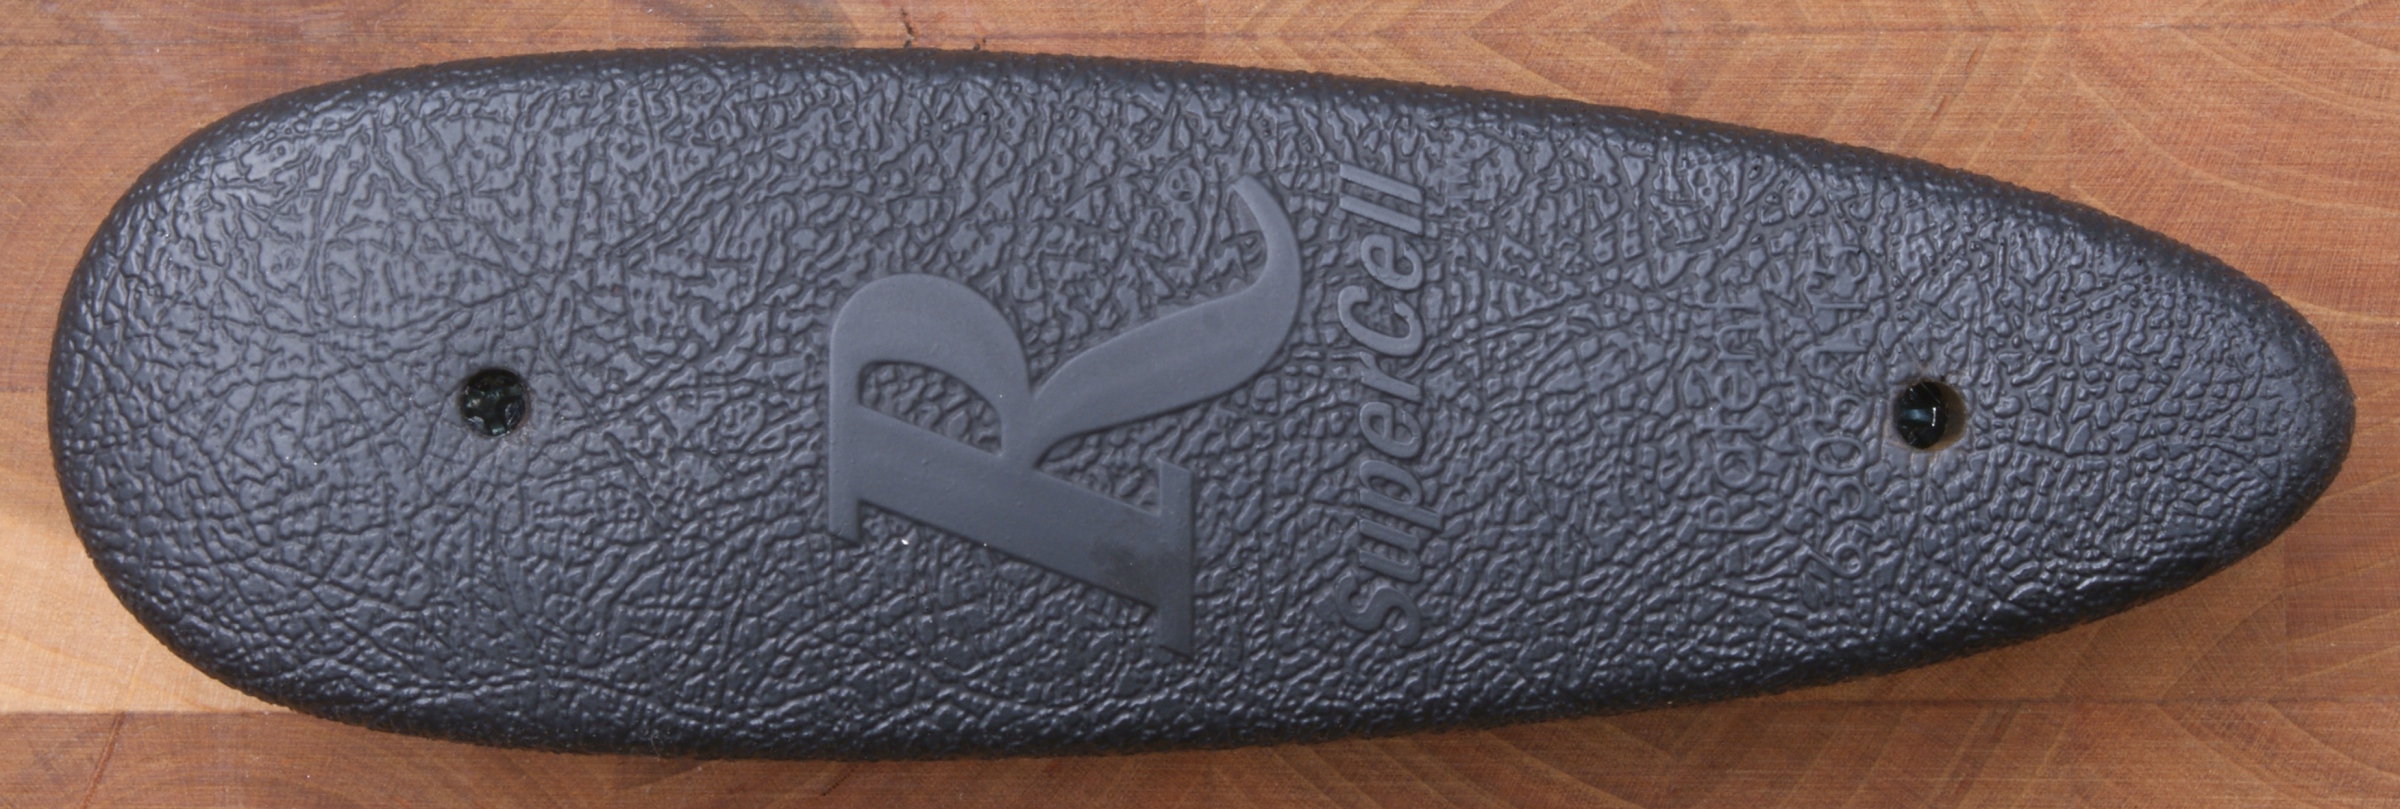
Recoil Pad
The "SuperCell" Recoil Pad includes a soft spongy rubber that I believe will be effective in reducing the felt recoil.
Figure 61
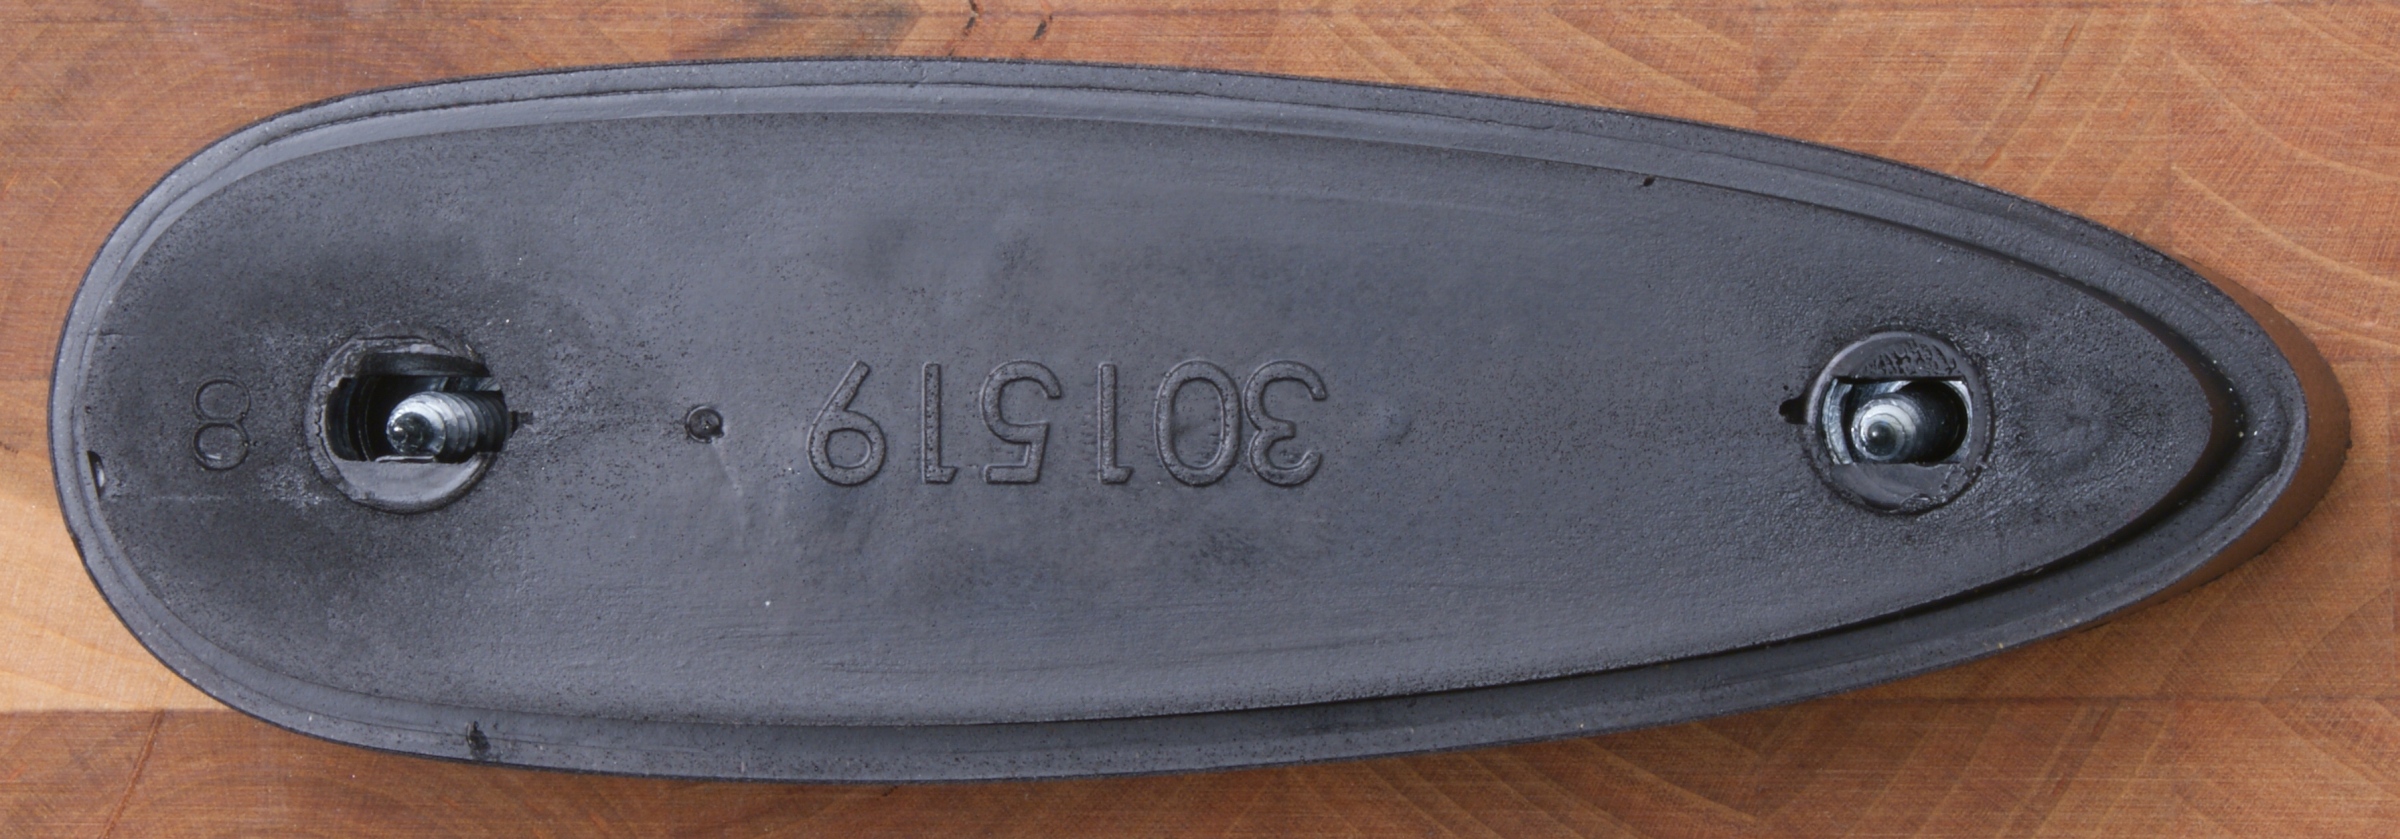
Figure 62
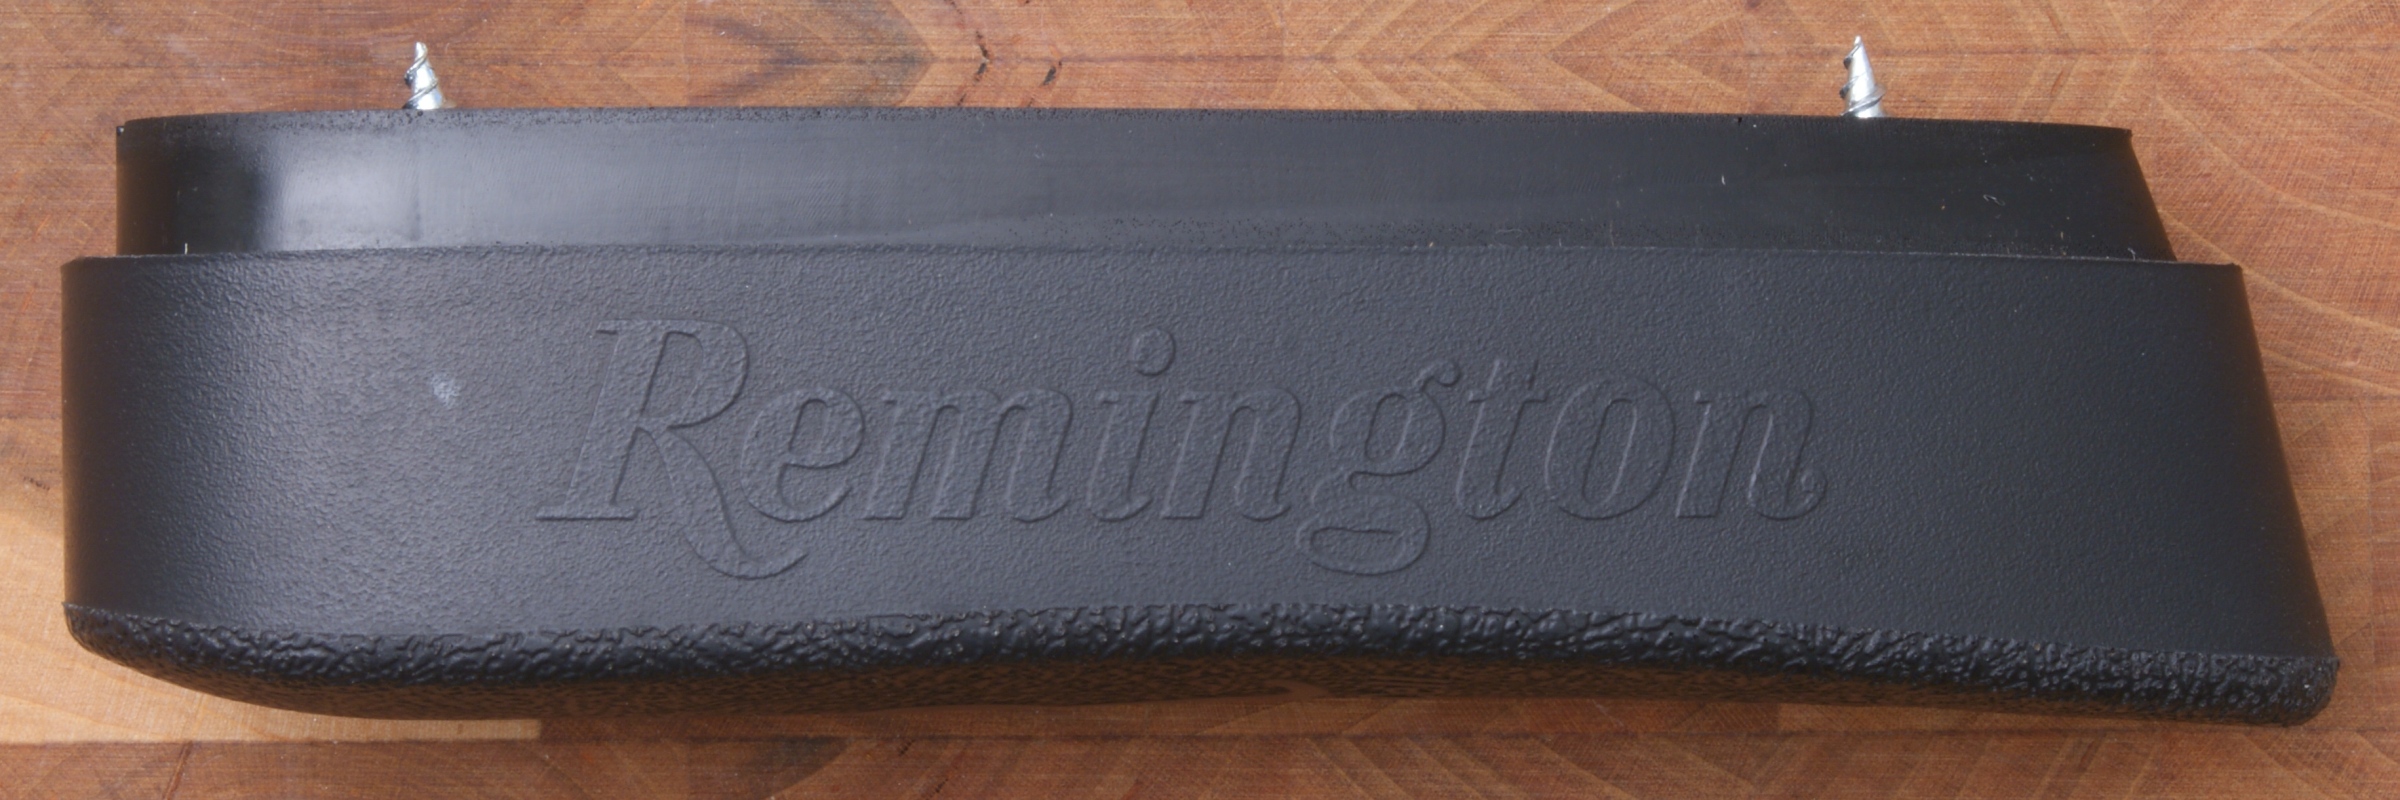
Figure 63
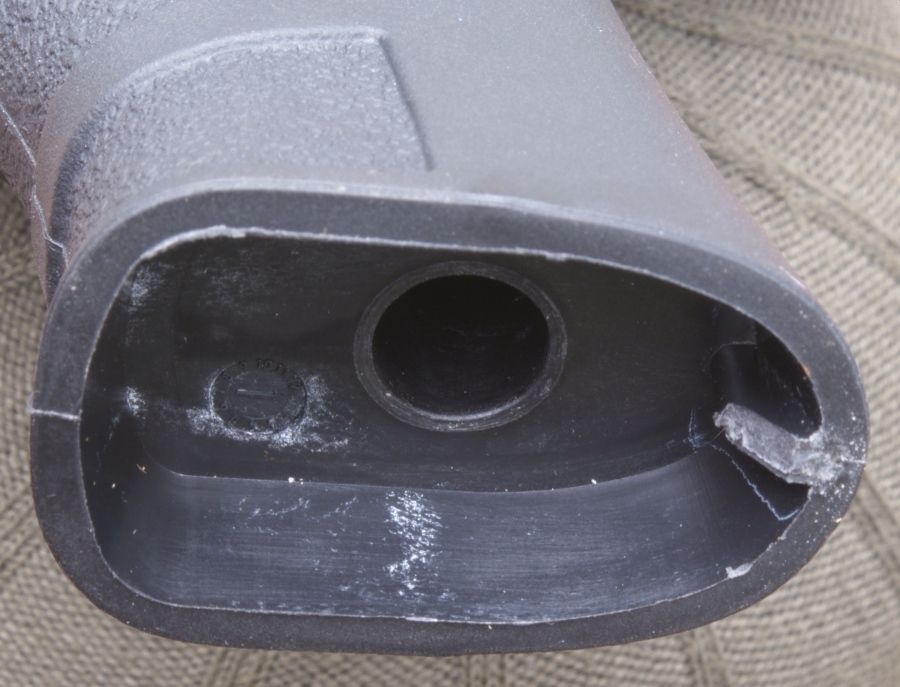
Fore-end
The Fore-end is fabricated from some type of synthetic material. I was pleased with the look and feel of the Fore-end.
Figure 64
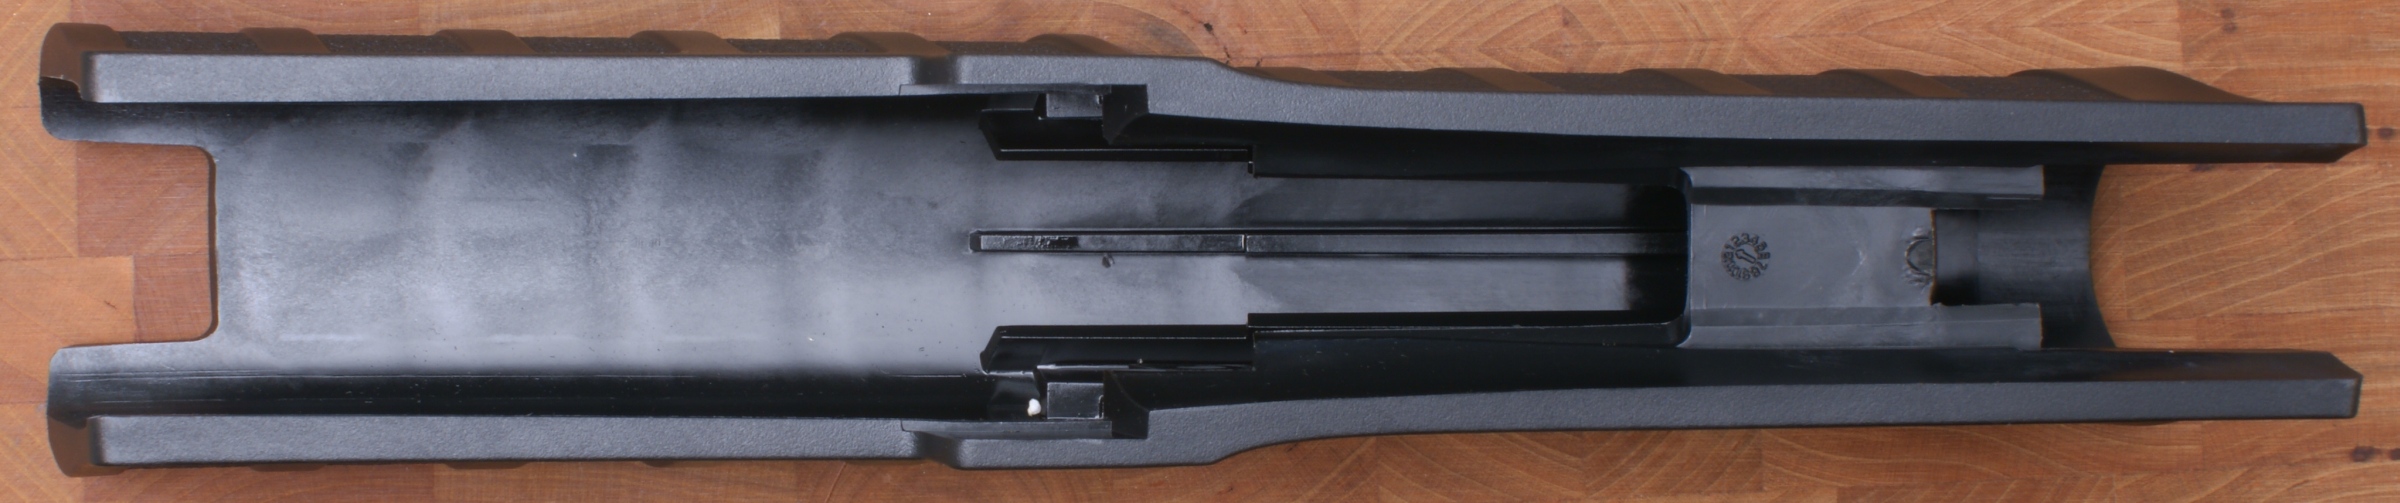
Figure 65
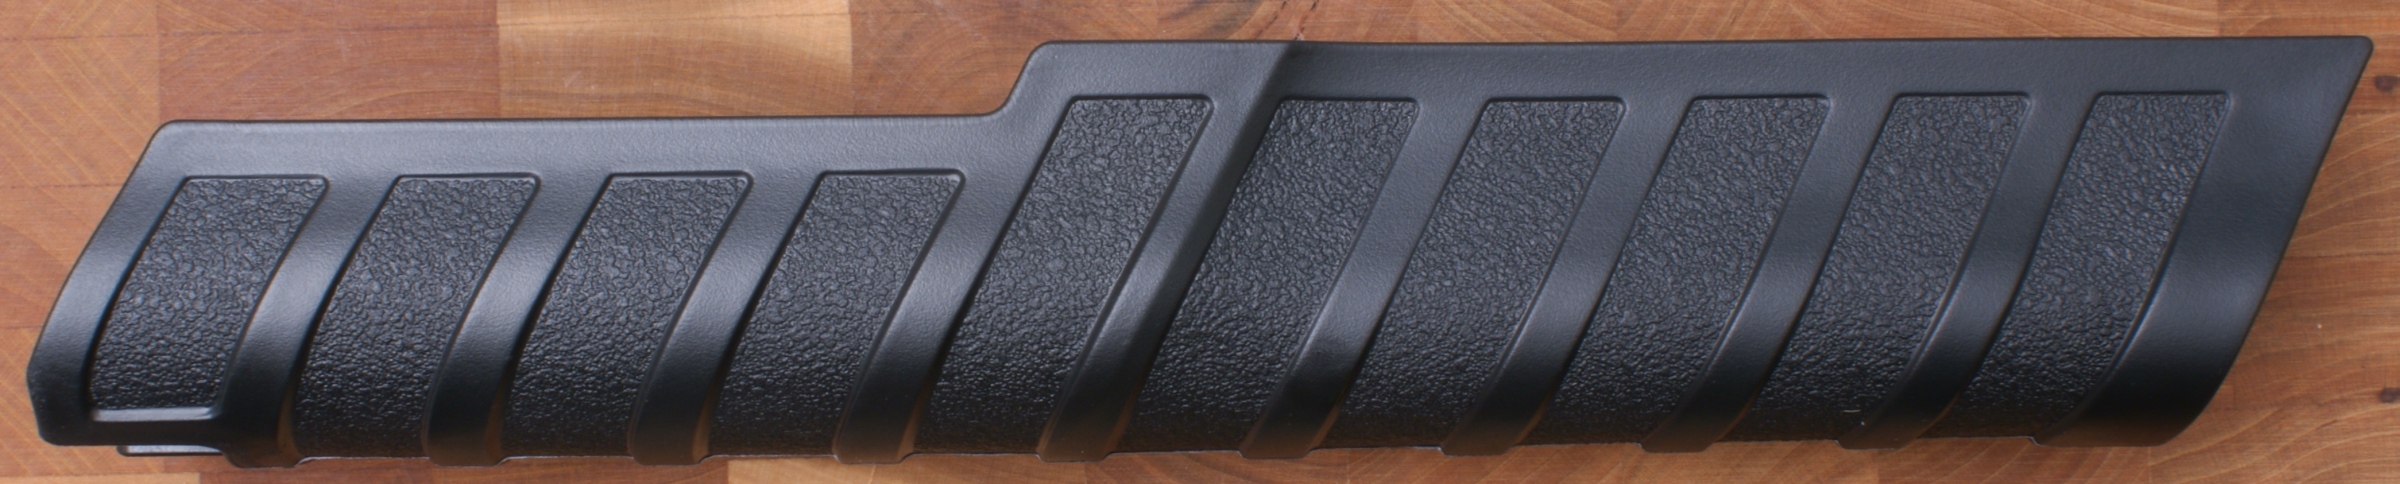
Figure 66
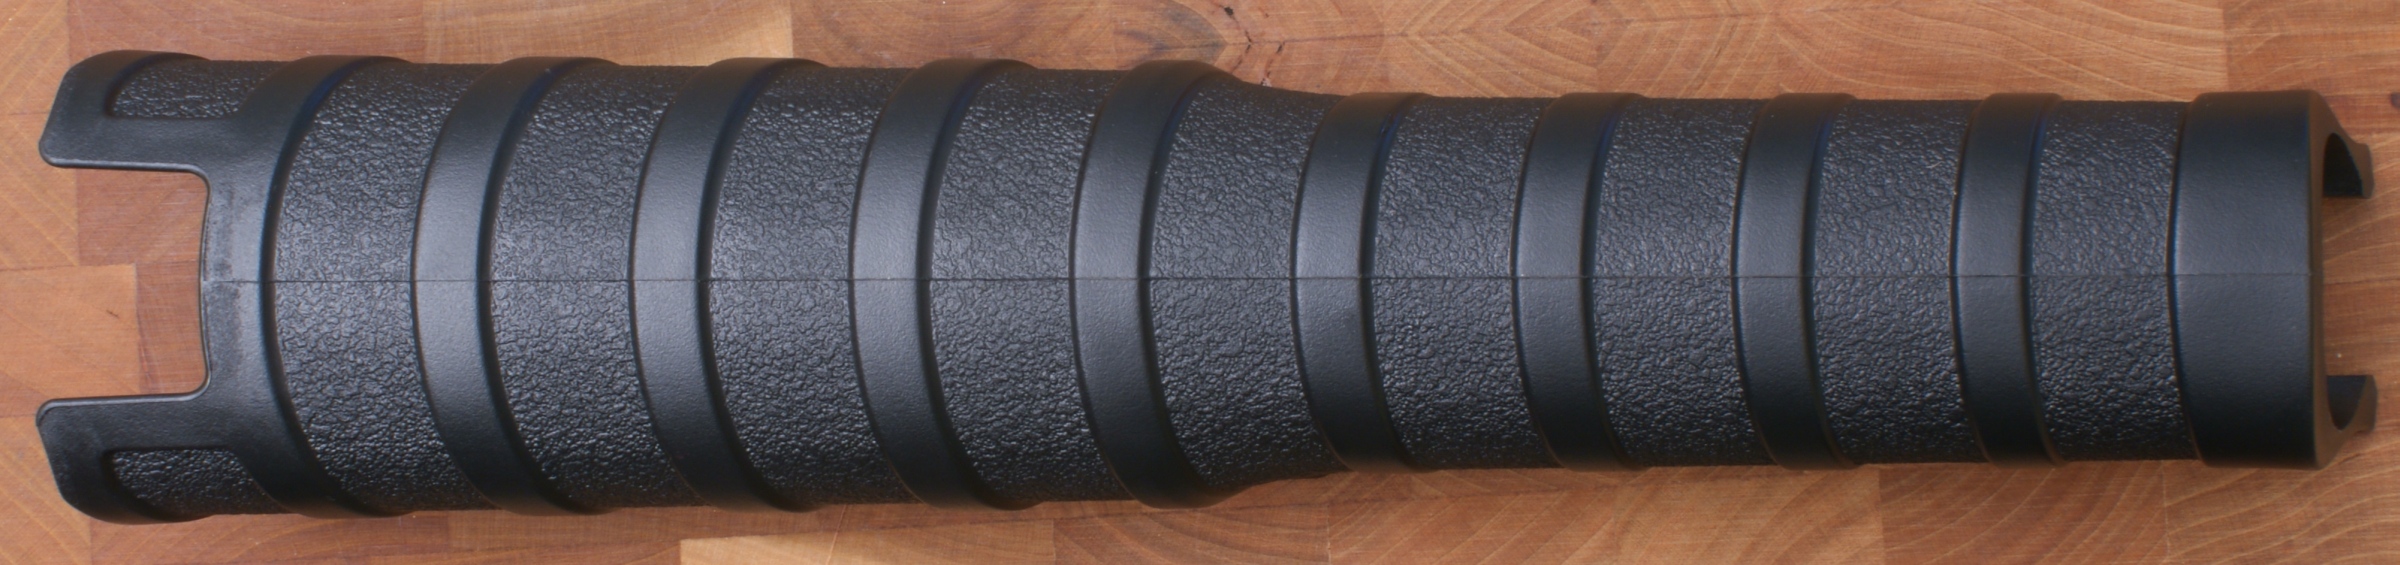
Figure 67
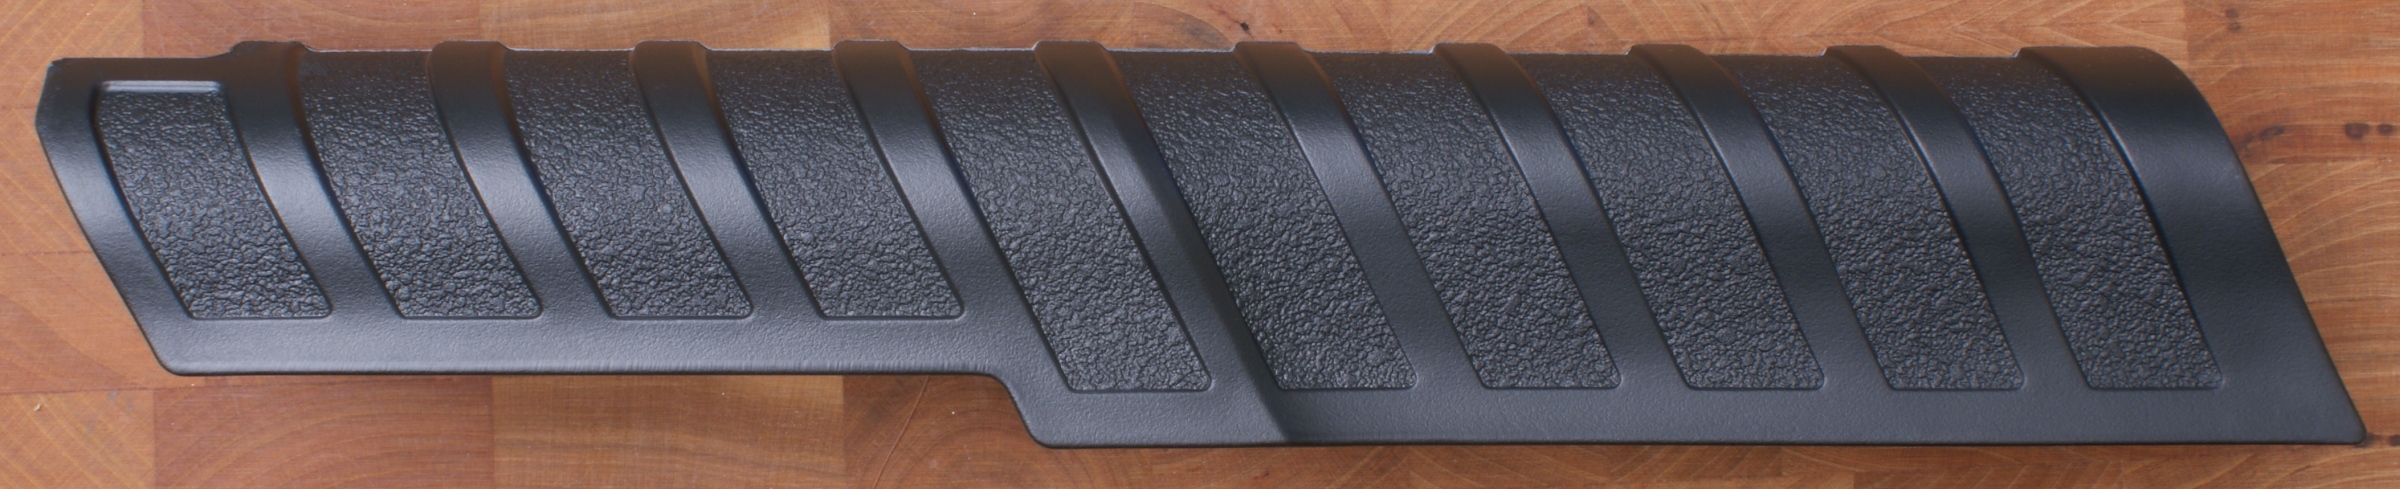
Figure 68
Figure 69
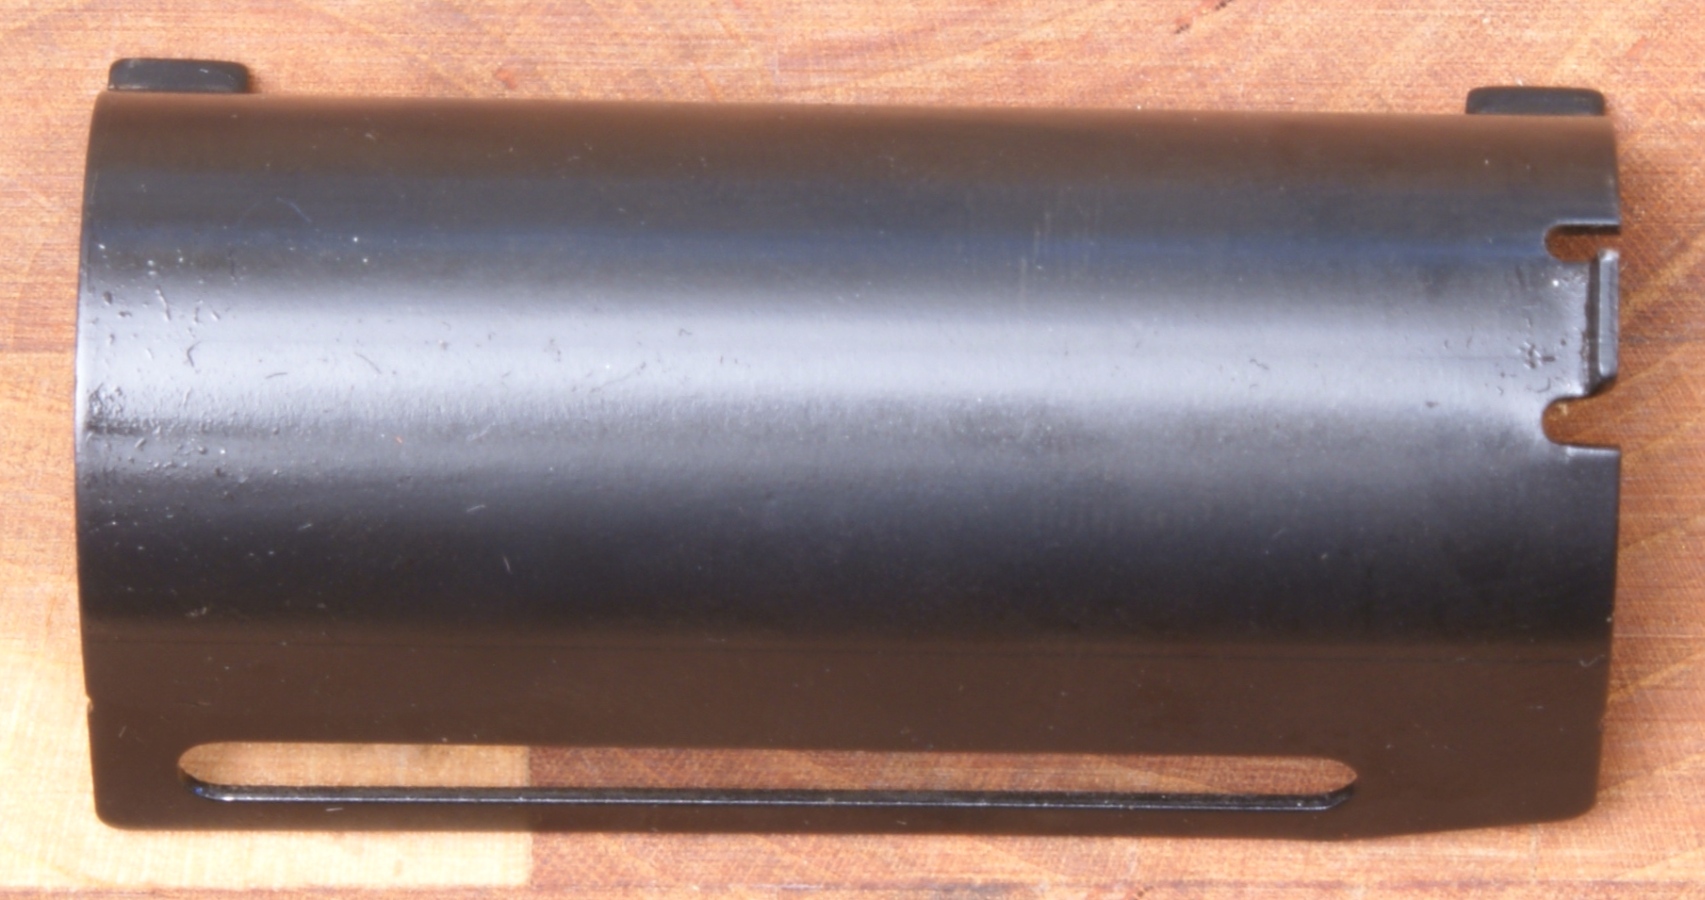
Fore-end Tube Assembly
The Fore-end Tube Assembly is a steel part.
Figure 70
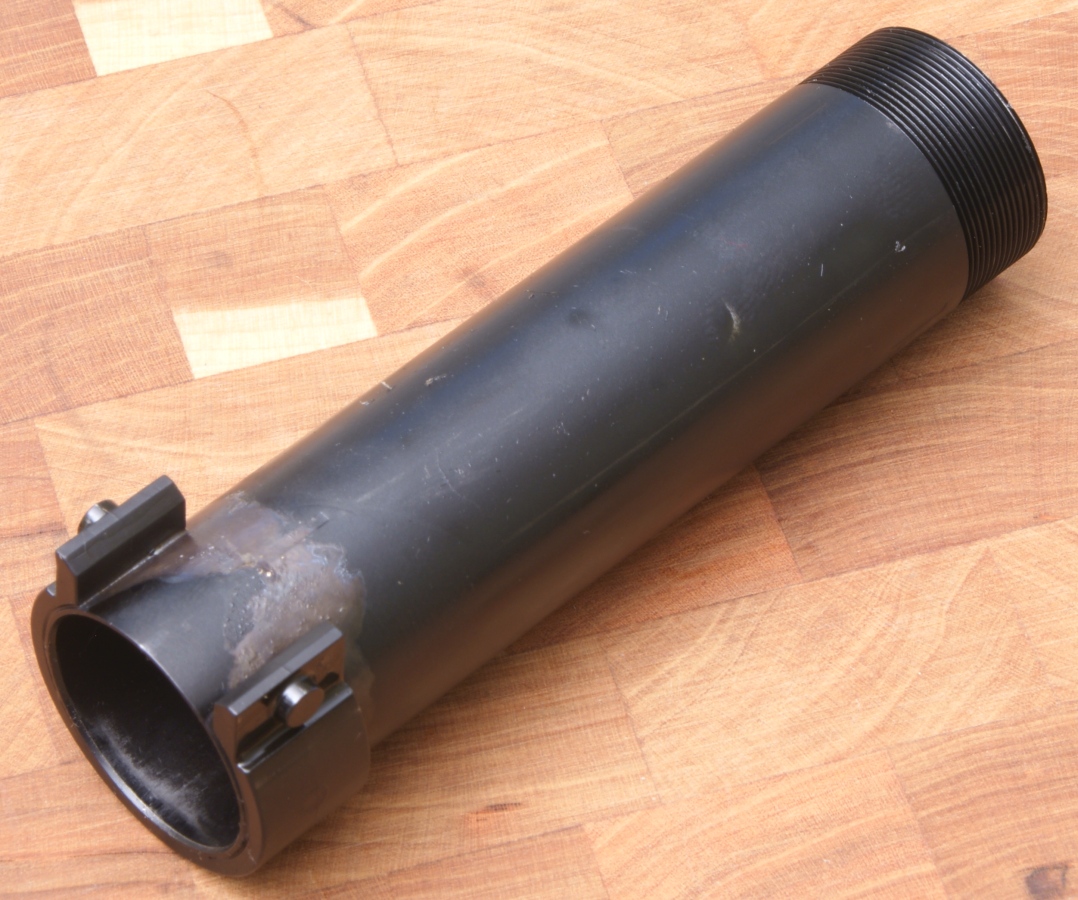
Figure 71
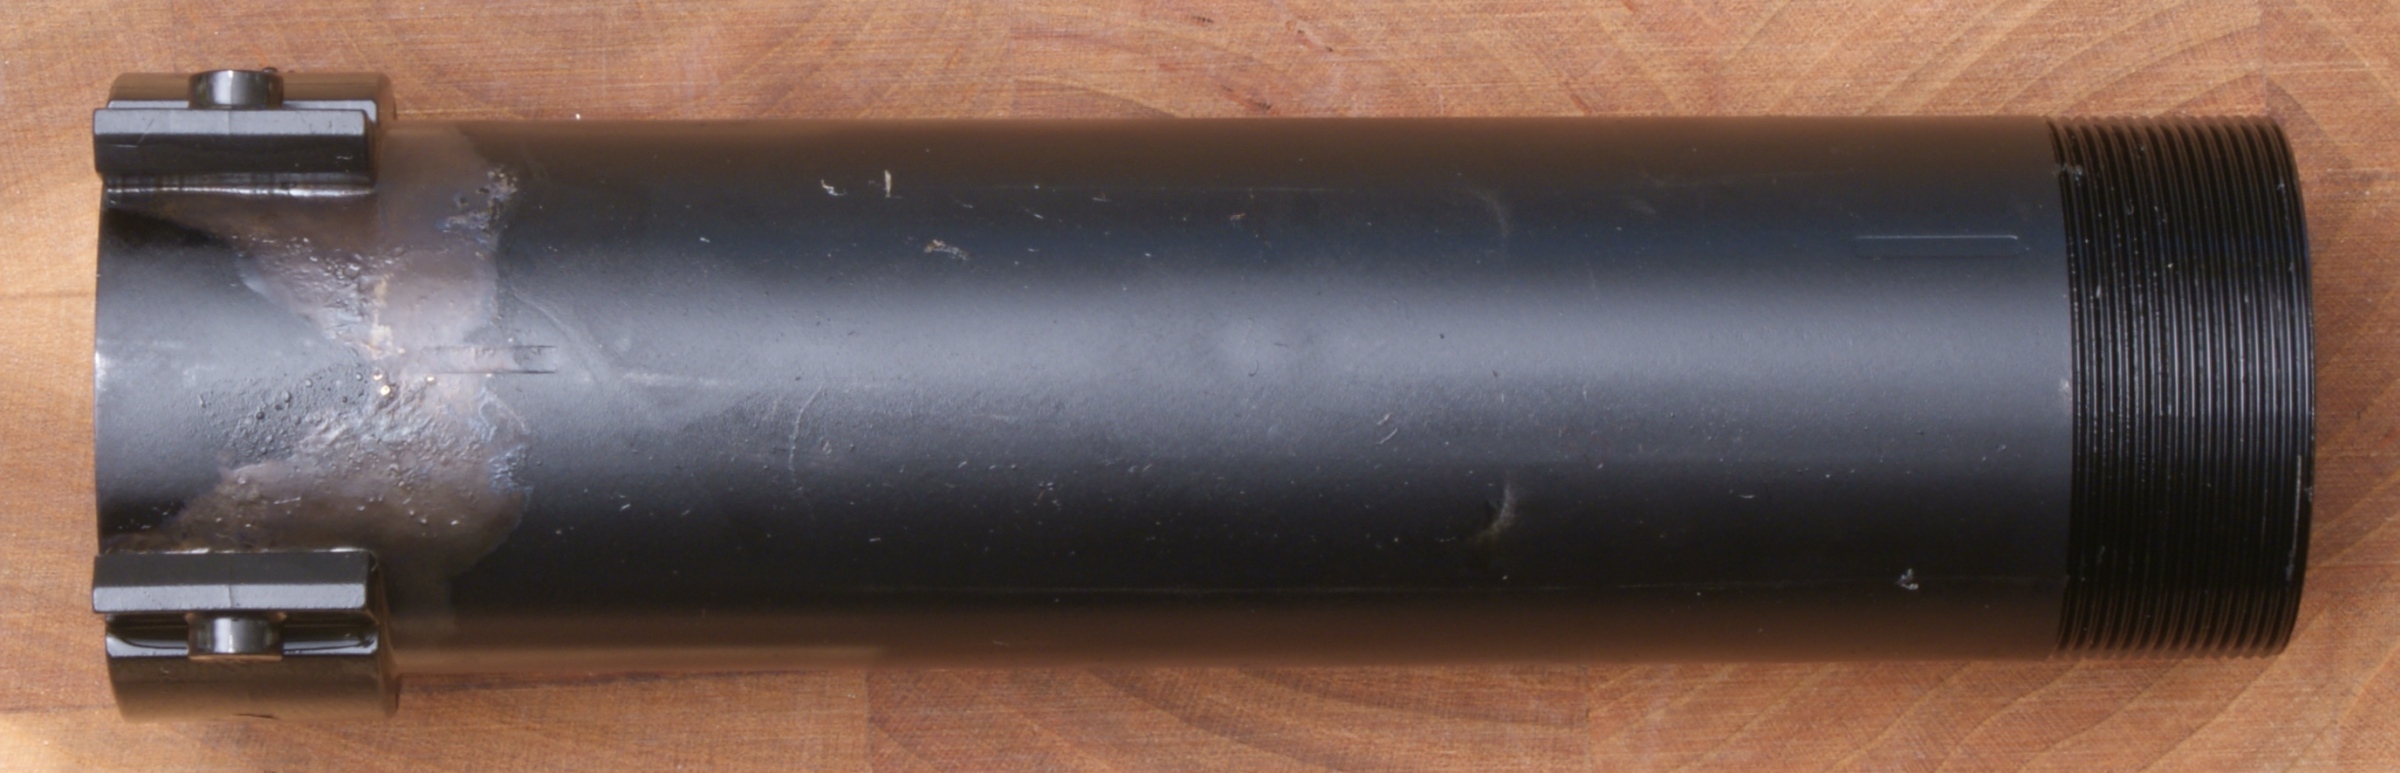
Figure 72
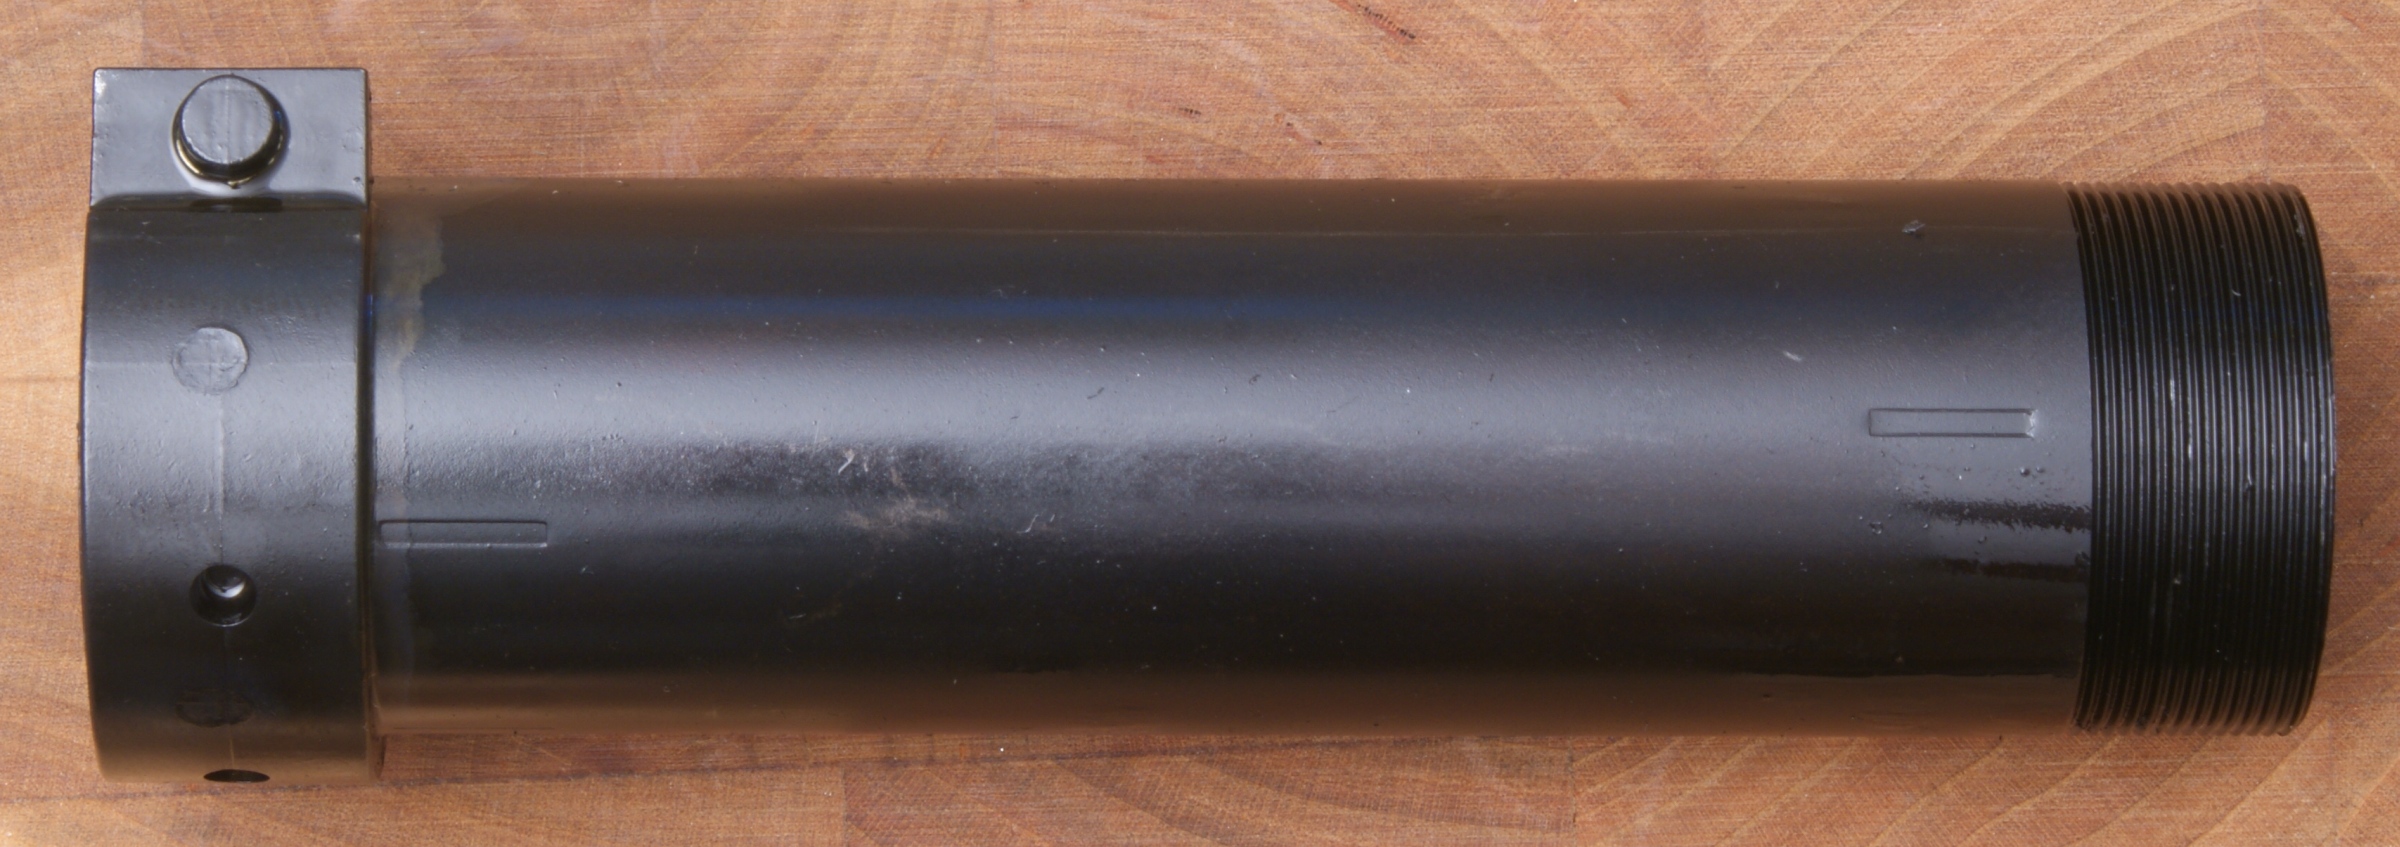
Figure 73
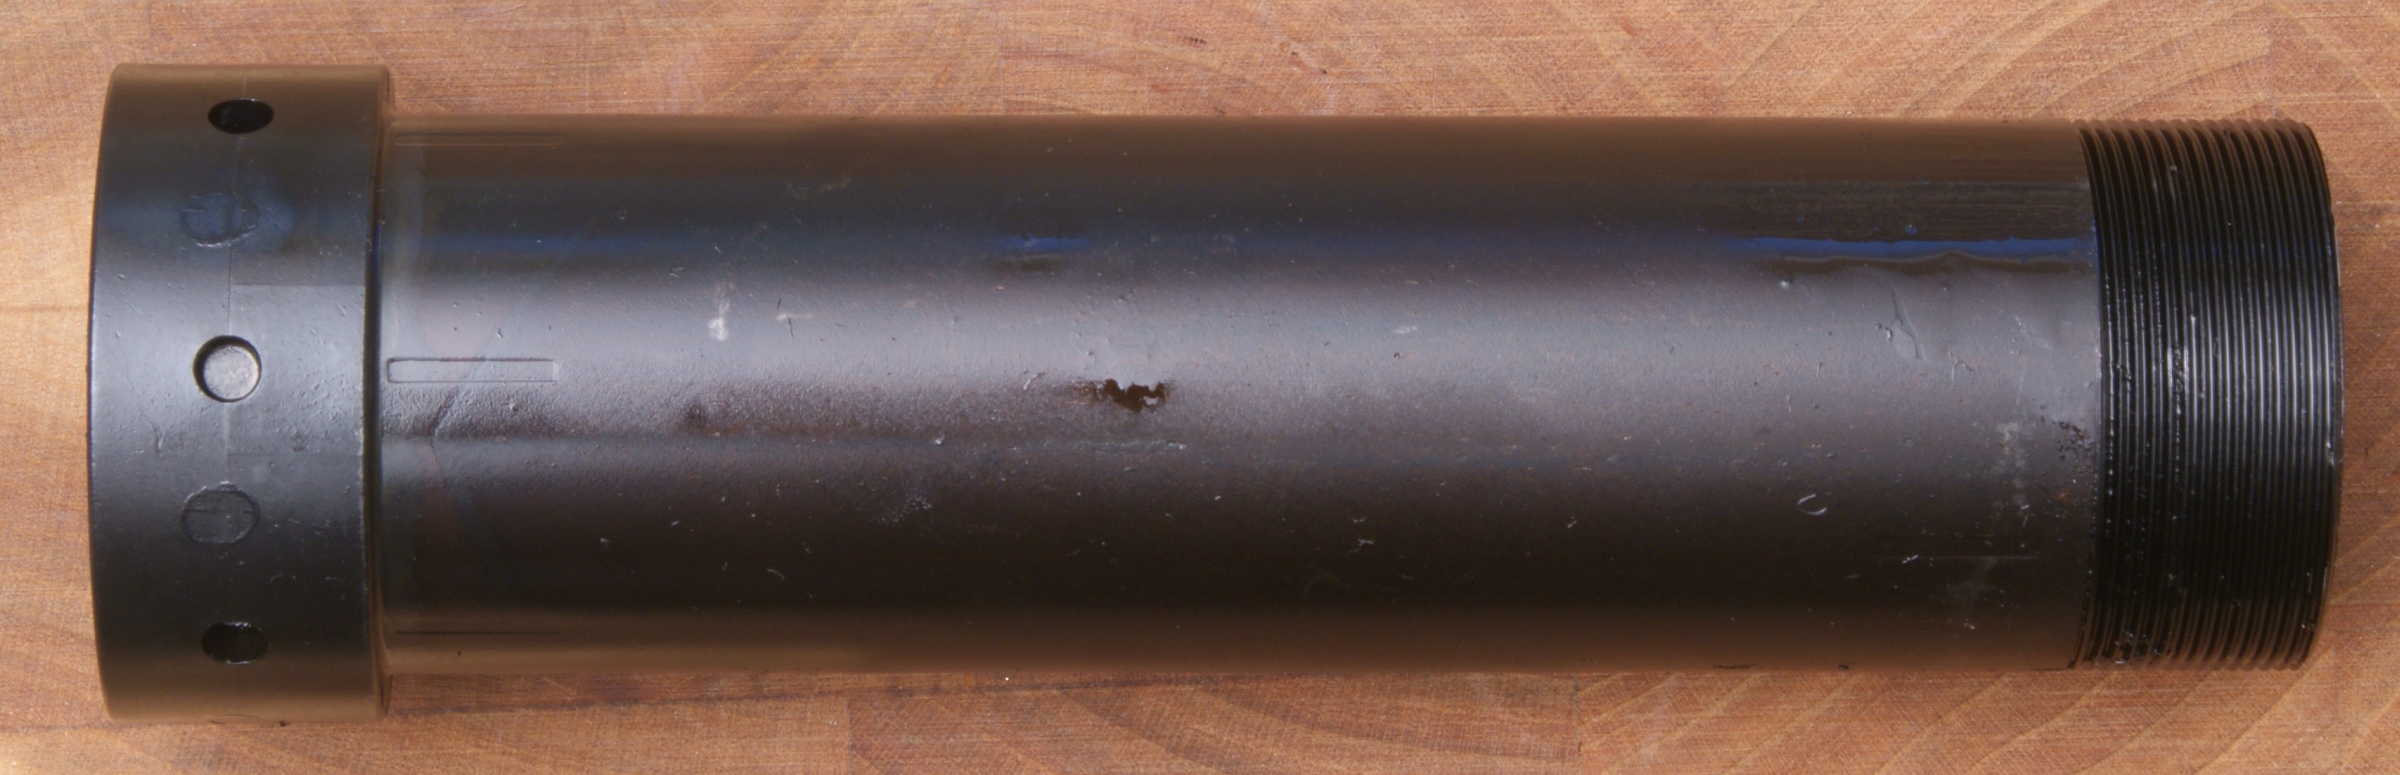
Figure 74
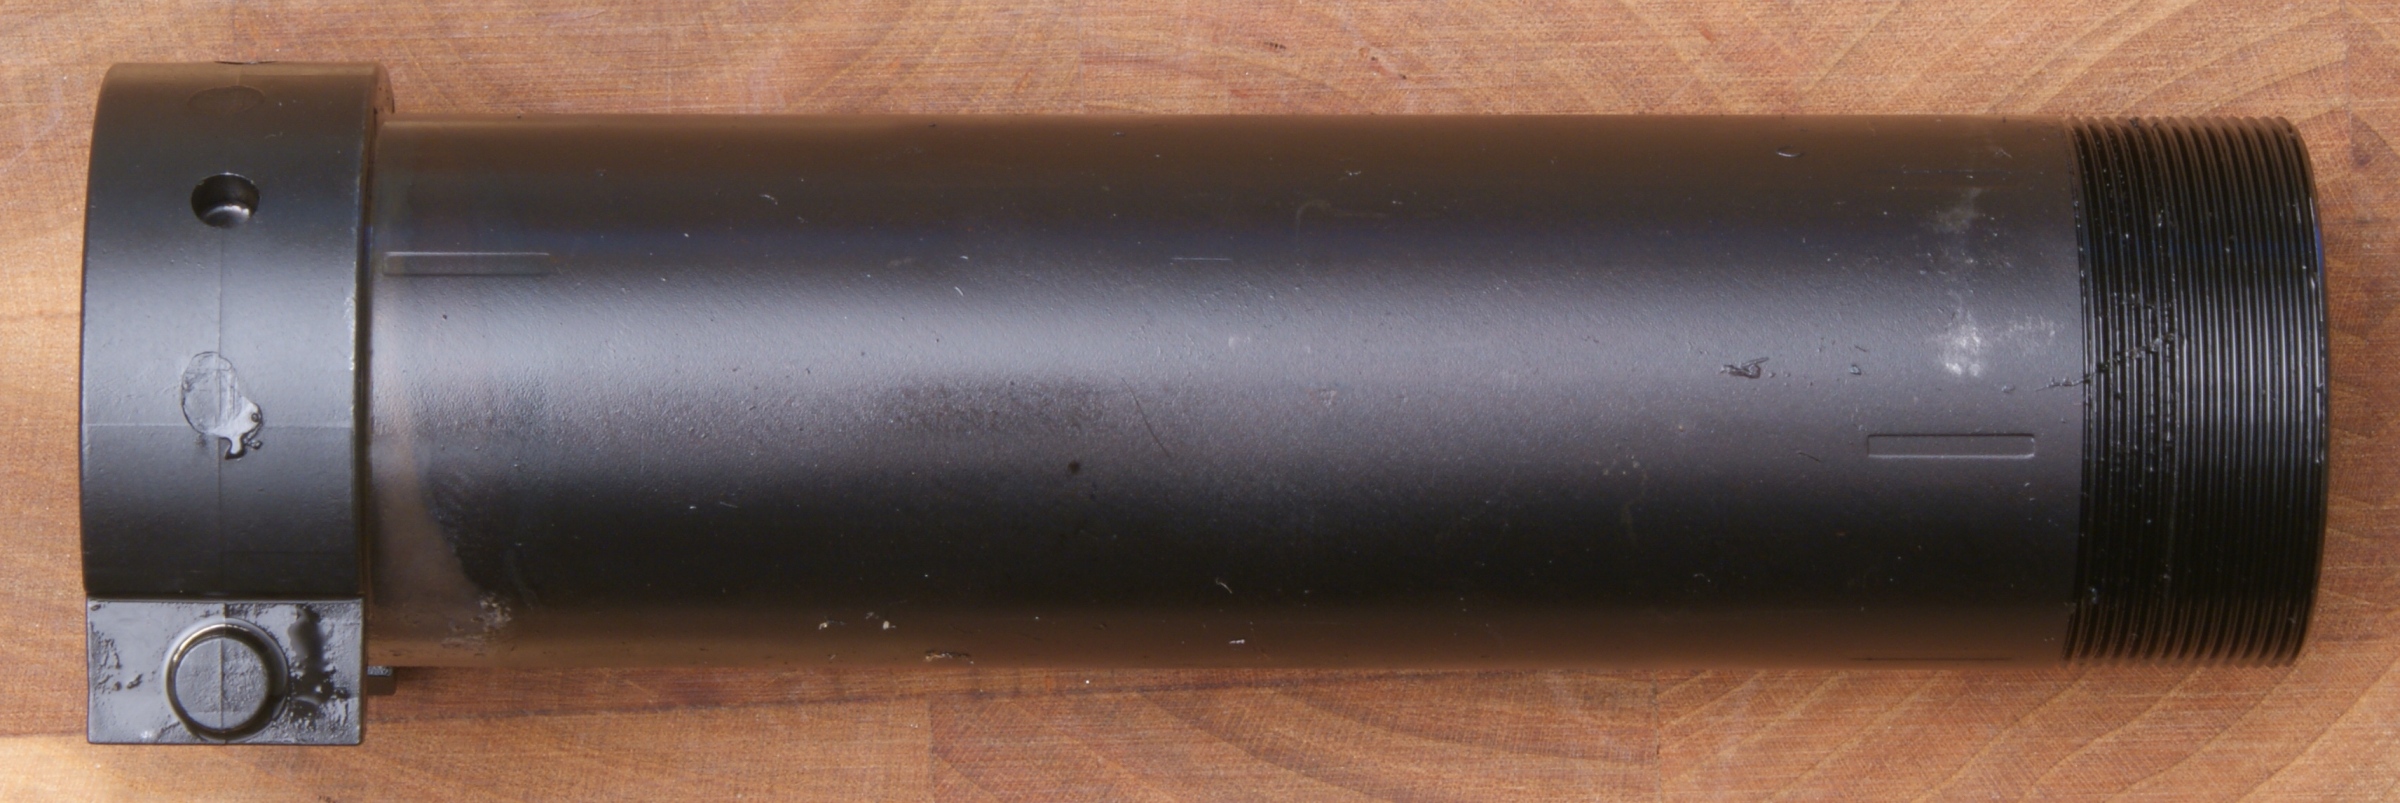
Figure 75
Figure 76
Action Bars
The twin action bars are made from steel and labeled "L" and "R" for the appropriate sides of the shotgun. When installed, the "L" and "R" are in the normal up positions (not upside down).
Figure 77
![]()
Figure 78
![]()
Figure 79
![]()
Figure 80
![]()
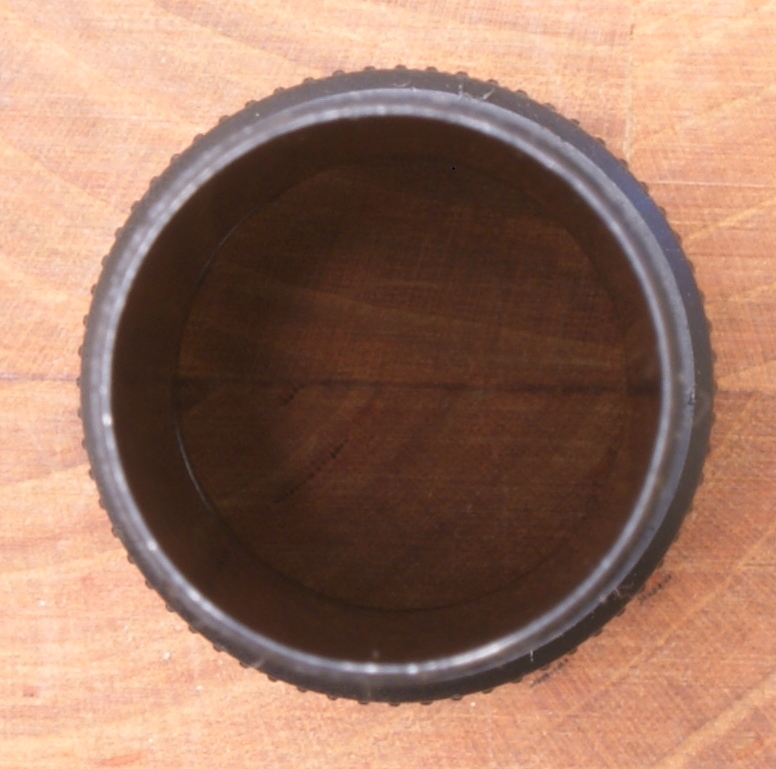
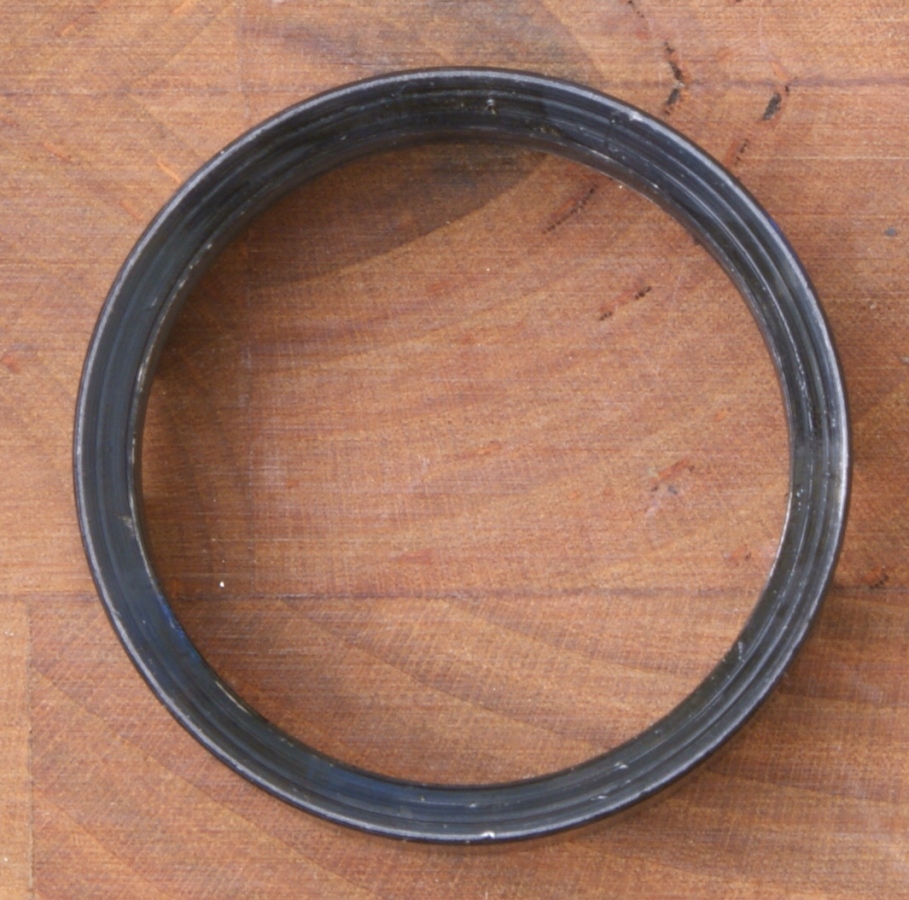
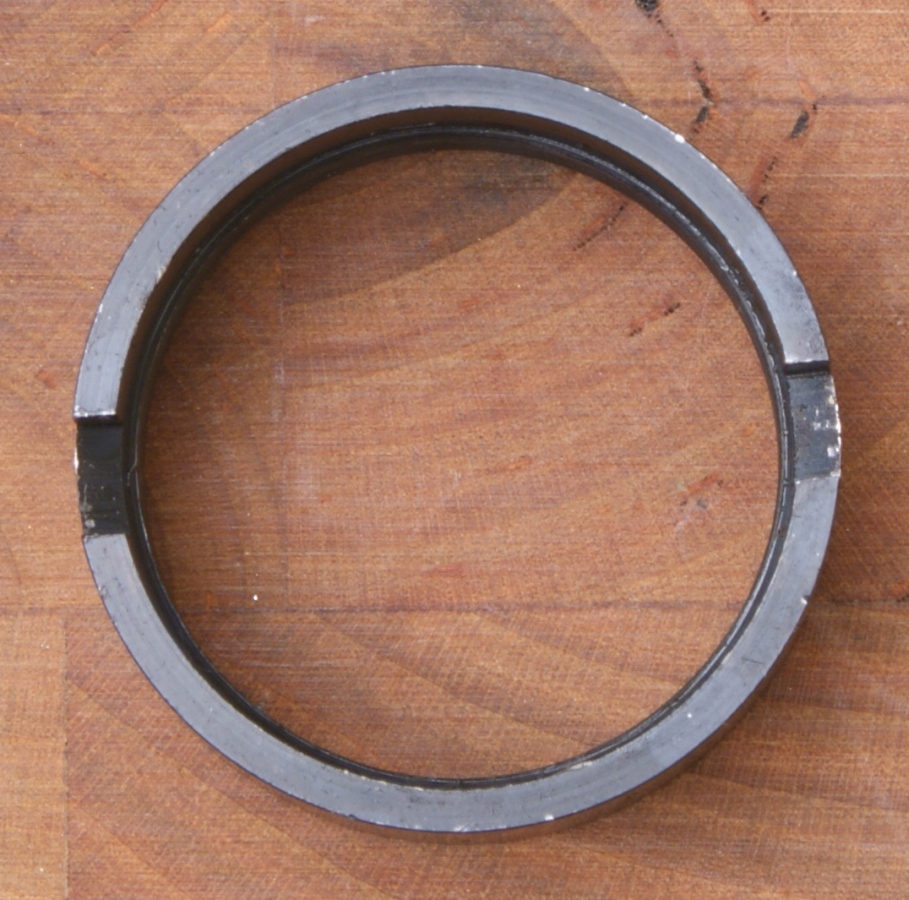
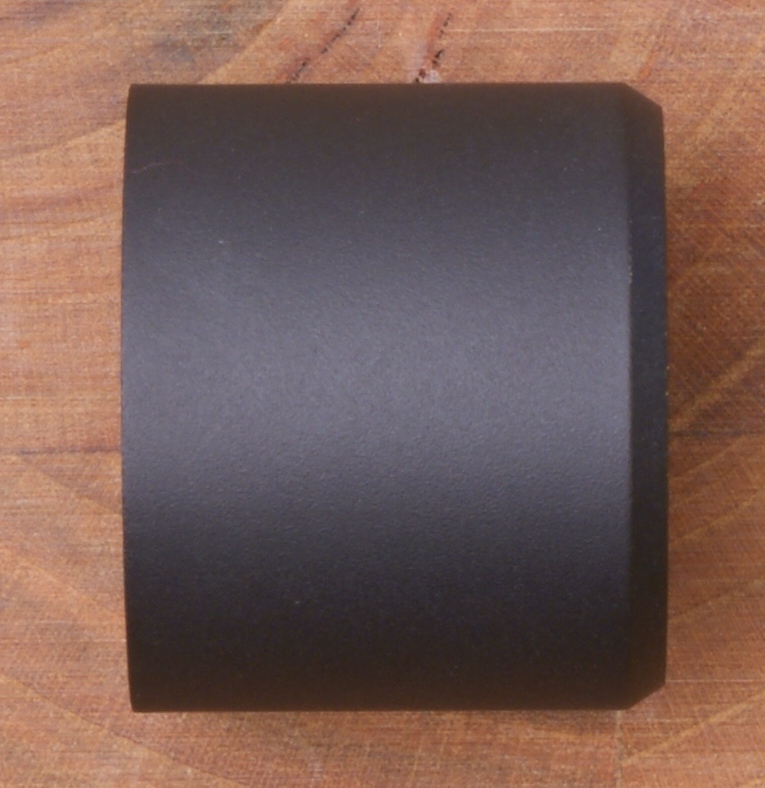
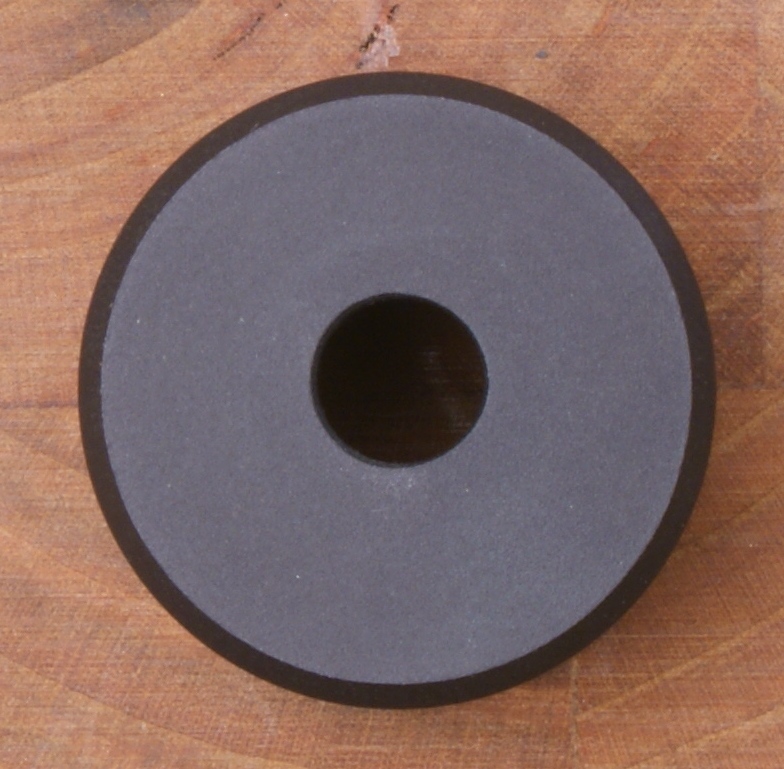
Tube Nut
The Tube Nut is some type of steel alloy. My favorite way (short of having the correct tool) to remove the nut is to open a pair of needle nose pliers and put the nose tips in the slots and then turn the pliers.
Figure 81
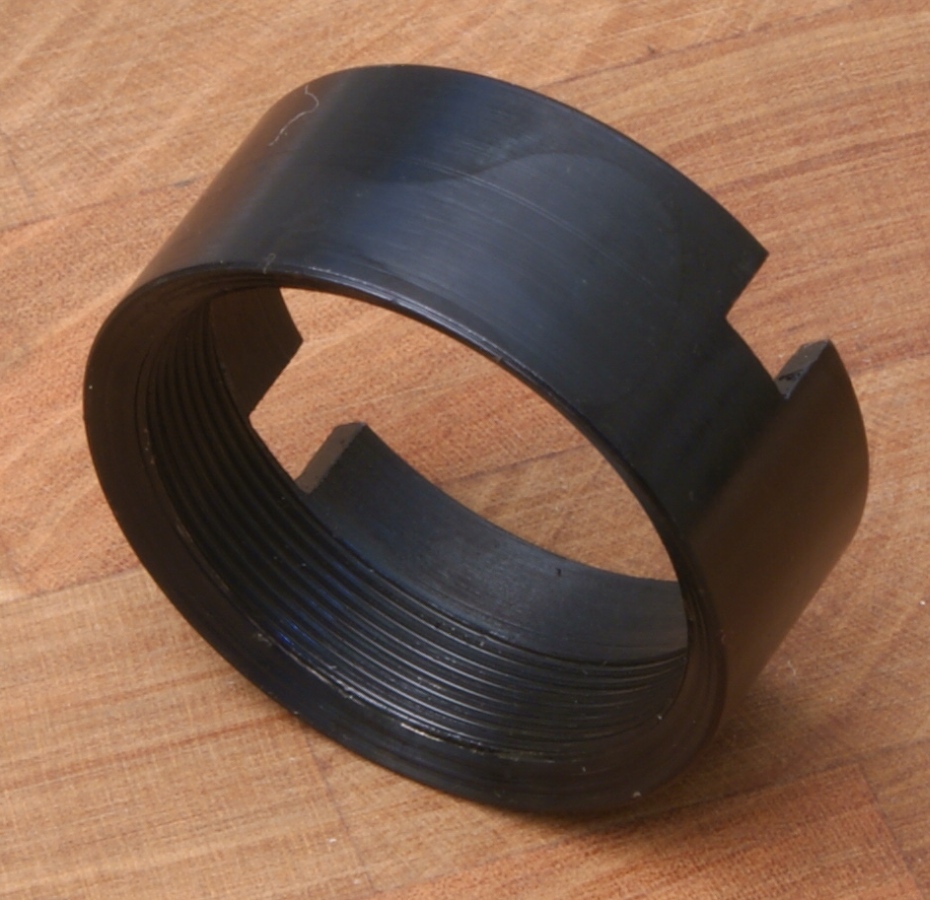
Figure 82
Figure 83
Figure 84
Bolt Assembly
The bolt assembly is an all steel part. As you press the bolt head, you can see how it rotates into the bolt carrier. It appears to be some type of casting that is final machined.
Figure 85
Figure 86
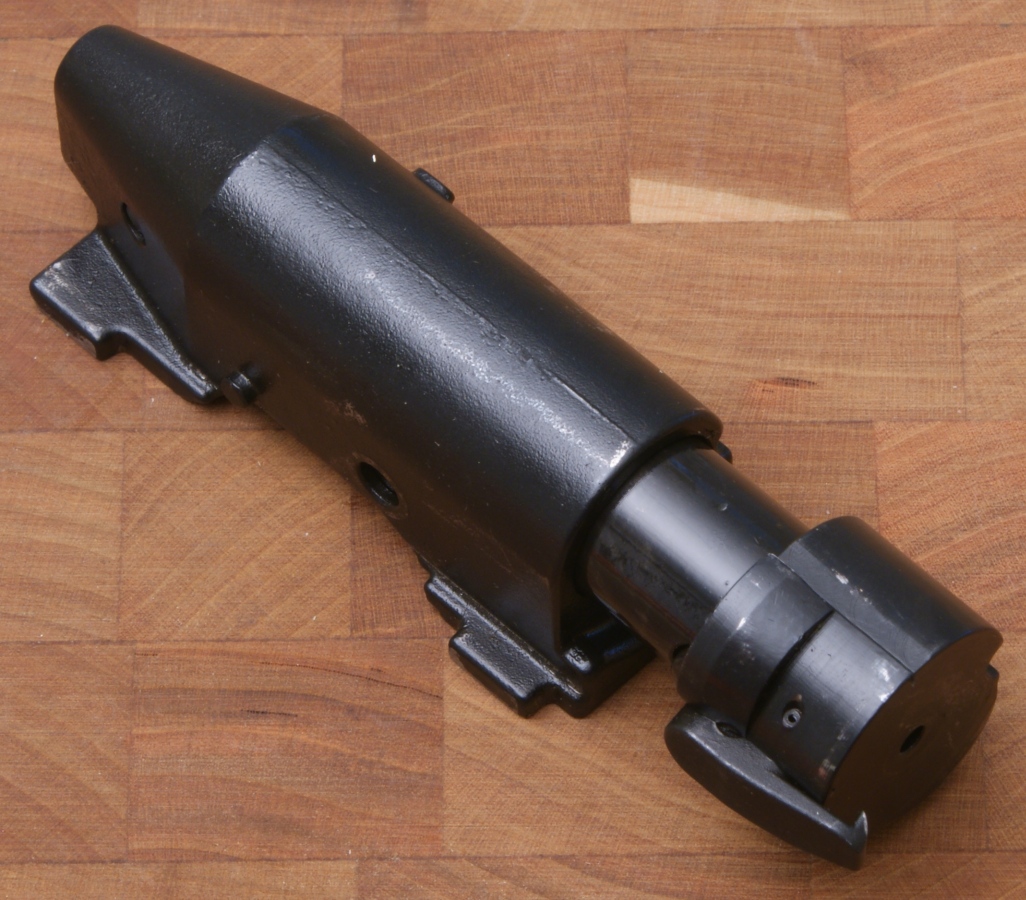
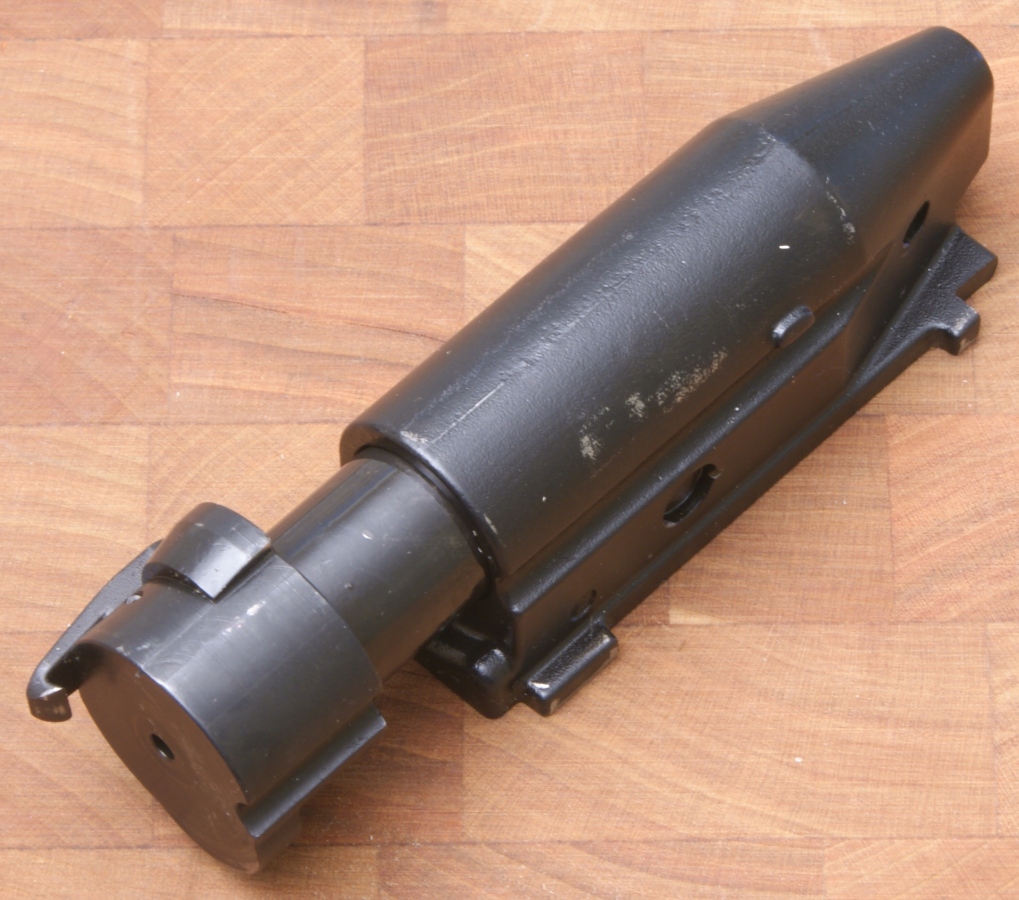
Figure 87
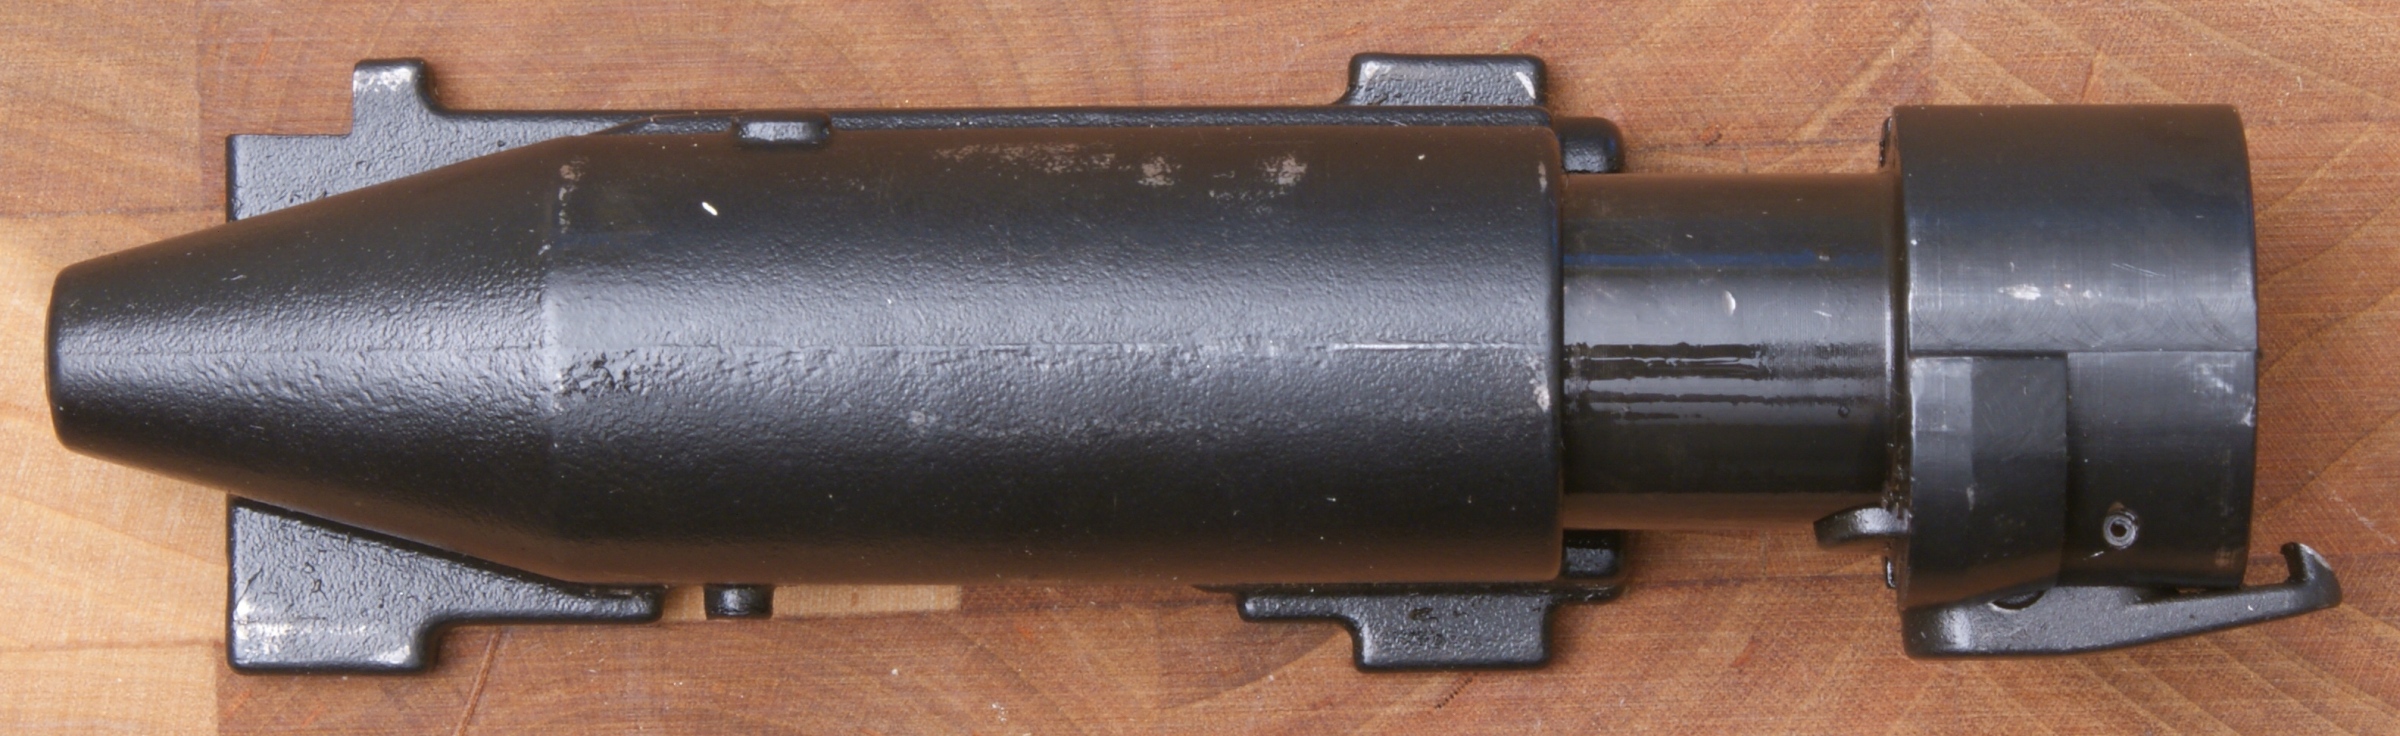
Figure 88
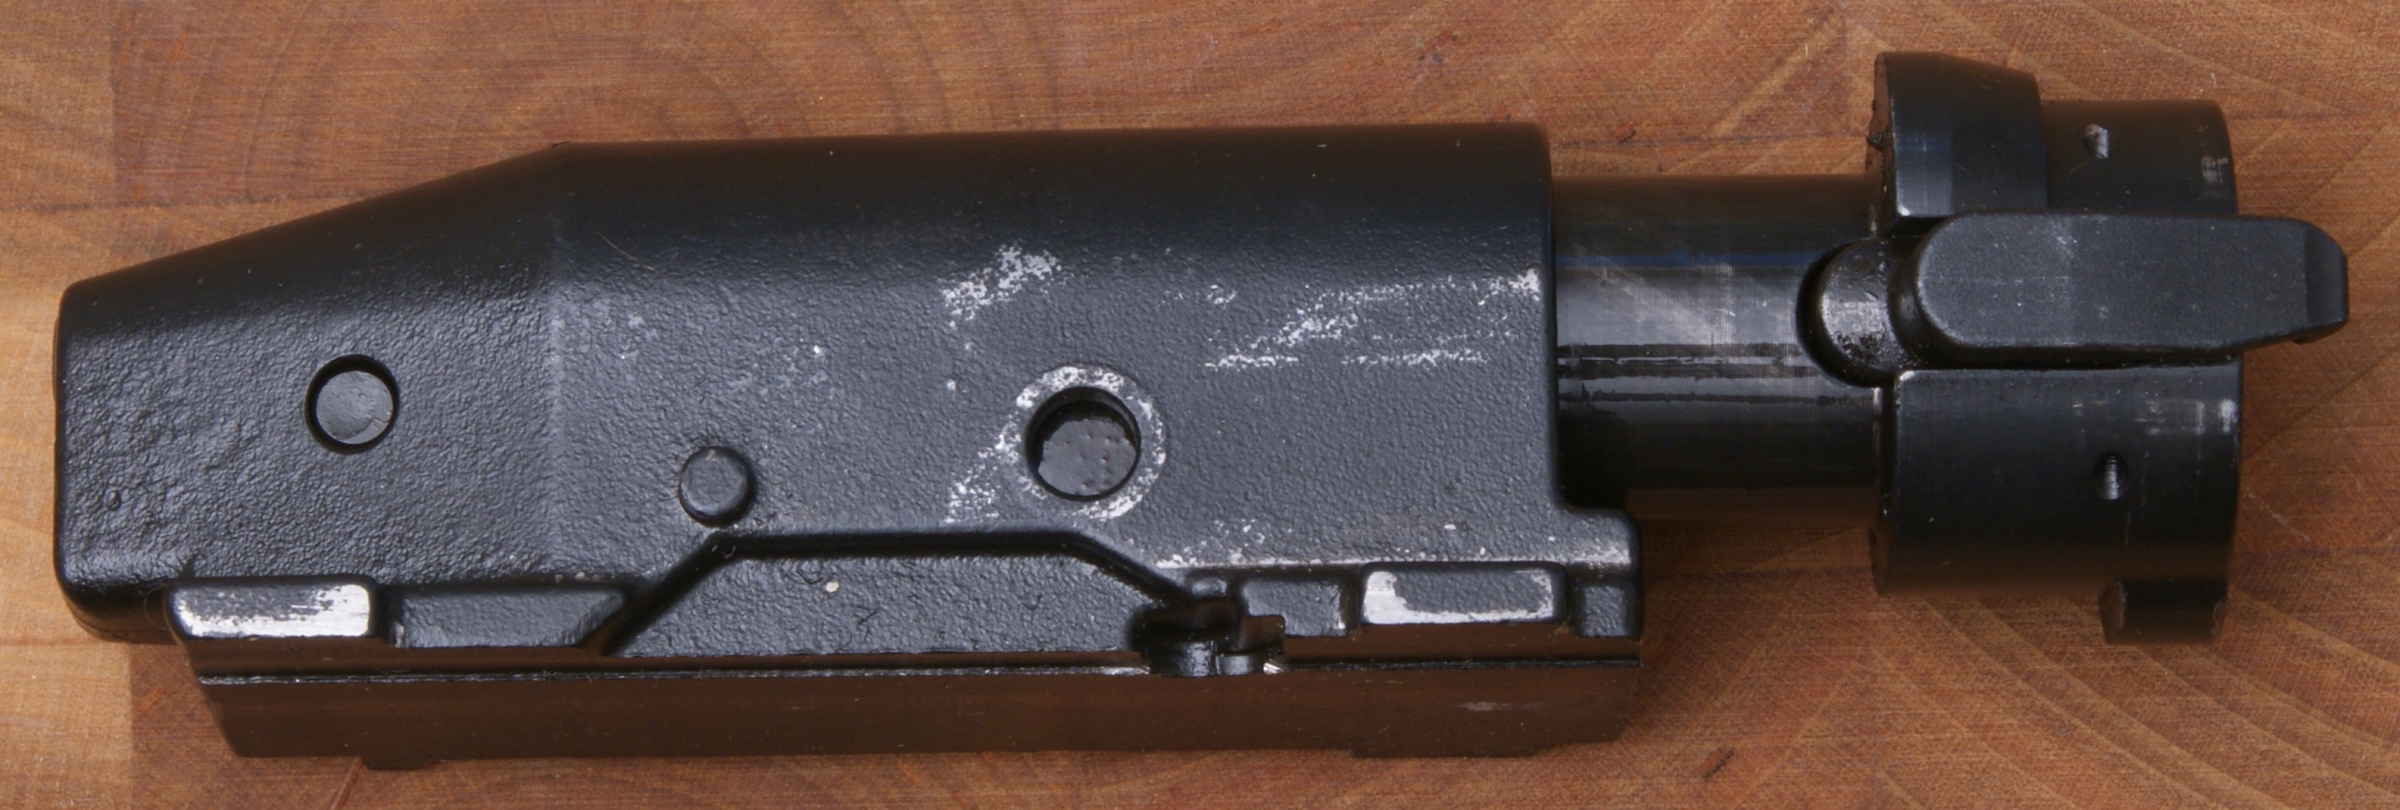
Figure 89
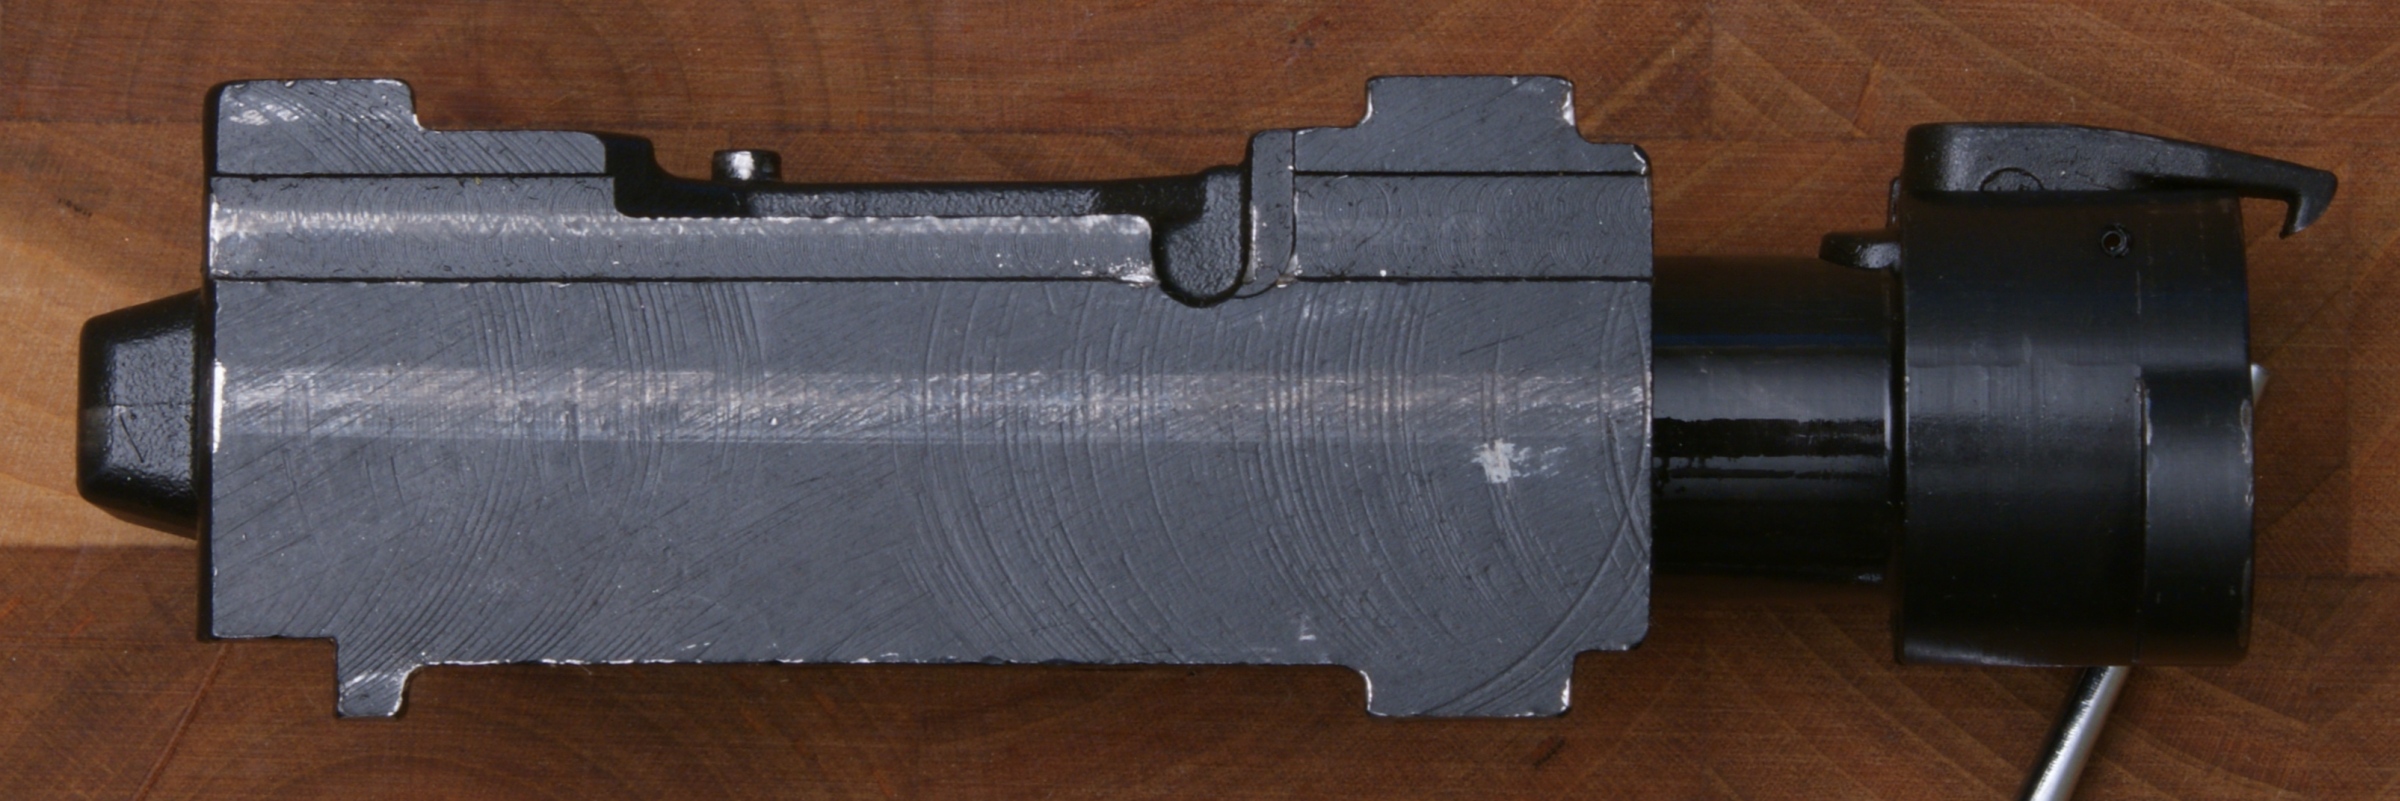
Figure 90
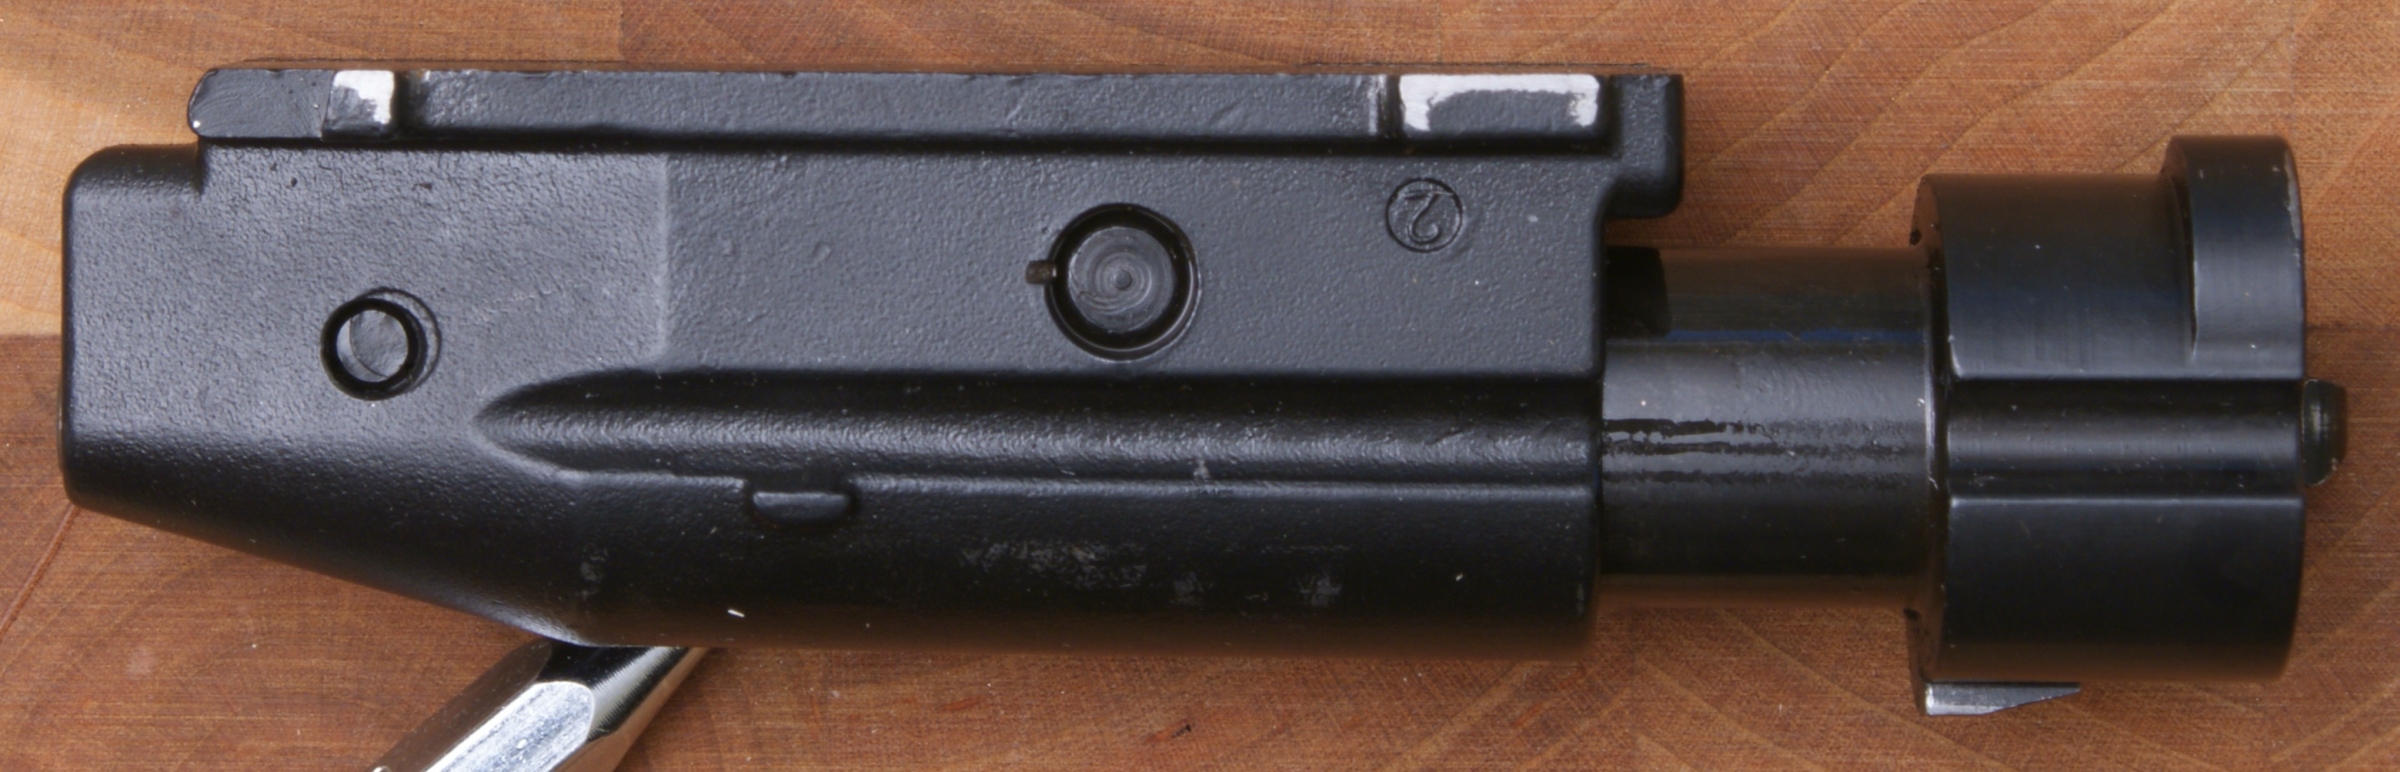
Figure 91
Figure 92
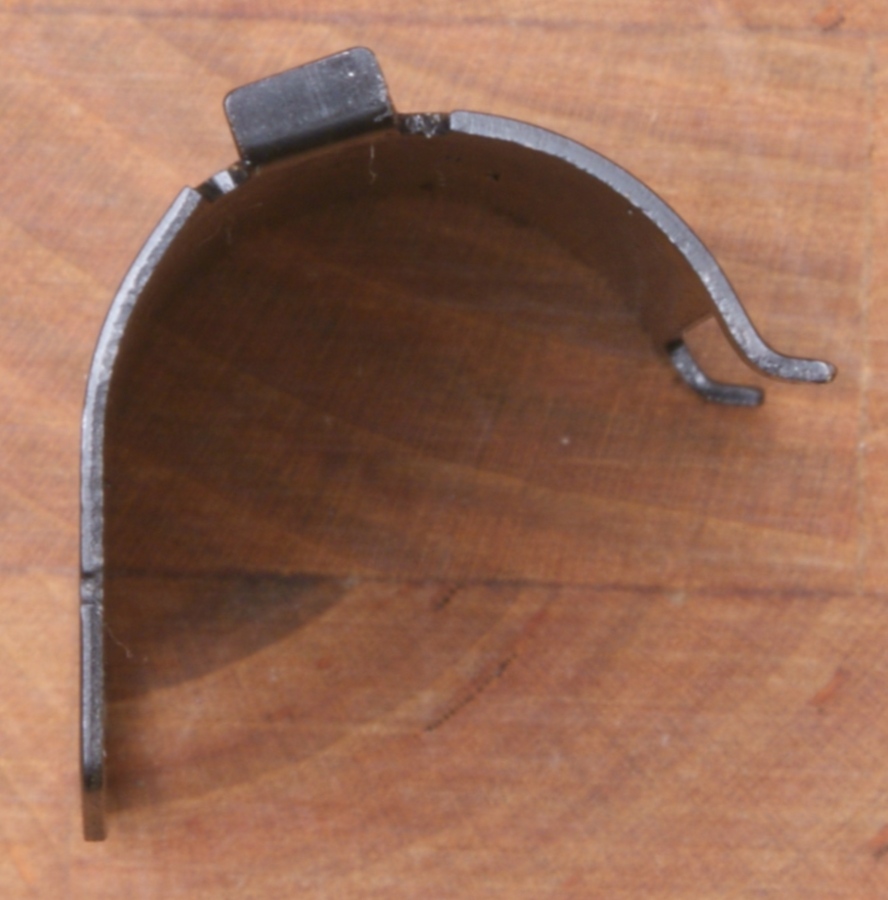
Ejection Port Cover
The Ejection Port cover is a steel part.
Figure 93
Figure 94
Magazine Follower
The Follower is made from some type of aluminum alloy and is coated to a copper-ish color.
Figure 95
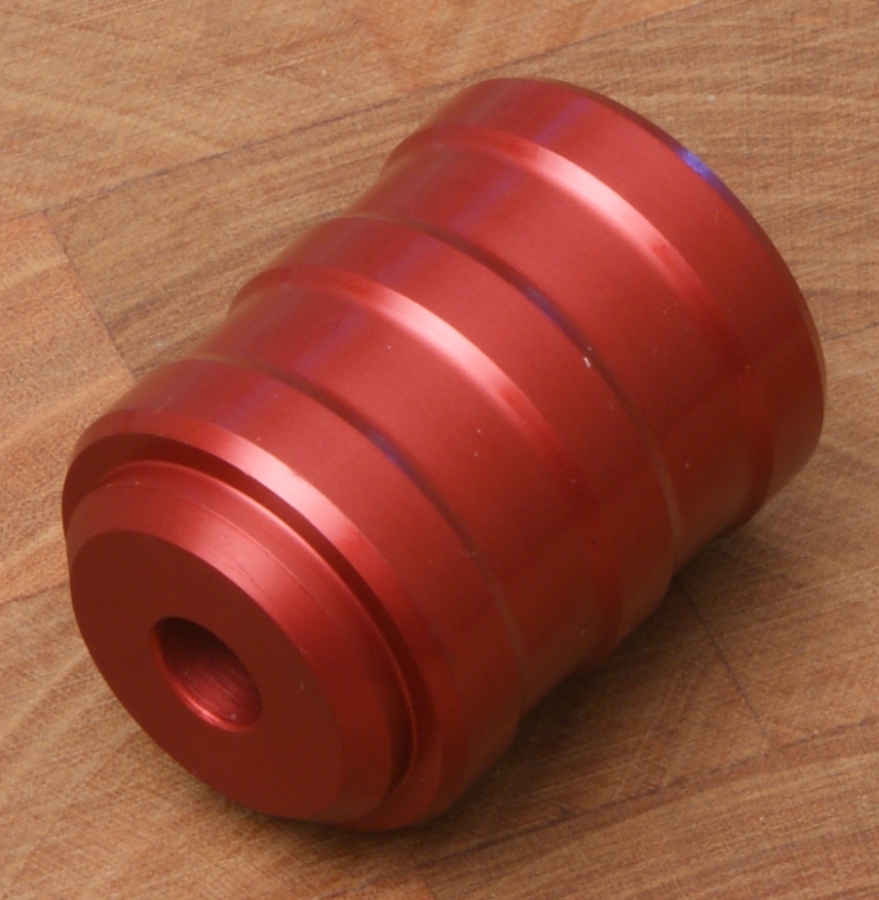
Figure 96
Figure 97
Figure 98
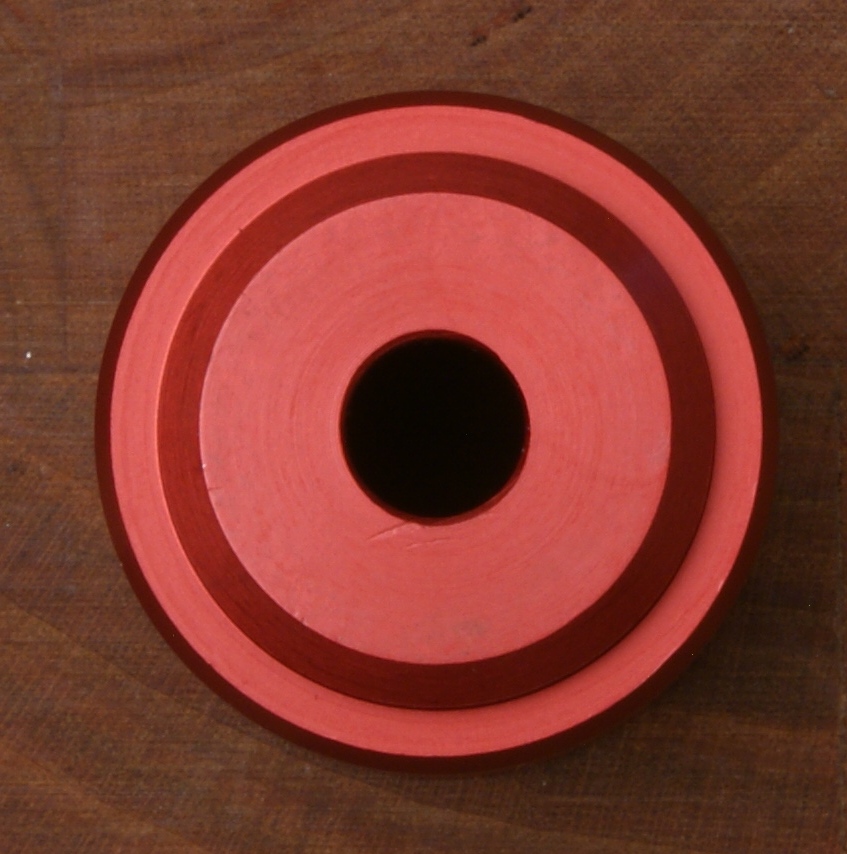
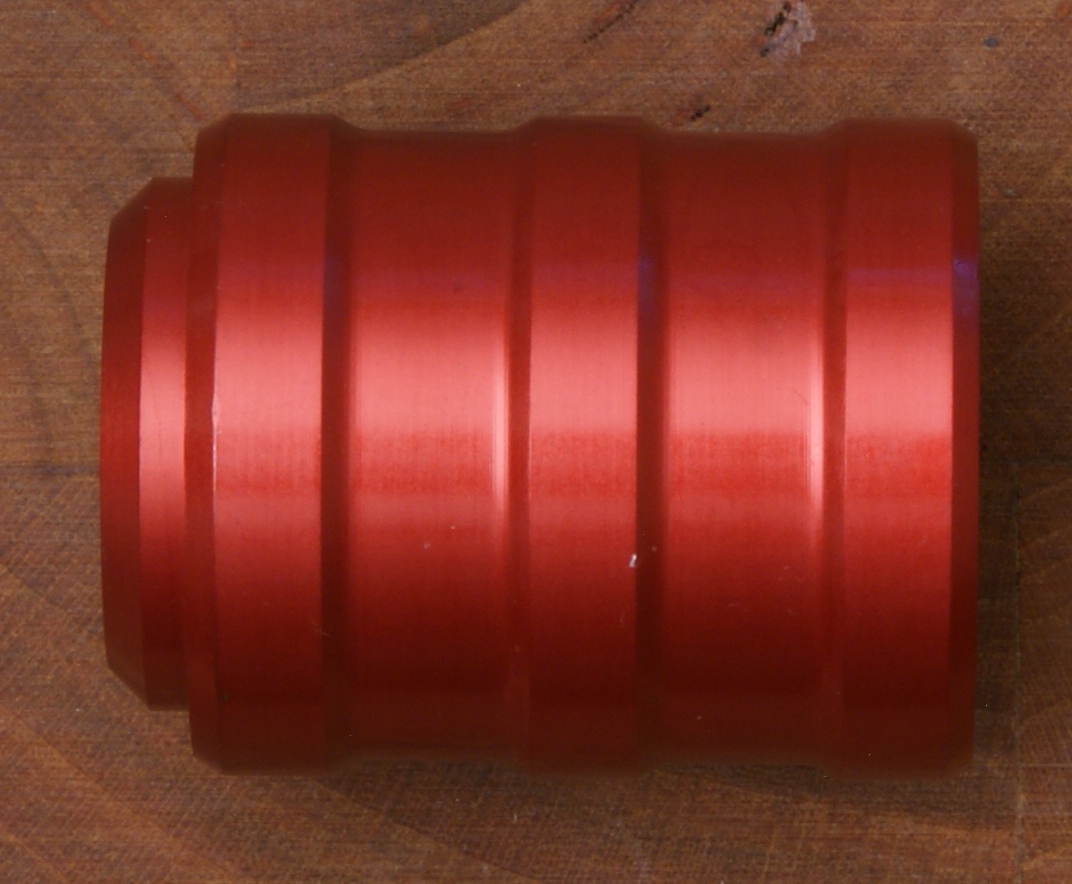
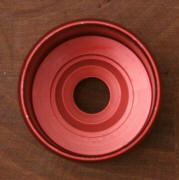
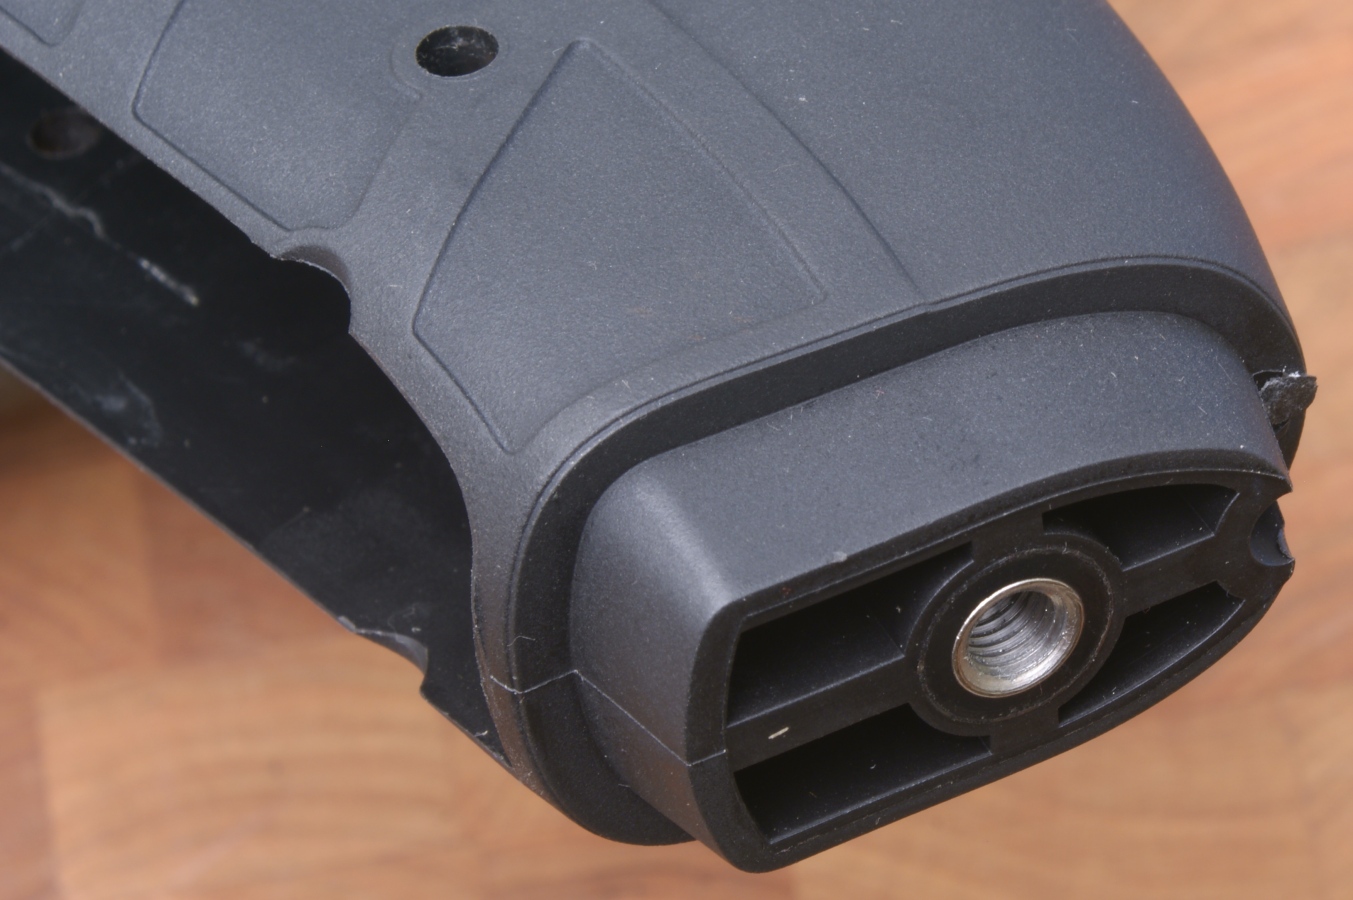
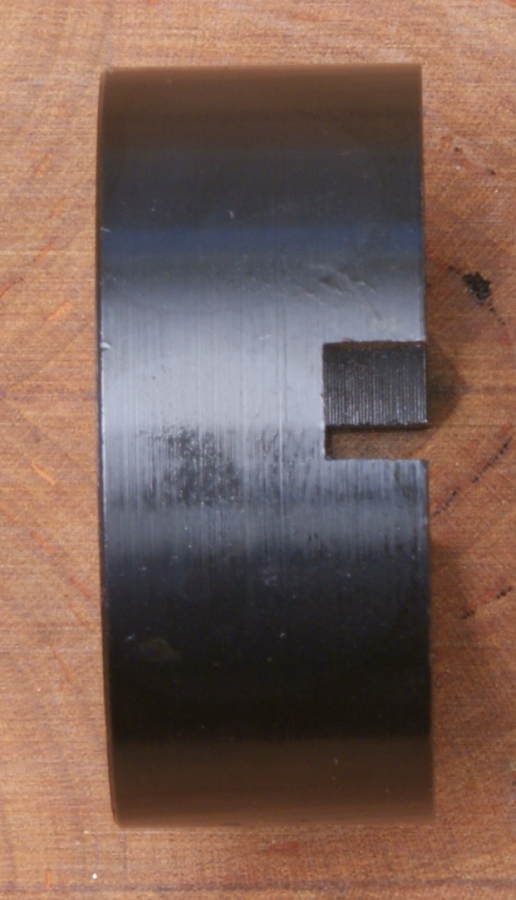
Magazine Extension Tube
The Magazine Extension Tube is actually made of three parts. In the photos below, I didn't disassemble the tube portion from the magazine tube nut shown on the left side. The tube is threaded and will unscrew from the tube nut. All components are made from some type of aluminum alloy and are hard coat anodized.
Figure 99
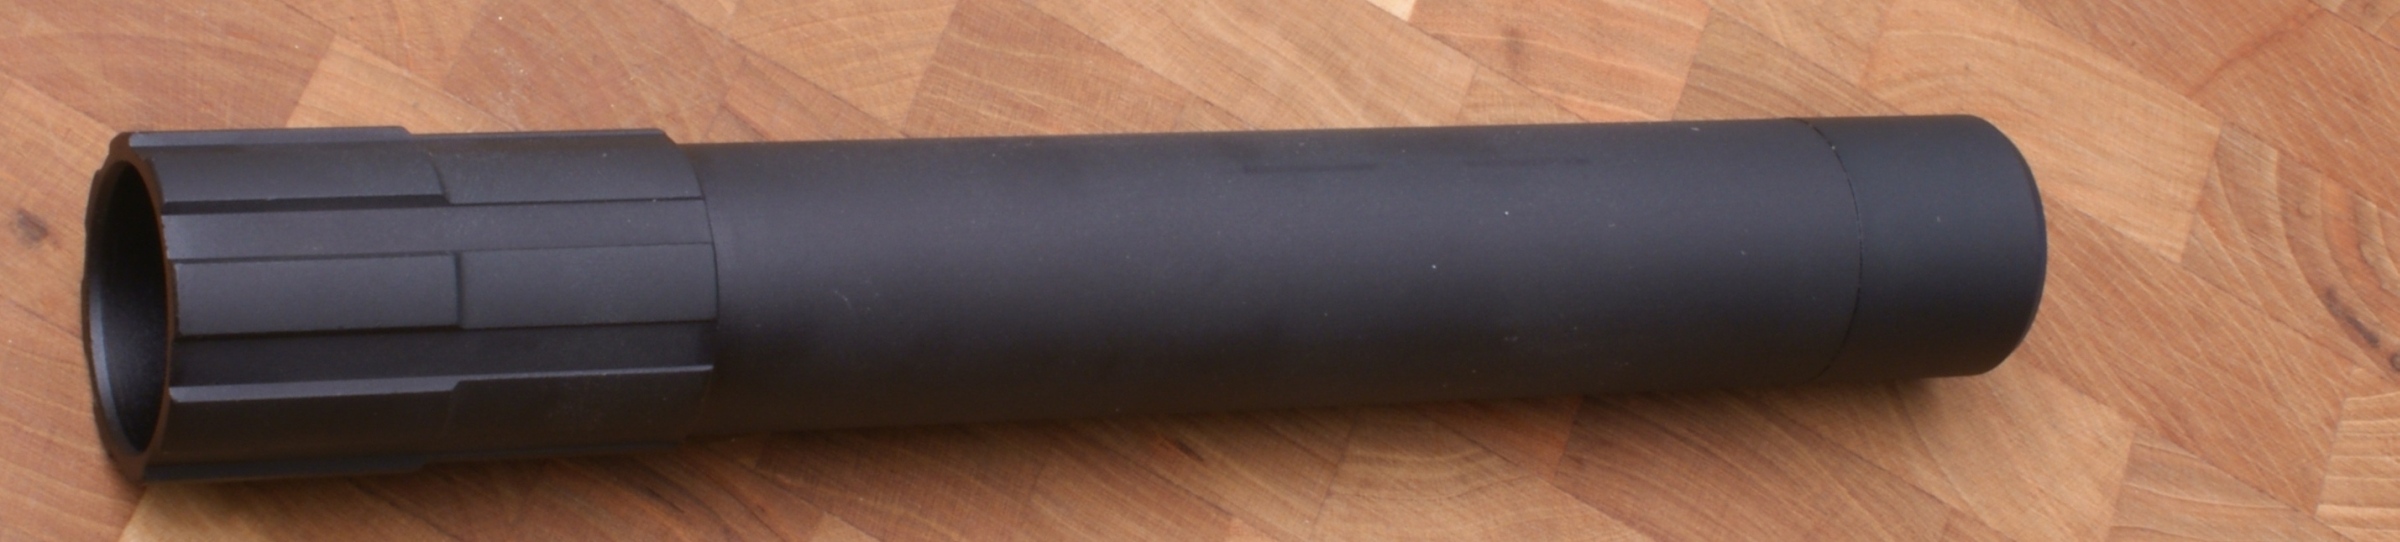
Figure 100
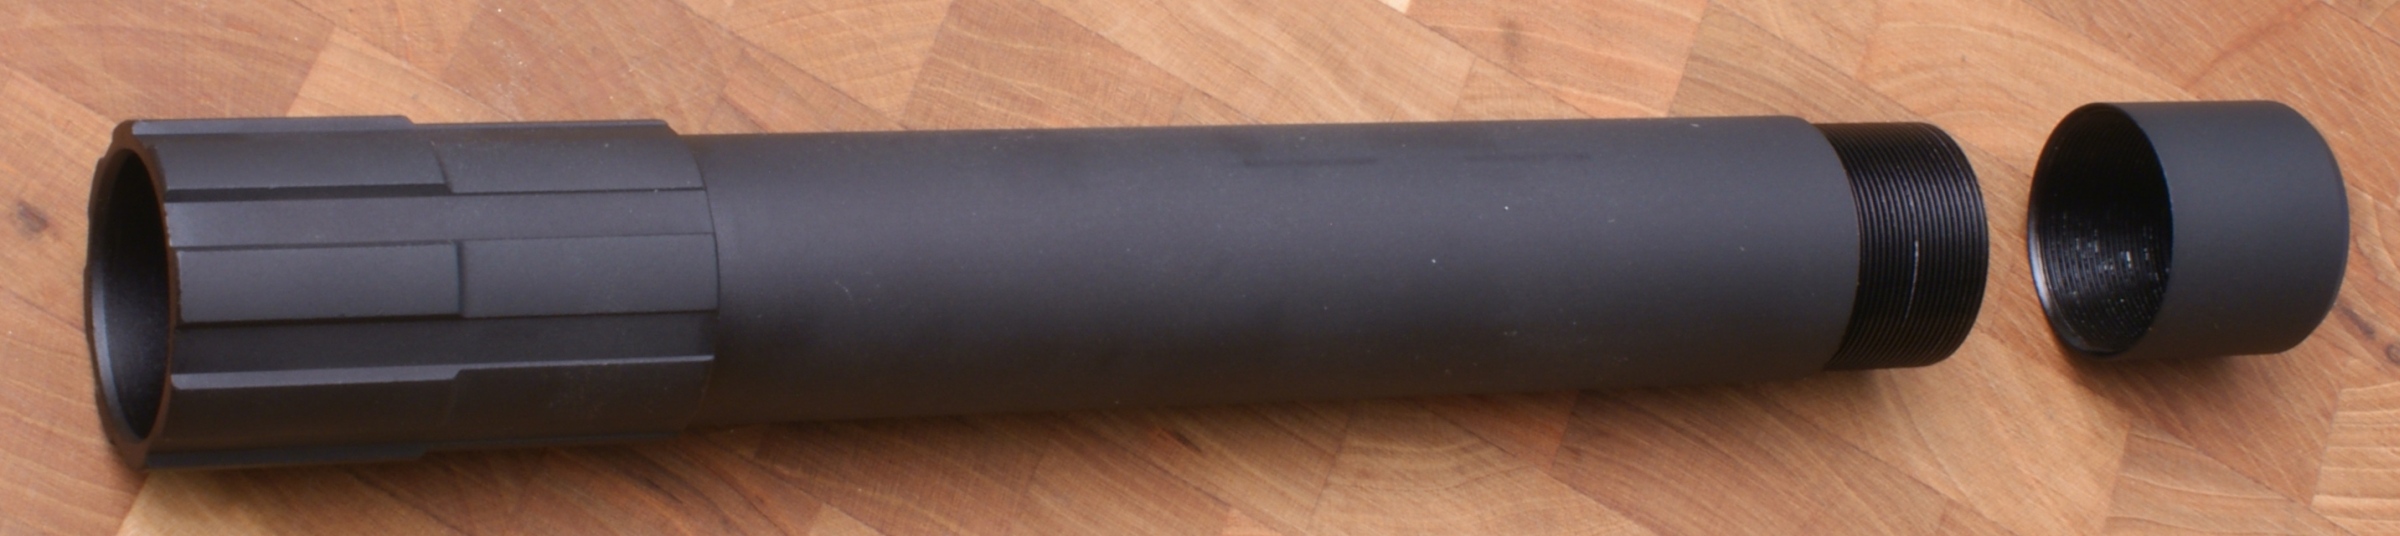
Figure 101
Figure 102
Figure 103


Figure 104
Figure 105
Figure 106

For more detailed photos and commentary, make sure you check out the other parts of this review. The following links are provided to help you navigate to these other parts of this review.
- Part 1 - Introduction, Specifications and Summary
- Part 2 - What's In The Box
- Part 3 - External Features
- Part 4 - Disassembly and Internal Features (this page)
- Part 5 - Range Testing
Or
If you would like to be notified about future Gunsumer Reports reviews via Facebook, make sure "You Like This" by clicking the Facebook "Like" button at the bottom or top of this page. If it already says "You Like This" beside the button, clicking it again will uncheck the "Like" status and you will not be notified.
| Share on Facebook | |
© 2010, 2011, 2012, 2013, 2014, 2015, 2016, 2017, 2018, 2019, 2020, 2021, 2022, 2023 & 2024 Gunsumer Reports™, All rights reserved.
FTC Disclosure