|
|
Gunsumer Reports TM Providing Detailed Objective Reviews for Firearms and Firearm Accessories |
Ruger SR-556C Review
Part 4 - Disassembly and Internal Features
January 4, 2010
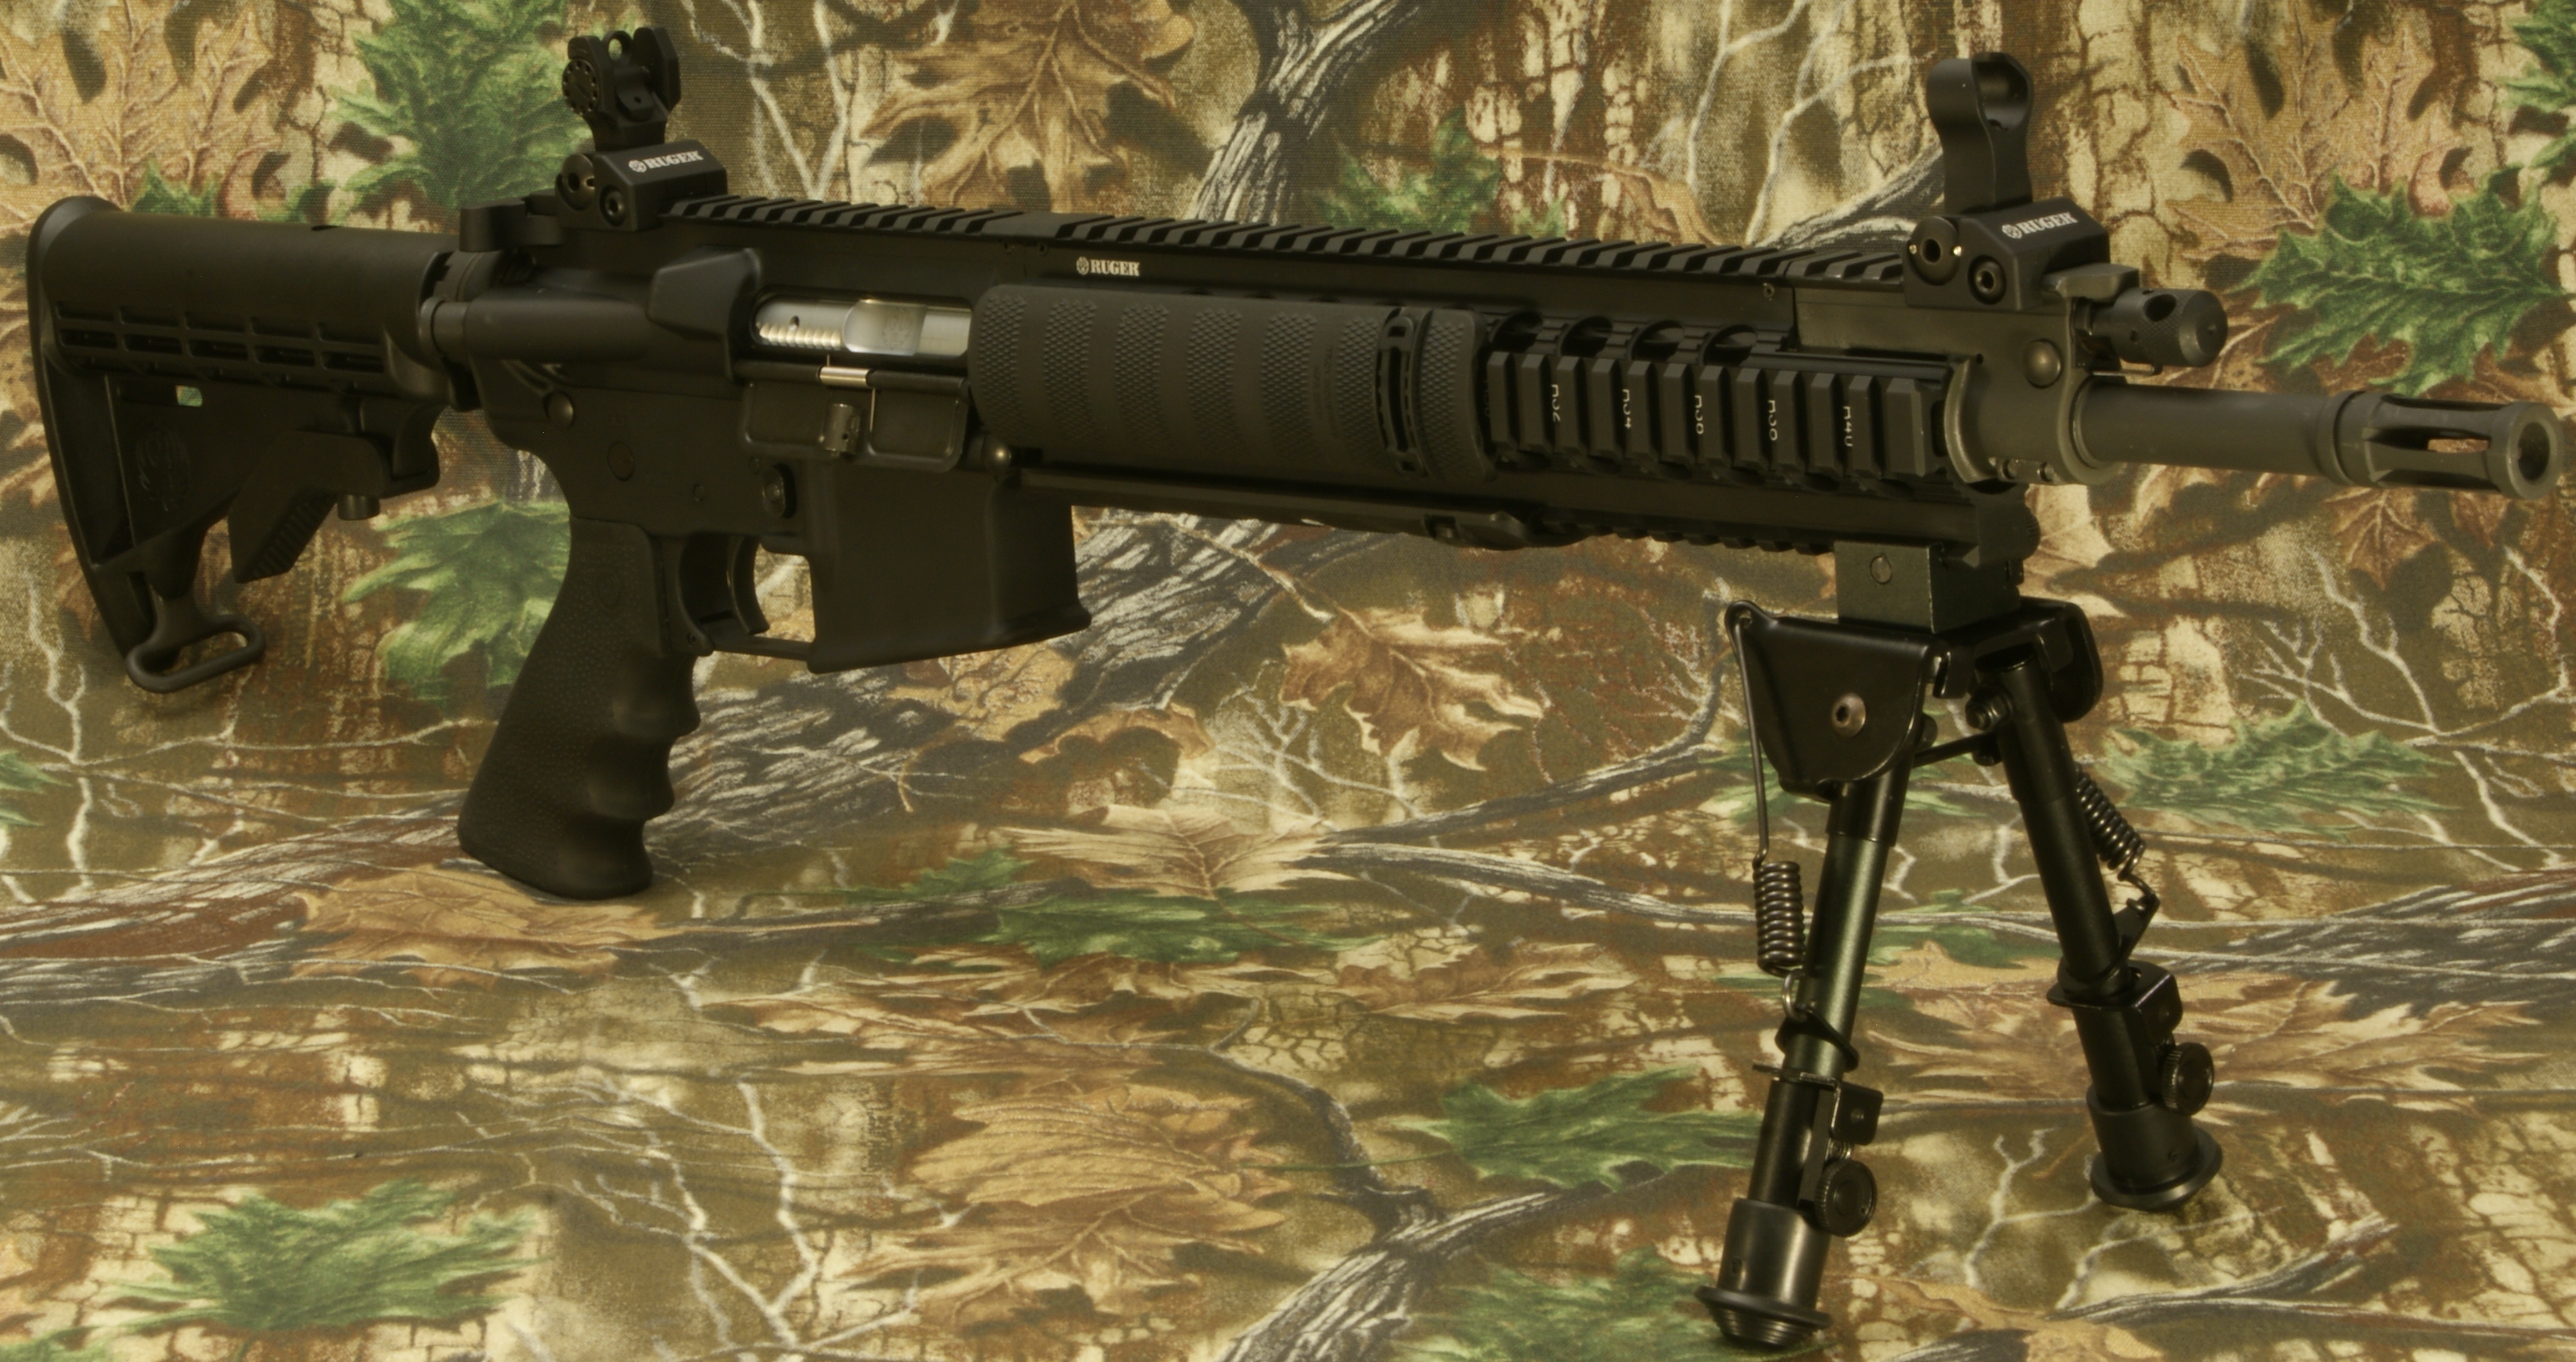
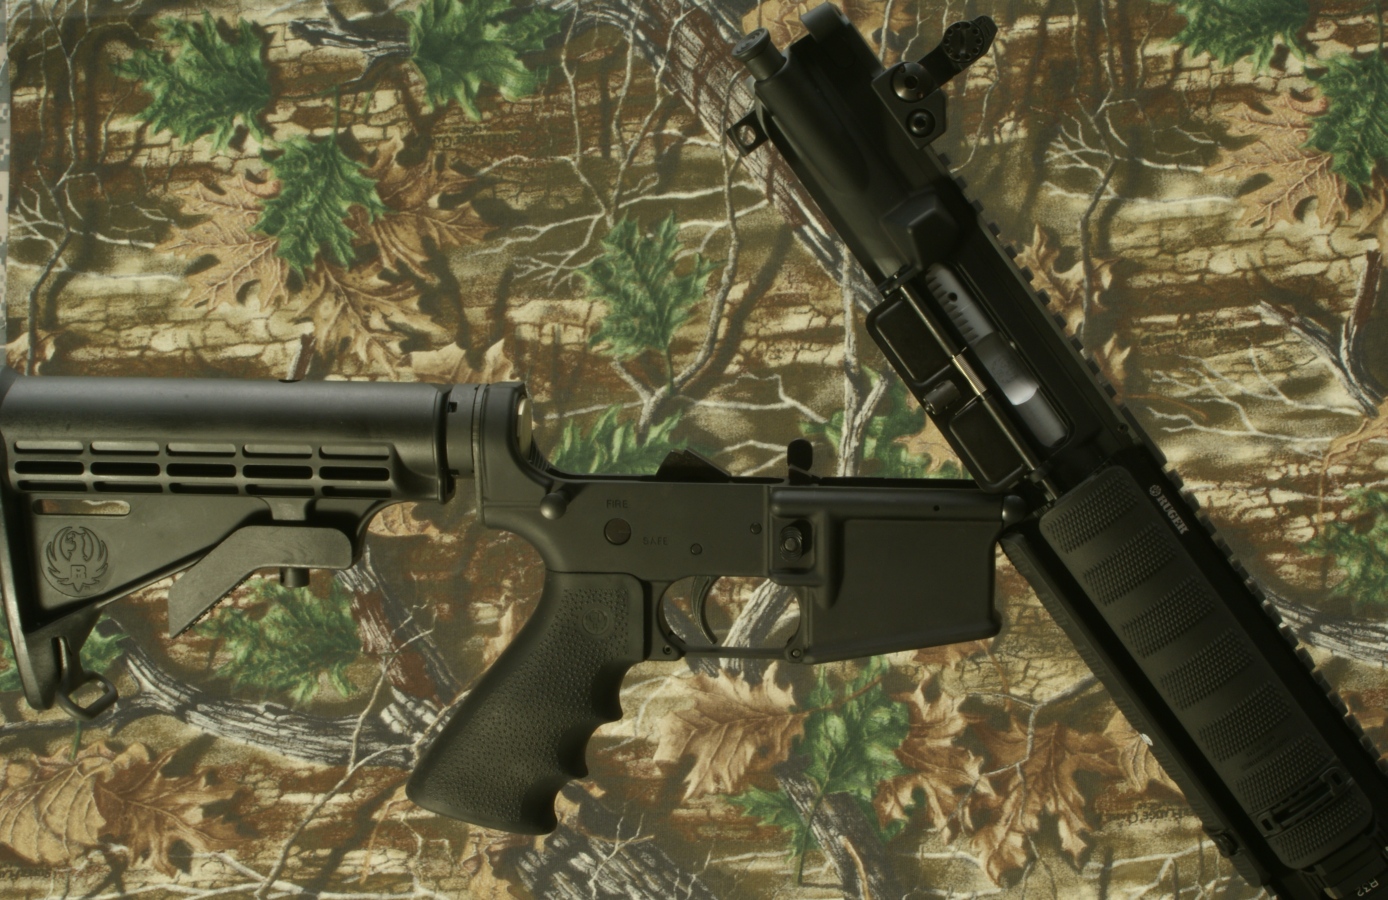
The photo above shows the configuration of the Ruger SR-556C Rifle for this part of the review. Note that the UTG OP-1 Bipod does not come with the Ruger SR-556C rifle. In this part of the review, I'm going to cover disassembly of the rifle along with showing some of the internal features. This is a new rifle and the only shots fired (6) were those at the Ruger factory during their test firing.
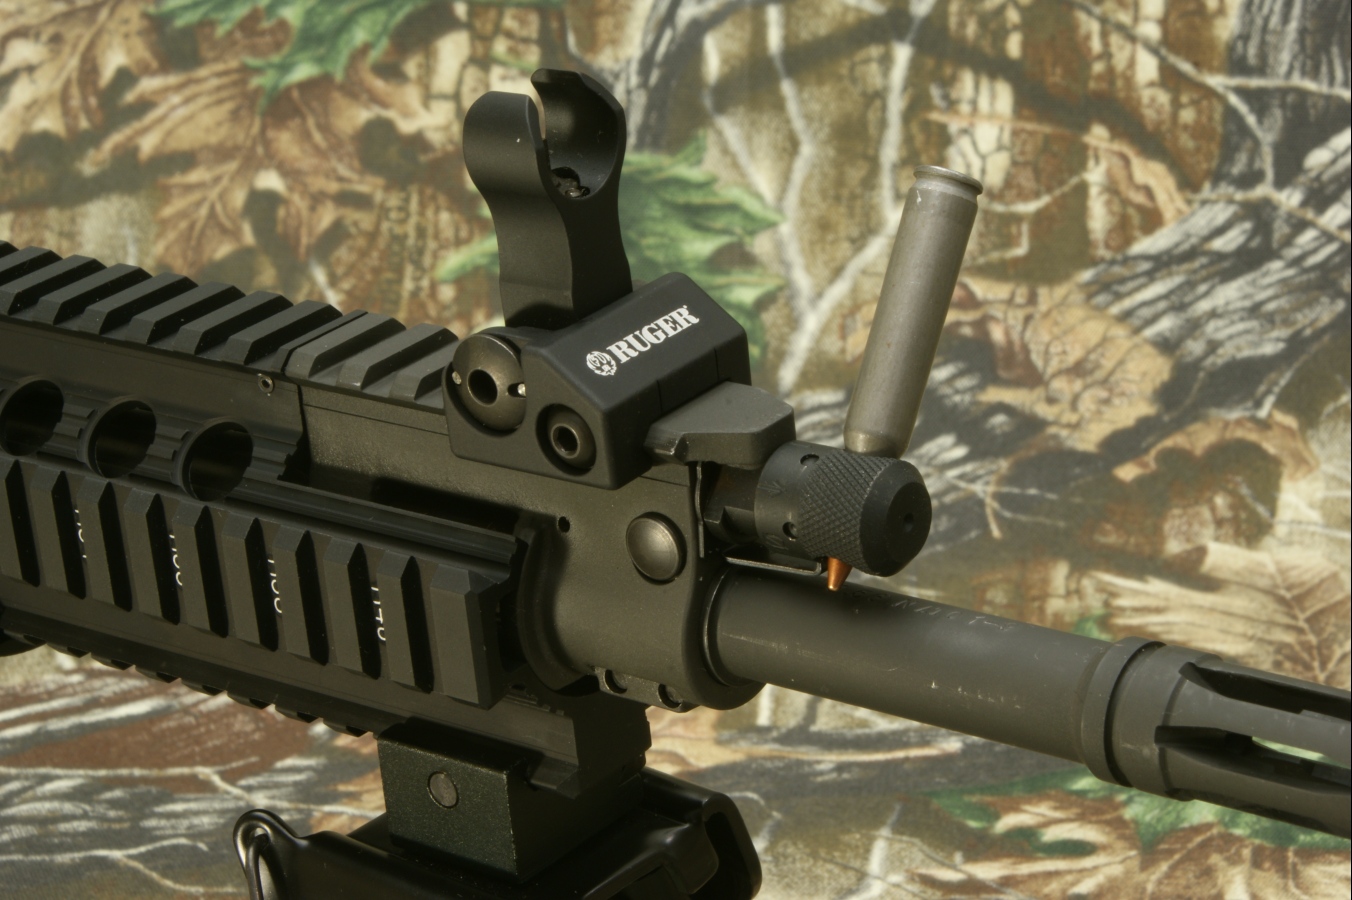
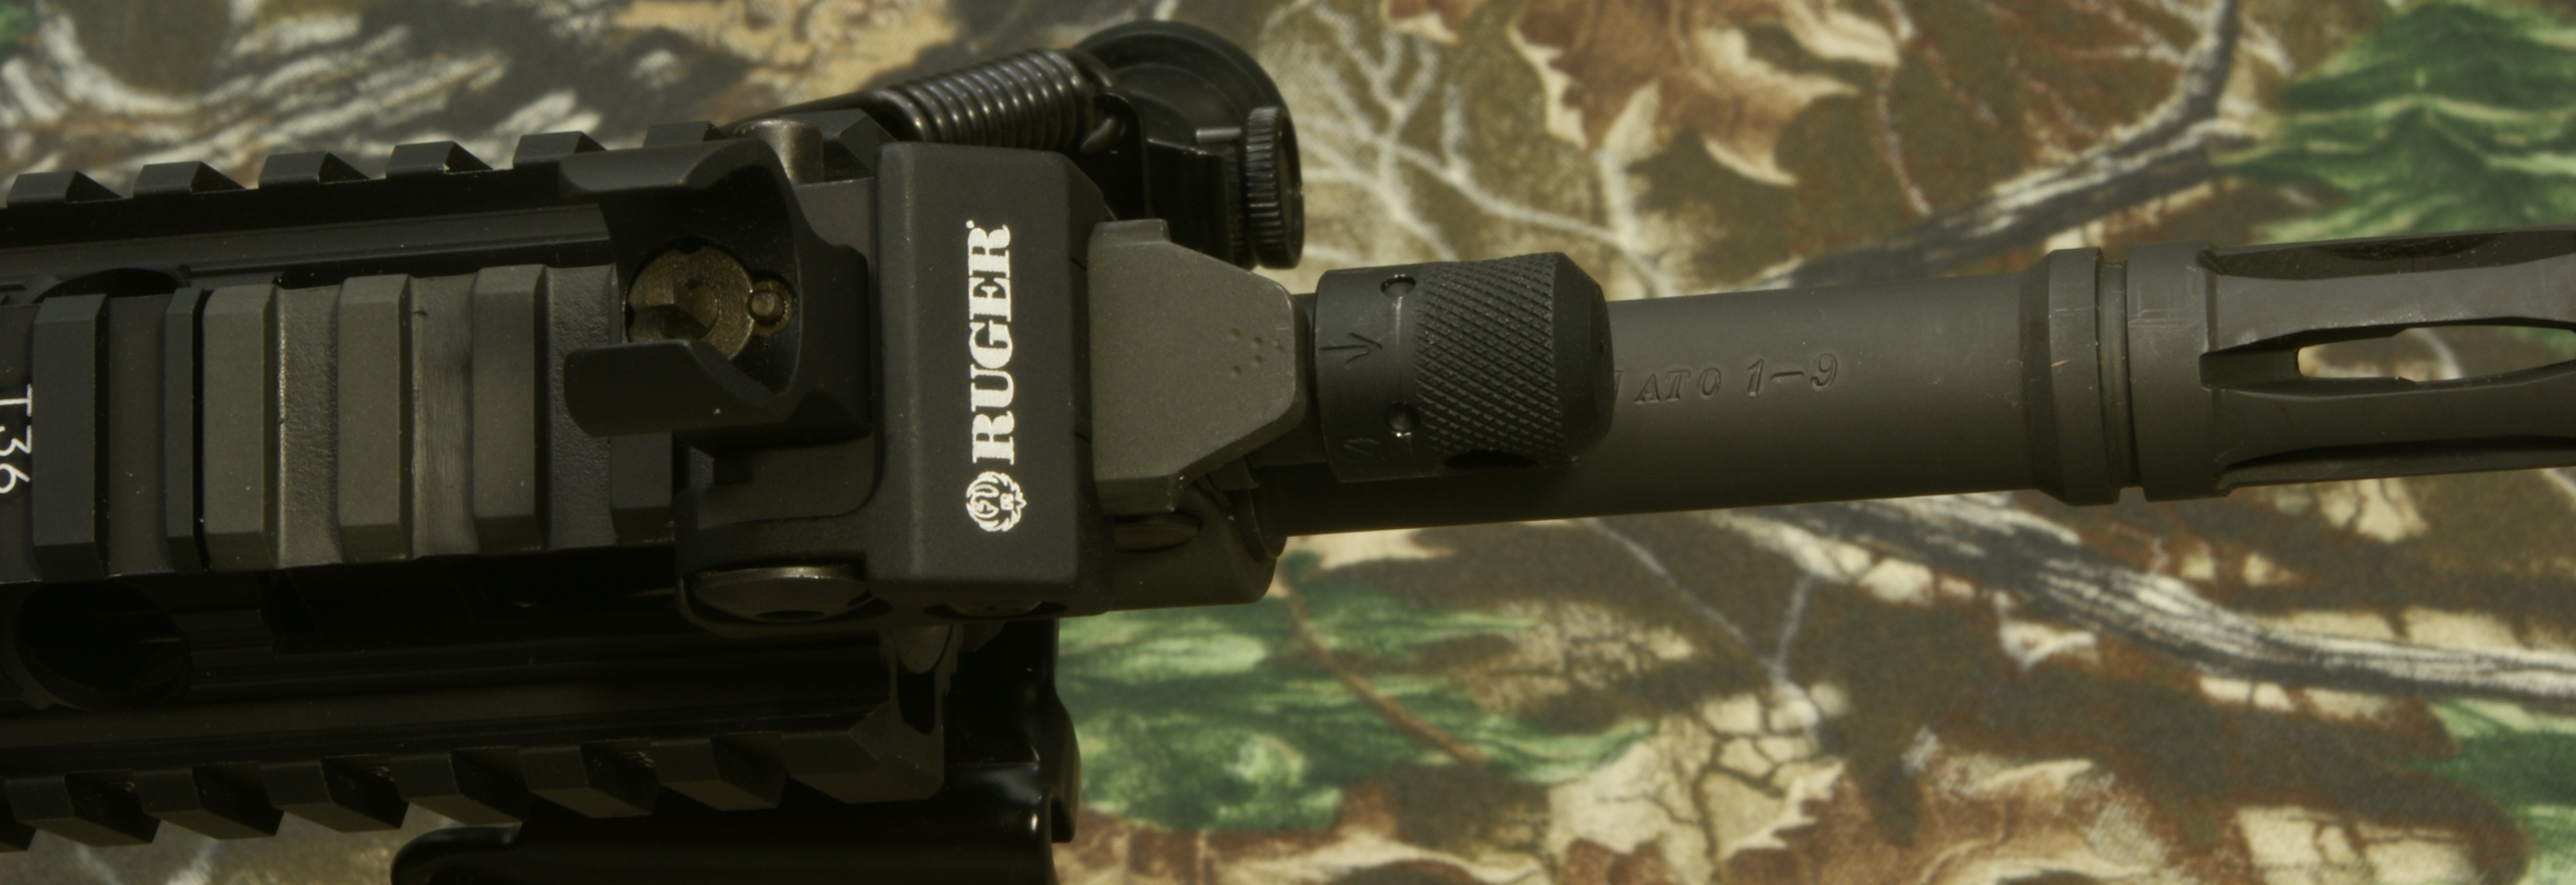
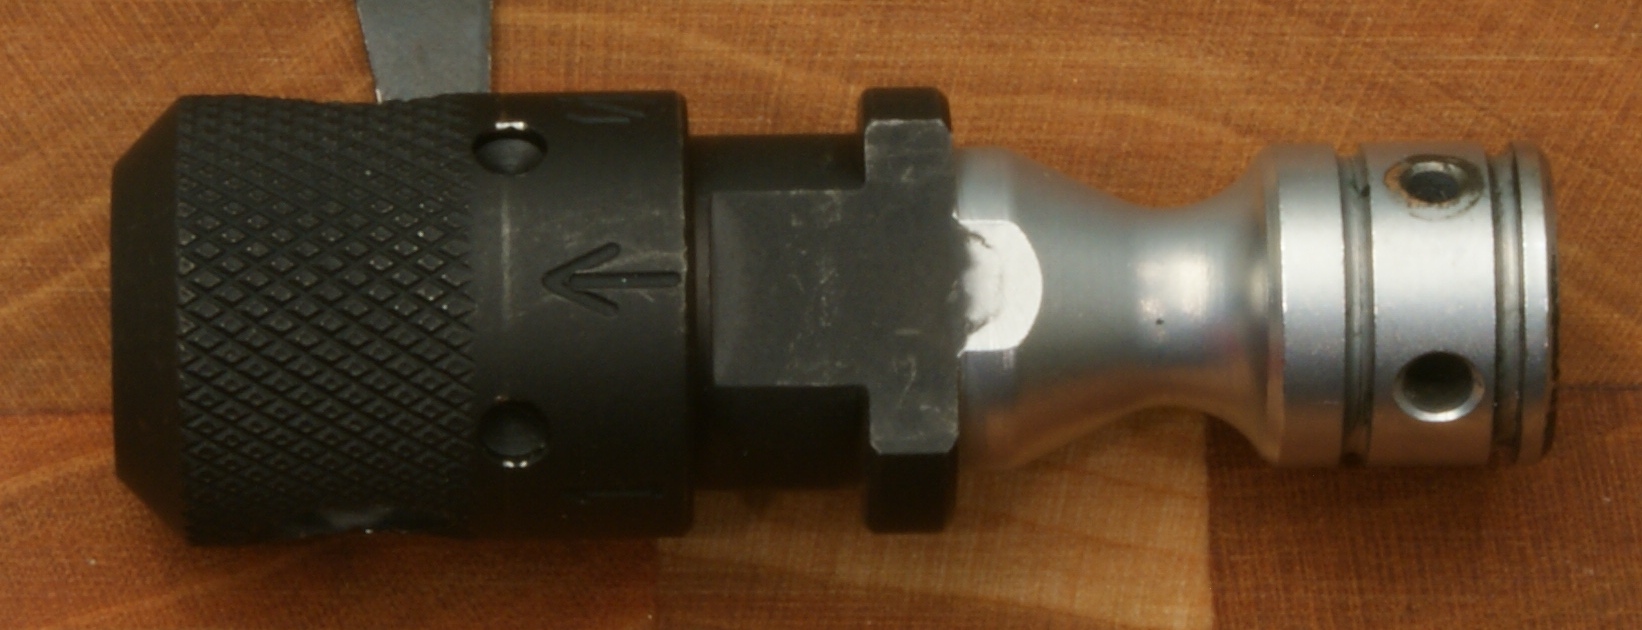
The first place to start, which is probably of greatest interest, is removal of the gas piston. The first task to do is make sure the gun is unloaded. After that, the regulator must be rotated so that the arrow on the regulator lines up with the arrow on the gas block. It is difficult to rotate the regulator with your fingers because of the regulator detent (spring loaded clip) which locks it in position during operation. You can insert a tool or bullet tip into the hole in the regulator to give you plenty of leverage to rotate it as needed.
Next you push the regulator pin to the right with the tip of the bullet and then pull it the rest of the way until it stops.
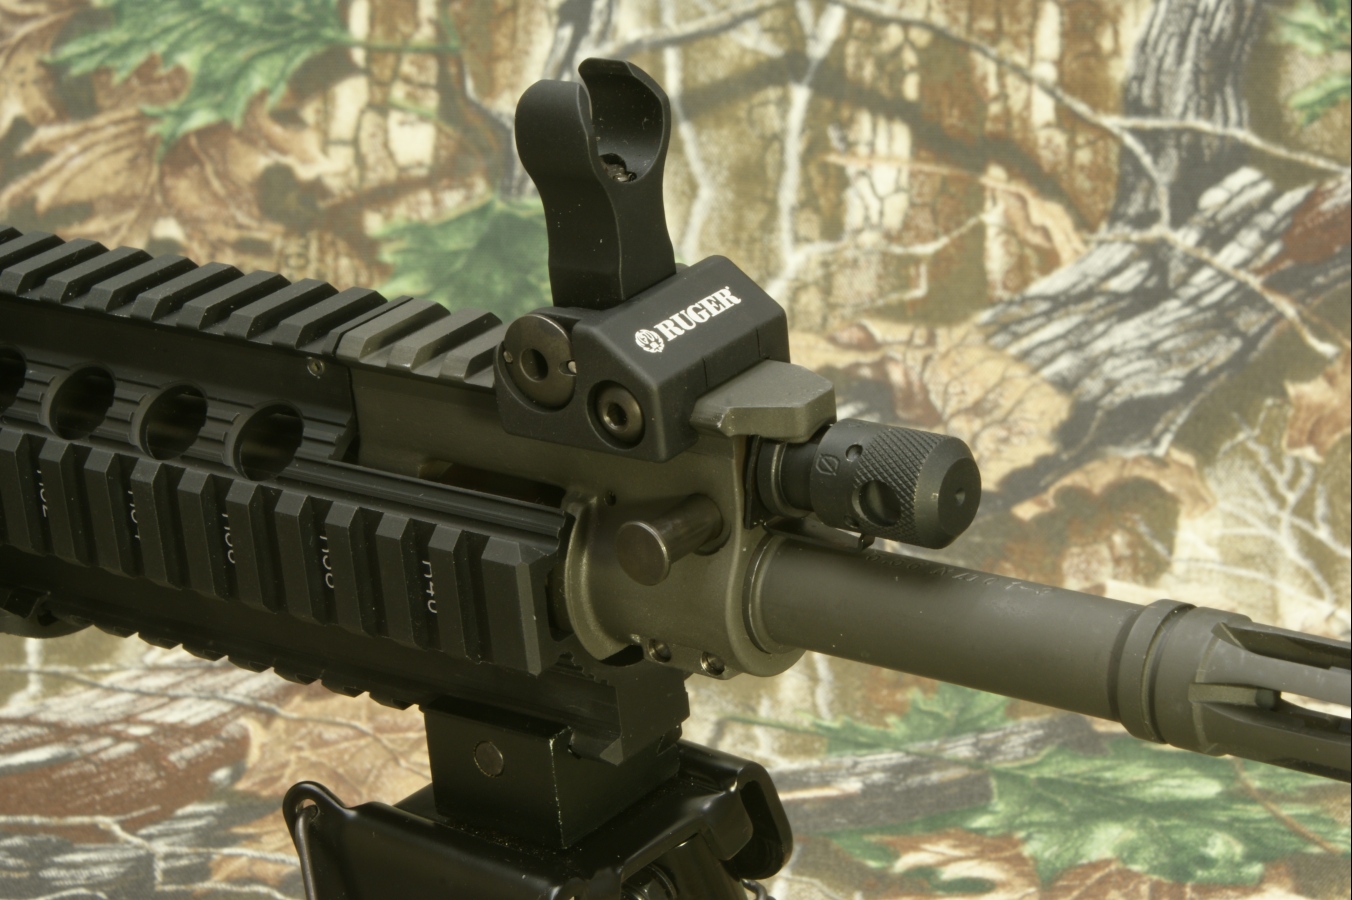
You can then slide the regulator forward out of the gas block.

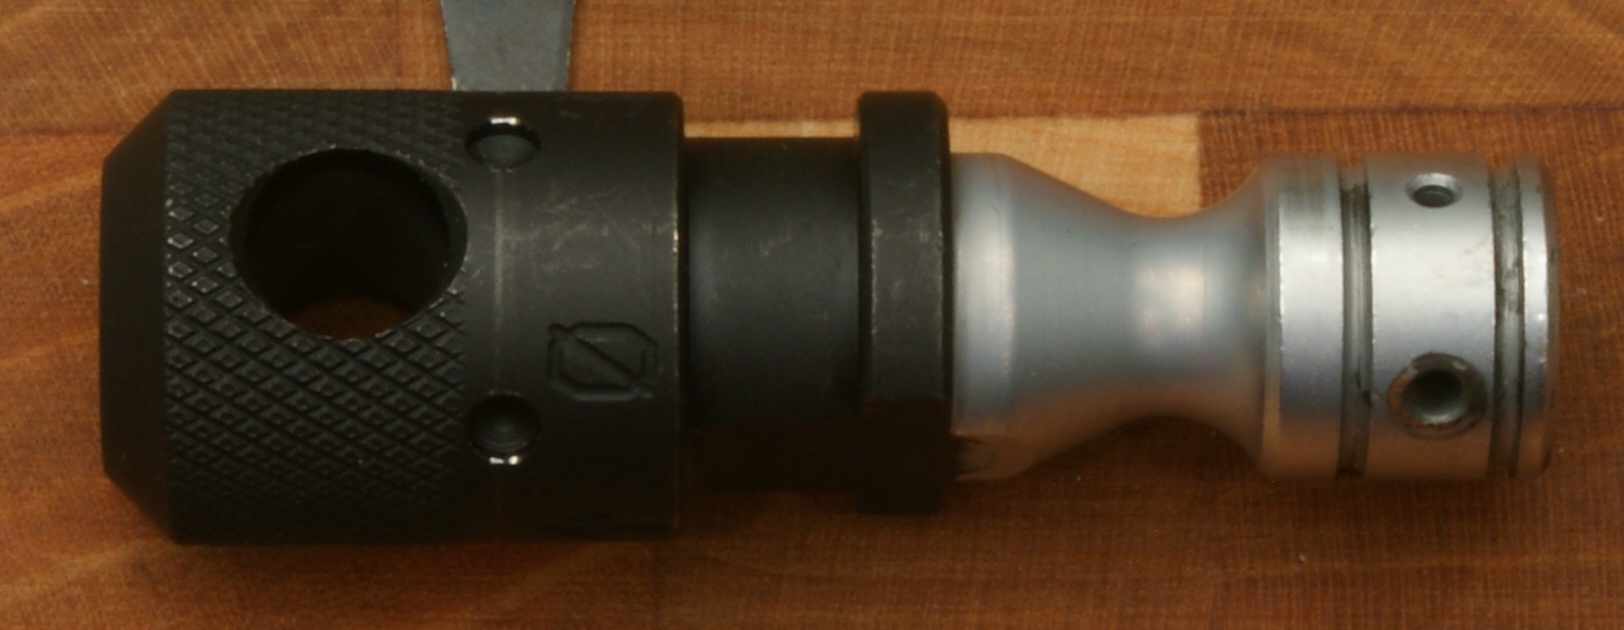
Once the regulator is removed, you can tilt the gun barrel down and the gas piston should fall out. The photo below shows the three pieces you have after removing these items. You can see that the piston and regulator are chrome plated. The piston is a two stage piston. In the first stage, the force produced by the piston is related to the surface area of the portion of the piston (nipple) that is inside the regulator (smaller diameter area on the right side of the piston in the photo below). The second stage begins once the piston moves to where the nipple is outside of the regulator. The gas can then apply force on both the nipple area and the the larger diameter area also. Ruger claims that this two stage piston reduces the initial energy impulse to the carrier (I can see that), which reduces the amount of tilting force during the carrier’s initial motion (seems logical).
Piston
Detent
Regulator

The regulator has three different ports that correspond to the numbers 1, 2 and 3. The smallest port is 1 and the largest is 3. The larger the port, the higher the pressure and thus the more force which will cycle the bolt carrier. In the photos below, you can see that the rifle was shot at the factory with the regulator in the 2 position (burnt looking marks around hole). The 0 position is to close off the gas port so the rifle functions as a single shot.
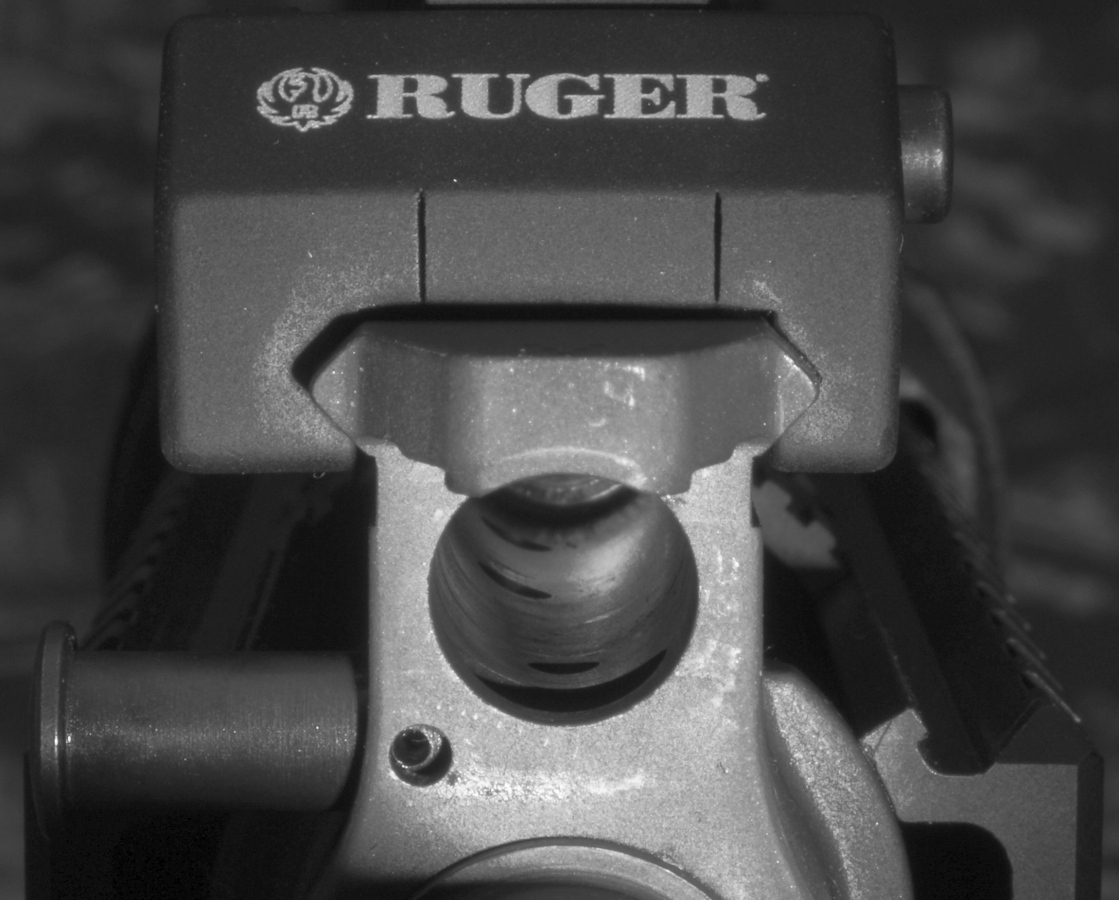
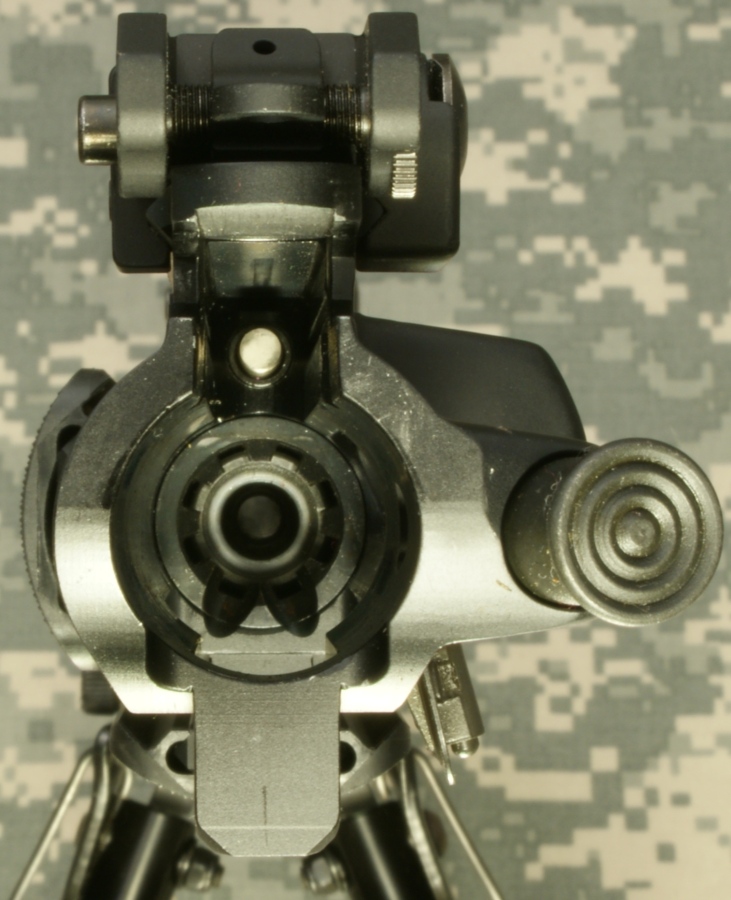
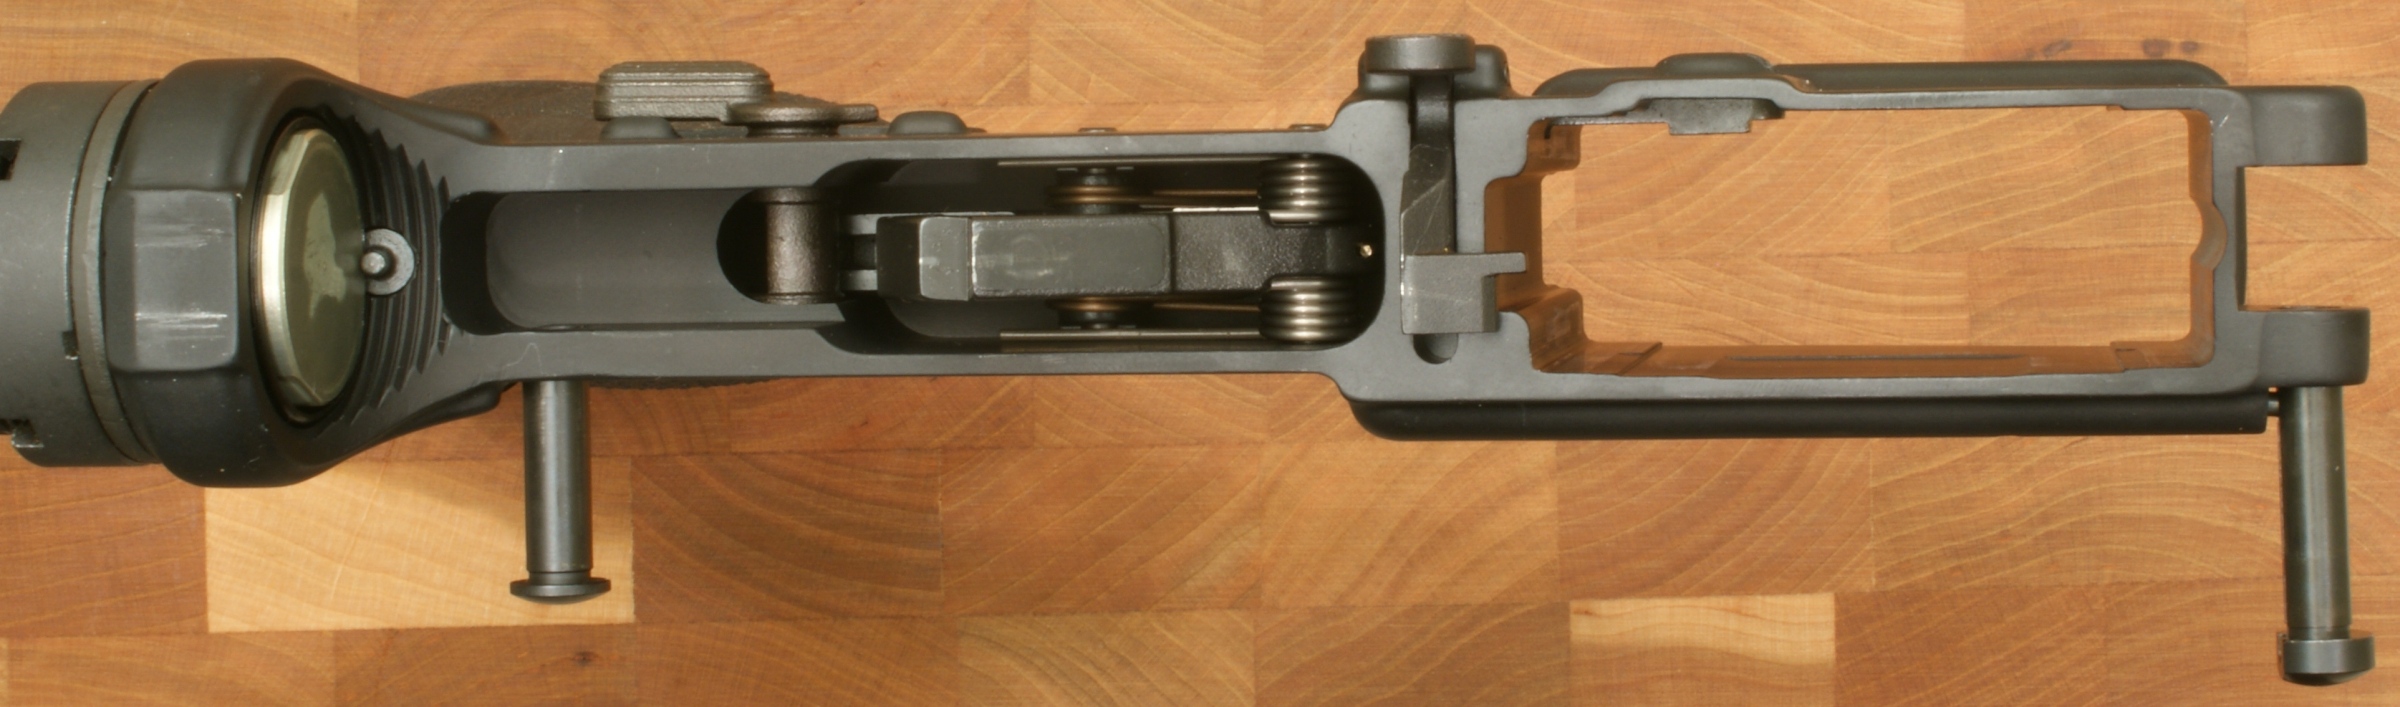
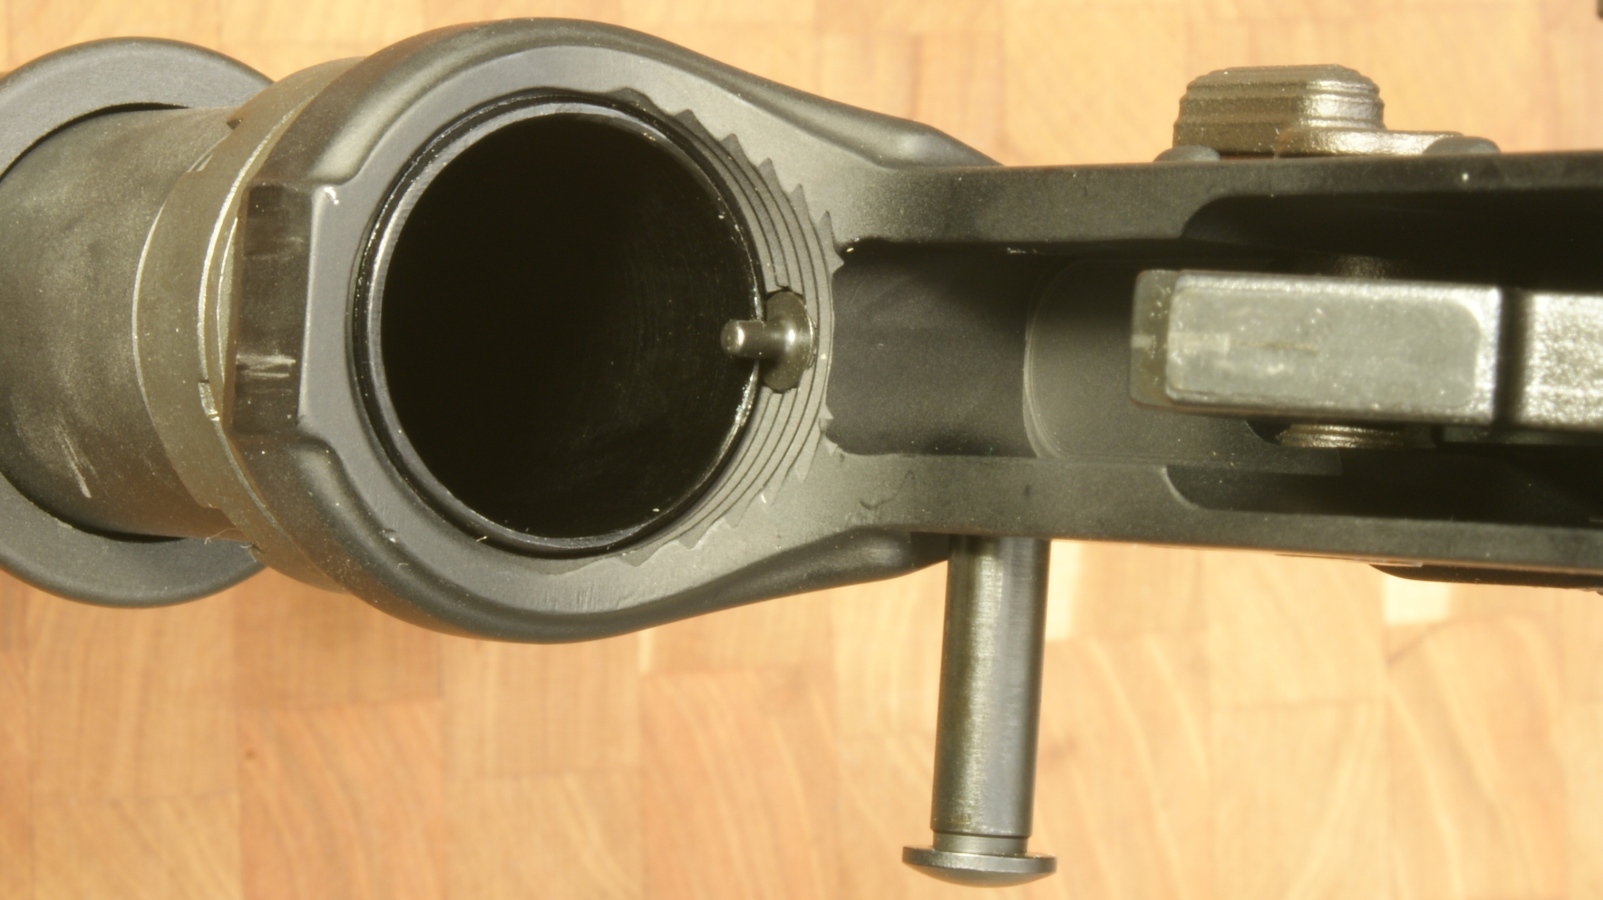
When you look down the cavity of the gas block, at the back end of the cavity you will see the front end of the transfer rod which rides in a hole in the gas block that is smaller in diameter than the larger piston area.

By looking down at the bottom of the cavity of the gas block, you see the large area where the regulator pin protrudes up to secure the regulator. Just behind that you see the gas port that allows gas to pass from the barrel to the regulator. The last two holes that are offset on the right side of the gas block (left in the photo) allow the gas to escape from the gas block once the piston passes to that point during its cycle.
With a clean rifle, removal of the regulator and piston is simple and the components are easy to clean. I'm curious to see how this will be after shooting several hundred rounds of ammo.
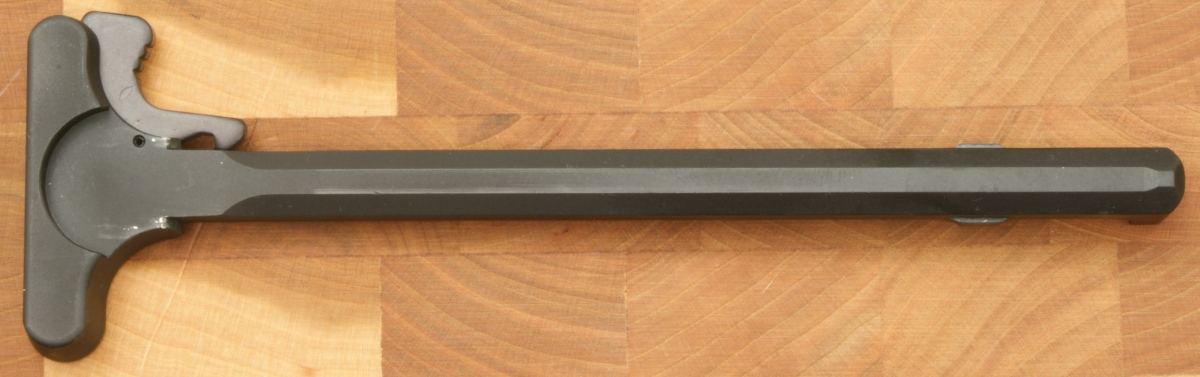
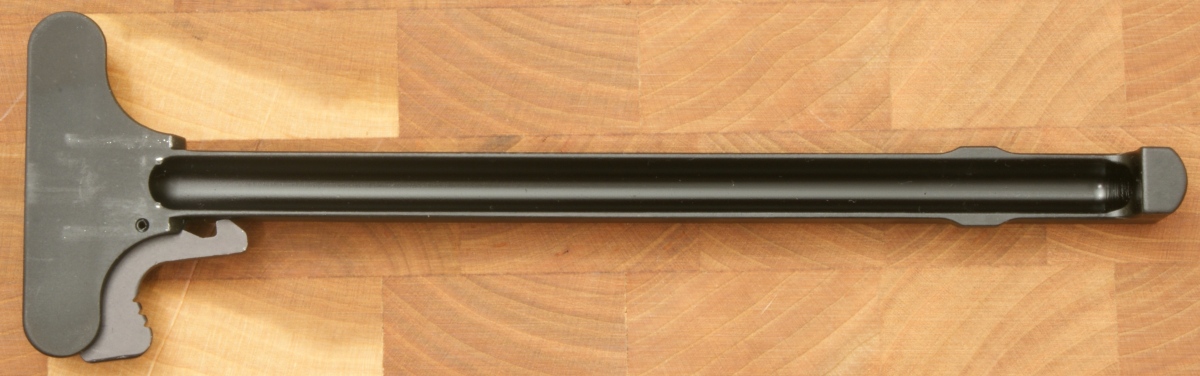
The next order of business was to remove the charging handle and bolt carrier assembly. This is just like all other AR rifles. Again, you need to make sure the gun is unloaded, hammer cocked and safety on. Then push/pull out the rear takedown pin to fold the upper receiver forward.
By sliding the charging handle and bolt carrier to the rear, I was able to easily remove these items. I then pulled the bolt carrier cotter pin and was able to remove the firing pin, cam pin and bolt assembly.
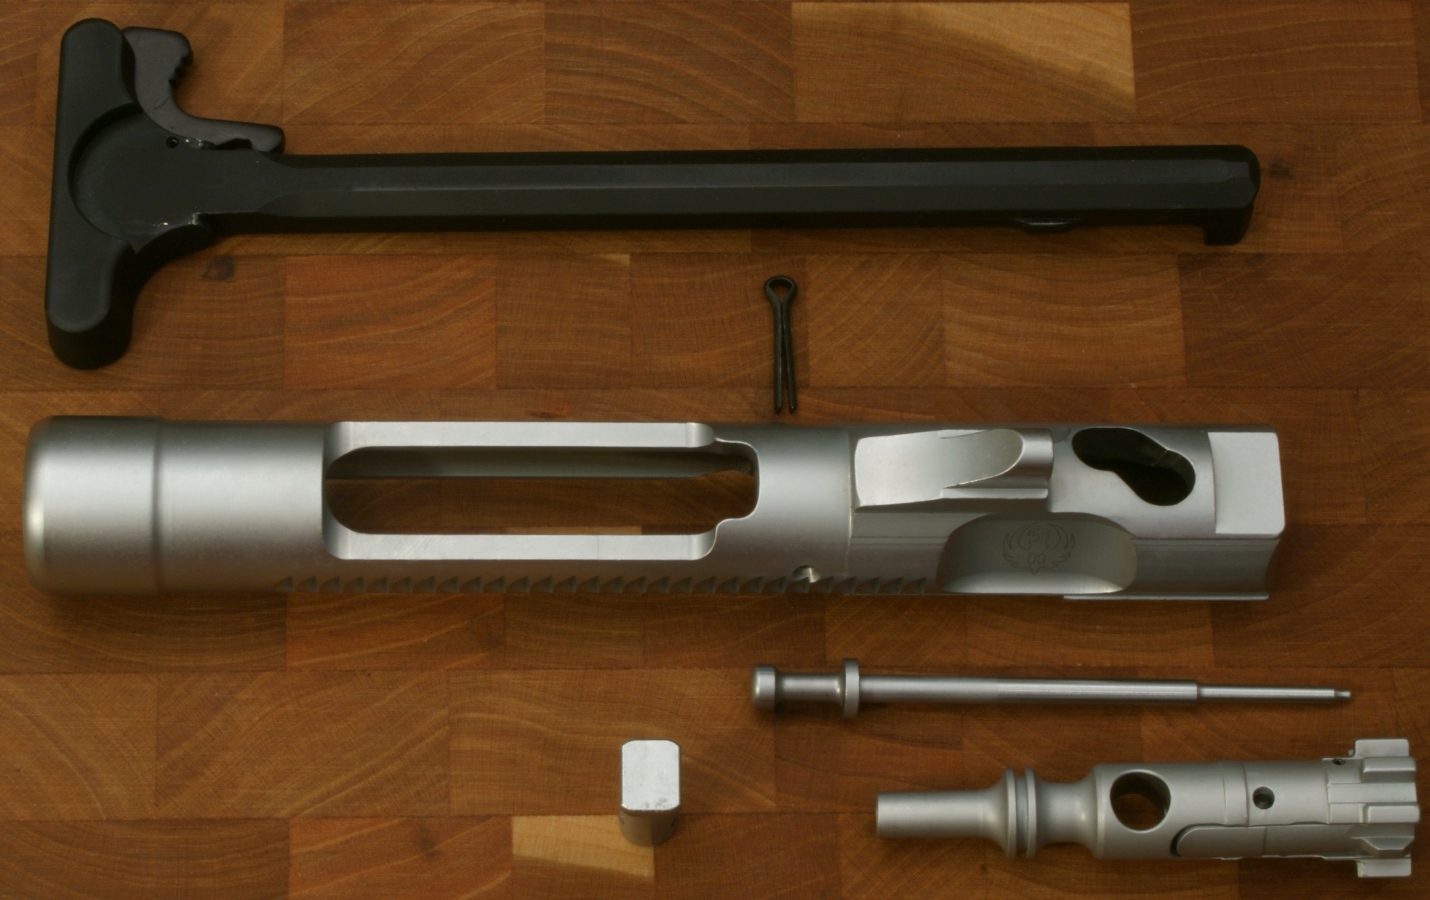
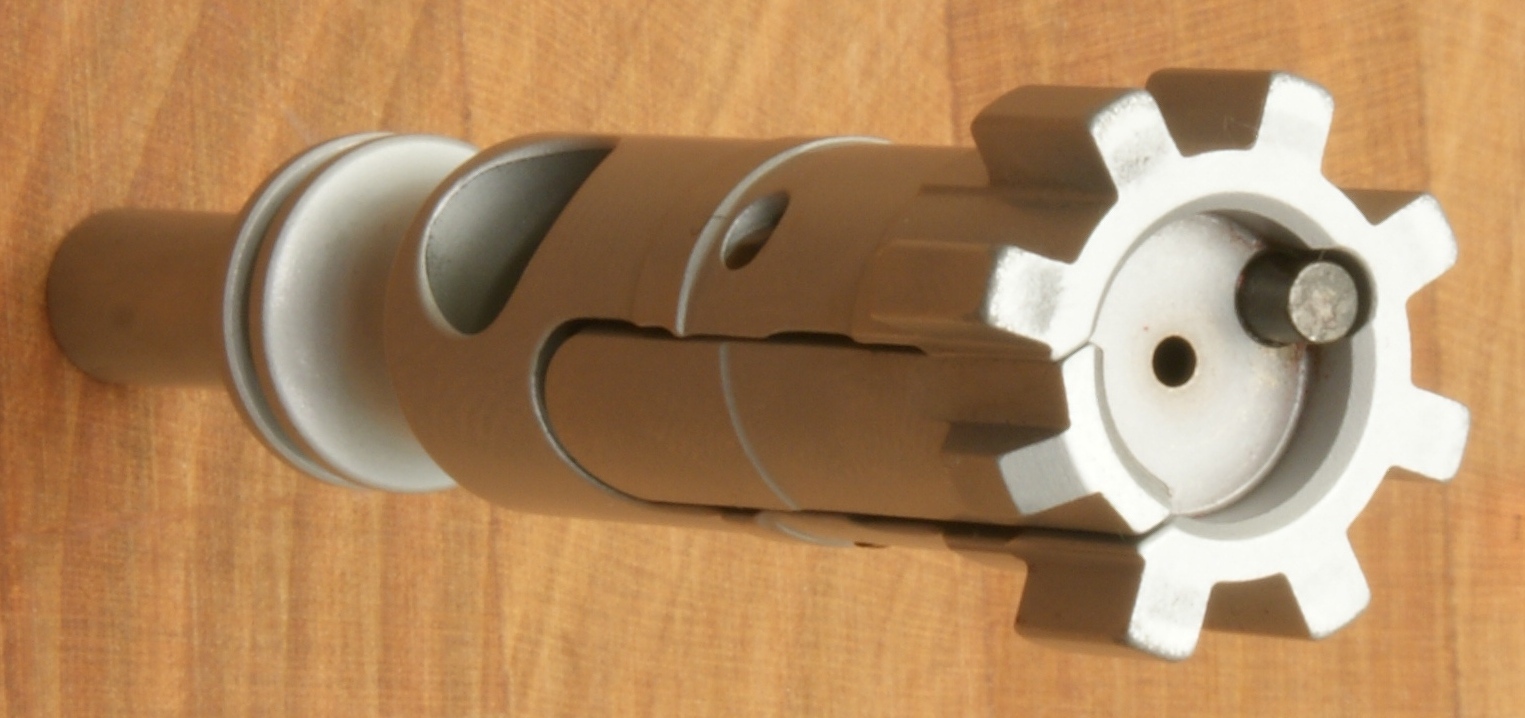
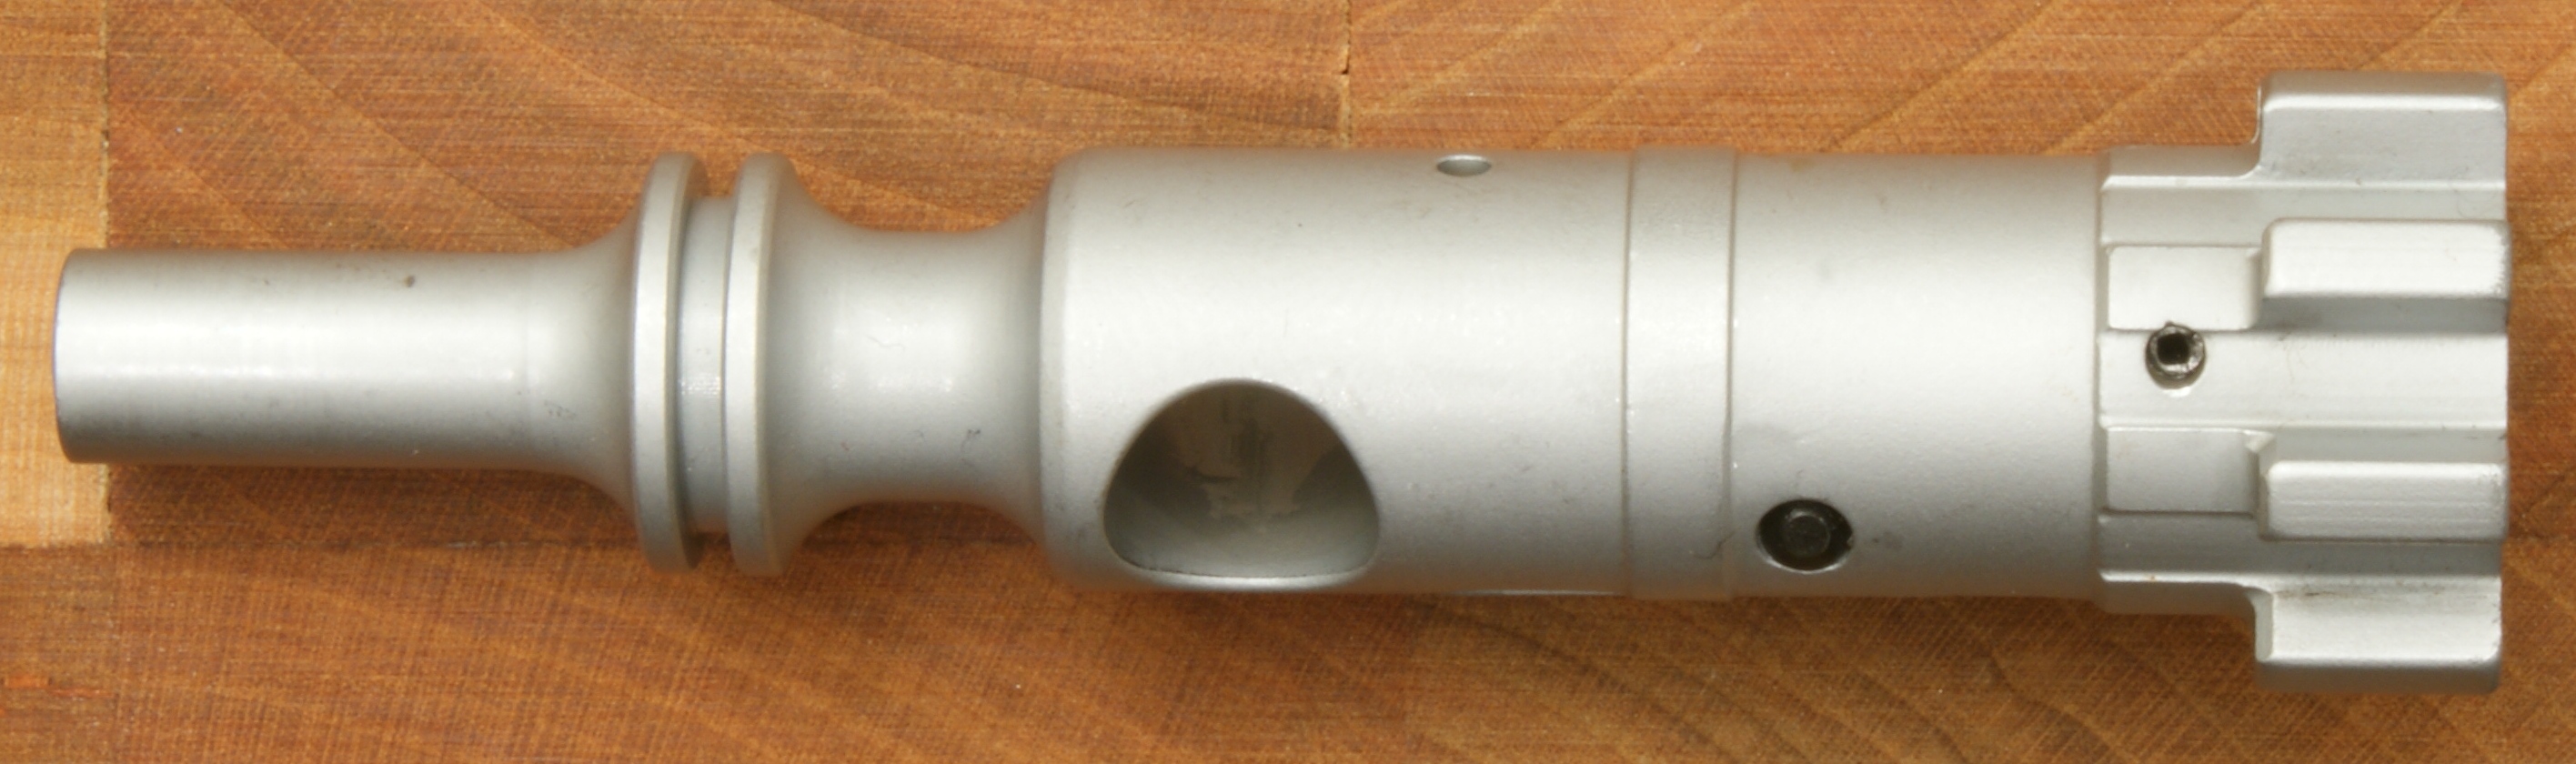
The next several photos show the bolt carrier assembly. The bolt carrier is manufactured from ANSI 8620 Nickel-Chrome-Molly Alloy Steel and case hardened. The bolt carrier is a one piece unit and all the critical wear components of the total assembly are chrome plated. I was very impressed with the "smooth as silk" feel of moving the bolt within the carrier body.

In the photo below you can see that the bolt carrier has an integral anvil (not a carrier and gas key, but one solid piece) to take the force applied from the transfer rod. Also the carrier has an enlarged rear diameter and generous radius at the end to reduce the potential for carrier tilt and wear on the buffer tube.


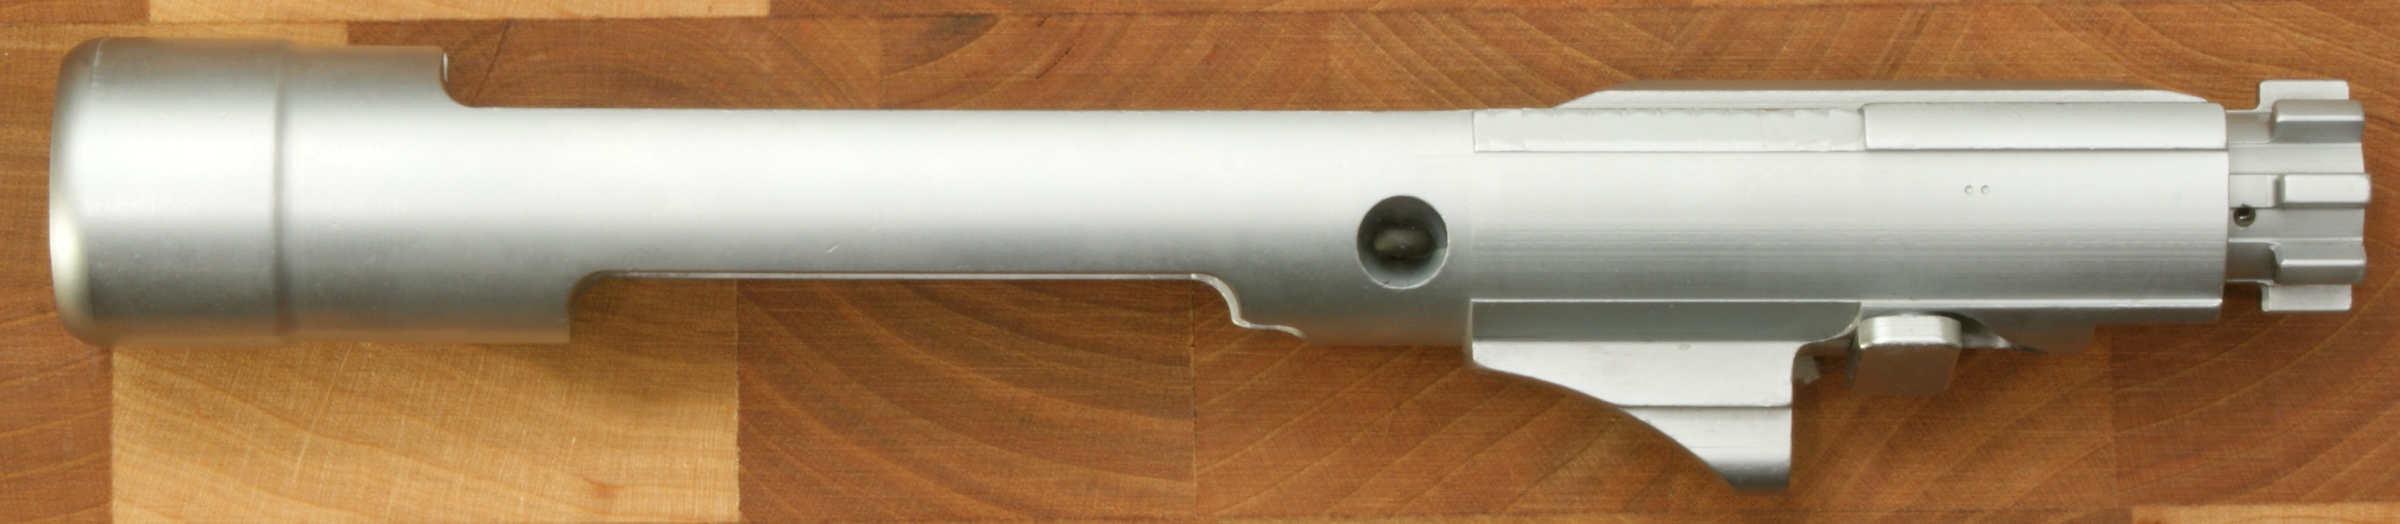
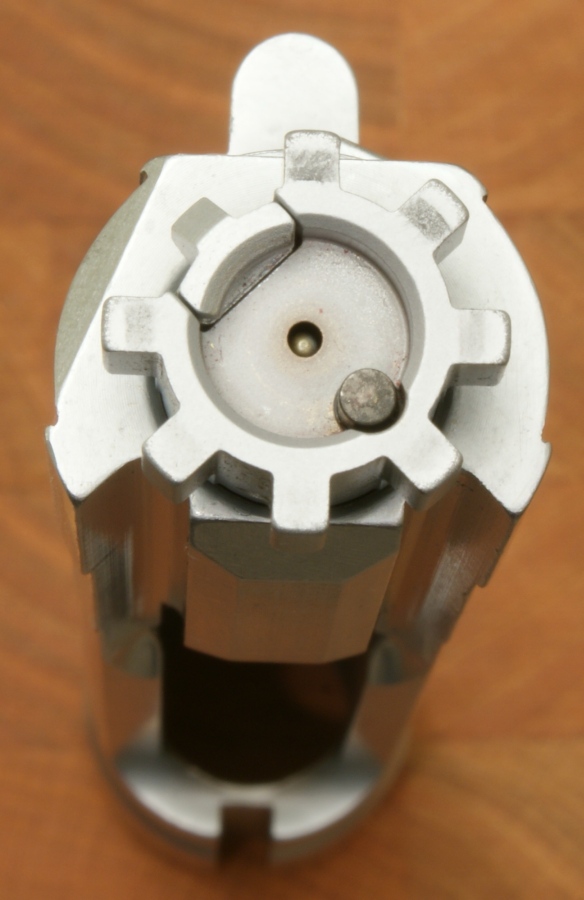

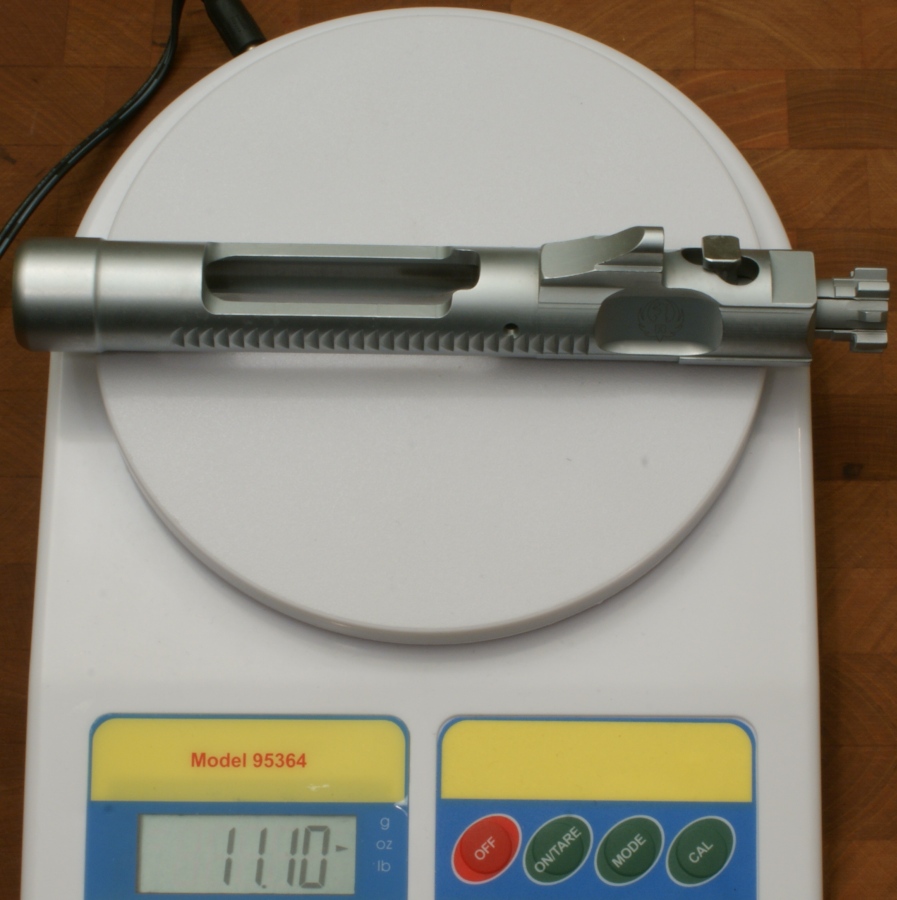
The weight of the bolt carrier assembly was 11.10 ounces.
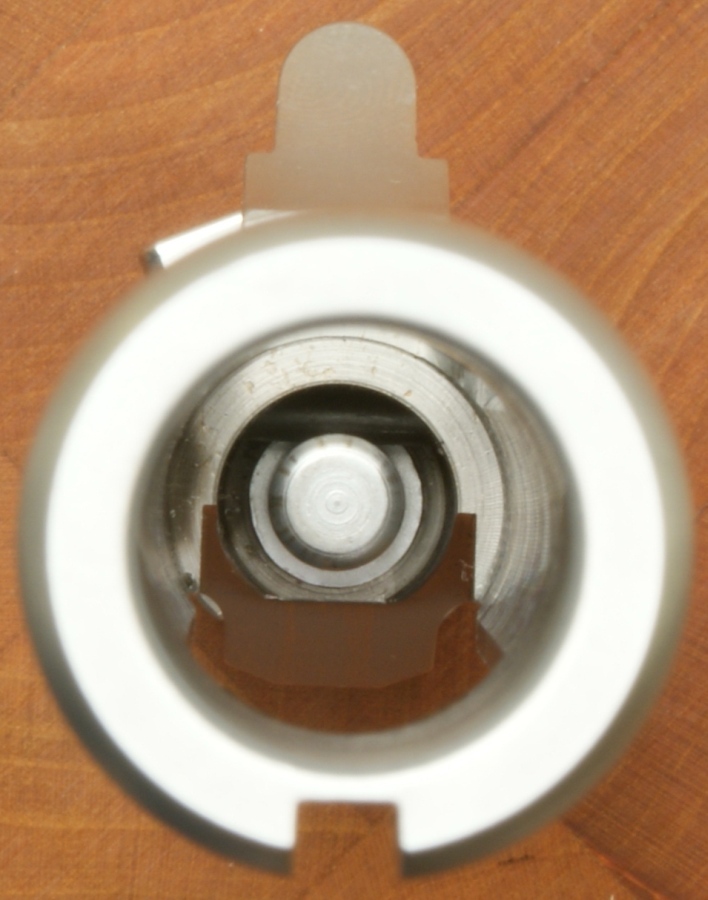
The next few photos are to give you a better look at the bolt assembly. The bolt is also manufactured from ANSI 8620 Steel, case hardened, and magnetic particle tested. Ruger also proof pressure tests each rifle with one round that has a powder charge to produce a chamber pressure 40% higher than the maximum operating pressure for the caliber.


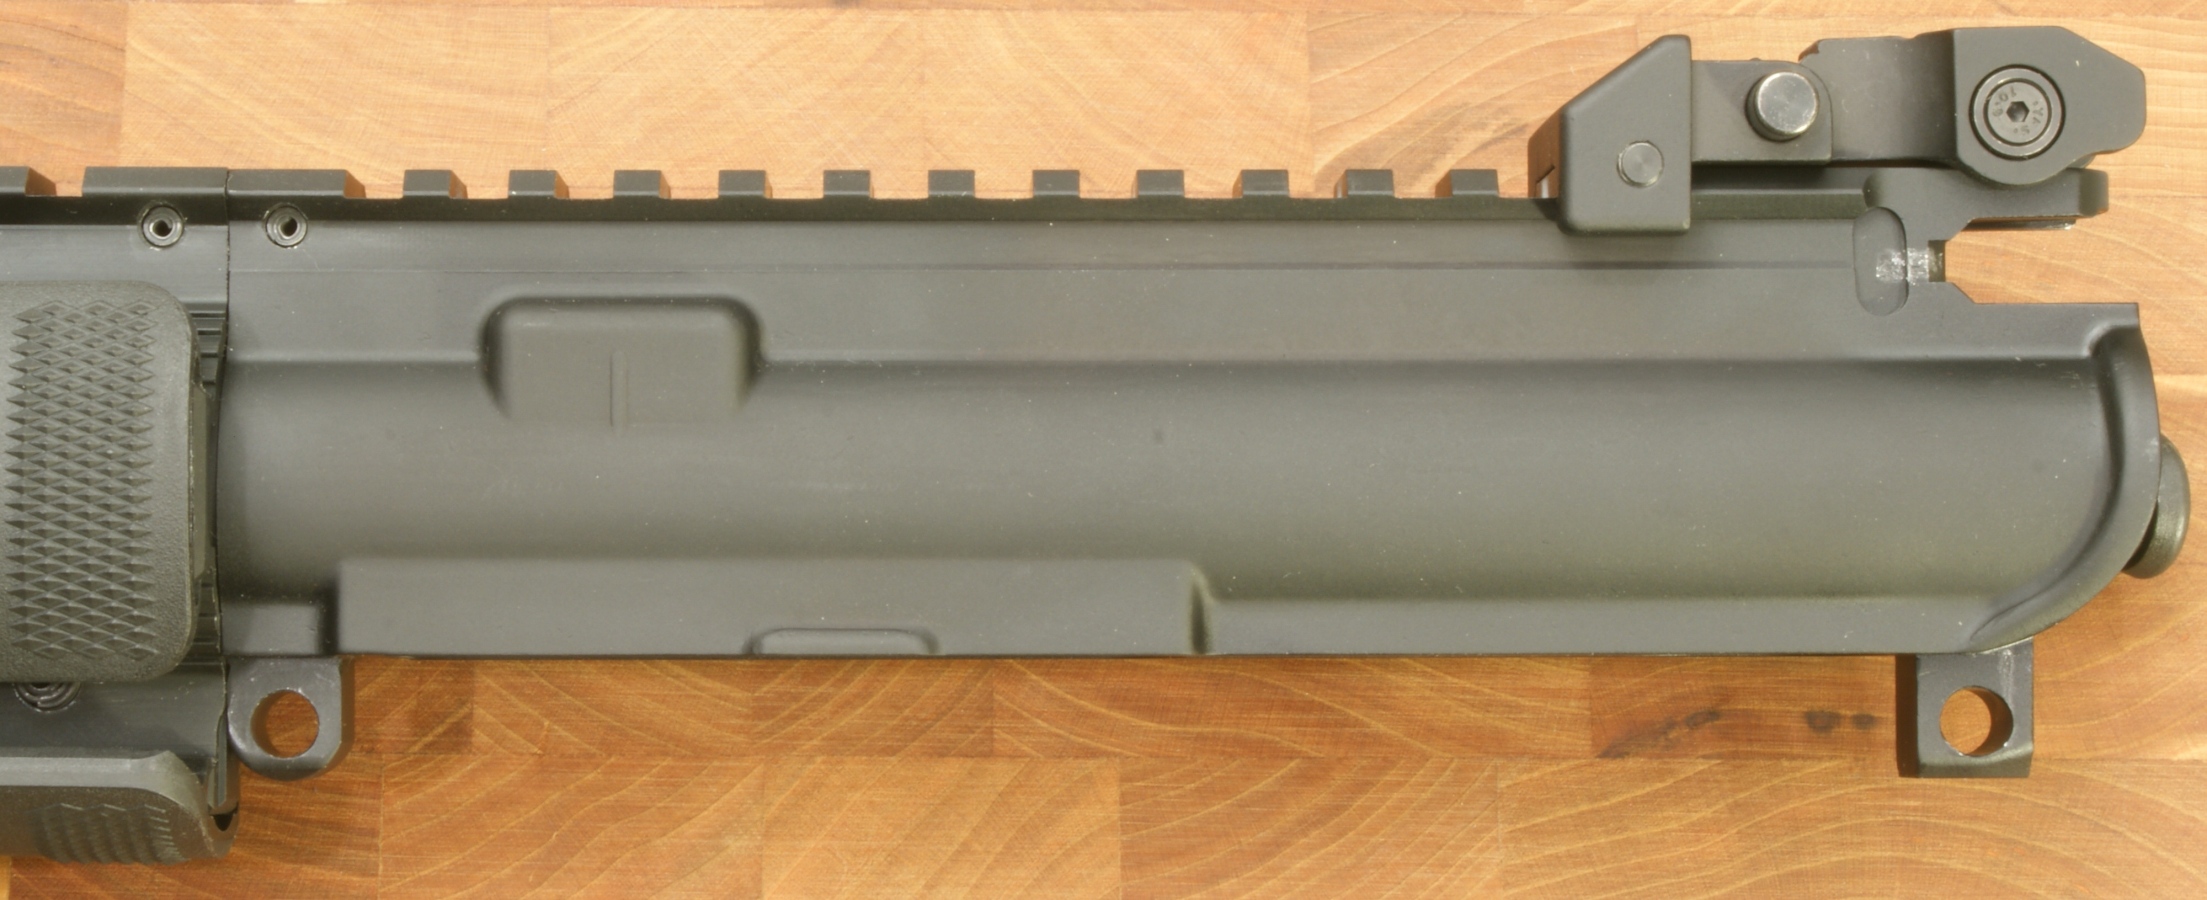
I thought that the surface finish on the upper receiver was comparable to that of many other quality rifles. I also measured the fit between the upper and lower receivers by rotating the upper to the left while holding the pistol grip and then using a feeler gauge to measure the gap on the right side. The gap measured 0.004" which I consider to be a good fit when compared to some other rifles I have measured and this is actually the best fit I have ever measured to date.
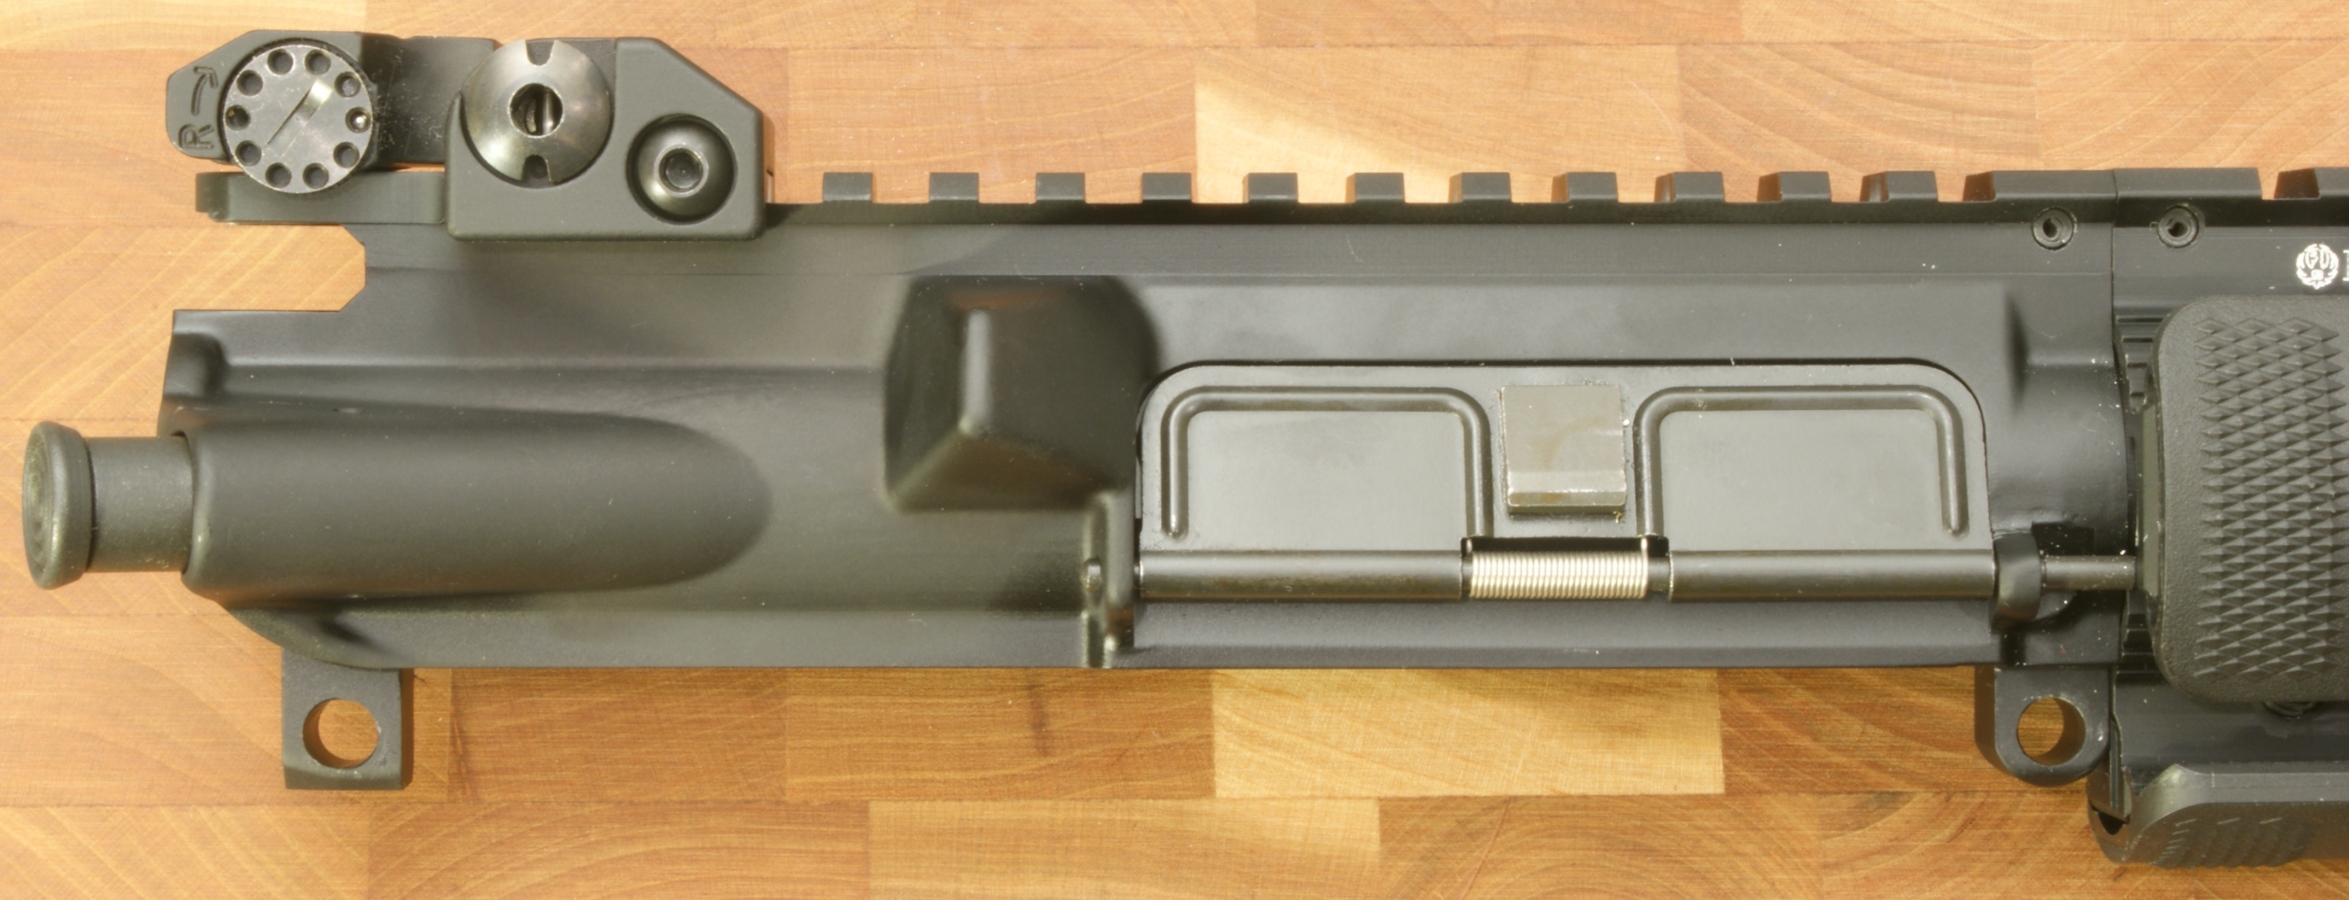
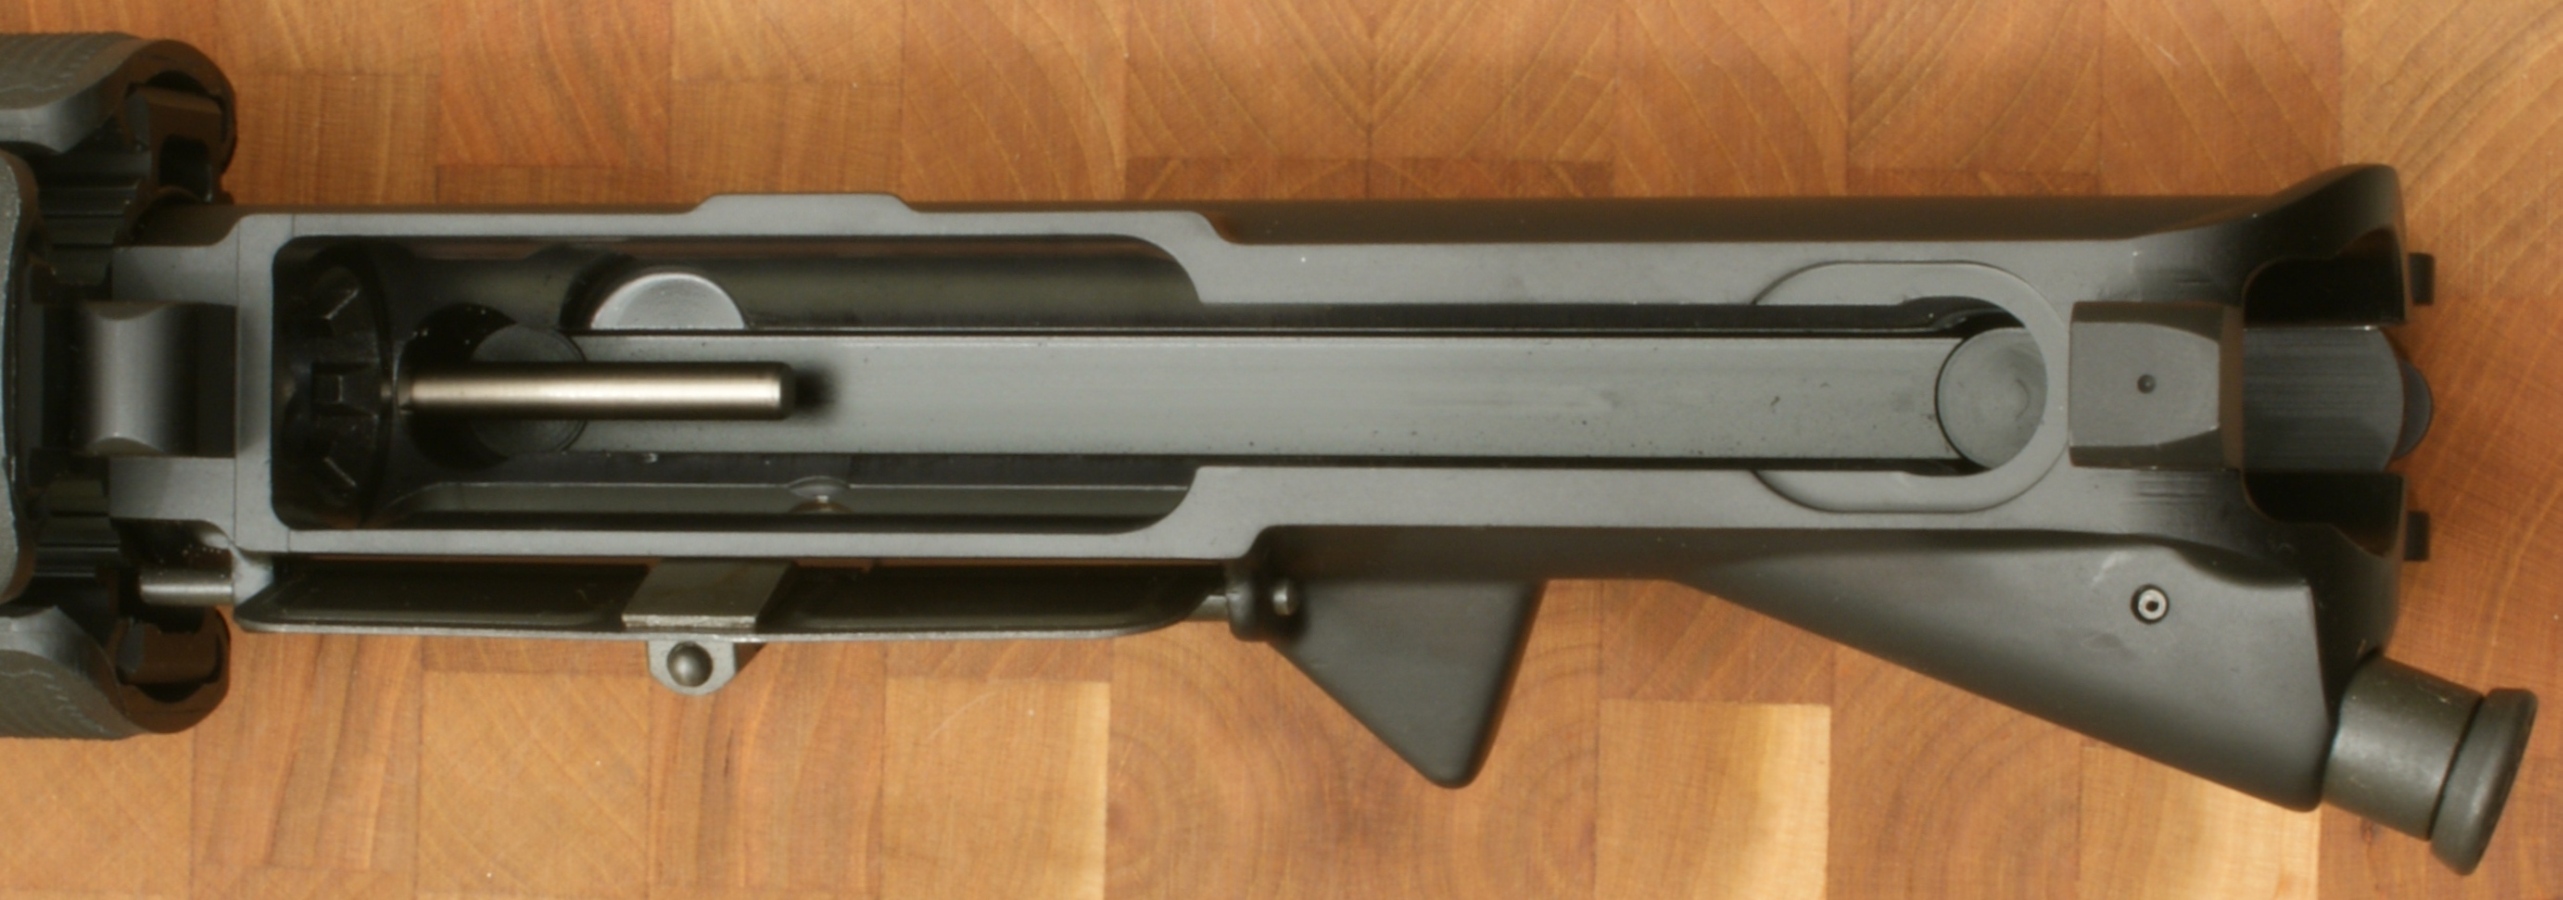
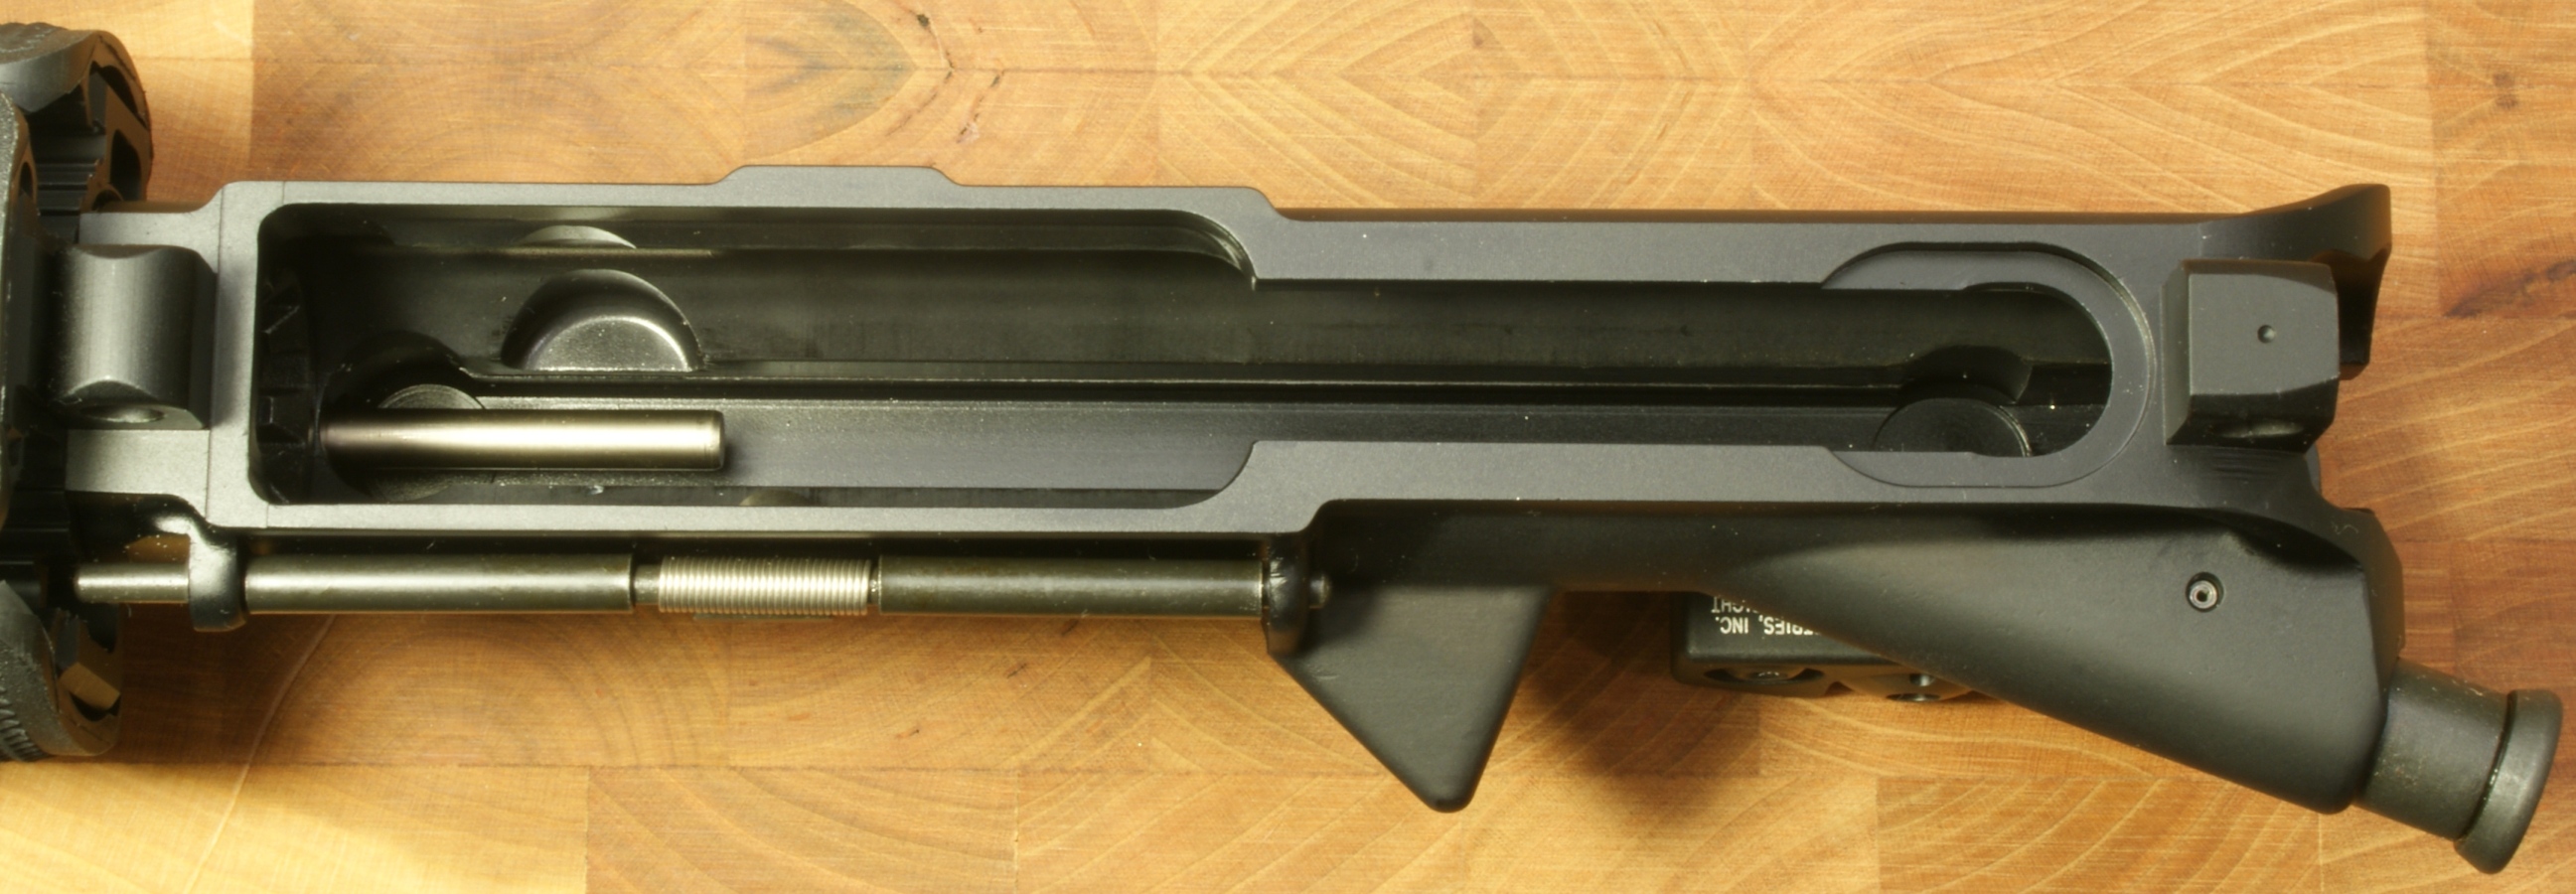
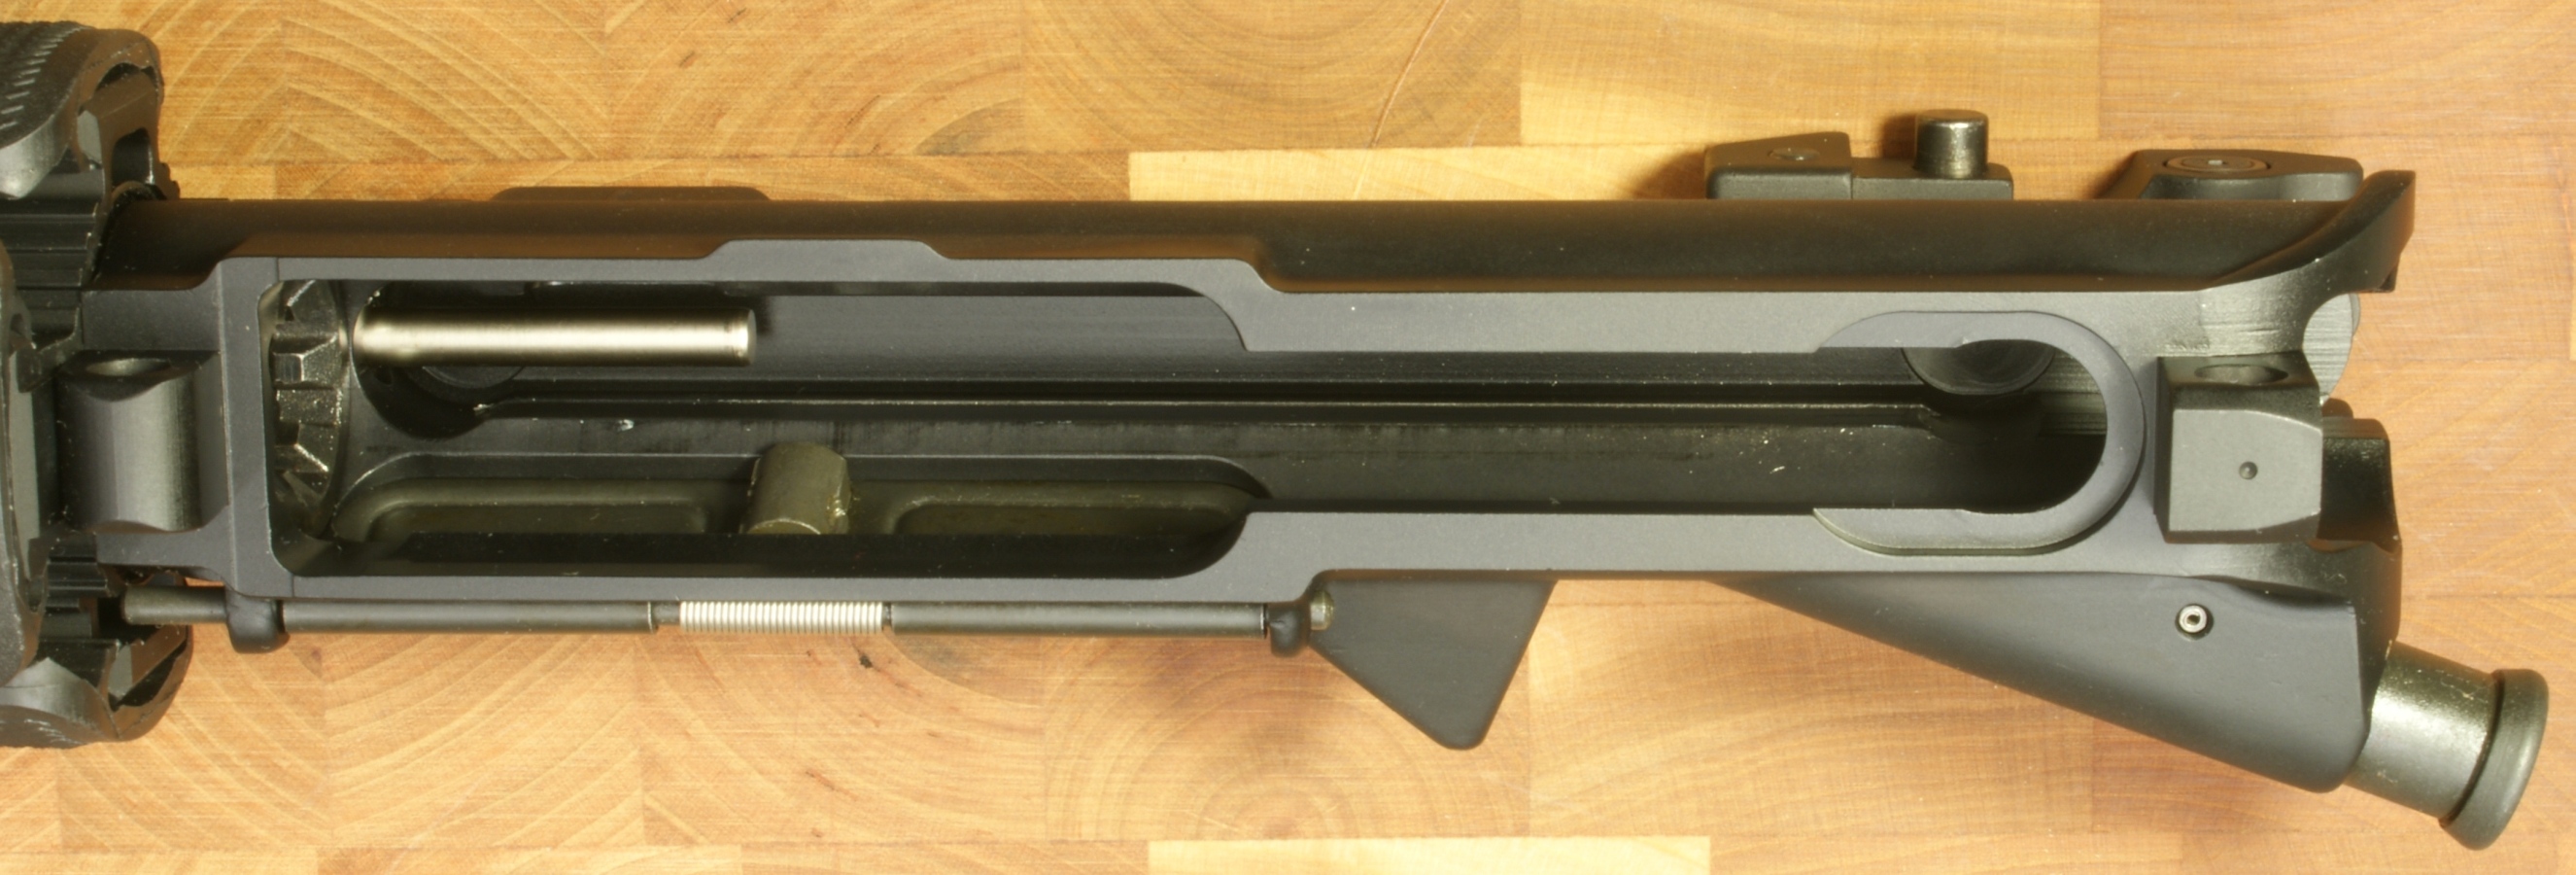
The M4 feed ramps and receiver grooves looked to be a good match. You can also see in the photo below the end of the rear bushing and transfer rod that impacts the bolt carrier.

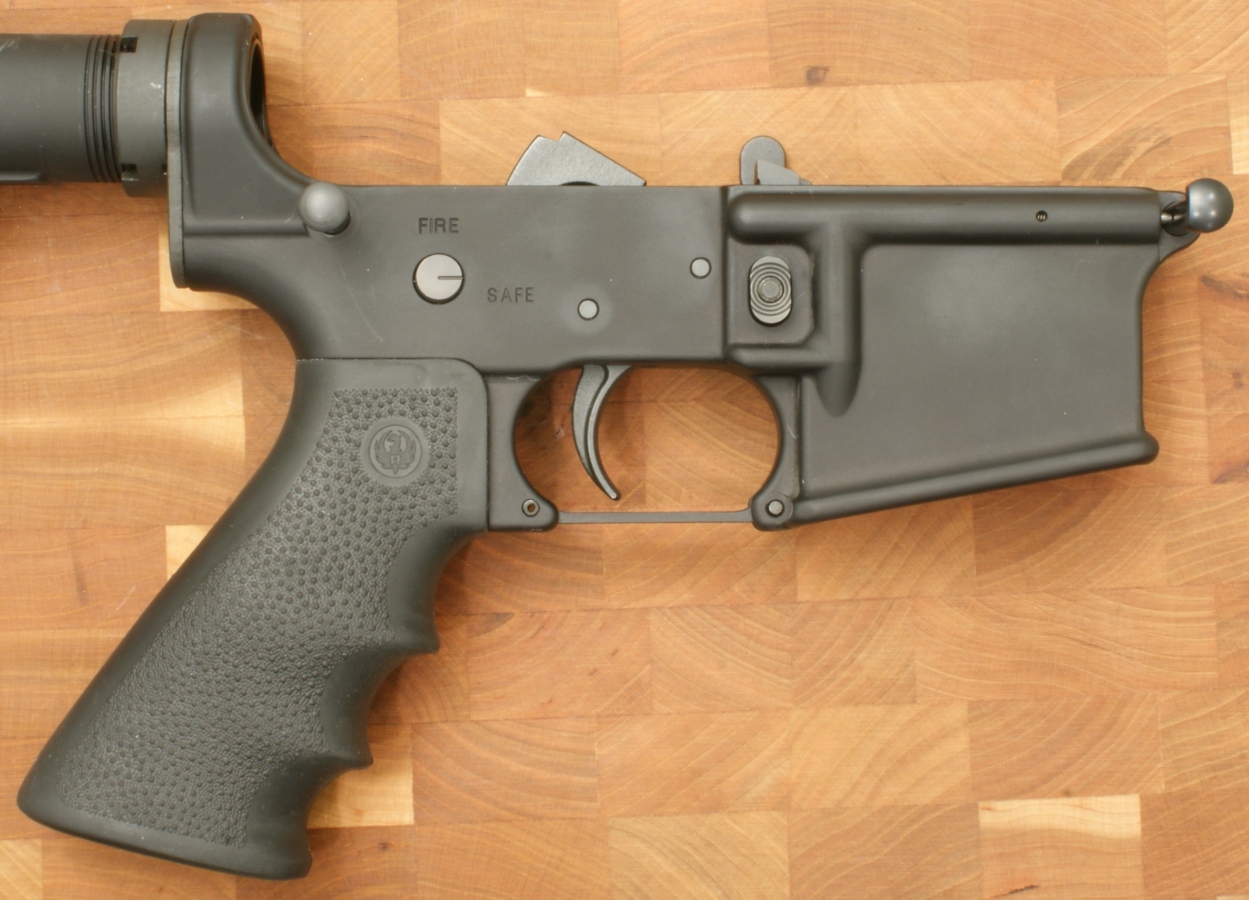
The next several photos show the lower receiver. The selector switch, bolt catch, hammer and trigger are investment cast parts from Ruger's Pine Tree Castings facility. When I tested the trigger pull, I measured an average of 8.2 pounds which I think is a little on the high side. The trigger had about 0.05 (my guess) take-up before it became firm and crisp.

Just like the upper receiver, the lower receiver also has a nice smooth finish. You can also see that the receiver extension nut comes un-staked. I prefer it that way because I'm sure I will install a single point sling mount at some point in the near future and can stake the nut myself when ready.
I removed the buffer and buffer spring so that I could get a good baseline photo of the end of the buffer tube. When Ruger test fires a rifle, they shoot 6 rounds. The first is a proof pressure shot and the other 5 are to verify function of the rifle and to tweak the iron sights to try and get you on paper at 50 yards. The amount of wear (if you can call it that) at the end of the buffer tube after 6 rounds is shown below. The buffer also weighed in at 2.95 ounces.

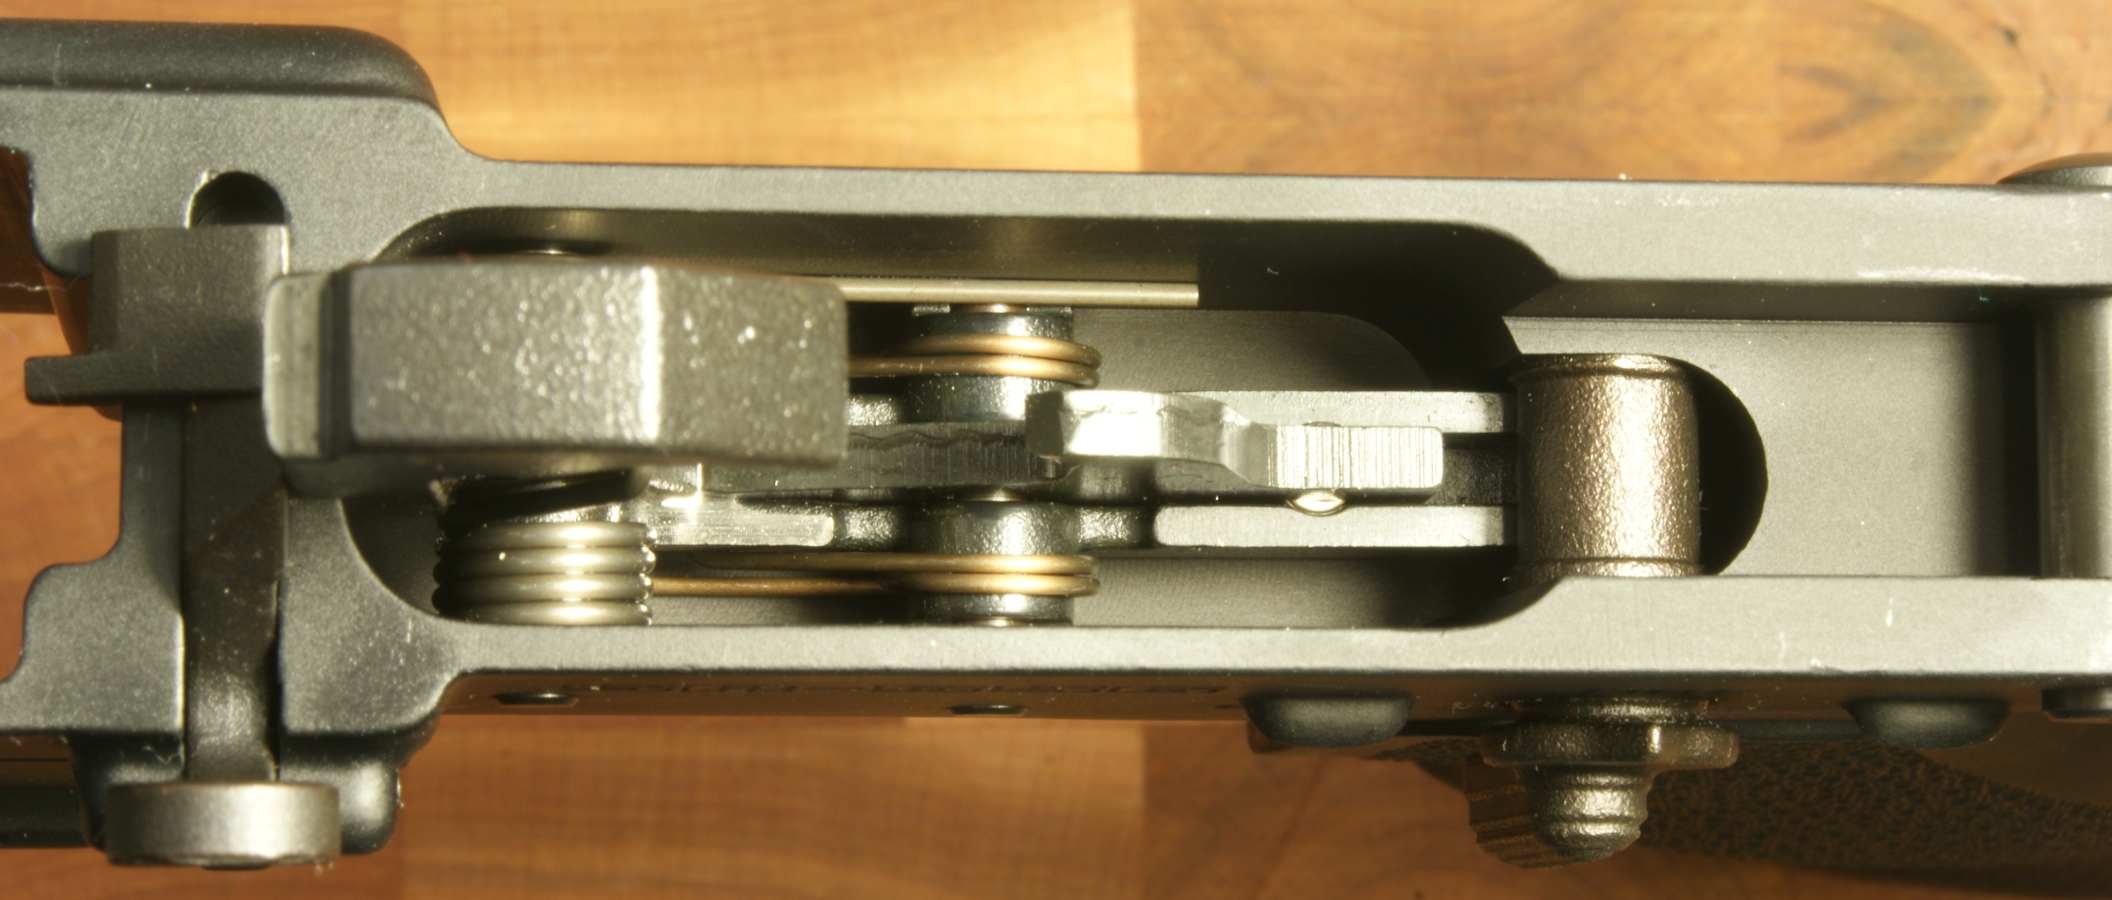
The hammer is an AR-15 style notched hammer as shown below and in the photos above of the lower receiver. As mentioned above the hammer and trigger are investment castings manufactured by Ruger. I'm not sure who manufacturers the disconnector.

Overall I'm impressed with the components and disassembly was simple and easy. I wish the trigger pull was a little lighter, but maybe it will break in a little during range testing. The real test is how the rifle performs at the range. In the next section, Part 5 of this review, I cover range testing of the rifle. You can go back to Part 1 of this review for links to all the other parts of the review.
Or
If you would like to be notified about future Gunsumer Reports reviews via Facebook, make sure "You Like This" by clicking the Facebook "Like" button at the bottom or top of this page. If it already says "You Like This" beside the button, clicking it again will uncheck the "Like" status and you will not be notified.
| Share on Facebook | |
© 2010, 2011, 2012, 2013, 2014, 2015, 2016, 2017, 2018, 2019, 2020, 2021, 2022, 2023 & 2024 Gunsumer Reports™, All rights reserved.
FTC Disclosure