|
|
Gunsumer Reports TM Providing Detailed Objective Reviews for Firearms and Firearm Accessories |
Escort AimGuard Shotgun Review
Part 4 - Disassembly & Internal Features
February 13, 2016
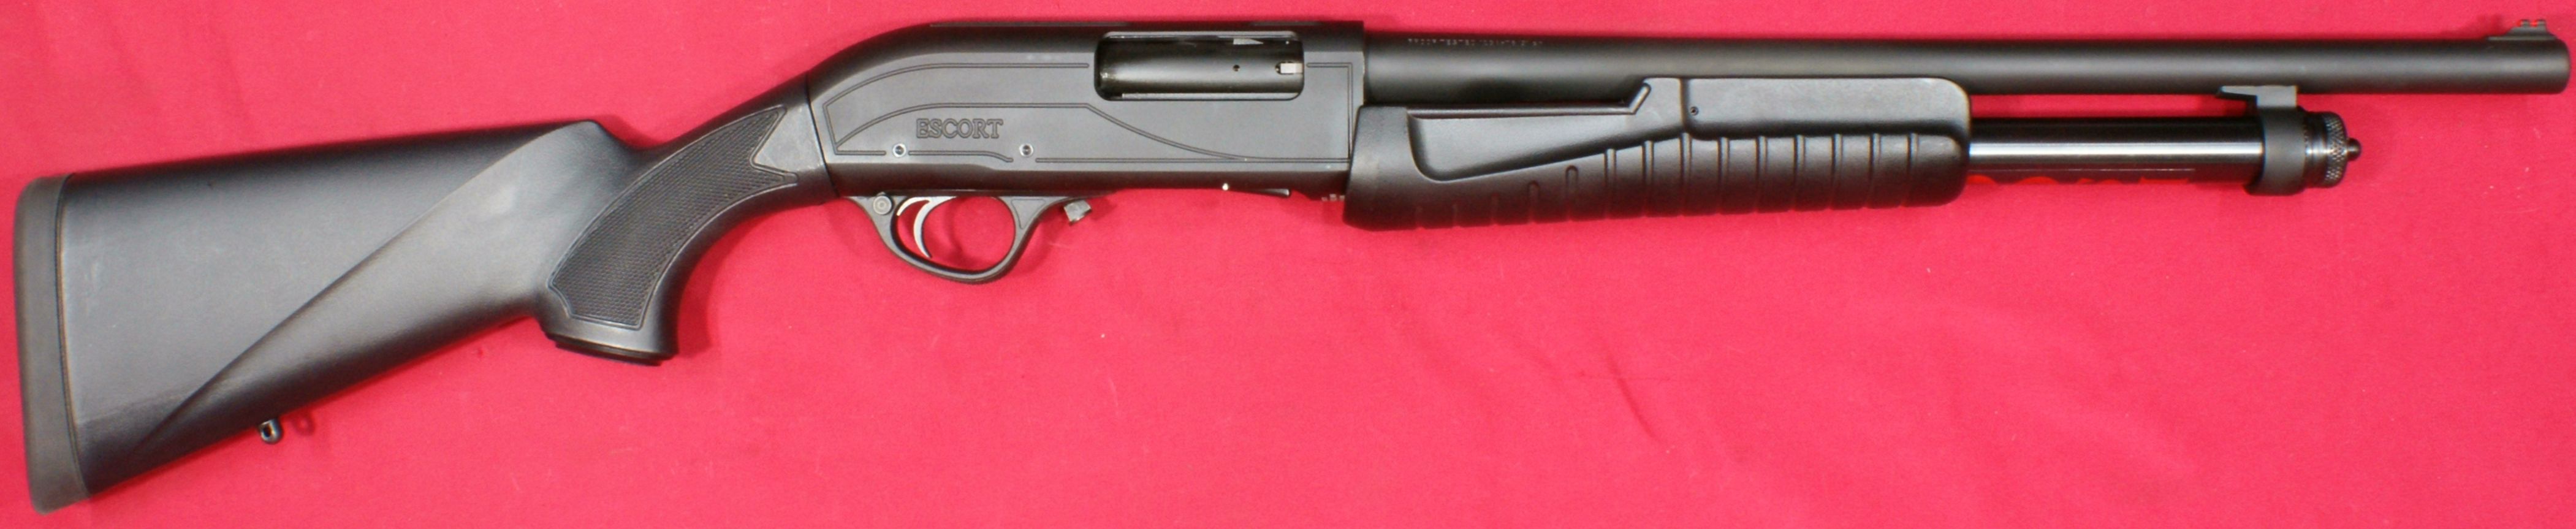
In this part of my Escort AimGuard shotgun review, I cover disassembly and some of the internal features on this shotgun. For disassembly, I follow the steps outlined in the Disassembly/Reassembly Instructions provided by the manufacturer and shown below. Although I show disassembly, you should always refer to the manufacturer's instructions because they will cover extra warning and safety information that I may not show in this review.
You can also see the video version of this review by watching the video below. If you watch the video, keep in mind that the rest of the review provides high definition photos so you can study the details further.
Figure 1
Figure 2
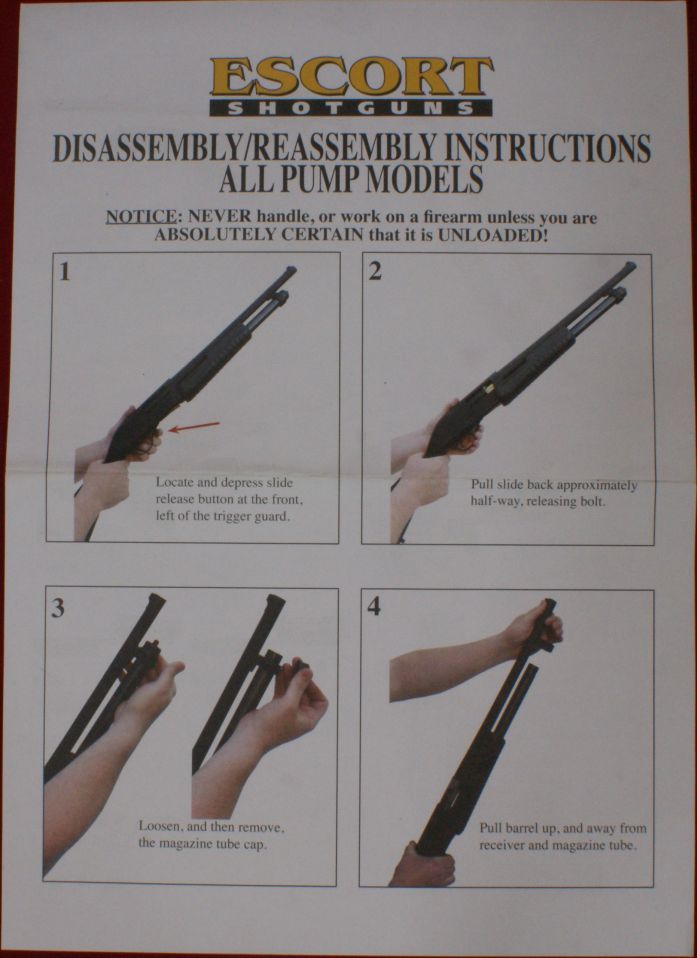
Step 1 - Unload Shotgun
With the shotgun pointed in a safe direction, ensure that the shotgun is fully unloaded (including the magazine tube).
Figure 3
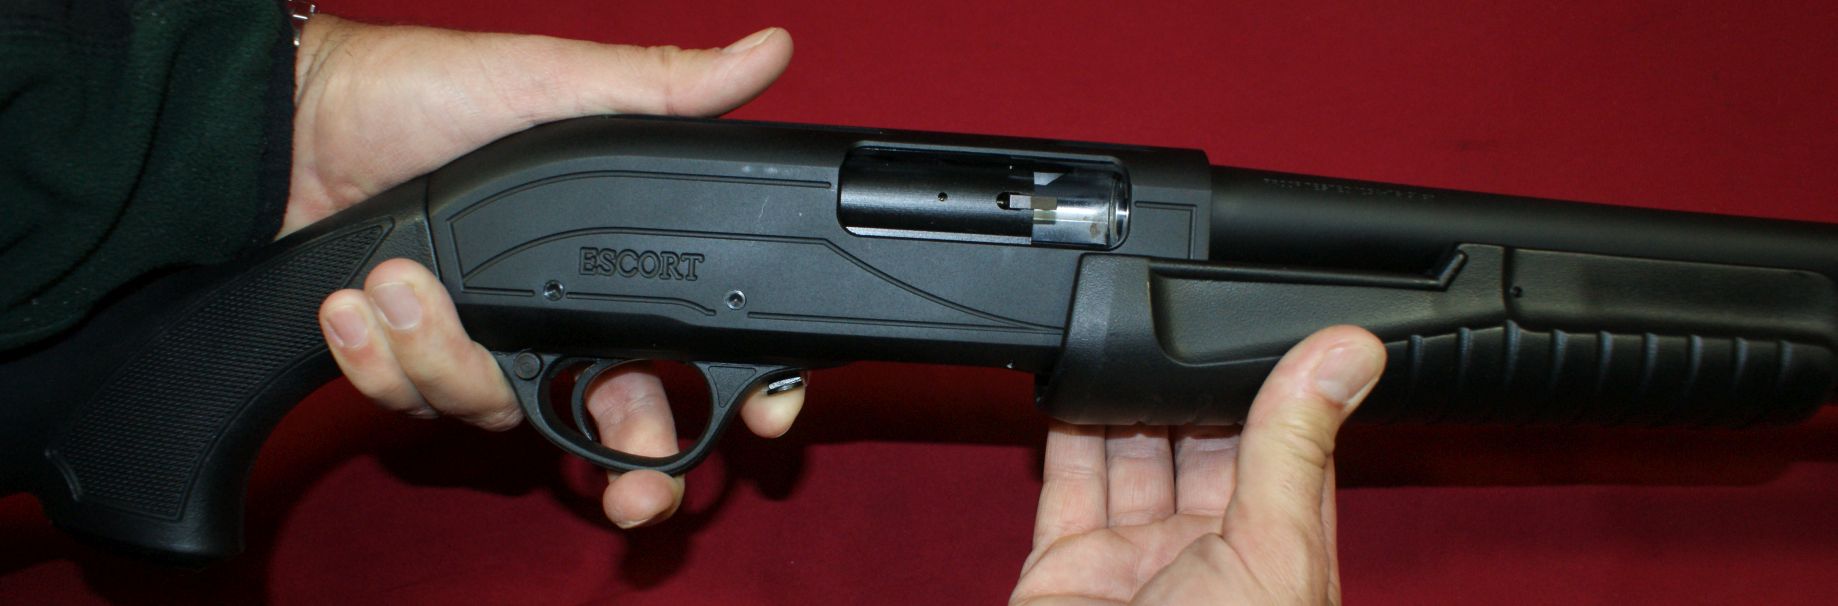
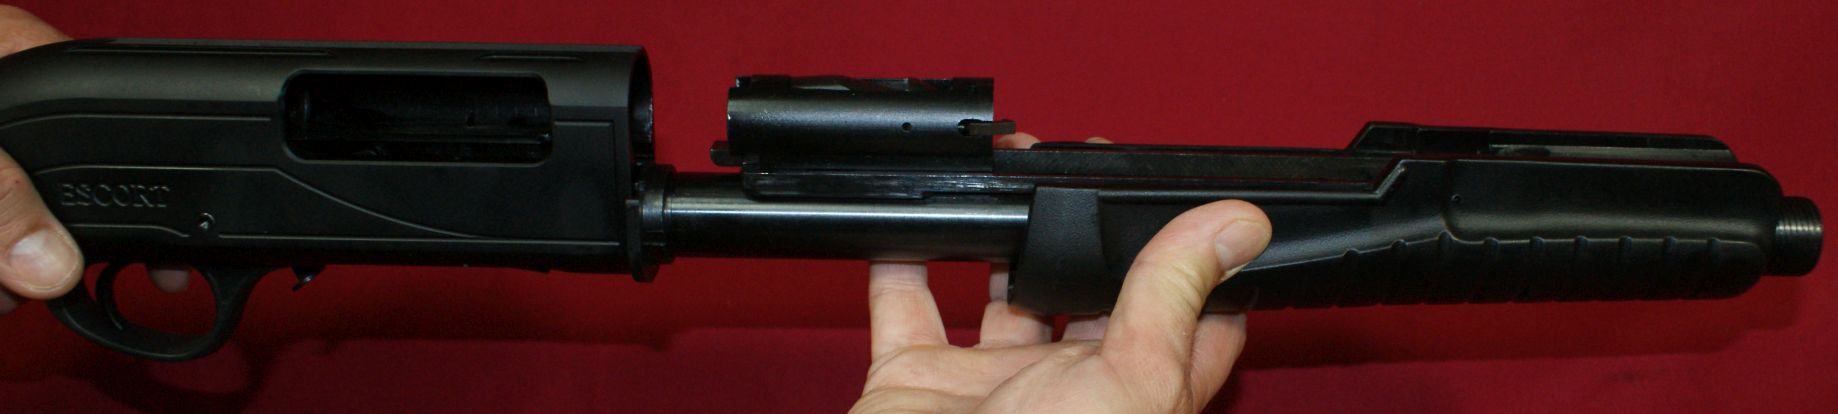
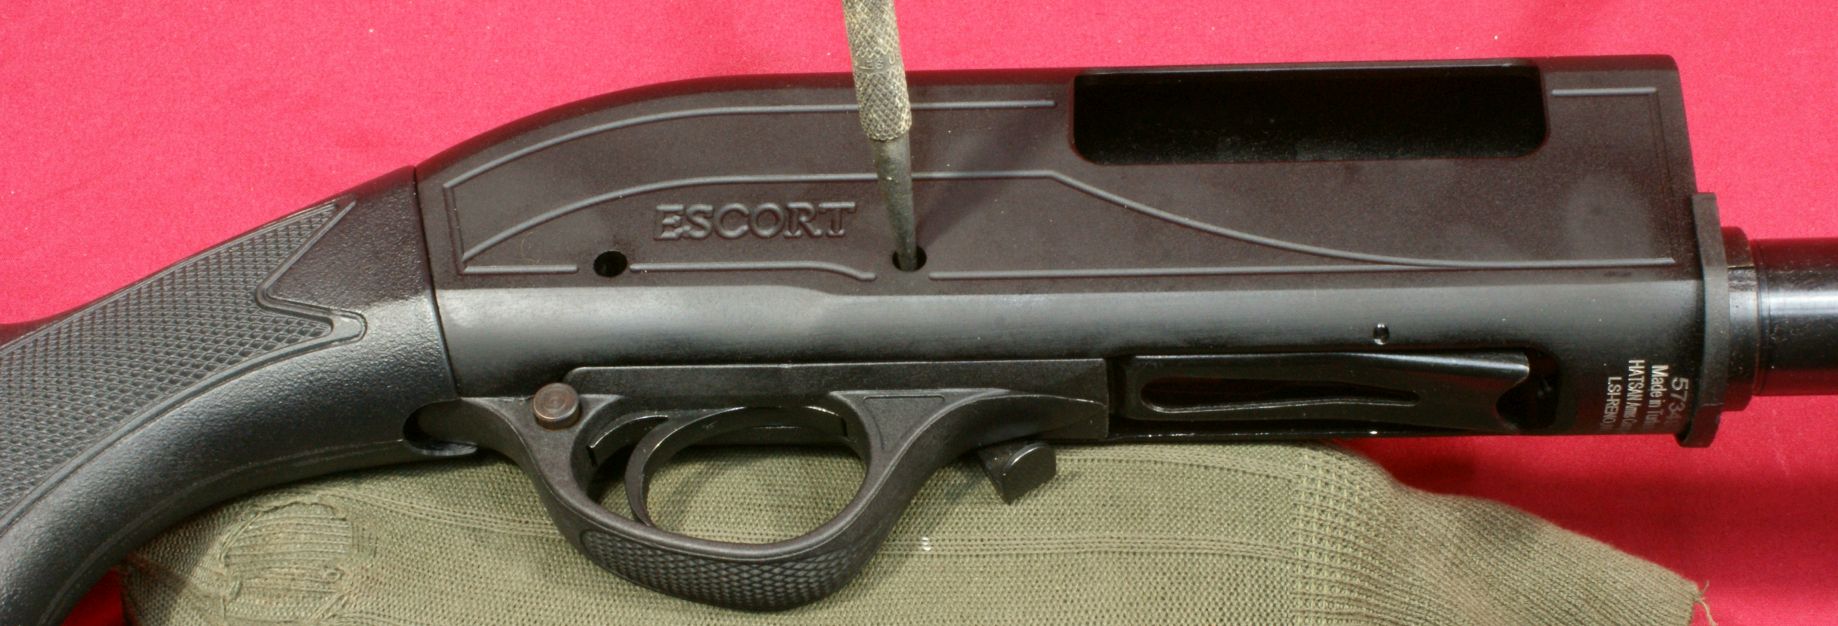
Step 2 - Release Action
Release the action and pull the action rearward about 1" as shown below.
Figure 4
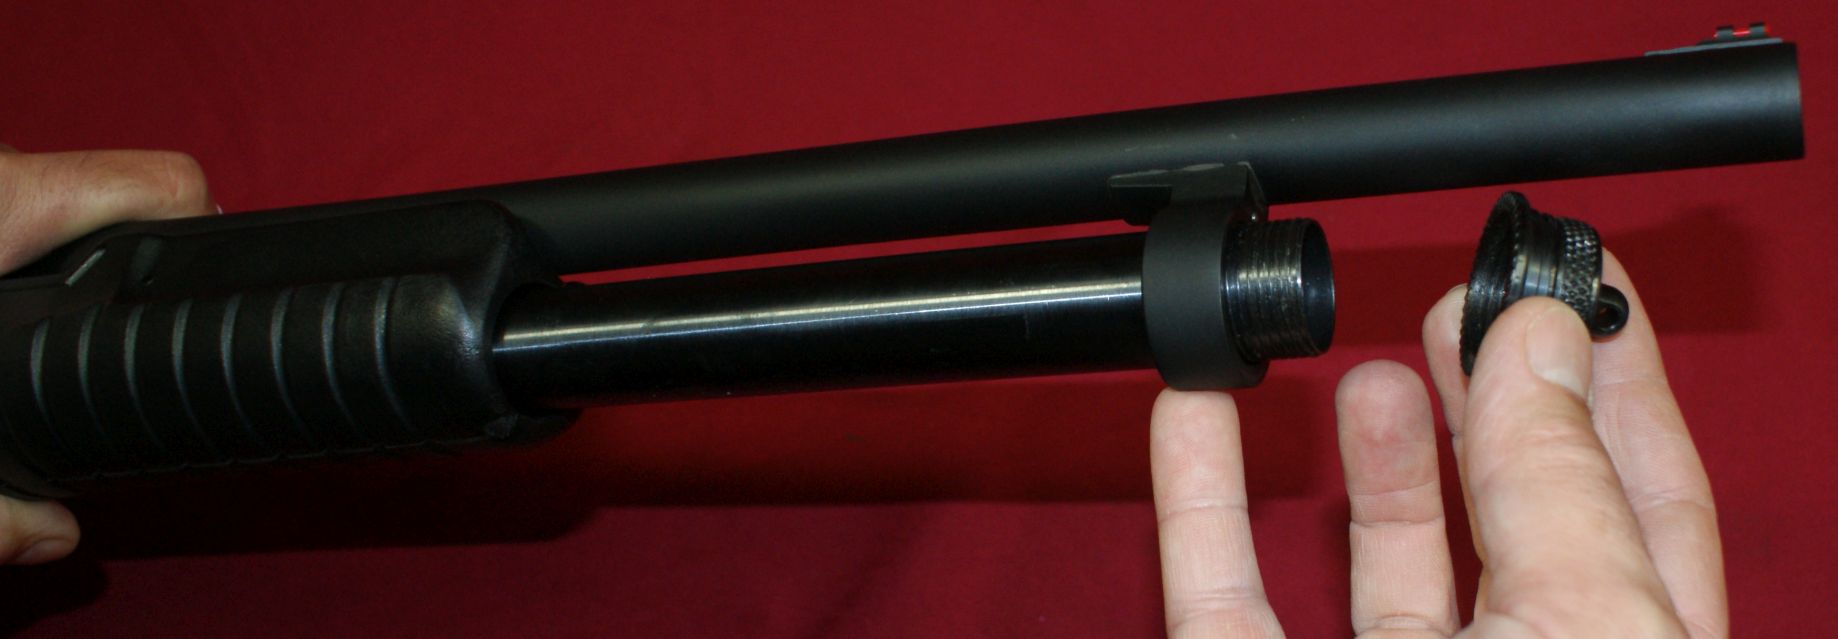
Step 3 - Remove Magazine Tube Cap
Unscrew and remove the magazine tube cap. You may also want to remove the plug.
Figure 5
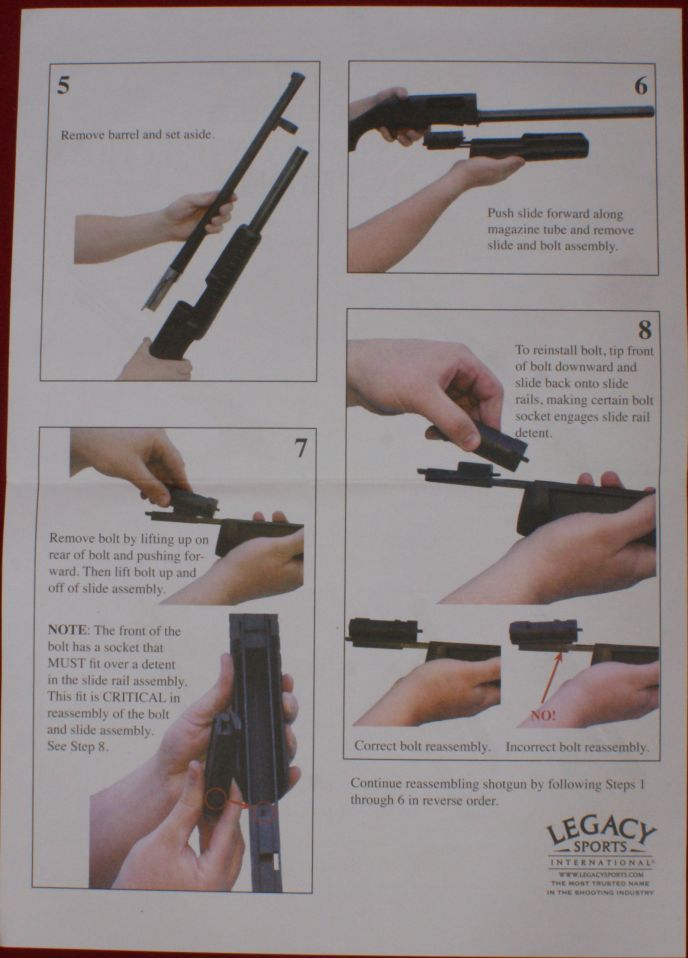
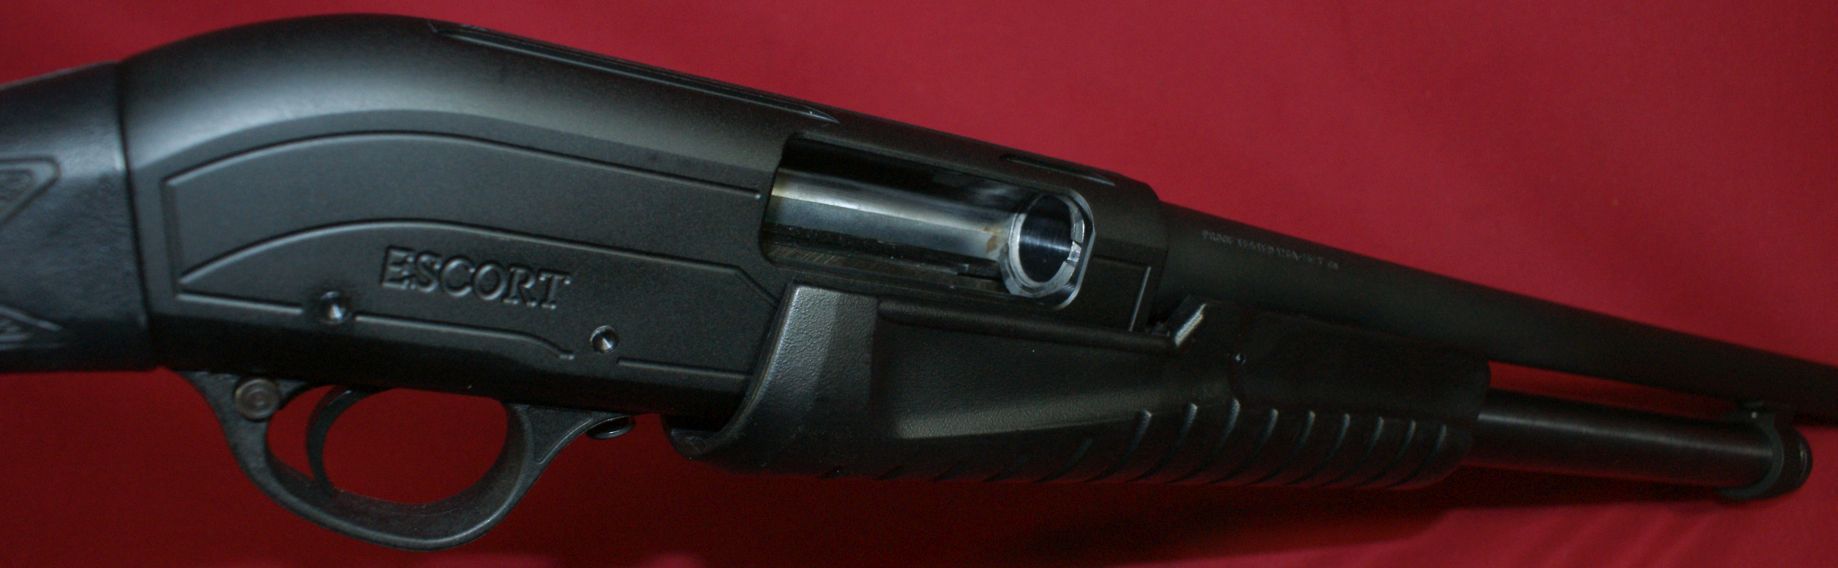
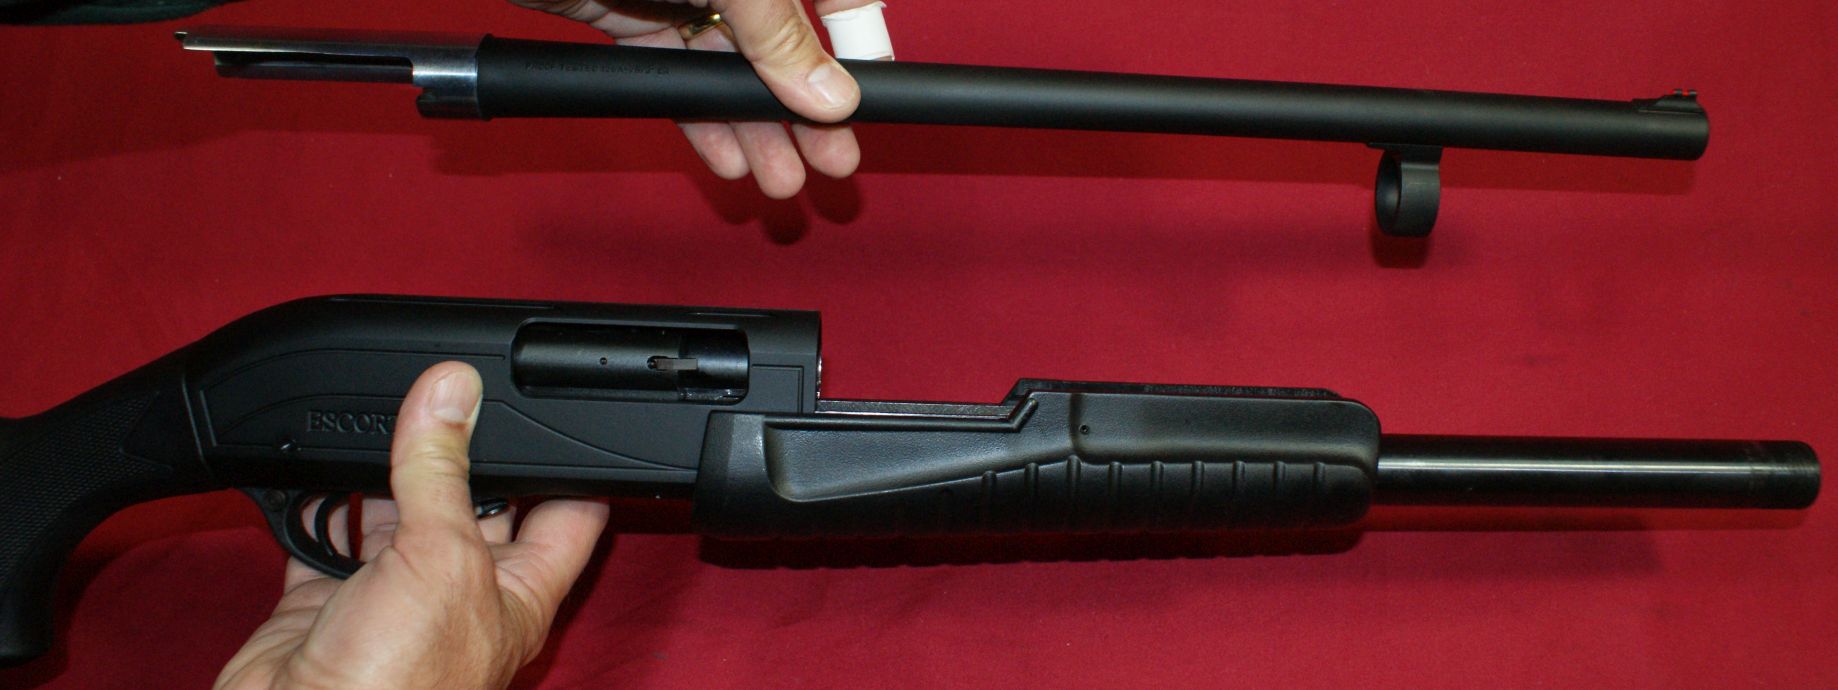
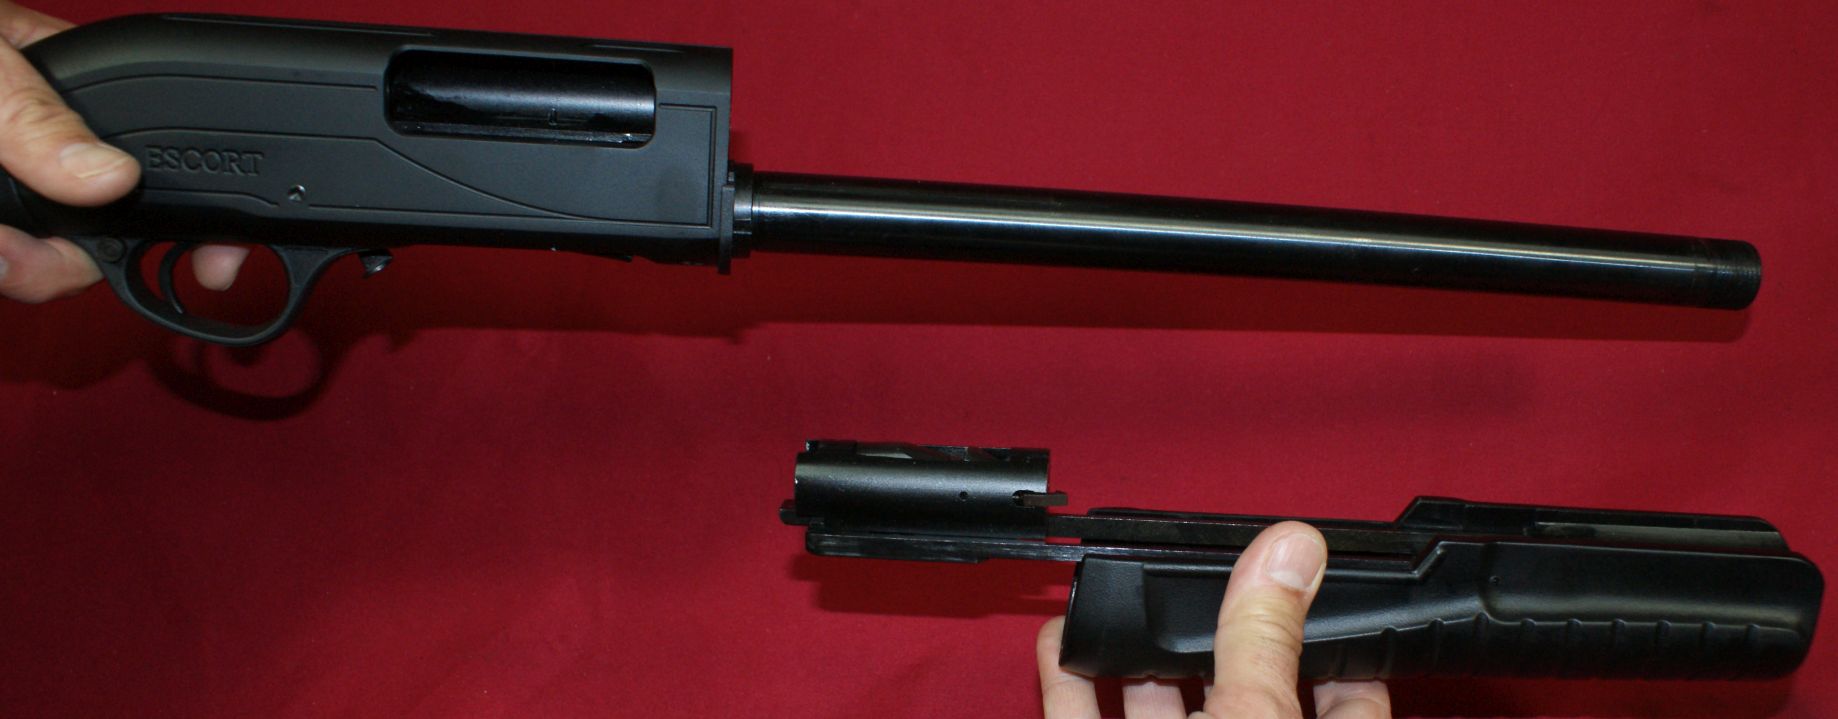
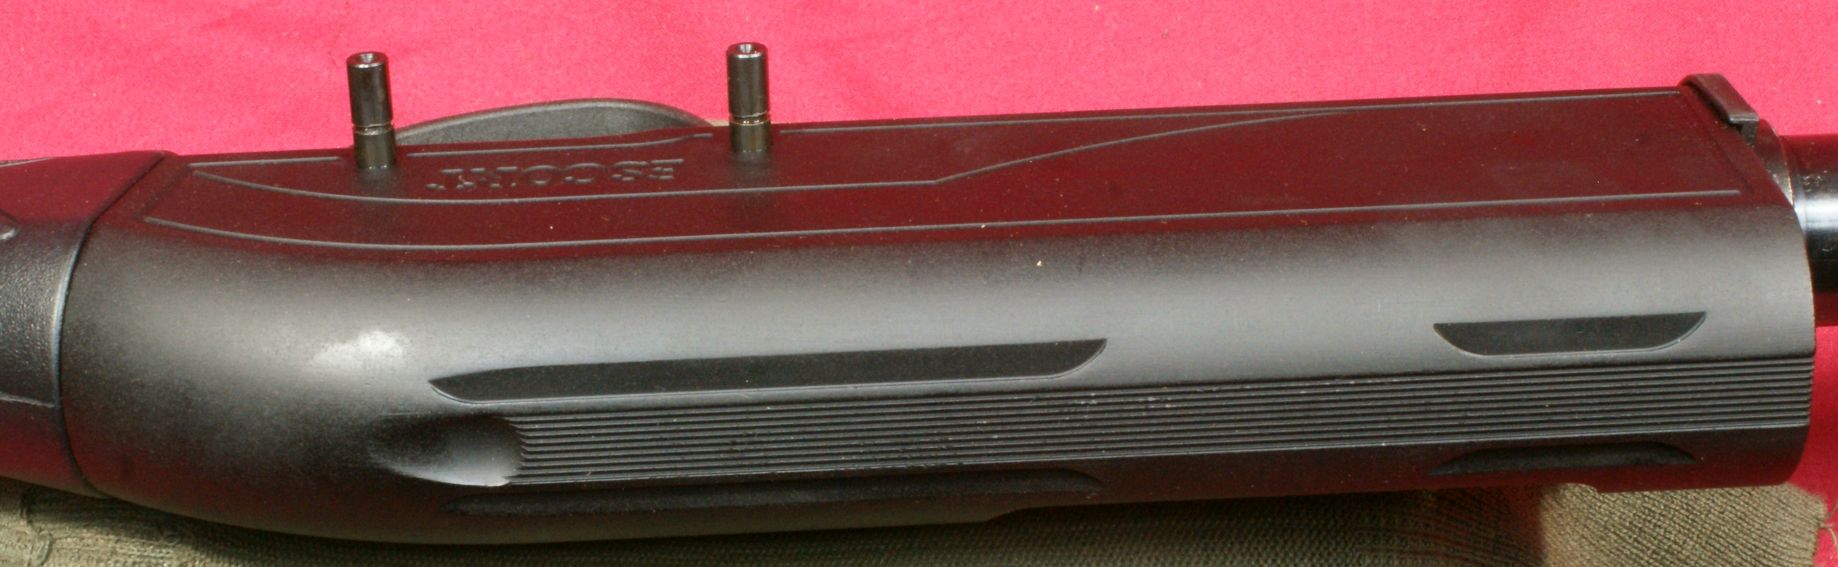
Step 4 - Remove Barrel
While holding the receiver area, pull the barrel forward out of the receiver and off the end of the magazine tube.
Figure 6
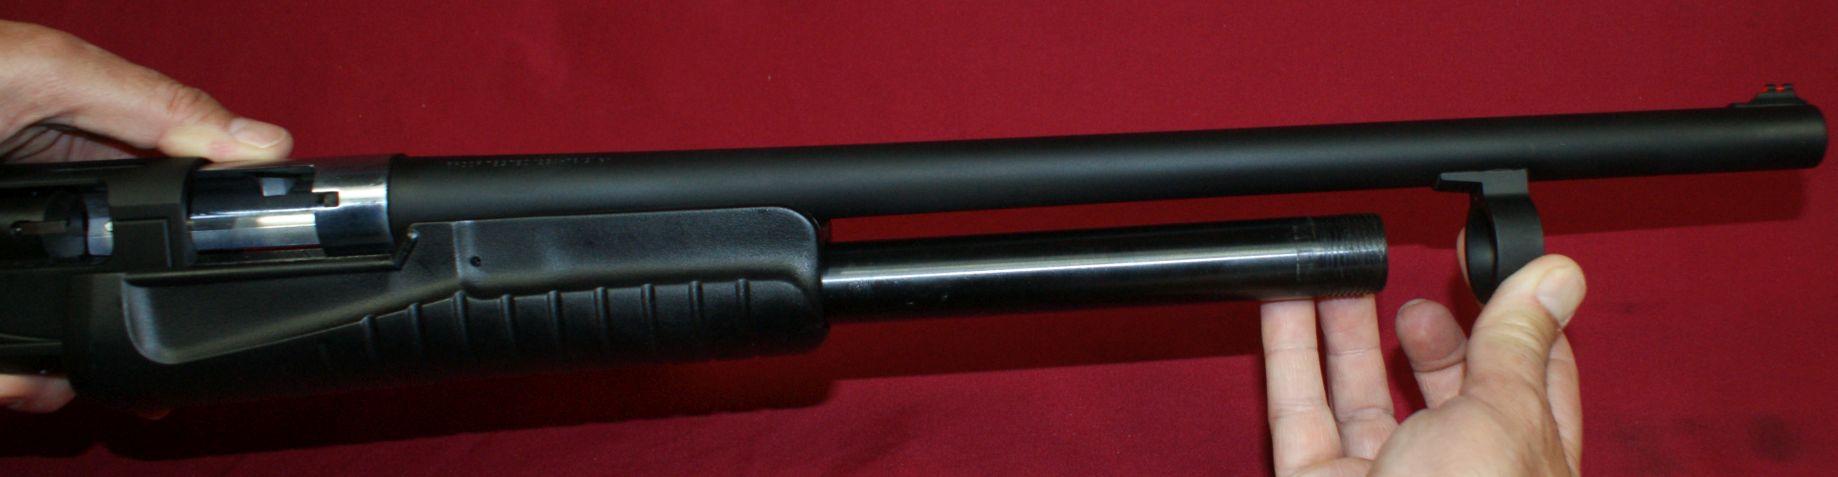
The barrel should come off easily on a new or relatively clean shotgun.
Figure 7
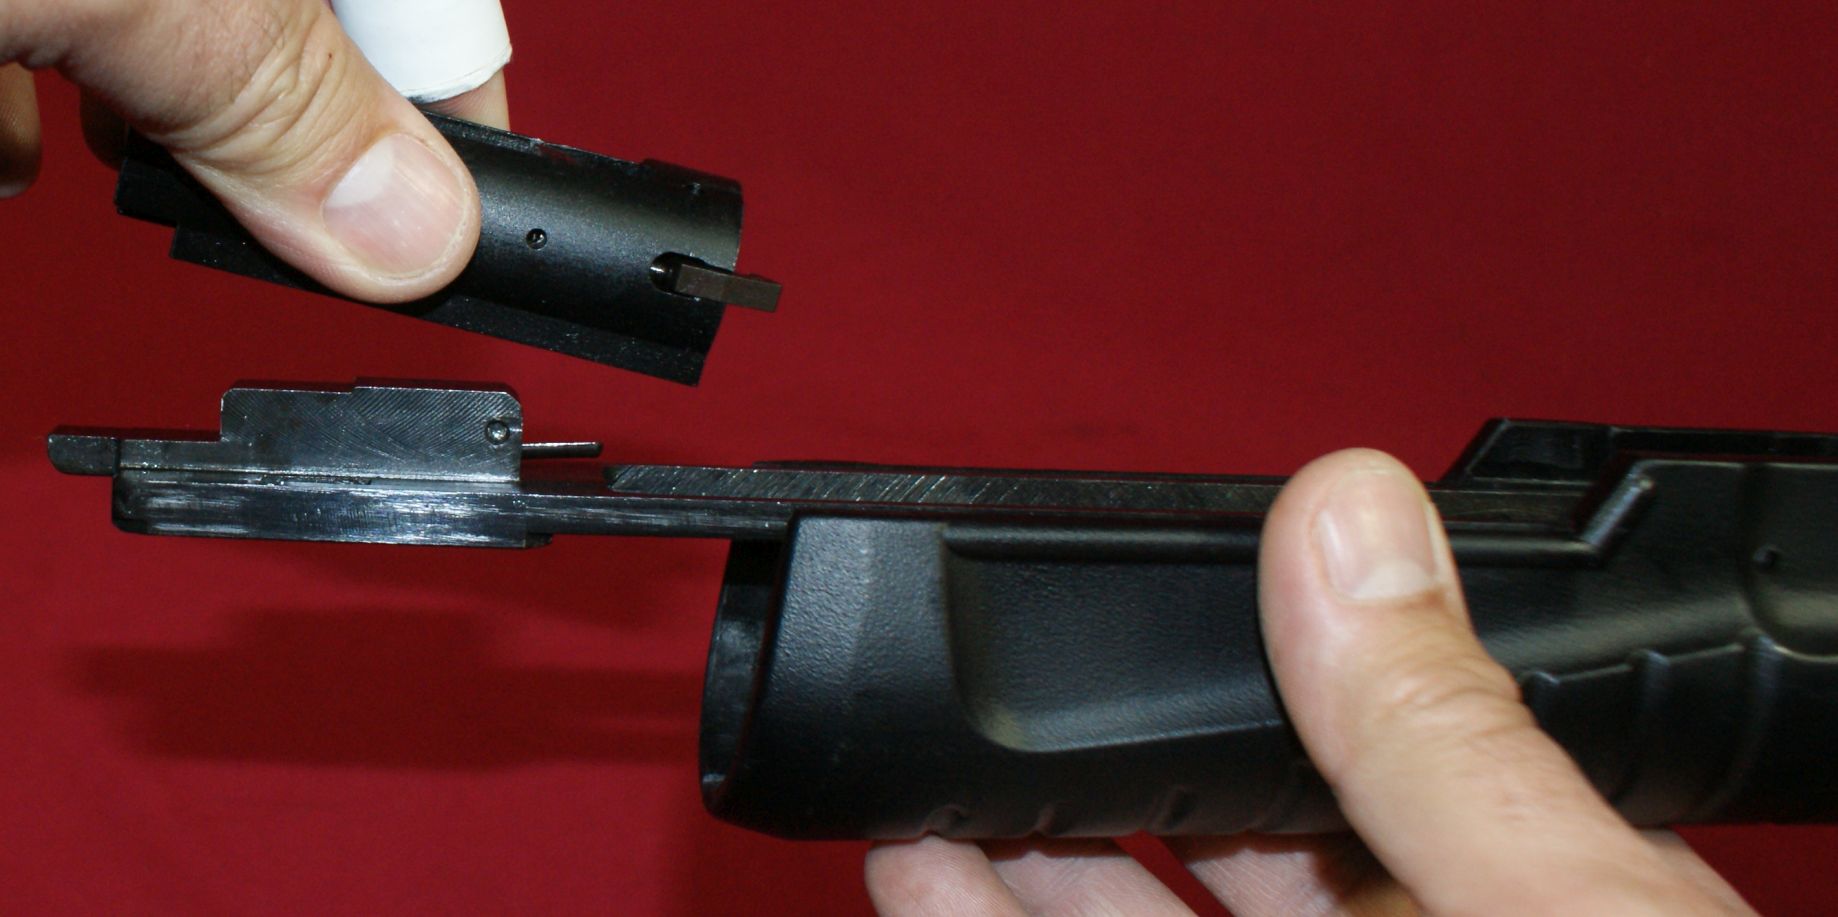
Step 5 - Remove Forend & Bolt
To remove the bolt, all you need to do is push forward on the forend and the action bars will pull the bolt out of the receiver. Make sure you are holding the shotgun with the top pointing up because the bolt just sits on the action bar plate.
Figure 8
The forend, action bar and bolt should slide off the magazine tube without any issue.
Figure 9
Step 6 - Remove Bolt
To remove the bolt, lift up at the rear and the push forward off the action bar assembly.
Figure 10
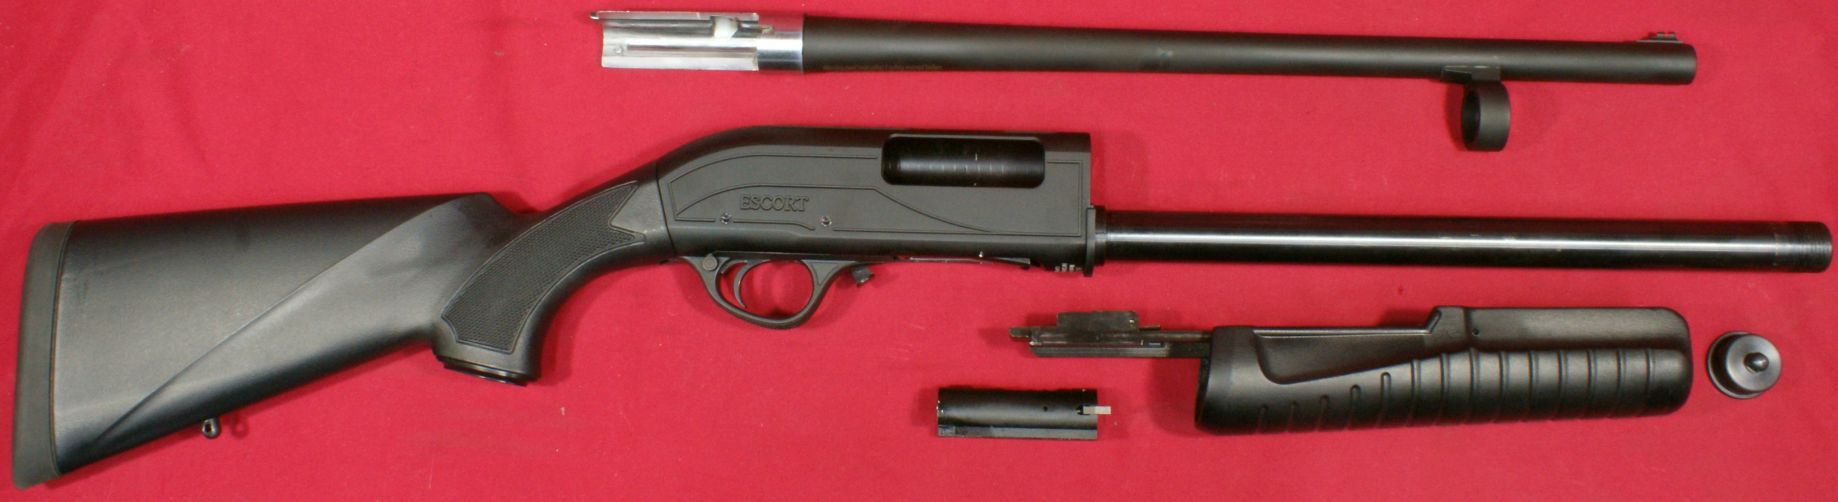
Fully Disassembled for Cleaning
Disassembly is very easy and only takes a couple of minutes to get to this level below. Reassembly is basically the reverse of disassembly. The two things to note for reassembly are that you must make sure the bolt is sitting down correctly on the action bar. If the front is tilted up due to improper installation, then you need to remove it and try again. It is not hard, it is just something that you need to be aware of during assembly. The next is that sometimes when reassembling the shotgun, I had to press on the inside right side of the receiver so that the action bar would slide back in place. I suggest watching the video in this part of my review for more details.
Figure 11
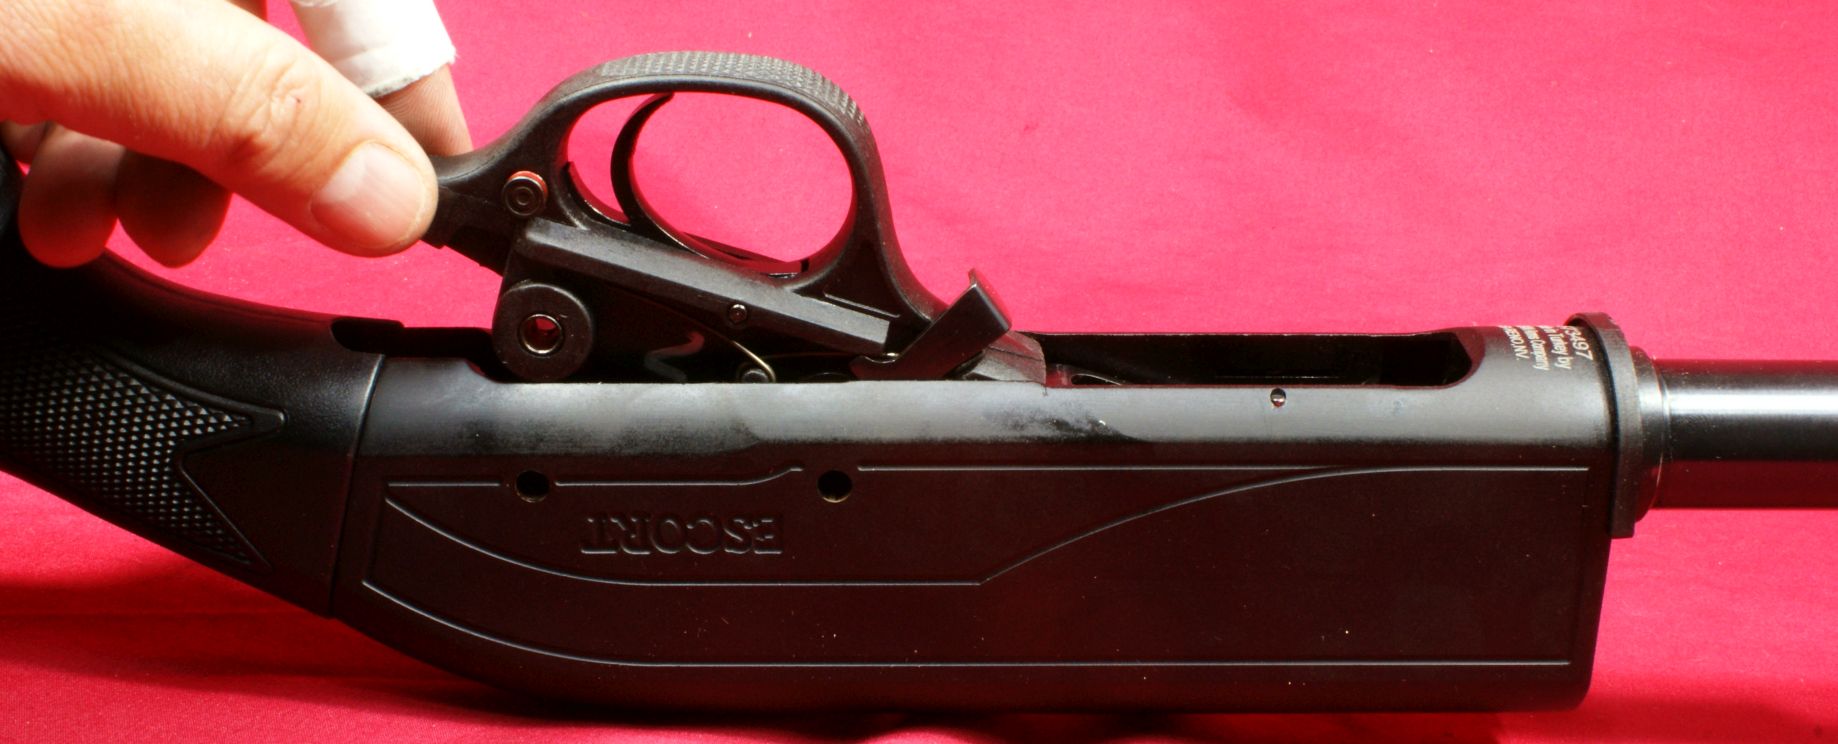
More Disassembly - Remove Trigger Housing Assembly
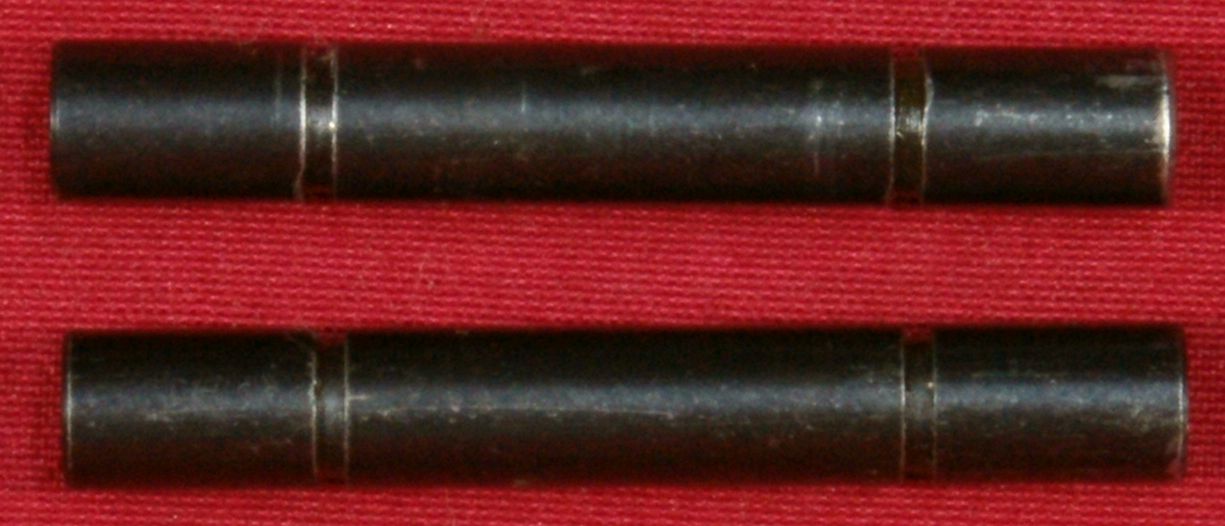
You can remove the trigger housing assembly by taking a punch and pressing out the two trigger assembly pins. Using the punch, knock the pins out from the right side of the receiver. This way only one groove in the pins have to pass the retaining clips.
Figure 12
With the pins exposed on the left side, I could easily pull them out with my fingers.
Figure 13
With the pins removed, you must lift at the rear of the trigger assembly and the entire assembly will lift from the receiver. It shouldn't take too much force and you might need to jiggle it slightly.
Figure 14
More Disassembly - Remove Magazine Spring
You can remove the magazine tube spring by taking a pair of sharp tipped pliers, I actually have a pair that are rounded just for this, and working the magazine spring retainer plug out of the magazine tube. Remember that the plug is under spring pressure and will want to shoot across the room so make sure you keep your thumb of the end of the tube when working it out and also make sure it is pointed in a safe direction. When the plug is removed, the spring will easily come out of the tube. The magazine spring follower can also be removed by pushing it forward with a cleaning rod.
Figure 15
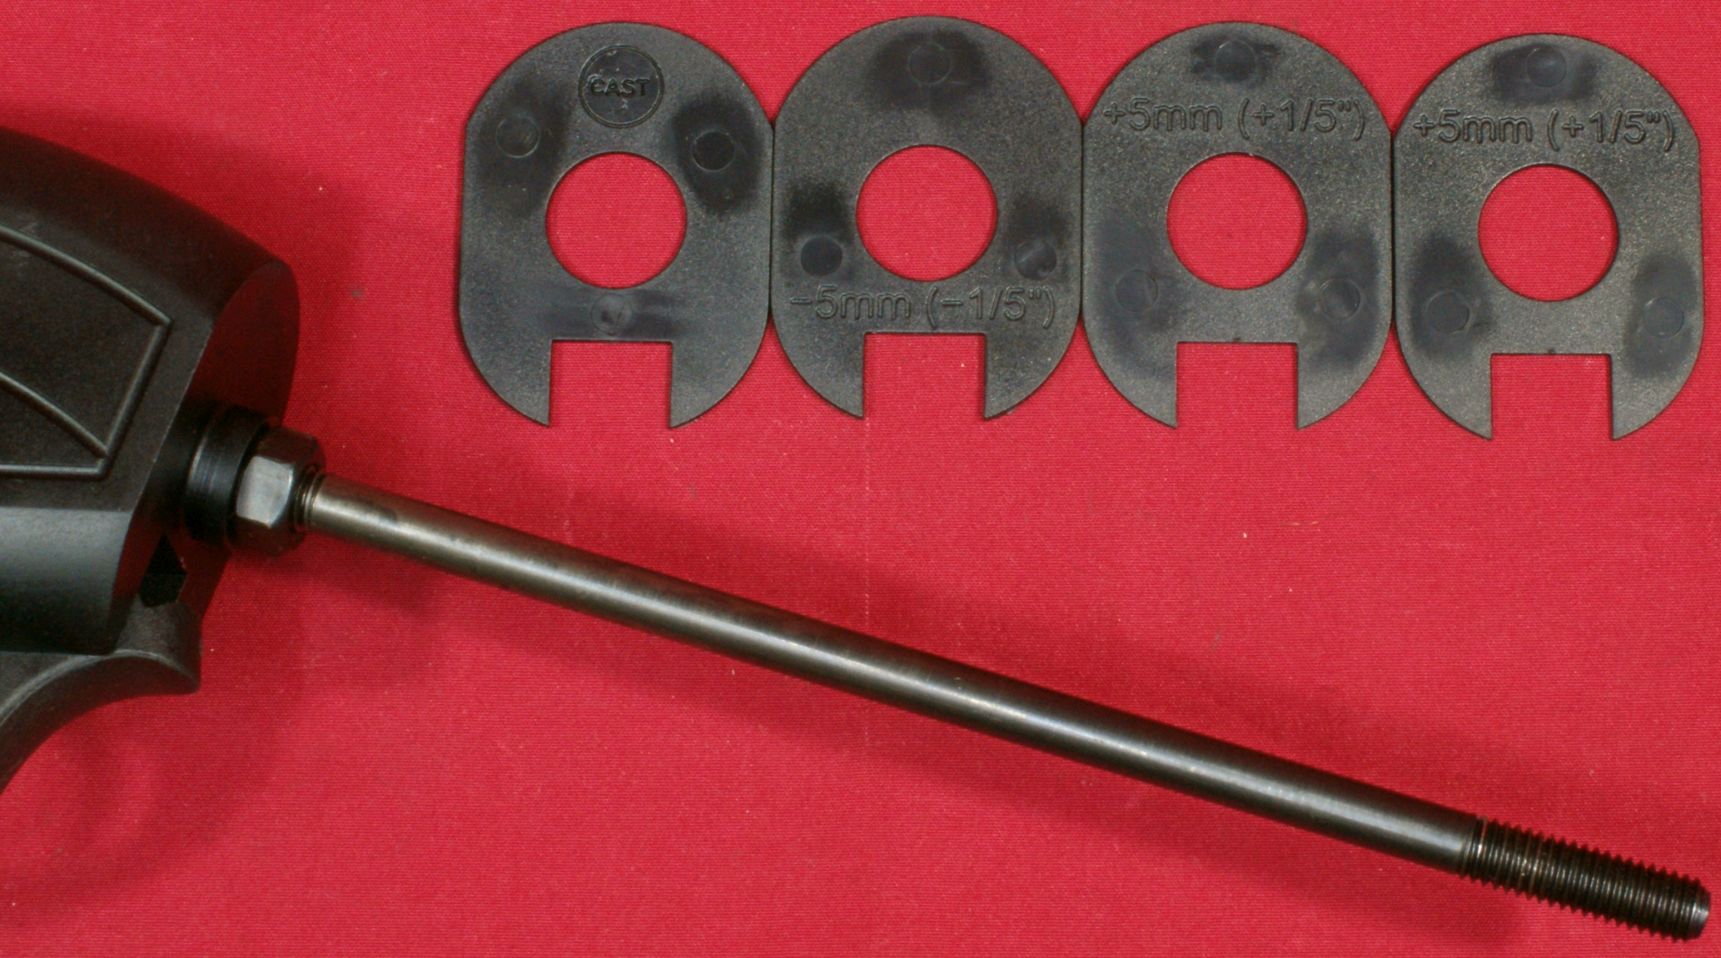
More Disassembly - Removing Buttstock
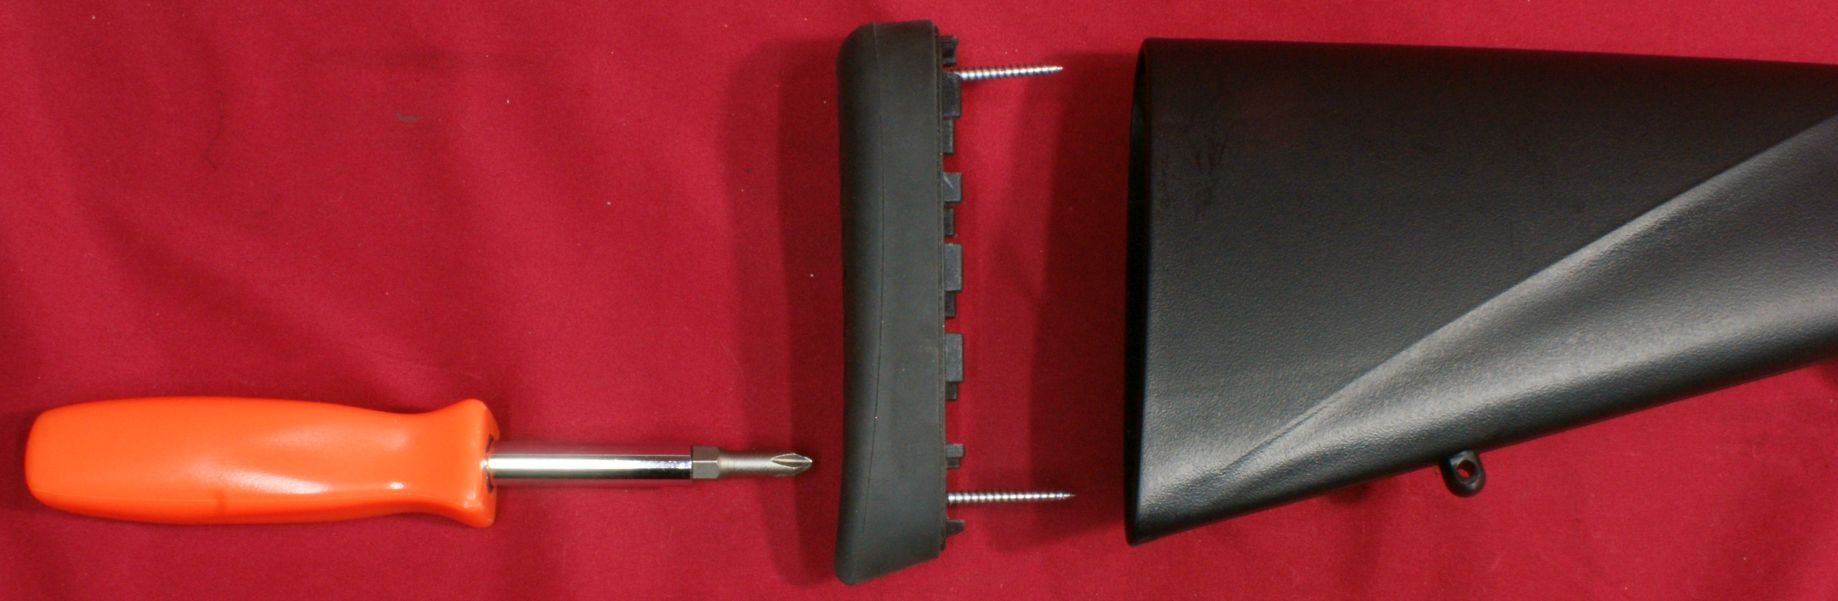
To remove the buttstock, you must first remove the buttpad. You can do this by inserting a Phillips screwdriver in the holes in the buttpad and removing the two screws. The screws are extremely long, so be patient.
Figure 16
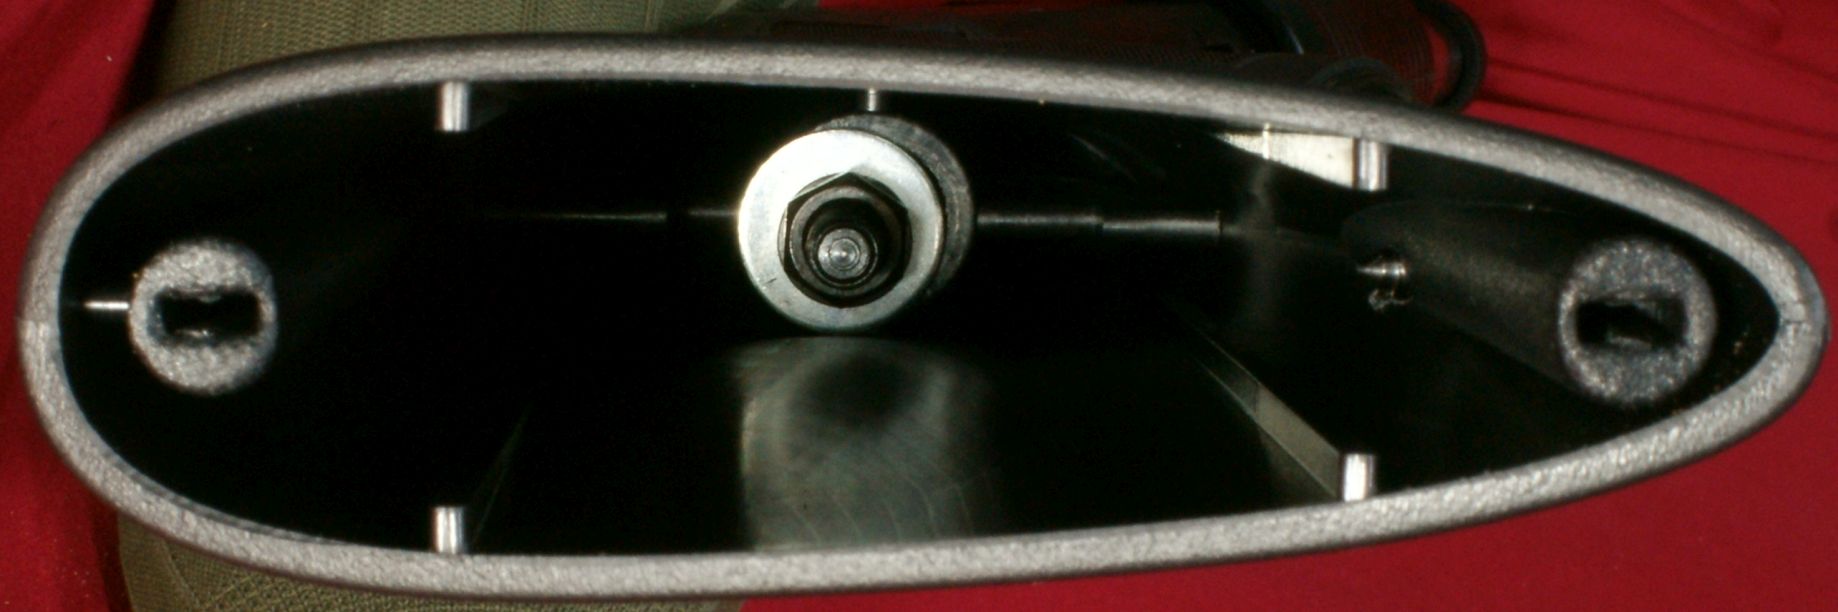
With the buttpad removed, you can see the end of the stock bolt and the nut that must be removed. I used a 13mm socked with an extension to remove the nut.
Figure 17
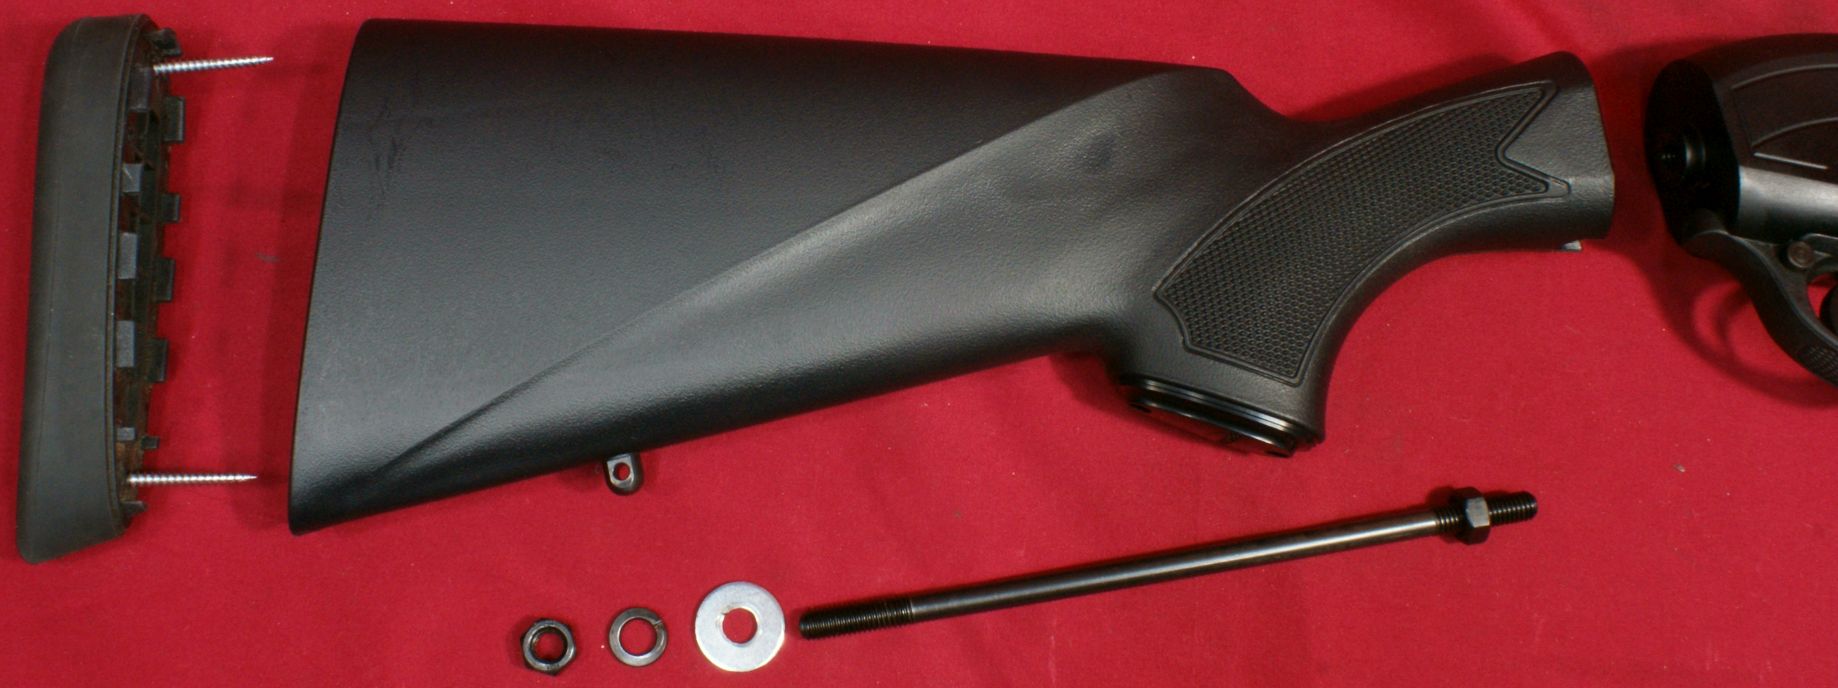
With the nut removed, the stock will come off the stock bolt. The stock bolt can also be unscrewed from the receiver. The stock bolt includes a jam nut to tighten it against the receiver. In my case, this jam nut was loose, so I suggest checking yours prior to heading to the range to ensure your stock doesn't work loose.
Figure 18
Internal Features
Although at first glimpse, it looks like the stock might be compatible with a Remington 870 shotgun, it is not. The stock and forend on this shotgun are not compatible with any Remington 870 or Mossberg 500 components.
Figure 19
Figure 20
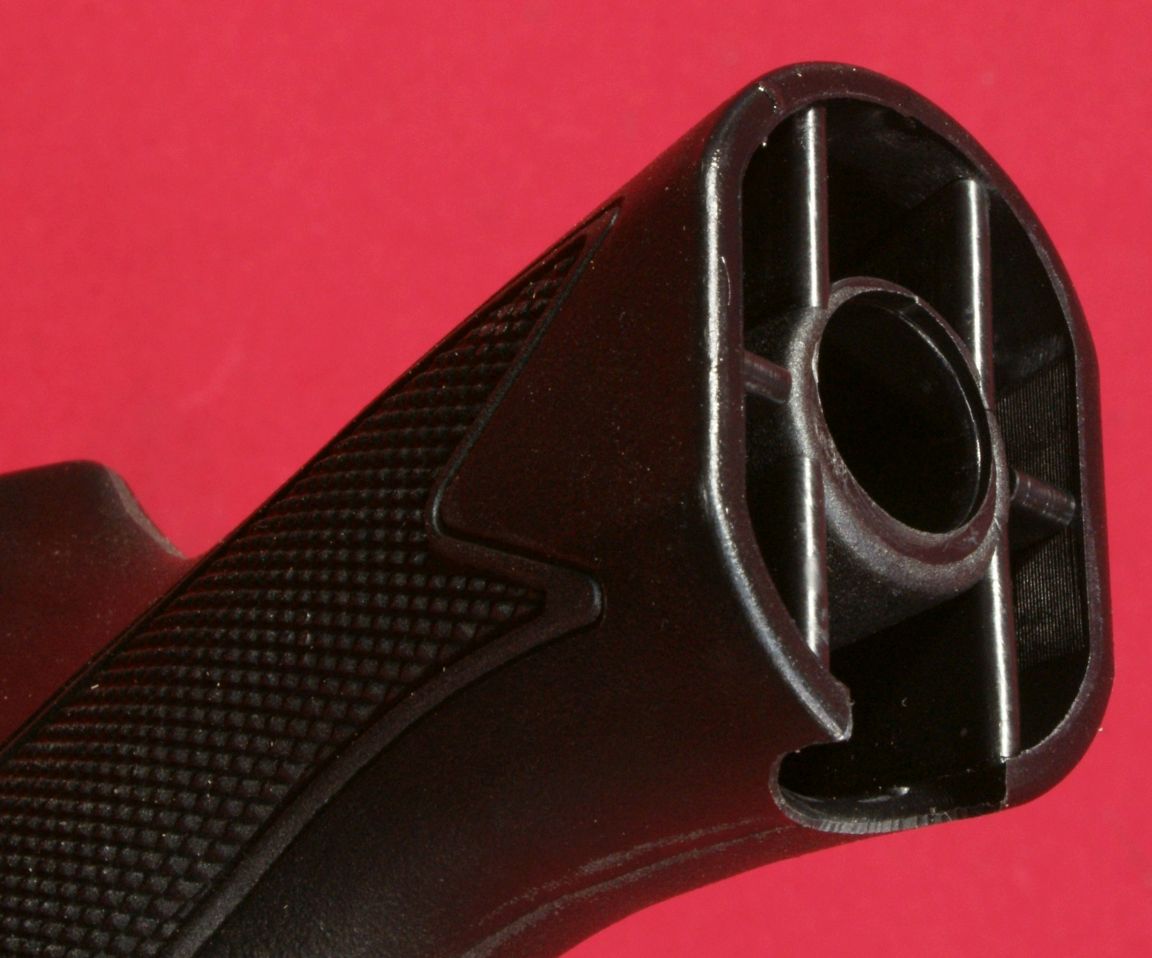
Removing the cover over the end of the grip area reveals a small area that could be used for storage.
Figure 21
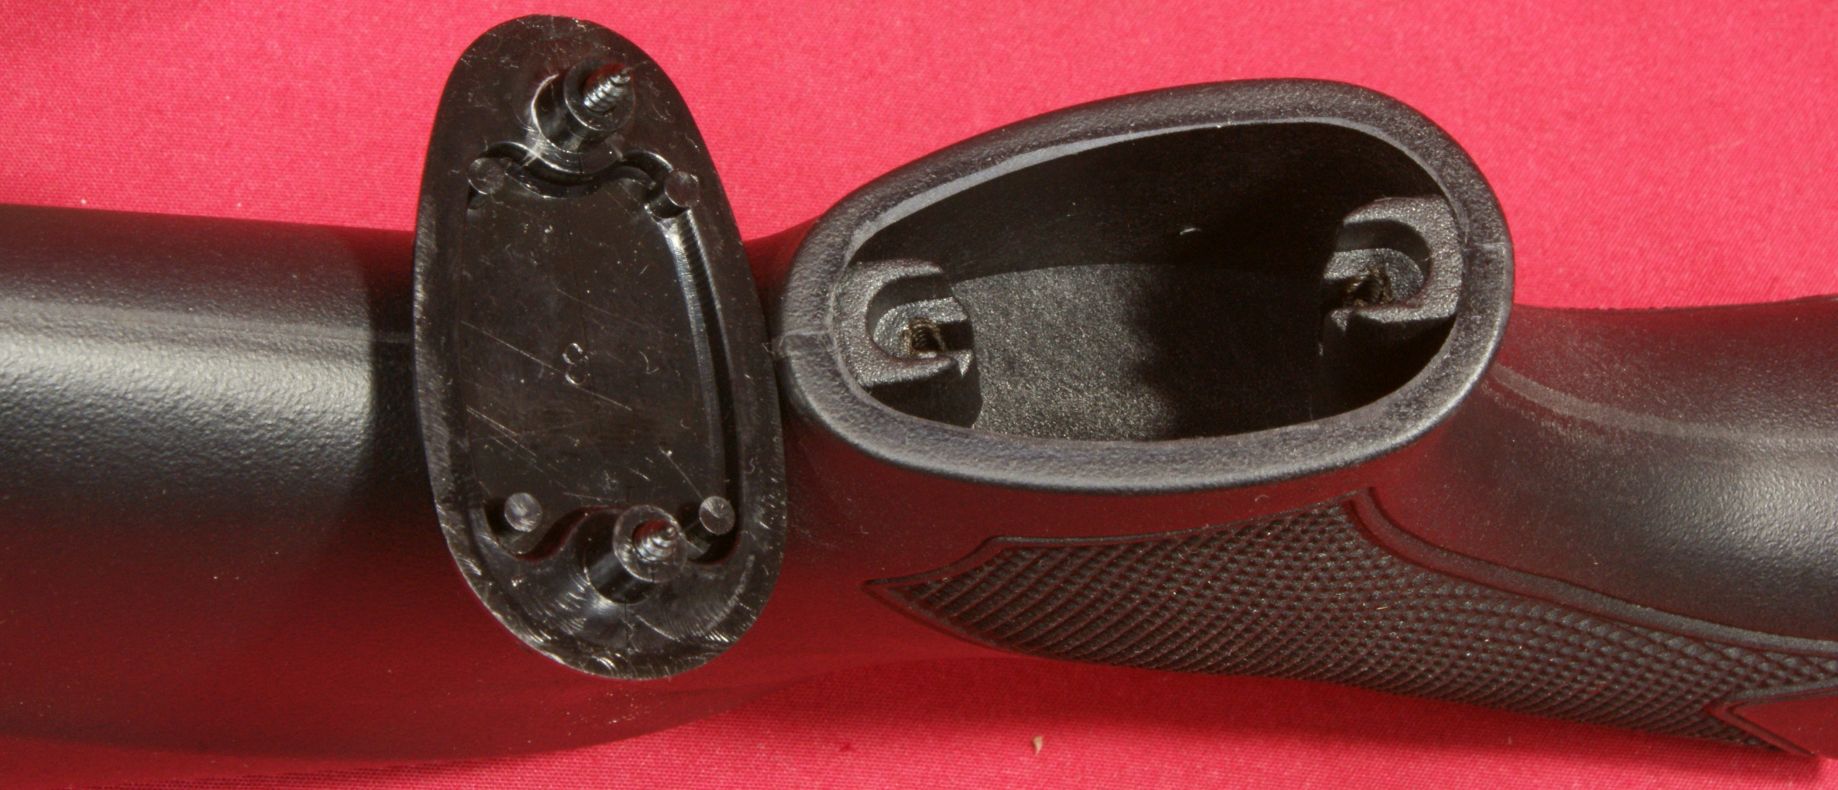
With the stock removed, you can see how the crop or cast spacer shims would sit against the rear face of the receiver.
Figure 22
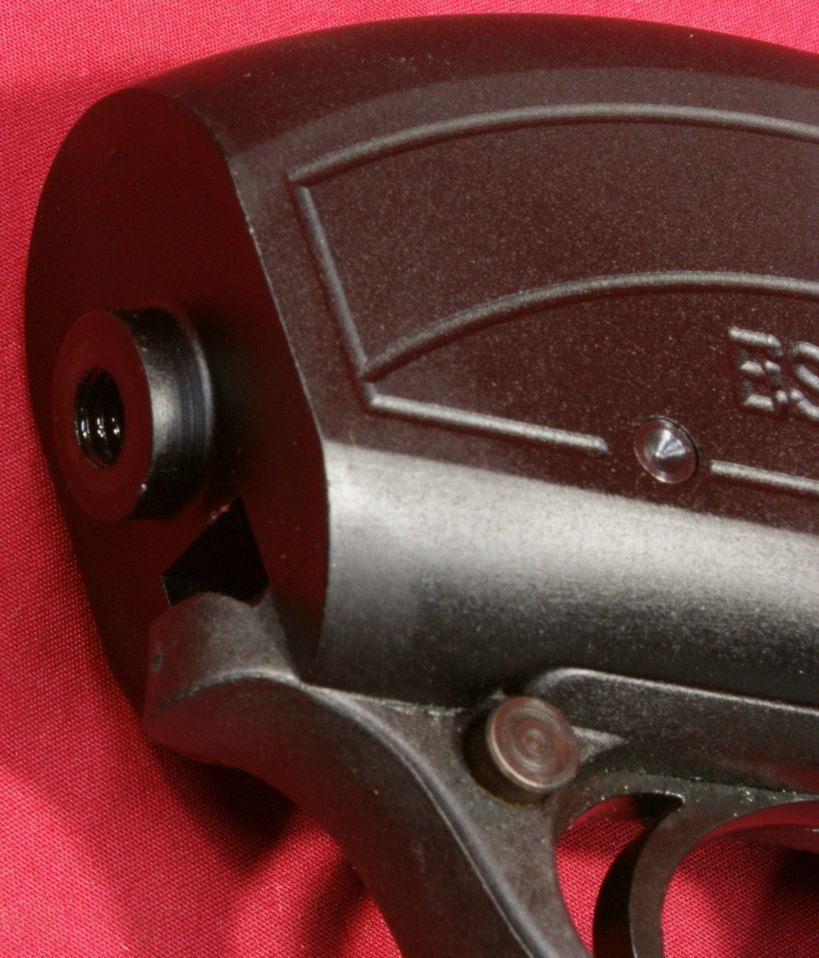
The sides of the receiver are very thick and beefy which is good for an aluminum receiver.
Figure 23

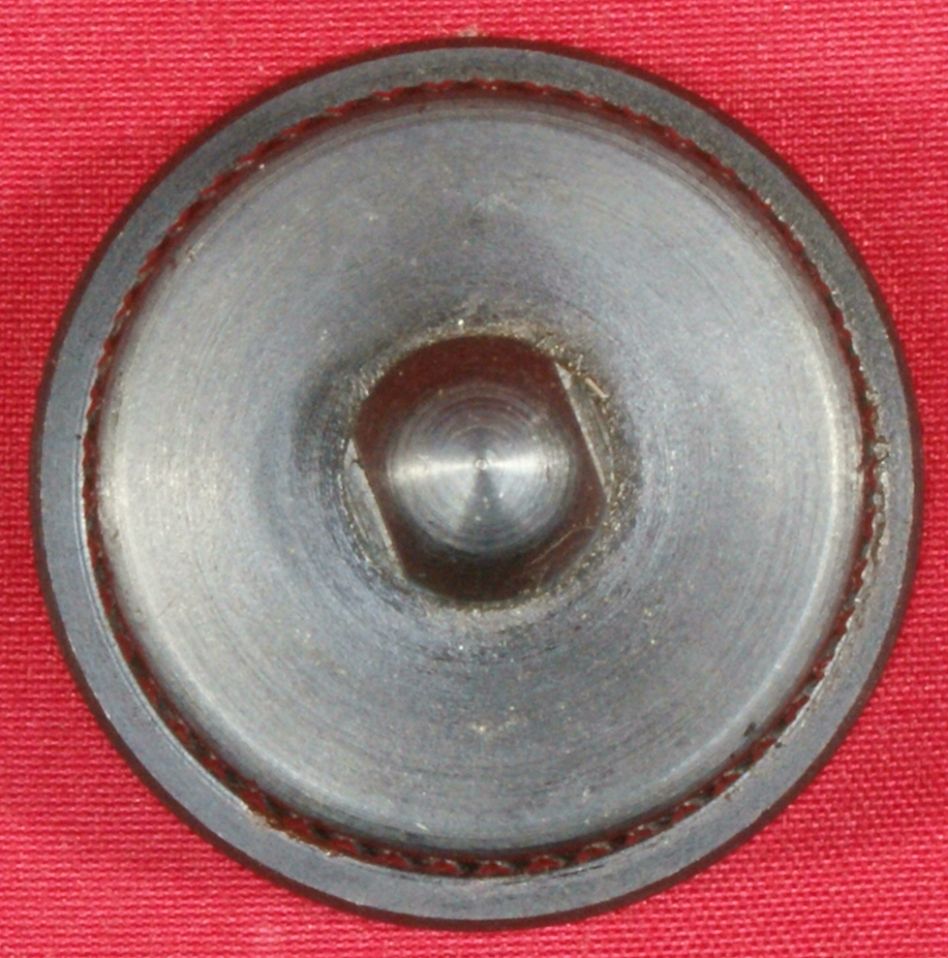
The stock bolt hole is fully threaded into the receiver, but the threads on the stock bolt will not extend into the receiver.
Figure 24
This view shows the magazine tube clear plastic follower.
Figure 25

These next photos show the trigger assembly. Overall it looks relatively simple. I would not recommend disassembly unless you are familiar with these types of components. I feel you could properly clean this unit with some compressed air, solvent and Q-Tips.
Figure 26
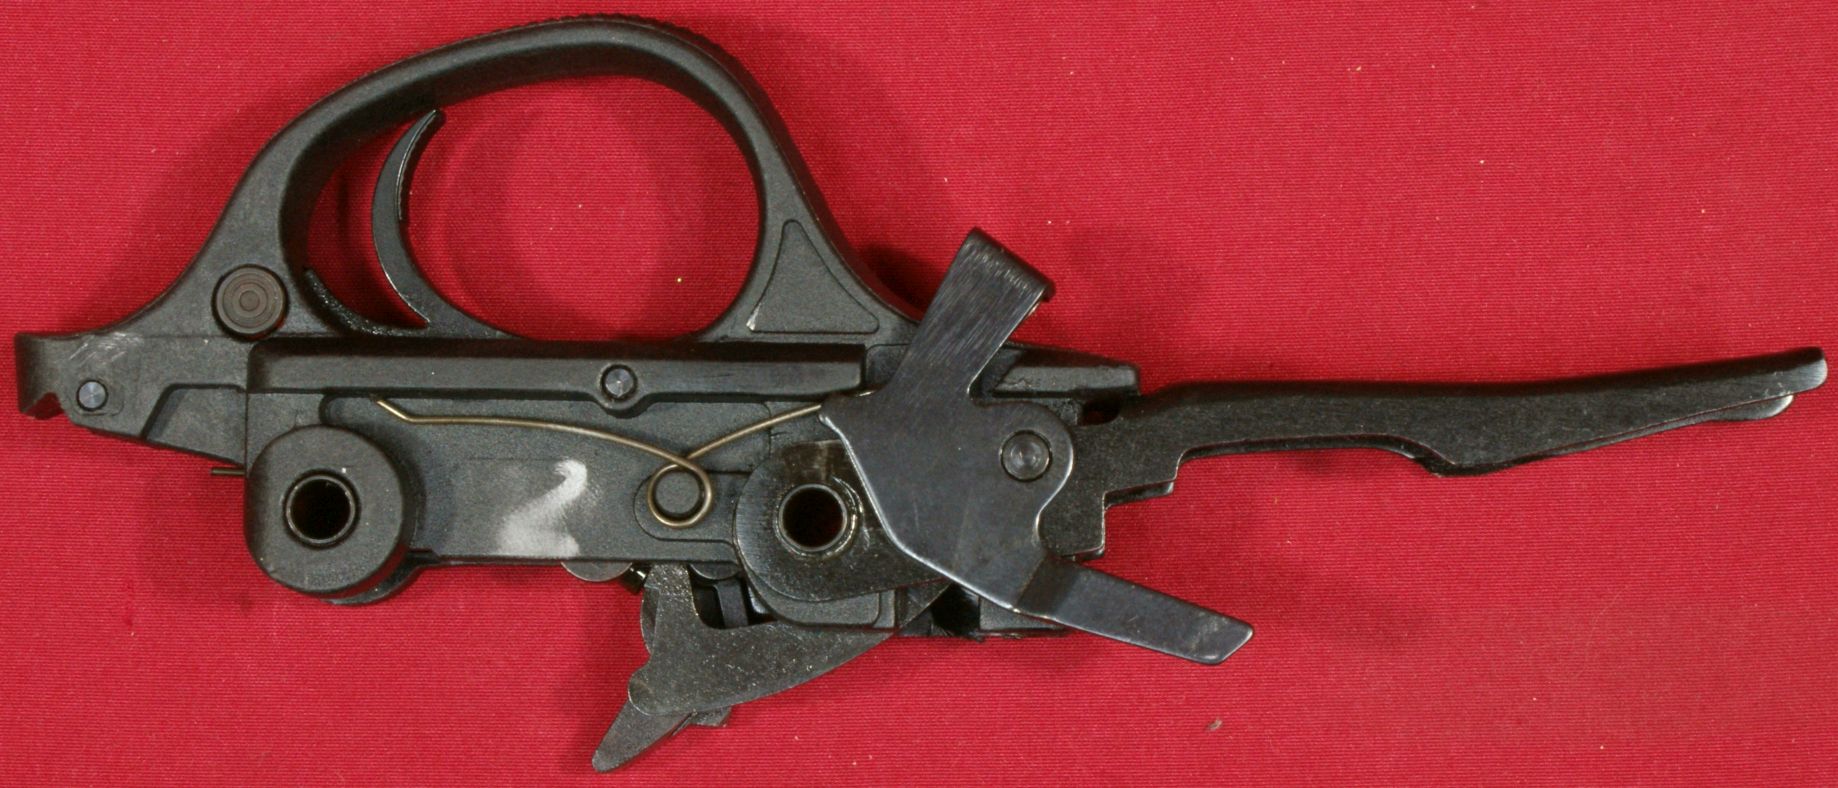
Figure 27

Figure 28
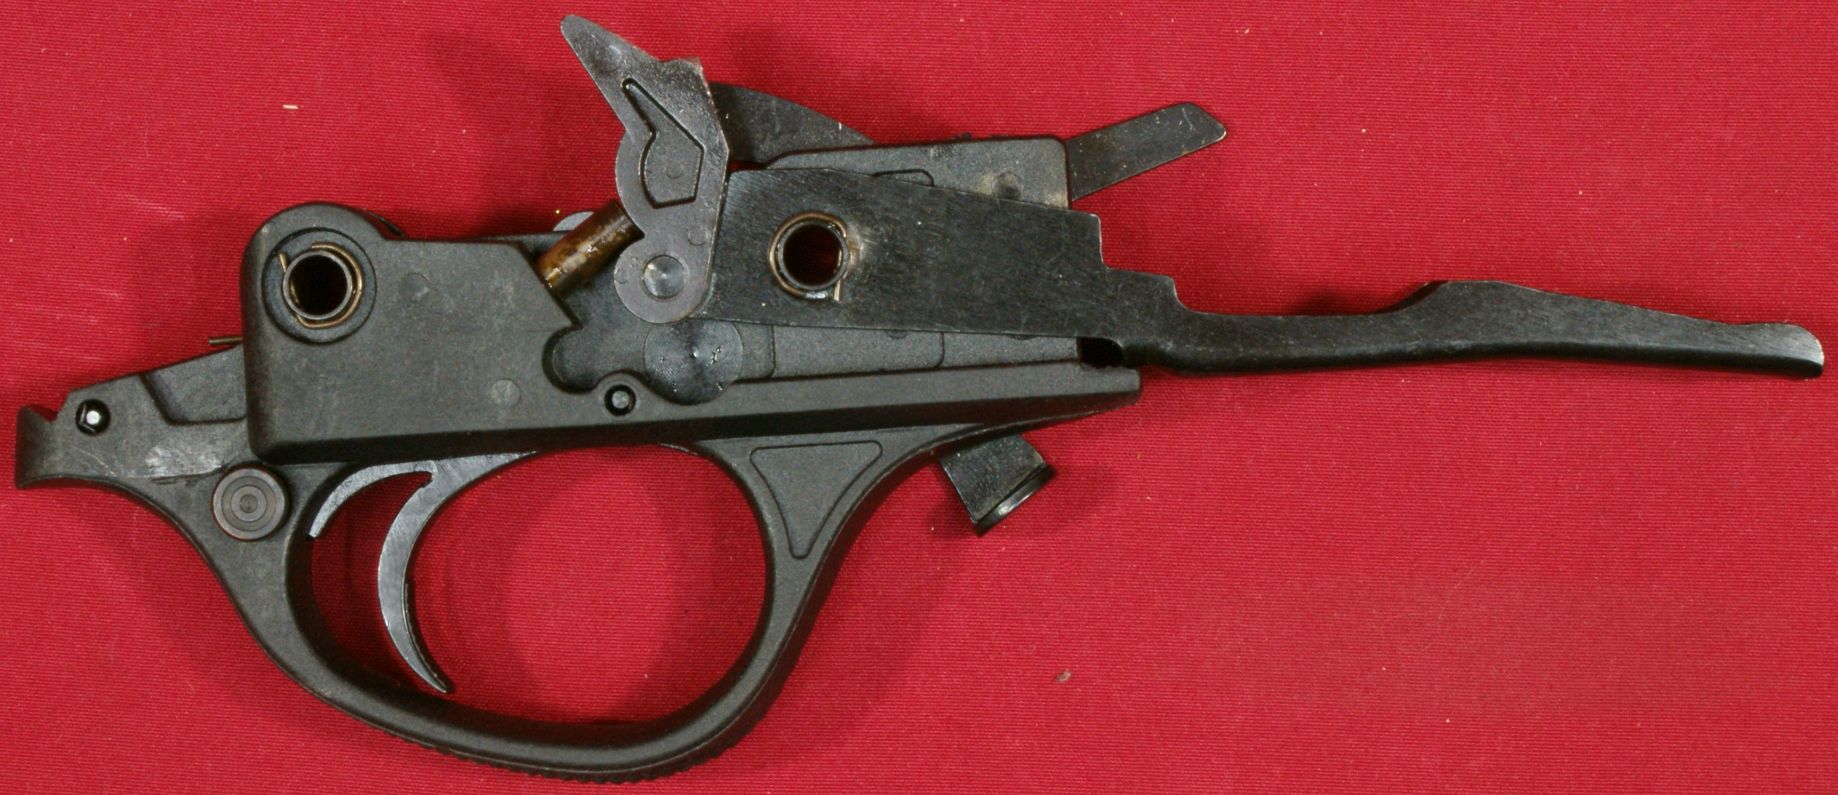
This next photo shows the hammer released.
Figure 29
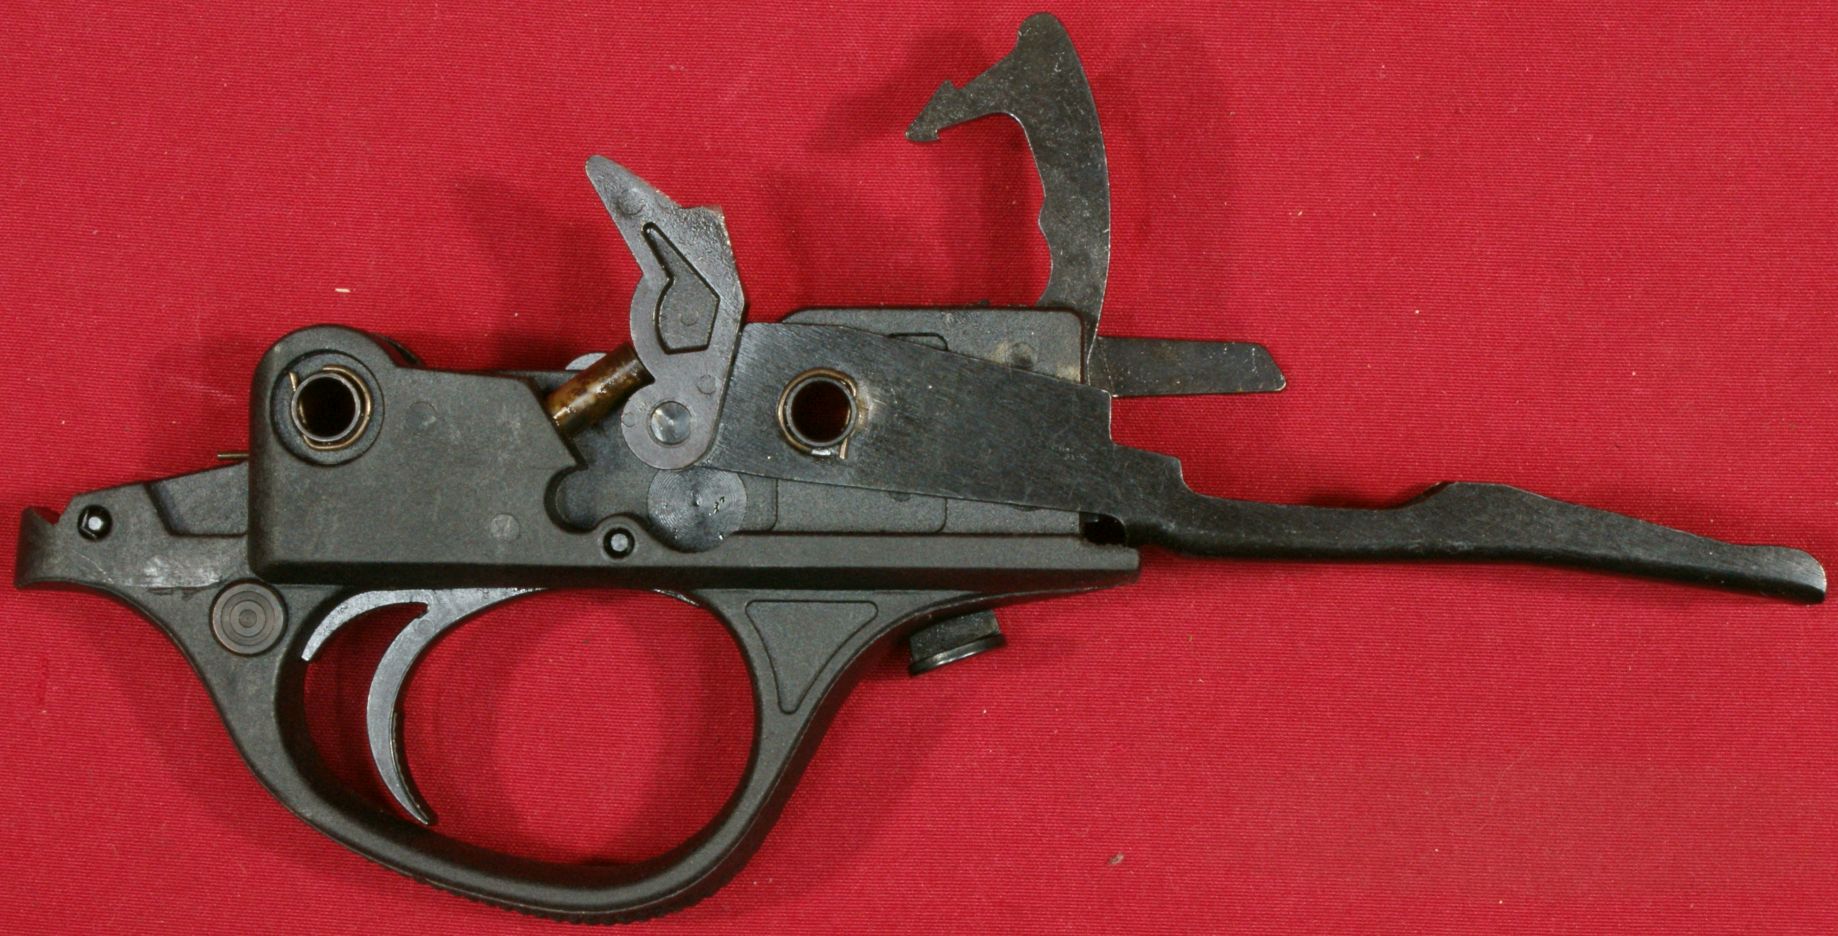
Figure 30 - Trigger Assembly Pins
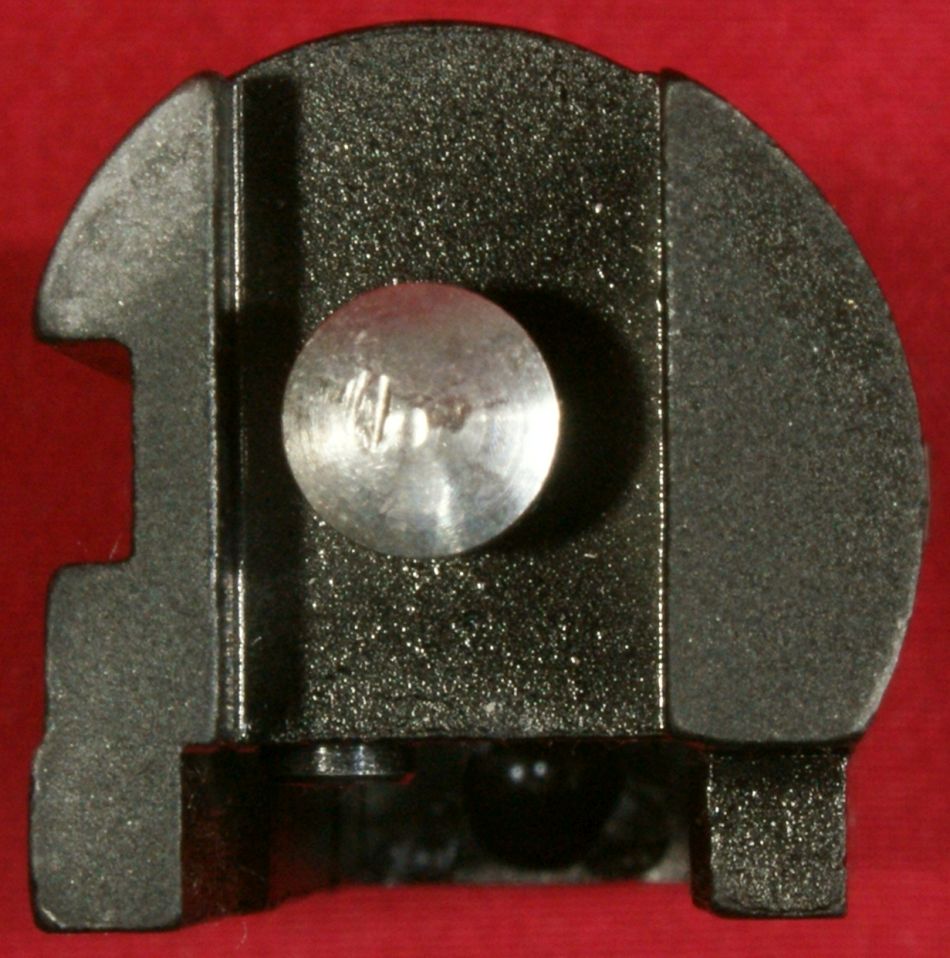
Bolt Assembly
Overall the steel bolt assembly looks like you would expect with regard to basic configuration. I will comment that the it looks a little rougher (less refined) than the one on my Remington 870 or H&R Pardner Pump shotguns.
Figure 31
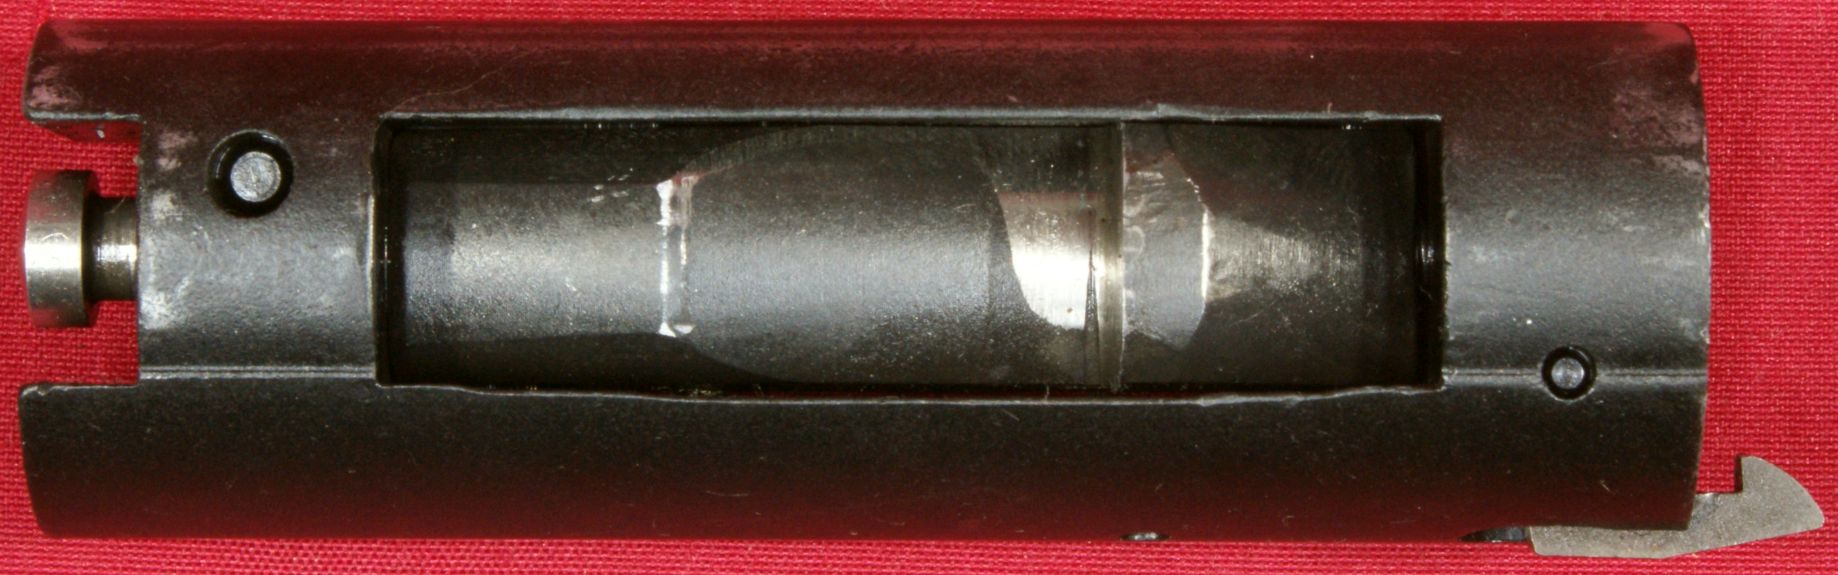
Figure 32

Figure 33
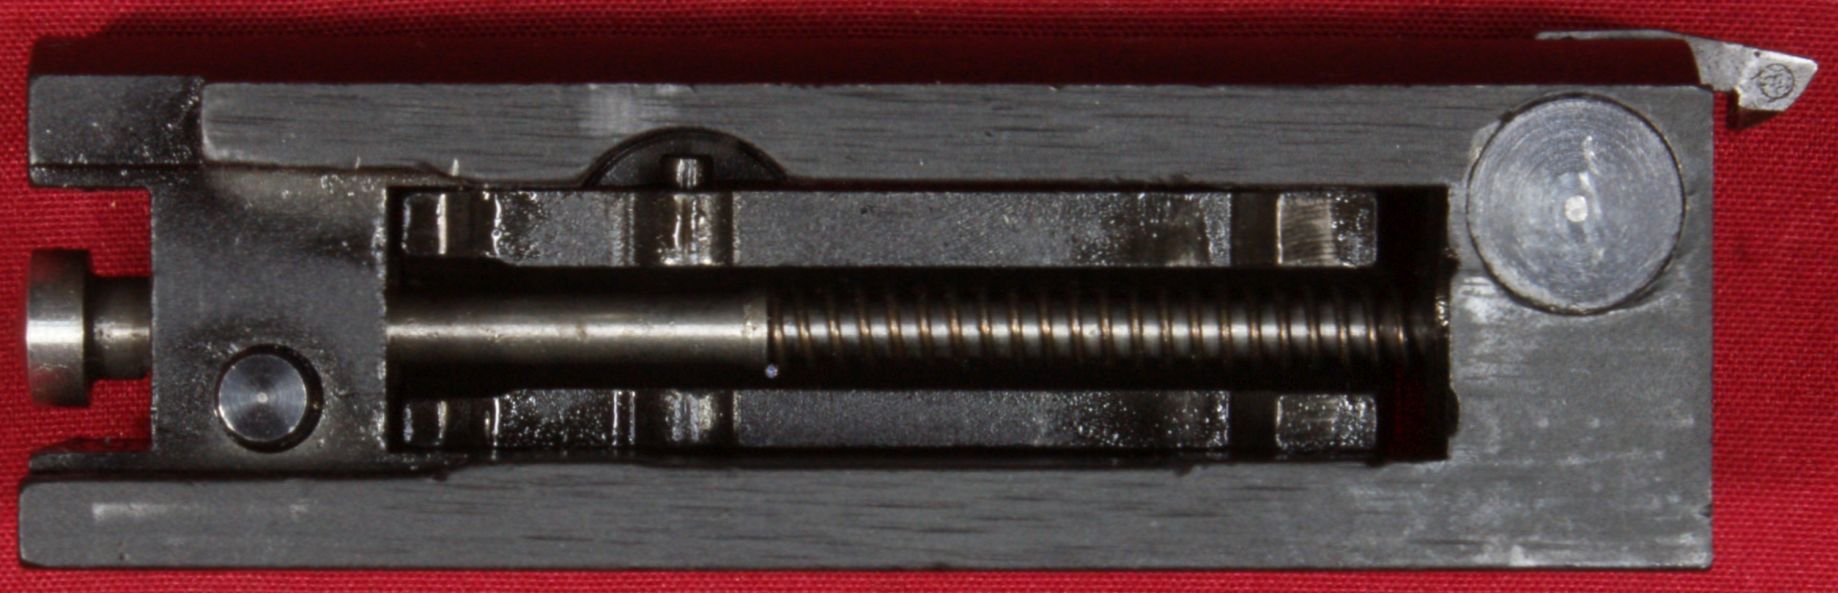
Figure 34
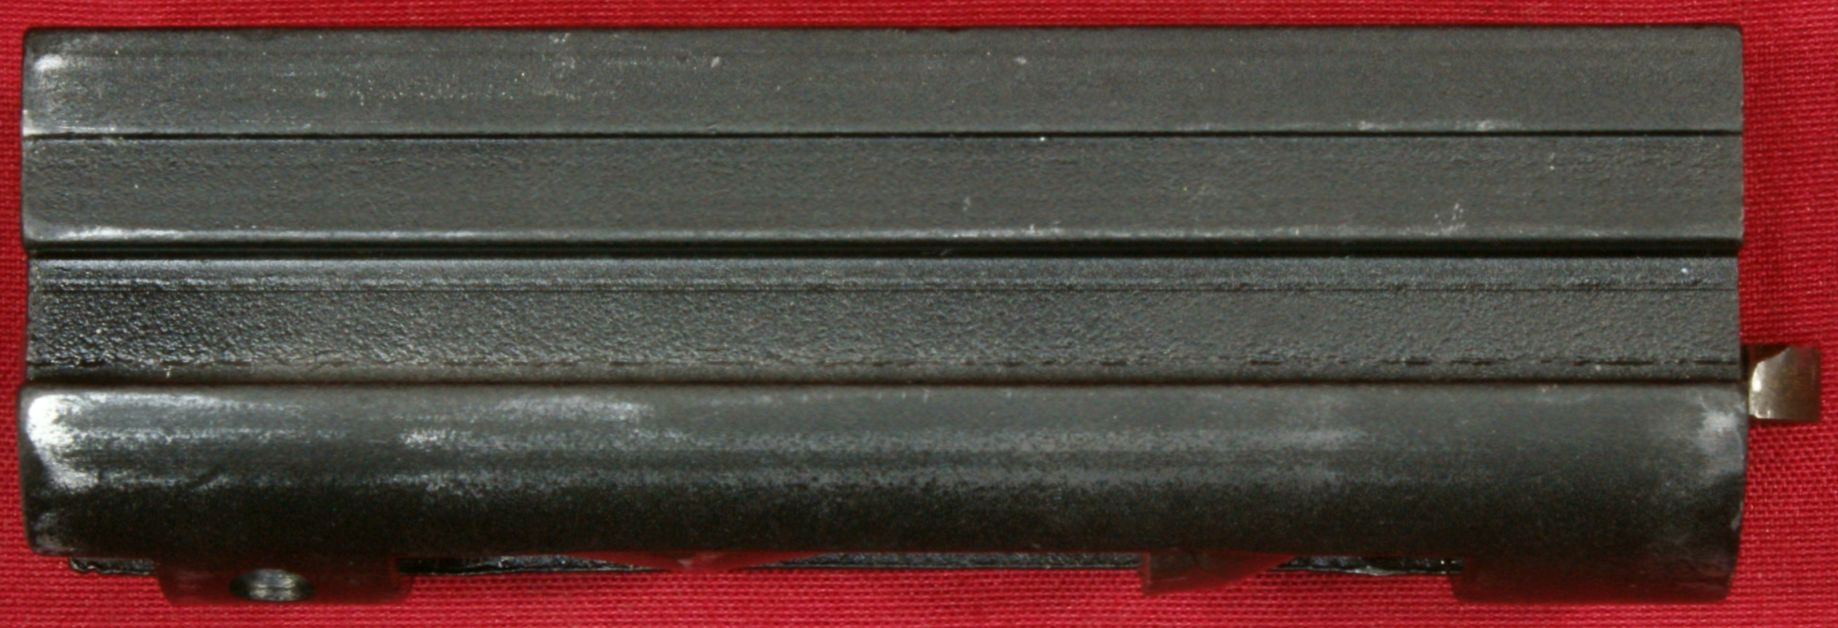
Figure 35
Figure 36
Forend and Action Bar Assembly
The steel dual action bars are actually a single part and are pinned to the forend.
Figure 37

Figure 38

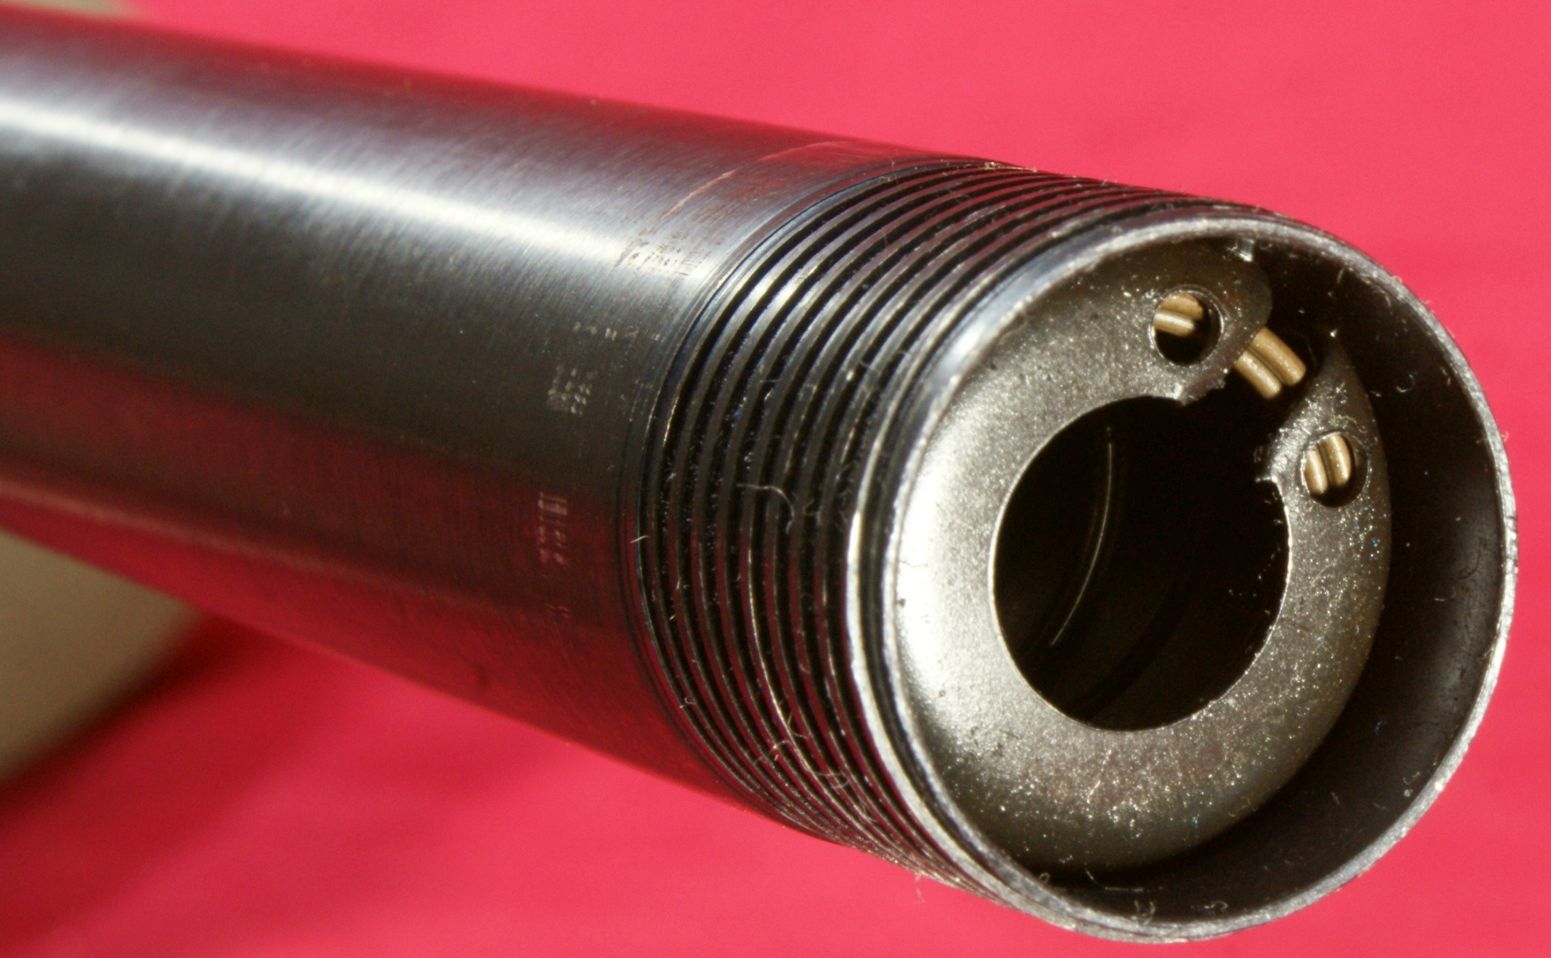
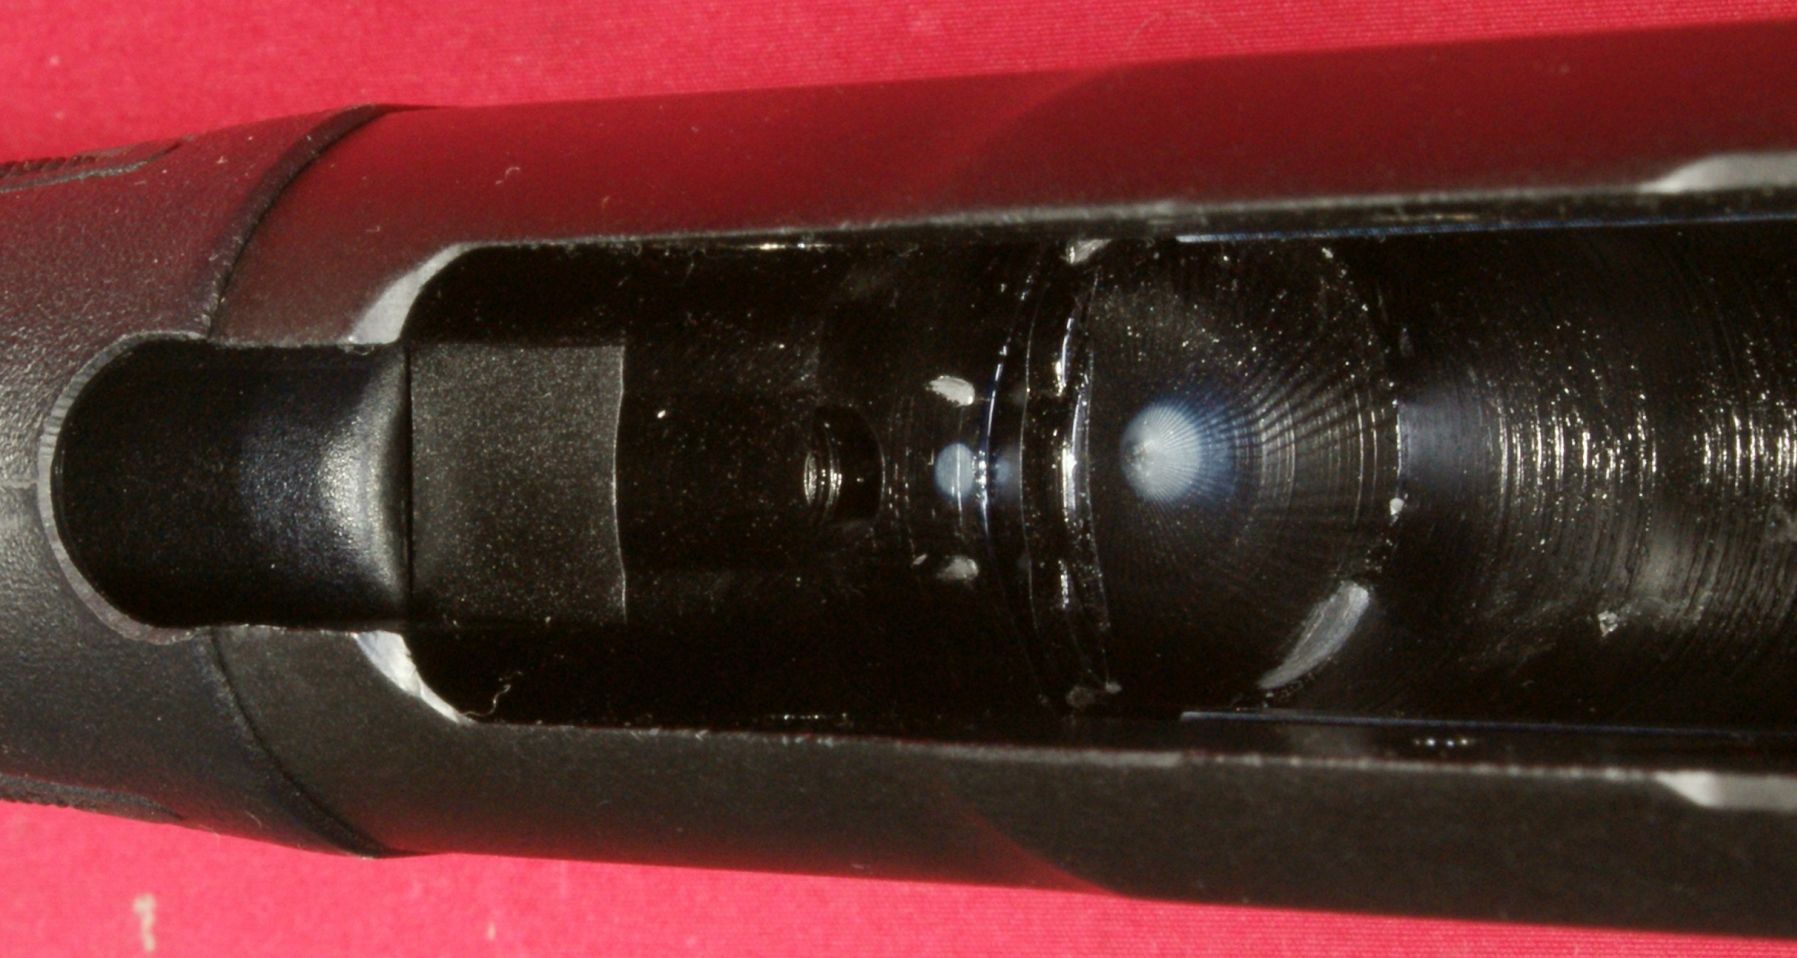
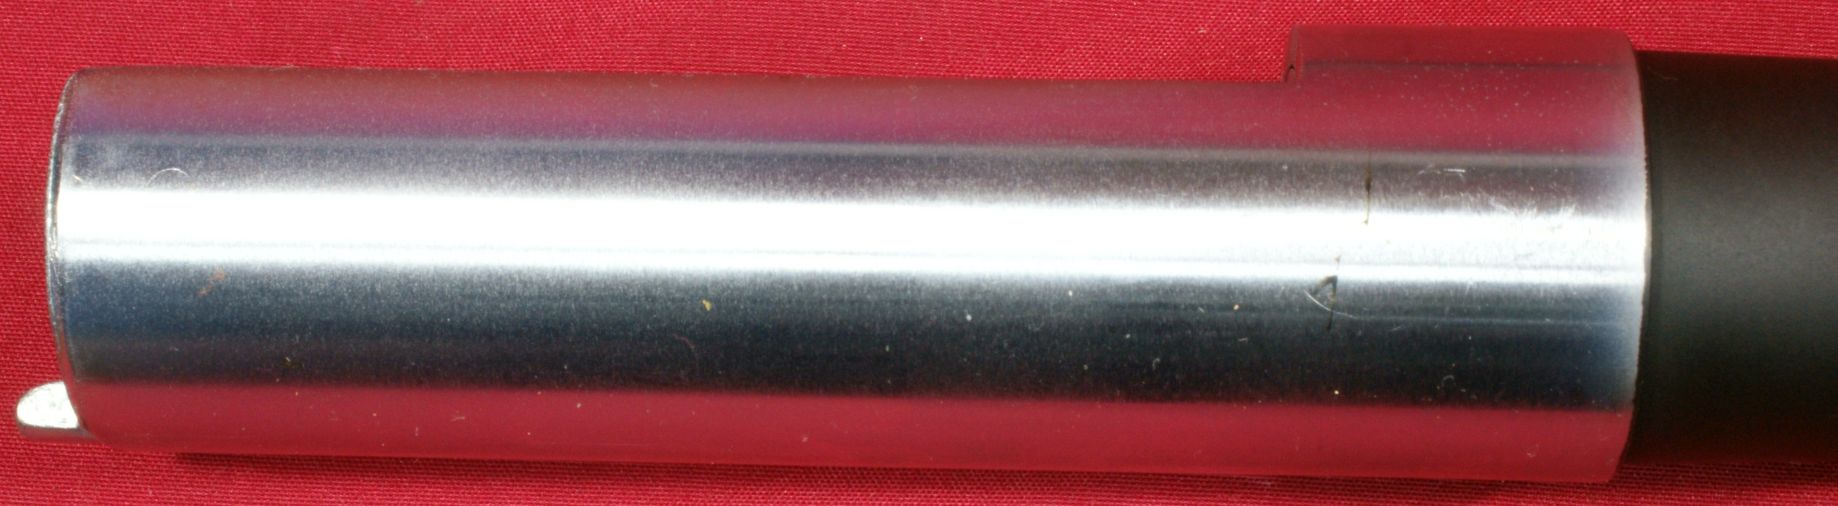
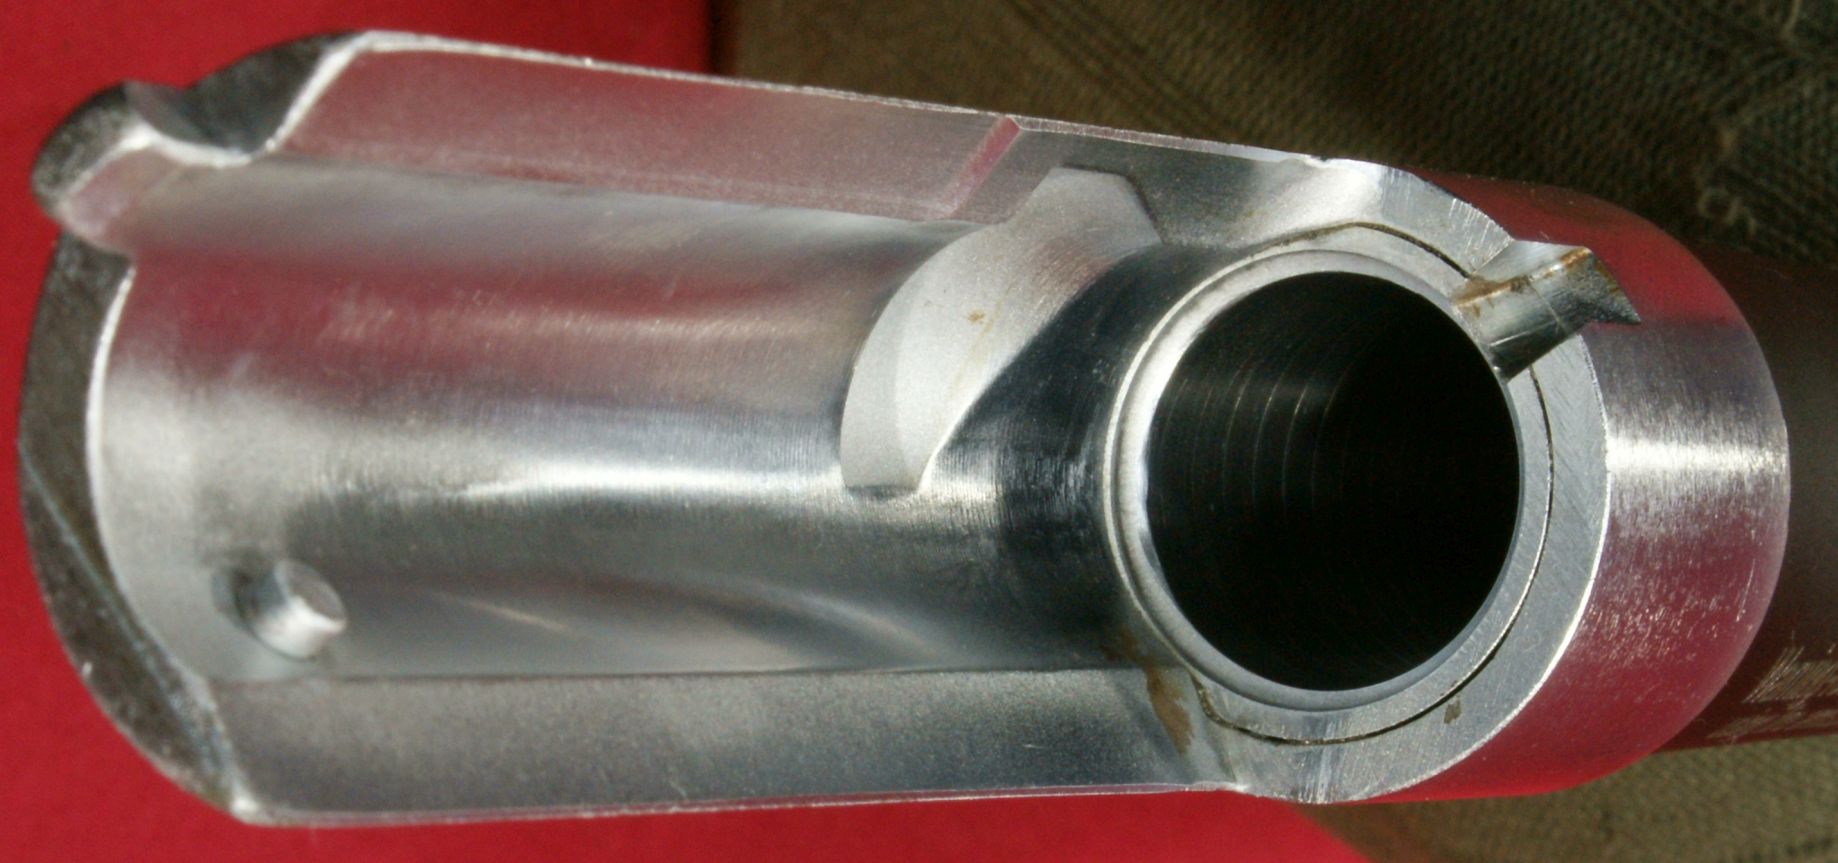
Barrel
The barrel has a stainless steel extension that goes into the receiver. I believe the extension, lug that goes around the magazine tube and front sight are all soldered in place.
Figure 39

The extension appears to be standard for this style of shotgun.
Figure 41
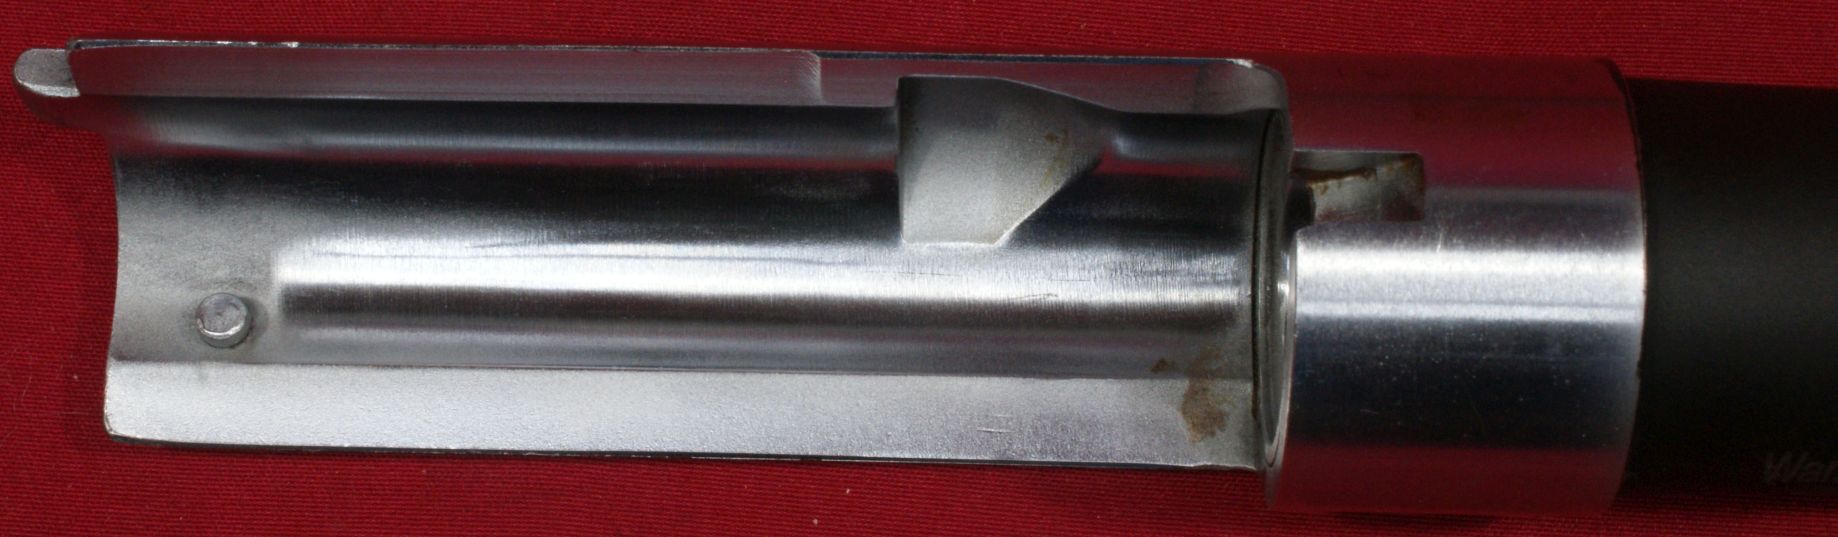
Figure 42
I was impressed with how well the extension was polished considering the cost of this shotgun. Also the chamber looked to be better than some other shotguns I have reviewed.
Figure 43
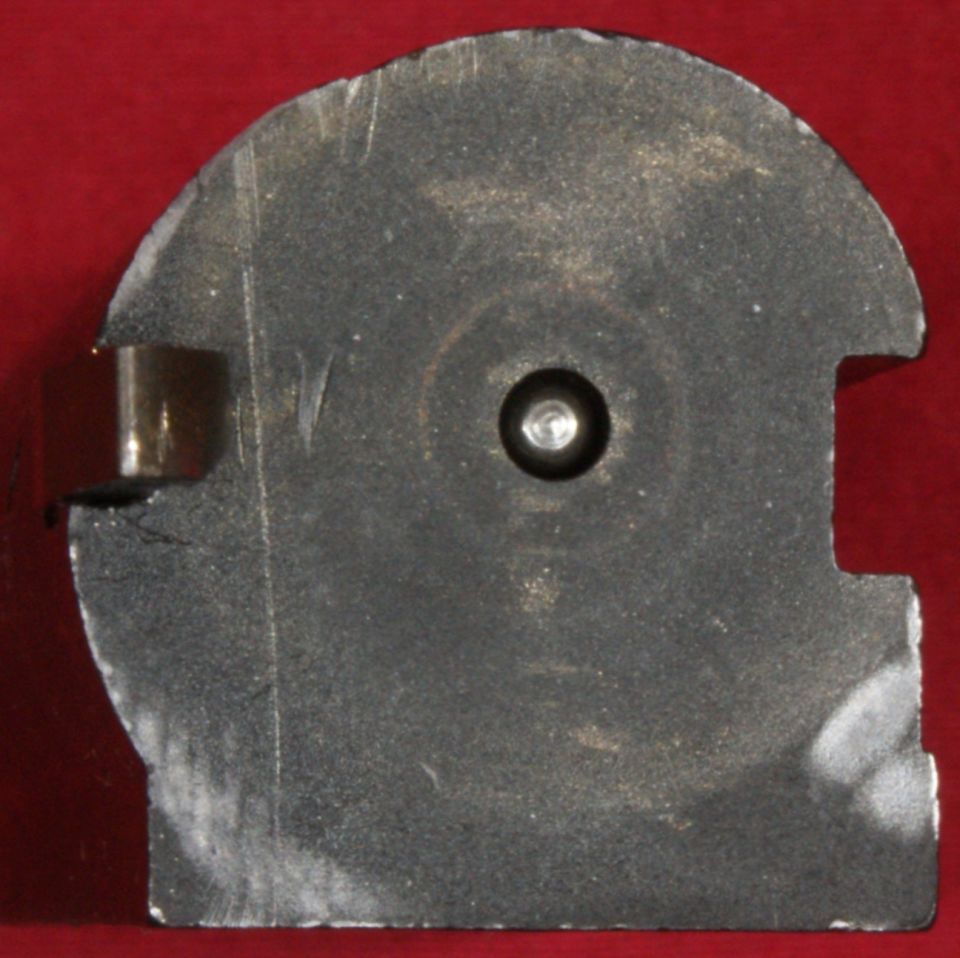
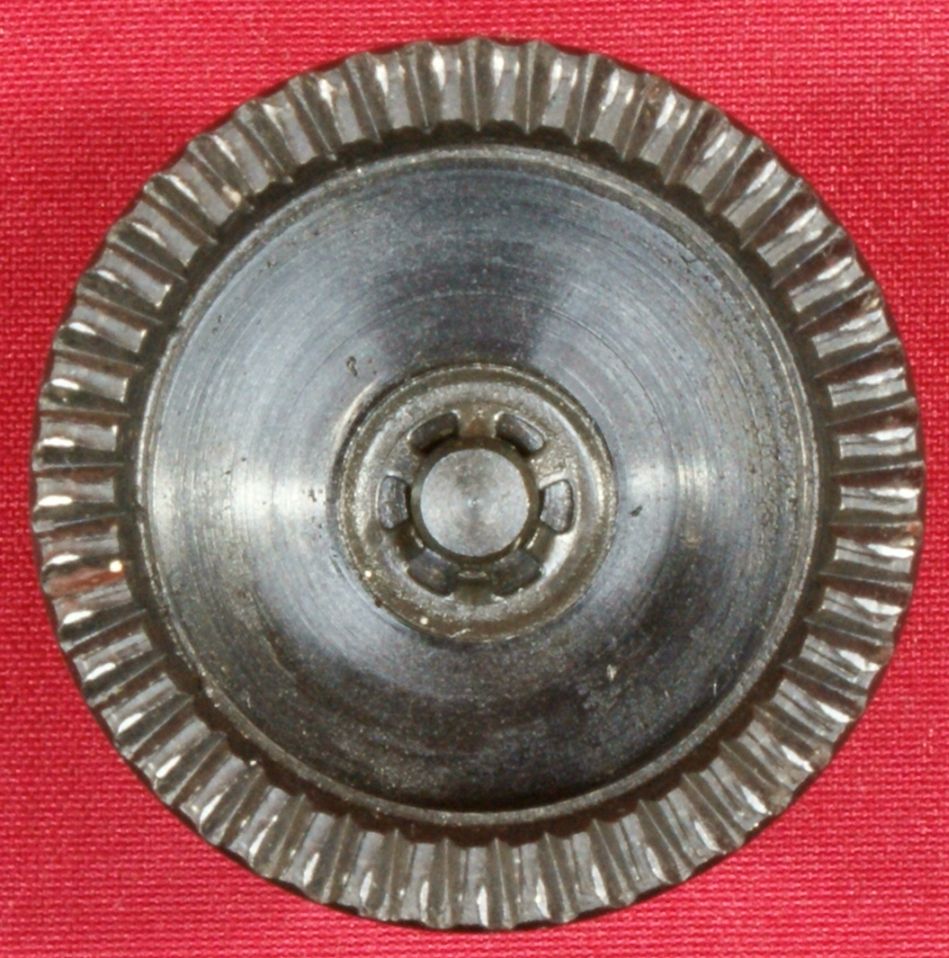
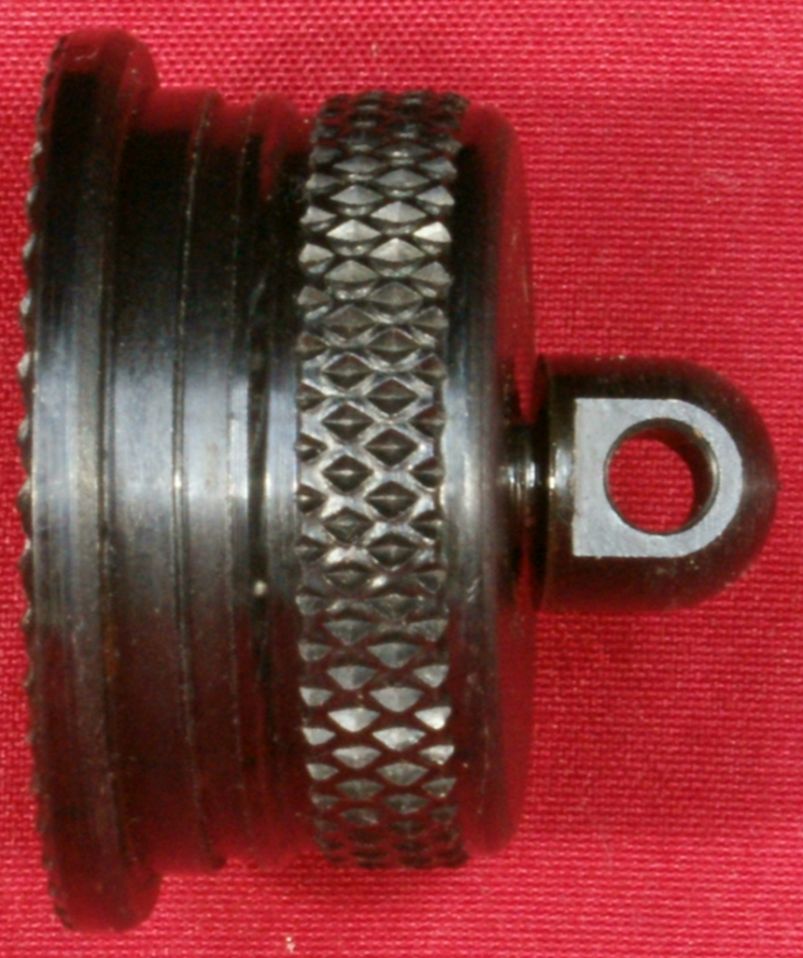
Magazine Tube Cap
The magazine tube cap is all steel and includes a sling swivel stud. The stud is retained with a small clip. I think the hole in the cap for the stud is too loose which might put extra force on the clip. Only time and use will tell if this will ever be an issue.
Figure 44
Figure 45
Figure 46
Thoughts
The Escort AimGuard Shotgun is very easy to disassemble and reassemble for normal cleaning. Further disassembly is also very simple. The shotgun is not compatible with Remington 870 or Mossberg 500 stock and forends. The magazine tube cap sling swivel stud seemed too loose which might put too much stress on the retaining clip, but so far I have not had an issue.
For more detailed photos and commentary, make sure you check out the other parts of this review and feel free to leave comments below. The following links are provided to help you see other parts of this review.
- Escort AimGuard Shotgun Review: Part 1 - Introduction, Specifications and Summary
- Escort AimGuard Shotgun Review: Part 2 - What's in the Box
- Escort AimGuard Shotgun Review: Part 3 - External & Operational Features
- Escort AimGuard Shotgun Review: Part 4 - Disassembly & Internal Features
- Escort AimGuard Shotgun Review: Part 5 - Range Test
Or
If you would like to be notified about future Gunsumer Reports reviews via Facebook, make sure "You Like This" by clicking the Facebook "Like" button at the bottom or top of this page. If it already says "You Like This" beside the button, clicking it again will uncheck the "Like" status and you will not be notified.
| Share on Facebook | |
© 2010, 2011, 2012, 2013, 2014, 2015, 2016, 2017, 2018, 2019, 2020, 2021, 2022, 2023 & 2024 Gunsumer Reports™, All rights reserved.
FTC Disclosure